
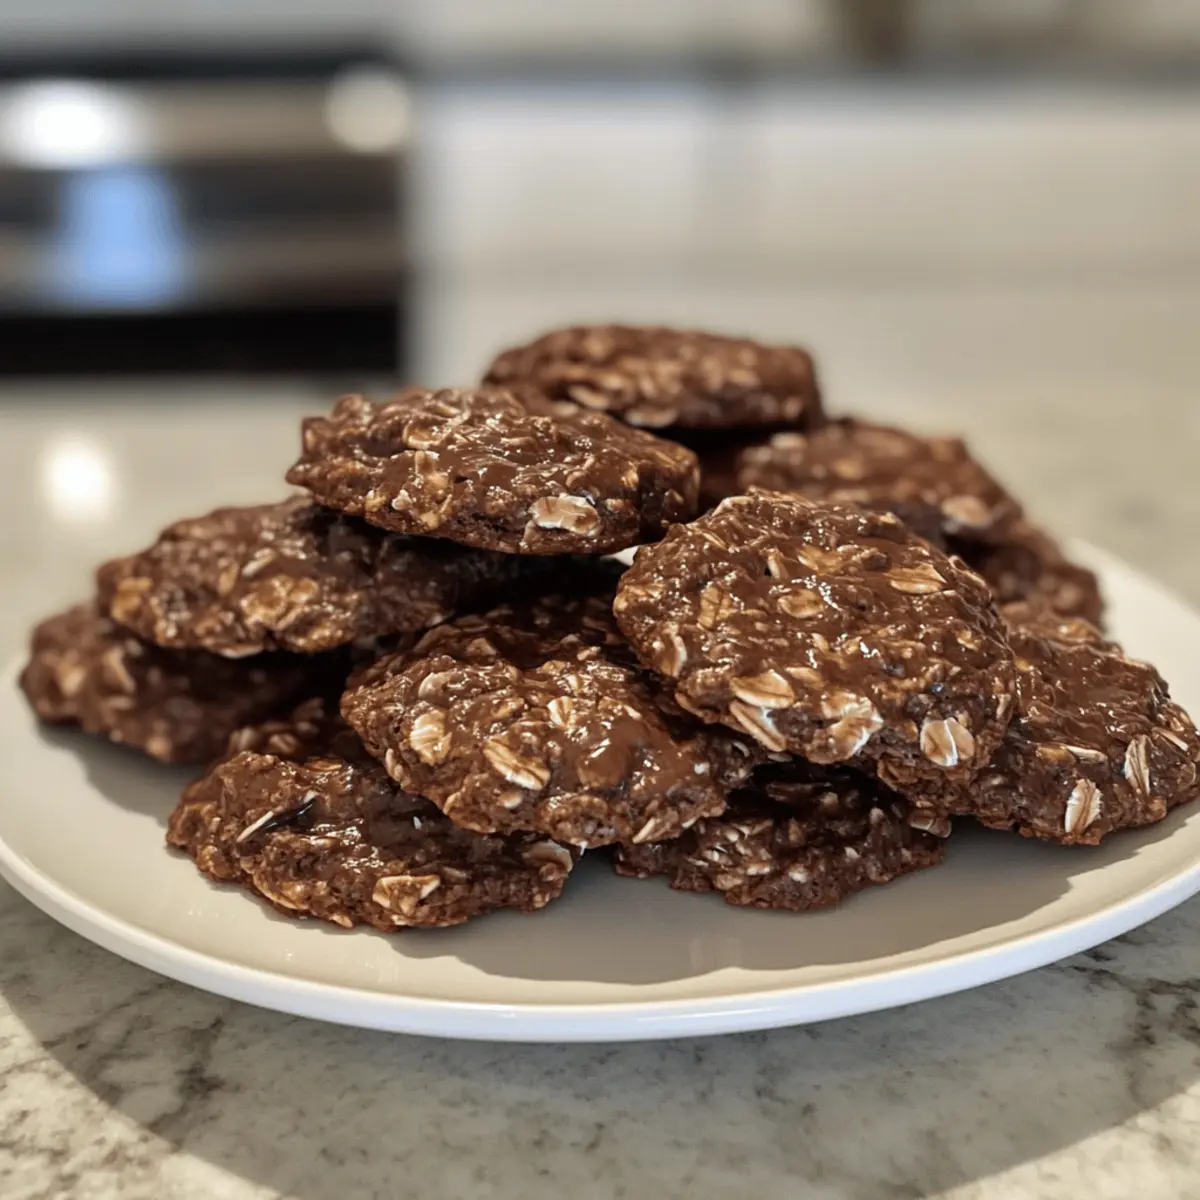
“Wait, do you feel that? It’s the relentless pull of a chocolate craving, the kind that only something rich and chewy can satisfy. That’s where my No-Bake Chocolate Oat Cookies come into play, a delightful treat made with just five wholesome ingredients! Not only do these scrumptious cookies come together in under 15 minutes, but they also cater to every dietary need with gluten-free and vegan options. These are perfect for last-minute gatherings or a cozy night in when you want something sweet without the fuss of baking. Plus, they’re the ideal fuel for our busy lives, providing energy without refined sugars. Ready to dive into a sugar-free indulgence? Let’s get started!”
Why Choose No-Bake Cookies?
Quick, Easy Preparation: With just five ingredients and no oven required, you’ll whip these up in under 15 minutes!
Diet-Friendly Options: Whether you’re gluten-free, vegan, or just looking for a wholesome treat, these cookies cater to all.
Decadent Chocolate Flavor: Rich cocoa and nut butter create a delightful fudgy experience that will melt in your mouth.
Versatile Add-Ins: Get creative! Add chocolate chips, dried fruit, or a sprinkle of sea salt for extra flair.
Perfect for Snacks or Desserts: These chewy delights are great for any occasion—pair them with your favorite beverage for a cozy treat, just like you would with Dinseylands Hot Chocolate or Pink Hot Chocolate!
Satisfying and Nutritious: High in fiber and protein, they’re the ideal guilt-free indulgence to keep you energized throughout the day!
No-Bake Chocolate Oat Cookies Ingredients
For the Cookies
- Rolled Oats – Provides structure and heartiness; quick oats can be substituted for a finer texture.
- Nut Butter (Peanut/Almond) – Acts as a binder and adds creaminess; use sunflower seed butter for a nut-free option.
- Cocoa Powder – Gives a deep chocolate flavor; use unsweetened for better control over sweetness.
- Honey or Maple Syrup – Offers sweetness and moisture; choose maple syrup for a vegan version of these no-bake chocolate oat cookies.
- Vanilla Extract – Enhances overall flavor; can be omitted for a simpler profile.
Step‑by‑Step Instructions for No-Bake Chocolate Oat Cookies
Step 1: Mix Dry Ingredients
In a large mixing bowl, combine 1 cup of rolled oats and 1/2 cup of unsweetened cocoa powder. Use a whisk to ensure there are no clumps. The oats will provide structure while the cocoa powder packs in that rich chocolate flavor. This step should take about 2 minutes to achieve a uniform mixture.
Step 2: Add Nut Butter
Next, add 1/2 cup of your choice of nut butter, such as peanut or almond butter. Use a spatula to mix everything together well. The nut butter acts as a binder, creating a creamy consistency that pulls the dry ingredients together. This blending should take about 2-3 minutes until fully incorporated and smooth.
Step 3: Sweeten the Mixture
Pour in 1/4 cup of honey or maple syrup, along with 1 teaspoon of vanilla extract for extra flavor. Stir thoroughly until the mixture becomes thick but moldable. You may need to employ some elbow grease here, as it should take about 2-3 minutes to combine everything into a cohesive dough.
Step 4: Chill the Dough
Cover the bowl with plastic wrap and place it in the refrigerator for about 10 minutes. This allows the dough to firm up slightly, making it easier to scoop. While chilling, you can prepare your baking sheet lined with parchment paper to get ready for the next step.
Step 5: Scoop and Shape Cookies
After chilling, remove the dough from the refrigerator and use a tablespoon to scoop portions onto the prepared baking sheet. Flatten each portion gently with the back of the spoon to form cookie shapes. This should take about 5 minutes, and you want to see a nice, even shape for your no-bake chocolate oat cookies.
Step 6: Refrigerate Until Set
Place the tray of cookies back in the refrigerator for at least 30 minutes. This time allows them to set properly, firming up to a chewy yet fudgy texture. Check after half an hour to ensure they have hardened enough for a delightful bite.
Step 7: Serve and Enjoy
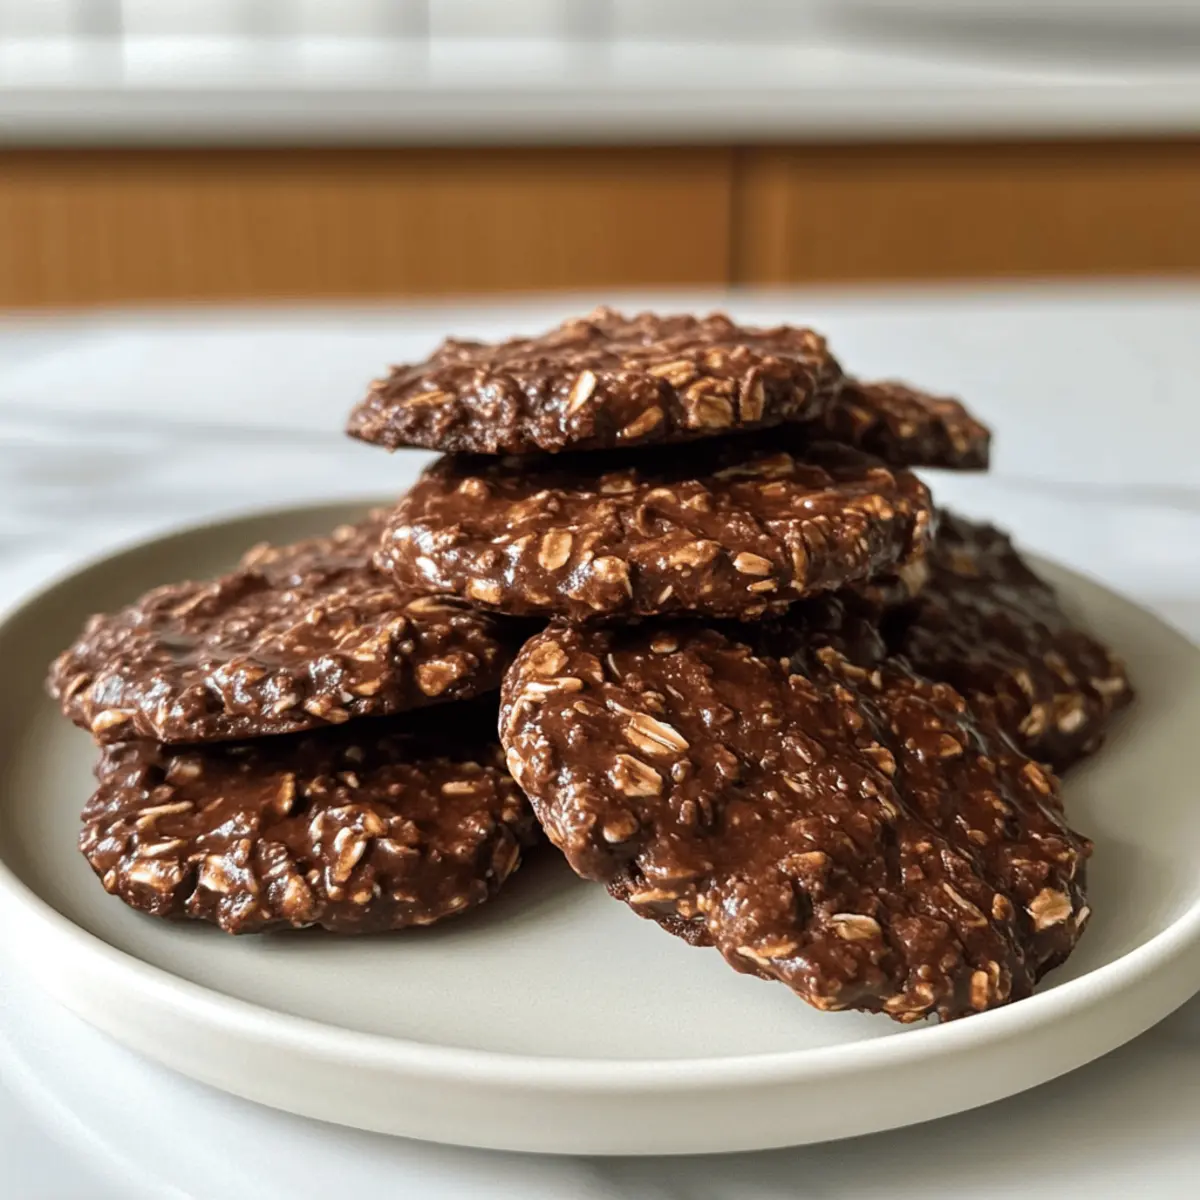
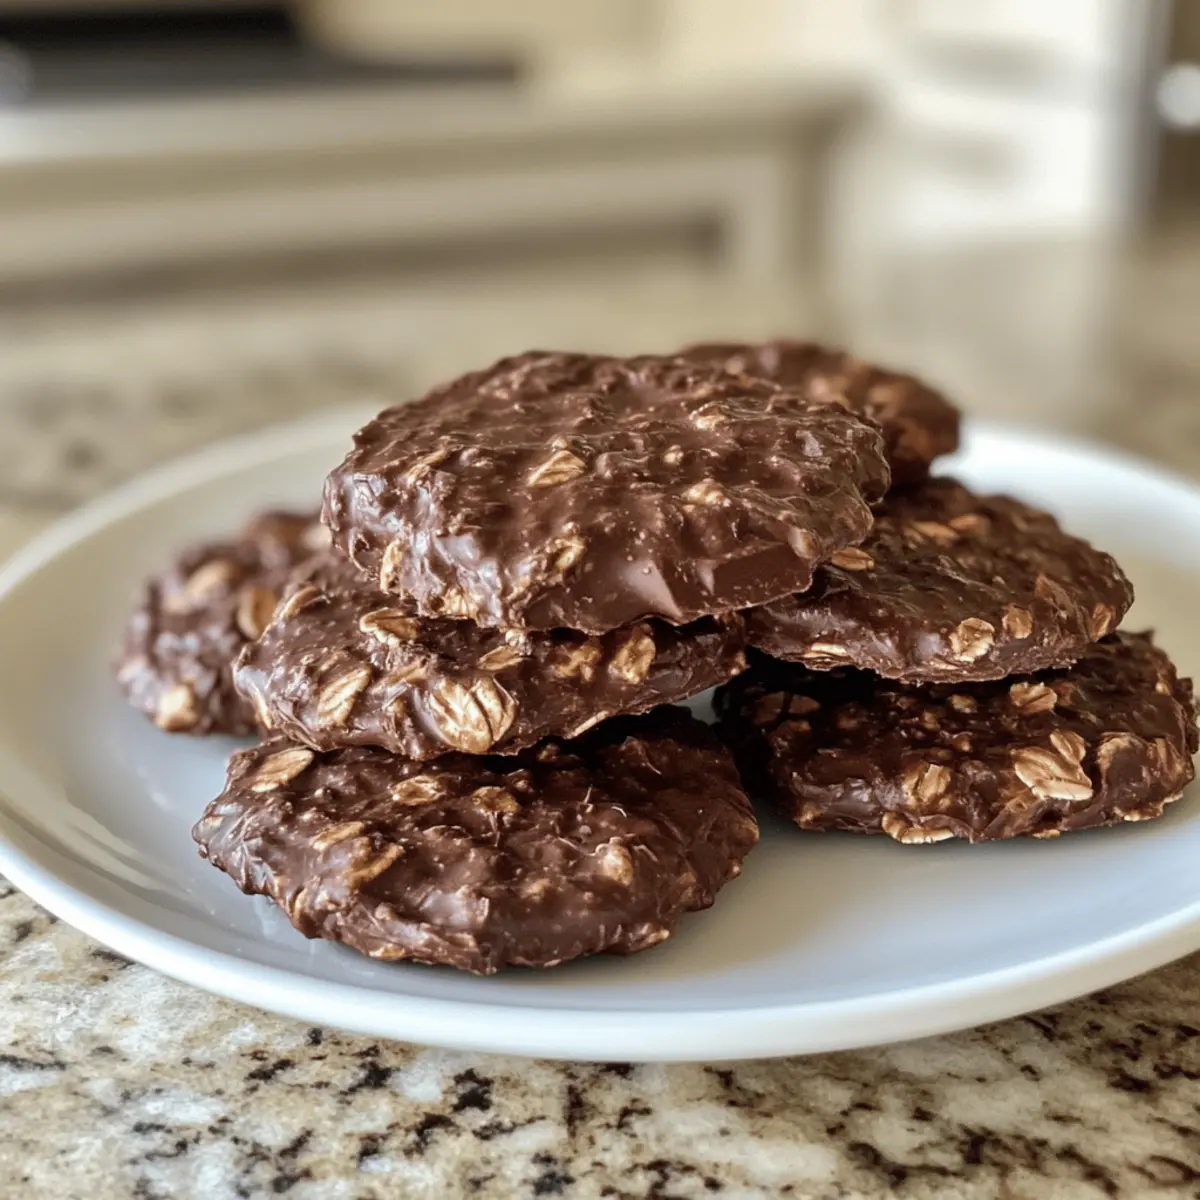
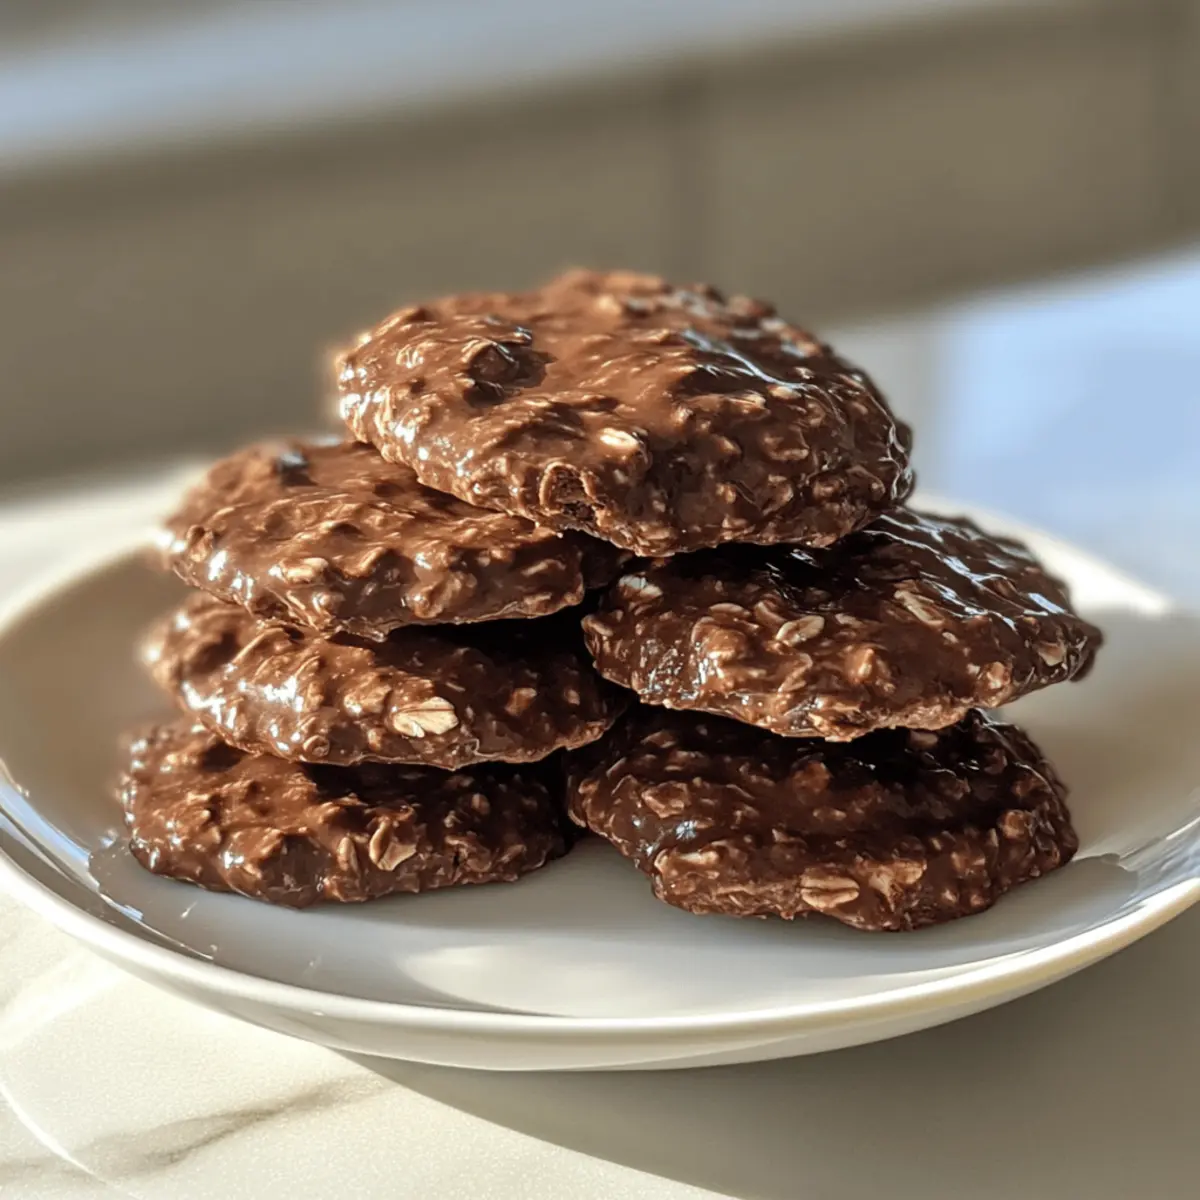
Once your no-bake chocolate oat cookies have set, take them out of the refrigerator and enjoy! These can be paired with a glass of cold milk or a warm cup of tea for a delightful treat anytime. Store any leftovers in an airtight container in the fridge for up to a week!
Variations & Substitutions for No-Bake Chocolate Oat Cookies
Feel encouraged to put your own spin on these delightful no-bake chocolate oat cookies; the possibilities are endless!
- Gluten-Free: Use certified gluten-free oats to ensure no traces of gluten. These cookies can be enjoyed by everyone!
- Nut-Free: Swap out nut butter for sunflower seed butter to cater to nut allergies, offering a similar creaminess without the nuts.
- Vegan: Choose maple syrup and ensure the cocoa powder is vegan-friendly for a delightful plant-based treat.
- Choco-Coconut Bliss: Substitute half of the oats with shredded coconut for a tropical flair that adds chewiness and a subtle sweetness.
- Texture Boost: Mix in some crushed graham crackers or crispy rice cereal to add an enjoyable crunch to the consistency.
- Flavor Explosion: Stir in a handful of chocolate chips or dried cranberries for an irresistible burst of flavor in every bite.
- Spiced Up: A dash of cinnamon or a pinch of cayenne pepper can bring a warm heat that contrasts beautifully with the chocolate’s richness.
- Indulgent Twist: Drizzle melted chocolate on top prior to chilling for an extra layer of decadence, perfect for special treats or holiday gifting.
Ready to elevate your cookie game? These variations will inspire you, just like how you might enjoy a cozy cup alongside these cookies, reminiscent of the warmth of Disneylands Hot Chocolate or a sweet twist from Pink Hot Chocolate.
What to Serve with No-Bake Chocolate Oat Cookies
Savoring these delightful cookies creates the perfect backdrop for a cozy and satisfying meal experience.
- Cold Glass of Milk: The classic pairing that balances the sweetness and richness of the cookies, enhancing their creamy texture.
- Warm Cup of Tea: A soothing accompaniment that complements the chocolate flavor while adding a cozy vibe to your treat time.
- Fresh Fruit Salad: Bright, juicy fruits contrast the fudgy texture of the cookies, bringing a refreshing element to your snack.
- Peanut Butter Banana Smoothie: Creamy and nutritious, this smoothie echoes the nutty flavors of the cookies while adding a healthy twist.
- Coconut Whipped Cream: Adds a fluffy, aromatic touch and a touch of creaminess that pairs perfectly with the chewy texture of the cookies.
- Chocolate Drizzle: For an extra indulgent touch, drizzle melted chocolate over the cookies to create a rich and visually appealing treat.
- Ice Cream Scoop: Chocolate oat cookies crumble beautifully over a scoop of vanilla or salted caramel ice cream, making for an irresistible dessert.
- Molten Lava Cake: Pairing these cookies with a warm, gooey lava cake will create a rich dessert experience that’s perfect for chocoholics.
- Coconut Milkshake: Creamy and tropical, this shake adds an exotic twist while enhancing the nutty undertones of the cookies.
Expert Tips for No-Bake Chocolate Oat Cookies
-
Stir Properly: Ensure your nut butter is well-mixed before adding; this prevents clumps and creates a smooth consistency for your no-bake chocolate oat cookies.
-
Texture Check: The mixture should be sticky yet moldable. If it feels too dry, a splash more honey or nut butter can help bind it together.
-
Chill Time Matters: Don’t skip the chilling step! It firms up the dough, making it easier to scoop and helping your cookies maintain their shape.
-
Uniform Sizes: Use a cookie scoop for even portions—this ensures all cookies will set correctly, giving you perfectly shaped no-bake chocolate oat cookies every time.
-
Add Extra Flavor: Feel free to mix in chocolate chips or dried fruit for an extra burst of flavor—just be mindful not to overwhelm the base ingredients!
How to Store and Freeze No-Bake Chocolate Oat Cookies
Fridge: Store your no-bake chocolate oat cookies in an airtight container in the refrigerator for up to one week to maintain freshness and chewiness.
Freezer: For longer storage, freeze the cookies in a single layer, separated by parchment paper. They will keep well for up to three months, making them an excellent make-ahead treat.
Thawing: To enjoy frozen cookies, simply remove them from the freezer and let them thaw at room temperature for about 15-20 minutes before serving; this keeps their delectable texture.
Reheating: While these no-bake chocolate oat cookies are best enjoyed chilled, you can lightly warm them in the microwave for about 10-15 seconds if you prefer a softer bite!
Make Ahead Options
These No-Bake Chocolate Oat Cookies are perfect for meal prep enthusiasts! You can prepare the cookie dough up to 24 hours in advance, simply mix together the ingredients and chill the dough in the refrigerator. This way, it’ll be ready to scoop when you need a quick dessert or snack. Alternatively, you can pre-scoop the cookies onto a lined baking sheet and refrigerate for up to 3 days; just make sure to keep them covered to maintain their freshness. When you’re ready to enjoy, simply allow them to sit at room temperature for a few minutes before serving for the best texture—these treats will still be just as delicious!
No-Bake Chocolate Oat Cookies Recipe FAQs
How do I choose ripe ingredients for my No-Bake Chocolate Oat Cookies?
Absolutely! For the best flavor and texture, opt for fresh, creamy nut butters without added sugars or oils, and ensure your honey or maple syrup is pure. If you’re using any additional ingredients like dried fruits, choose those that are plump and moist to enhance your cookie’s deliciousness.
How do I store No-Bake Chocolate Oat Cookies, and how long do they last?
Very! Store your no-bake chocolate oat cookies in an airtight container in the refrigerator for up to one week. To maintain their chewy texture, avoid leaving them uncovered as they can dry out. If you’re looking to keep them longer, consider the freezing option below!
Can I freeze No-Bake Chocolate Oat Cookies?
Definitely! To freeze these cookies, lay them out in a single layer on a baking sheet lined with parchment paper, ensuring they don’t touch. Once frozen, transfer them to an airtight container or a resealable freezer bag with parchment layers in between, and they’ll last up to three months. When you’re ready to enjoy, simply let them thaw at room temperature for about 15-20 minutes.
What should I do if my No-Bake Chocolate Oat Cookies are too crumbly?
If your cookies are crumbling apart, don’t worry—it’s a simple fix! Simply add an extra tablespoon of nut butter or a drizzle of honey/maple syrup and mix well until the consistency is thick yet moldable. Ensure to give it a good stir so that all ingredients are well combined. Chilling them a bit longer may also help stabilize the mixture before shaping!
Are these cookies safe for people with nut allergies or dietary restrictions?
Yes, they can be! For those with nut allergies, you can easily substitute the nut butter with sunflower seed butter, making them nut-free. Always double-check the labels of all ingredients to ensure they meet your dietary needs, especially the binding sweetener. For a vegan option, stick with maple syrup instead of honey.
What’s the best way to add flavor variations to No-Bake Chocolate Oat Cookies?
Getting creative is so much fun! You can mix in chocolate chips, a dash of cinnamon, or even a handful of shredded coconut right when you’re combining your dry ingredients. Alternatively, try adding nuts or seeds for extra crunch! Just remember to keep the overall balance of wet to dry ingredients consistent so they hold together beautifully.
Indulgent Biscoff Hot Chocolate for Cozy Nights In
Ingredients
Equipment
Method
- In a large mixing bowl, combine 1 cup of rolled oats and 1/2 cup of unsweetened cocoa powder, whisking for 2 minutes.
- Add 1/2 cup of nut butter and mix with a spatula for 2-3 minutes until smooth.
- Pour in 1/4 cup of honey or maple syrup and 1 teaspoon of vanilla extract; stir until thick and moldable for about 2-3 minutes.
- Cover the bowl and refrigerate for 10 minutes.
- Scoop portions onto a baking sheet and flatten to form cookie shapes; this should take about 5 minutes.
- Refrigerate for at least 30 minutes until set.
- Serve and enjoy with cold milk or warm tea.
Leave a Reply