
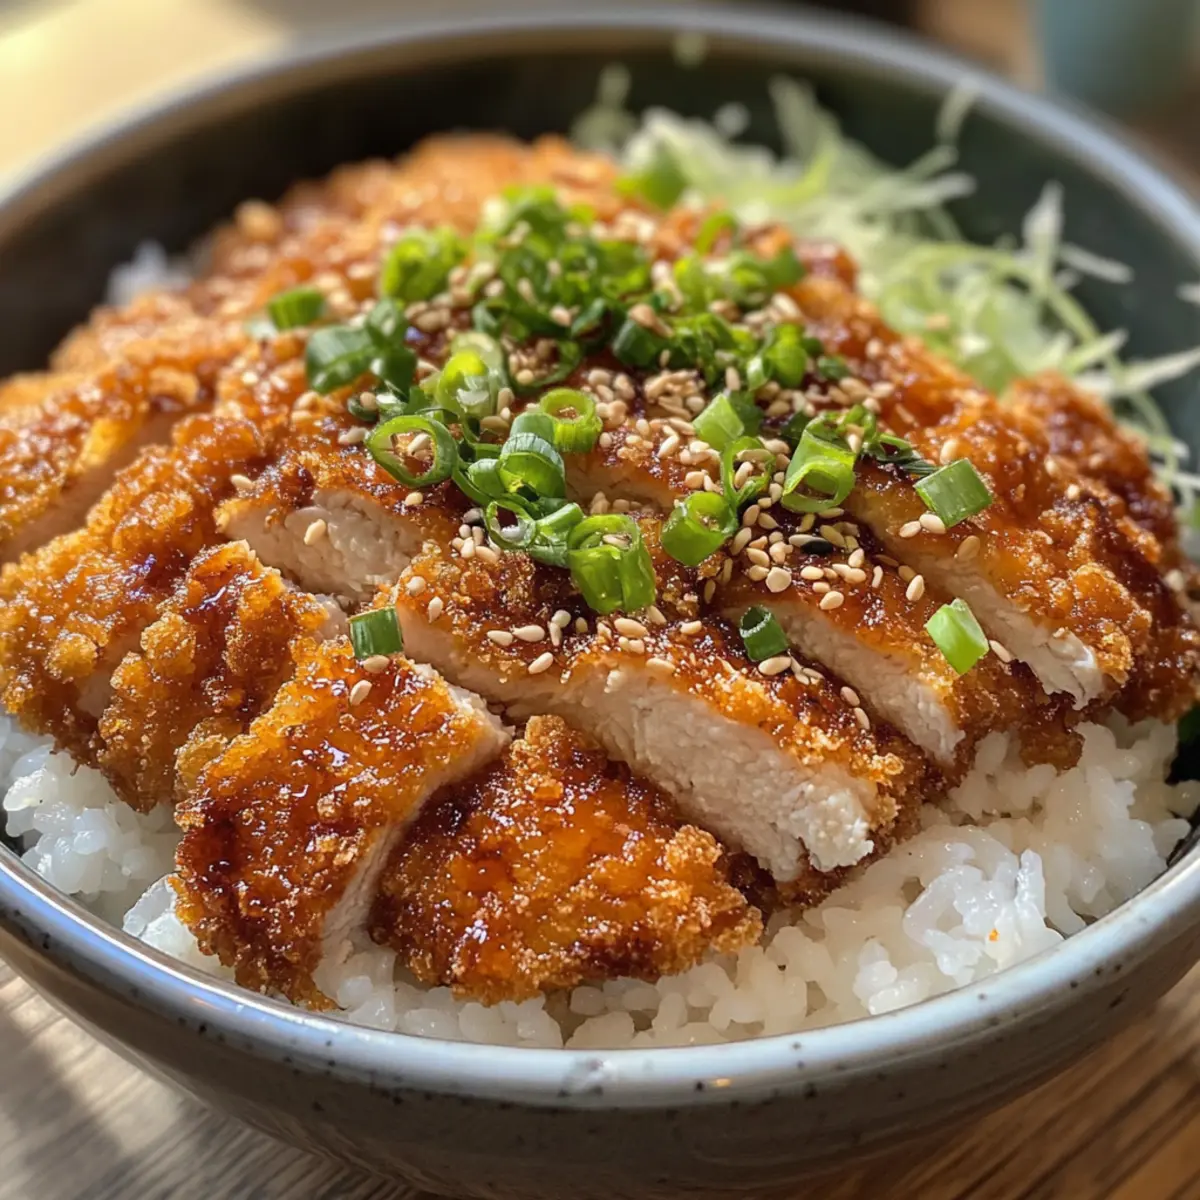
There’s a sizzle that fills the air, and my kitchen becomes a haven of deliciousness as I start preparing Japanese Katsu Bowls. This comfort food is a favorite in our house, offering the incredible crunch of crispy chicken or pork cutlets served over fluffy, seasoned rice. With quick prep and simple ingredients, these bowls are perfect for winding down after a long day or sharing with loved ones on a cozy weekend. Plus, if you’re looking for a vegetarian twist, you can easily switch up the protein with eggplant or tofu. Just wait until you taste the harmony of flavors and texture! Are you ready to dive into the world of Katsu?
Why are Japanese Katsu Bowls unforgettable?
Satisfying Crunch: The crispy, golden-brown cutlets are fried to perfection, delivering a bite that’s simply irresistible.
Versatile Options: Whether you choose chicken, pork, or a delightful vegetarian alternative like eggplant or tofu, there’s a Katsu Bowl for everyone.
Quick and Easy: This recipe features straightforward steps, making it ideal for busy weeknights or weekend gatherings.
Flavor Explosion: The combination of tonkatsu sauce and seasoned rice creates a harmonious blend of savory goodness that will keep you coming back for more.
Comfort Food Done Right: With its mix of textures and warm flavors, this dish embodies the essence of comfort food. If you’re a fan of comforting Japanese recipes, this is a must-try!
Japanese Katsu Bowls Ingredients
For the Katsu
• Boneless Chicken Breasts or Pork Loin – The star protein of the dish; feel free to substitute with eggplant or tofu for a vegetarian option.
• Salt and Pepper – Essential for enhancing the flavors; adjust to suit your personal taste preferences.
• All-Purpose Flour – Provides a dry base for the breading; for gluten-free needs, consider using gluten-free flour instead.
• Large Eggs – Binds the panko coating to the protein; flaxseed meal or aquafaba are great vegan substitutes.
• Panko Breadcrumbs – Crucial for achieving that light, crispy texture; ensure you’re using gluten-free panko if needed.
• Vegetable Oil – Used for frying; canola or peanut oil works well as alternatives.
For the Rice
• Japanese Short-Grain Rice – The perfect side dish that gives the bowl its sticky texture; jasmine or sushi rice are suitable substitutes.
• Water – Essential for cooking the rice to the desired consistency.
• Rice Vinegar – A key seasoning for the rice; apple cider vinegar can be used for a different flavor profile.
• Sugar – Balances out the acidity in the rice seasoning.
• Salt – To season the rice properly.
For the Sauce and Toppings
• Tonkatsu Sauce – The primary flavoring sauce for the dish; you can opt for store-bought or homemade versions.
• Soy Sauce – Adds a rich umami depth; low-sodium versions are great if you’re watching sodium intake.
• Worcestershire Sauce & Ketchup – Enhances the flavor profile of the sauce; optional adjustments can be made according to taste.
• Shredded Cabbage – Provides a fresh crunch on top; you can use other greens if preferred.
• Green Onions – For flavorful garnish; chives can be a suitable substitute.
• Sesame Seeds – Optional but adds a delightful texture; sprinkle them on for an extra pop.
• Pickled Ginger – Offers a tangy contrast; a channel of vibrant flavor that complements the dish.
Dive into the assembly of these Japanese Katsu Bowls and let the deliciousness unfold!
Step‑by‑Step Instructions for Japanese Katsu Bowls
Step 1: Prepare the Rice
Start by rinsing 1 cup of Japanese short-grain rice under cold water until the water runs clear. Then, soak the rice in water for about 30 minutes to achieve a fluffy texture. After soaking, drain the rice and combine it with 1 cup of water in a pot. Bring it to a boil, reduce the heat to low, cover, and cook for approximately 15 minutes. Once done, turn off the heat and let it rest for another 10 minutes without lifting the lid.
Step 2: Prepare the Katsu
While the rice is resting, take 2 boneless chicken breasts or pork loin and place them between sheets of plastic wrap. Use a meat mallet to pound the meat to an even thickness of about ½ inch. Season both sides generously with salt and pepper. Set up a breading station with three shallow dishes: one for all-purpose flour, one for beaten large eggs, and one for panko breadcrumbs.
Step 3: Dredge the Meat
Begin dredging the prepared meat by coating it in the flour, ensuring it is fully covered to help the egg adhere. Next, dip the floured meat into the beaten eggs, allowing any excess to drip off. Finally, transfer it to the panko breadcrumbs, pressing gently to ensure an even coating. Repeat this process until all the pieces are breaded, then set aside.
Step 4: Fry the Katsu
In a large skillet, heat approximately ½ inch of vegetable oil over medium heat until it reaches 350°F. Carefully place the breaded meat into the hot oil and fry each piece for about 4-5 minutes per side or until they are golden brown and reach an internal temperature of 165°F. Once cooked, remove the katsu from the skillet and allow them to drain on a plate lined with paper towels to remove excess oil.
Step 5: Make the Sauce
While the katsu is resting, prepare the tonkatsu sauce by mixing together 3 tablespoons of store-bought or homemade tonkatsu sauce, 1 tablespoon of soy sauce, and 1 tablespoon of Worcestershire sauce in a bowl. Adjust the flavors according to your taste by adding a touch of ketchup or more soy sauce, if desired. This sauce will add a delightful umami flavor to your Japanese Katsu Bowls.
Step 6: Assemble Your Bowls
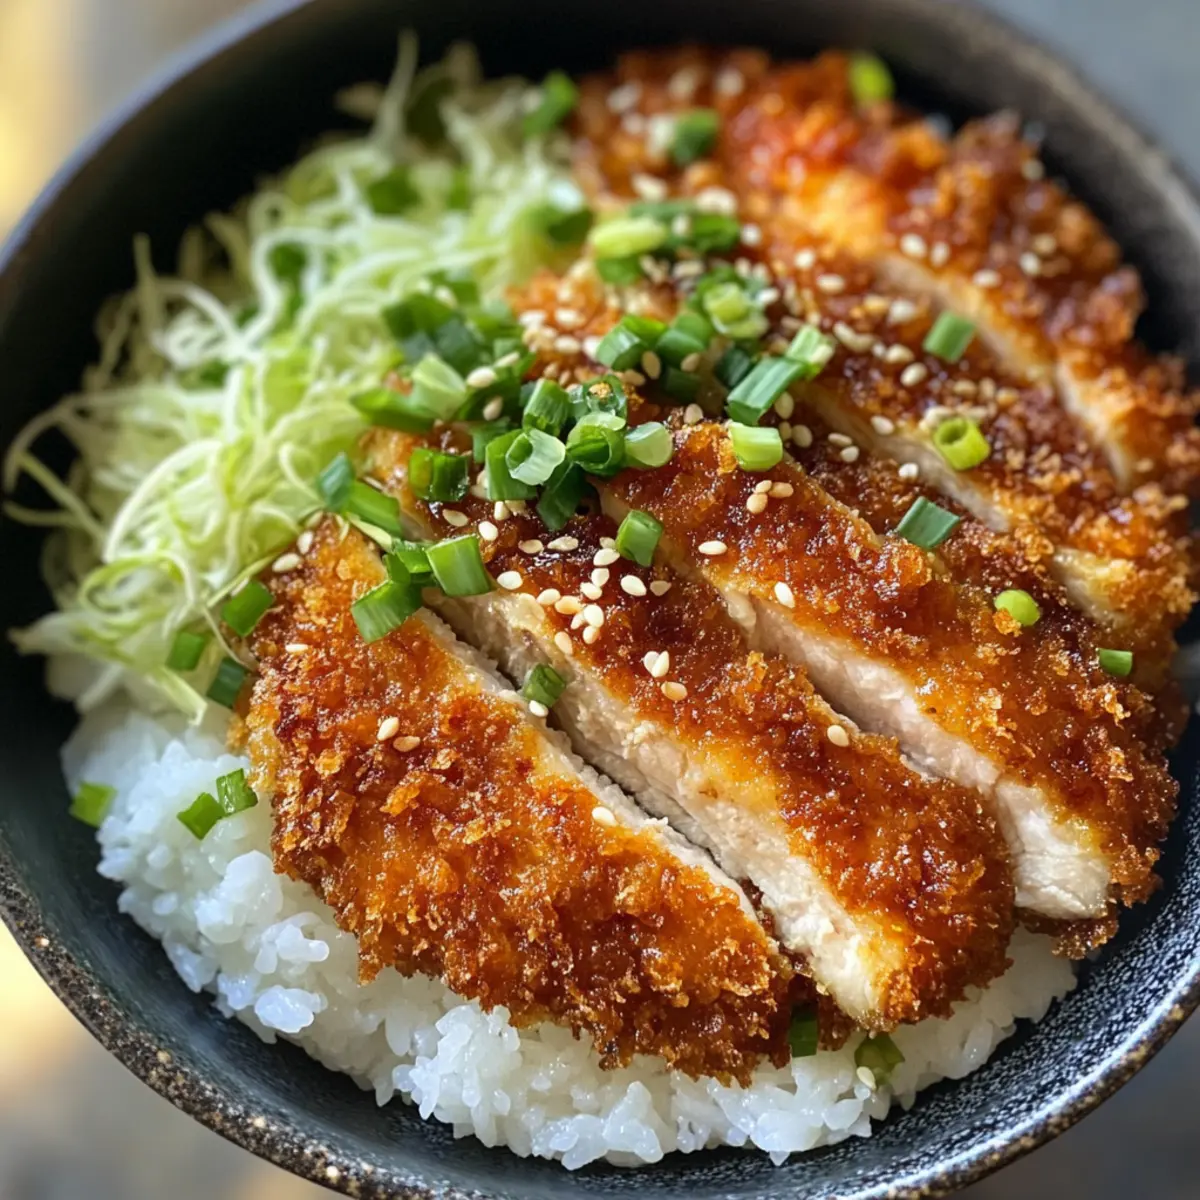
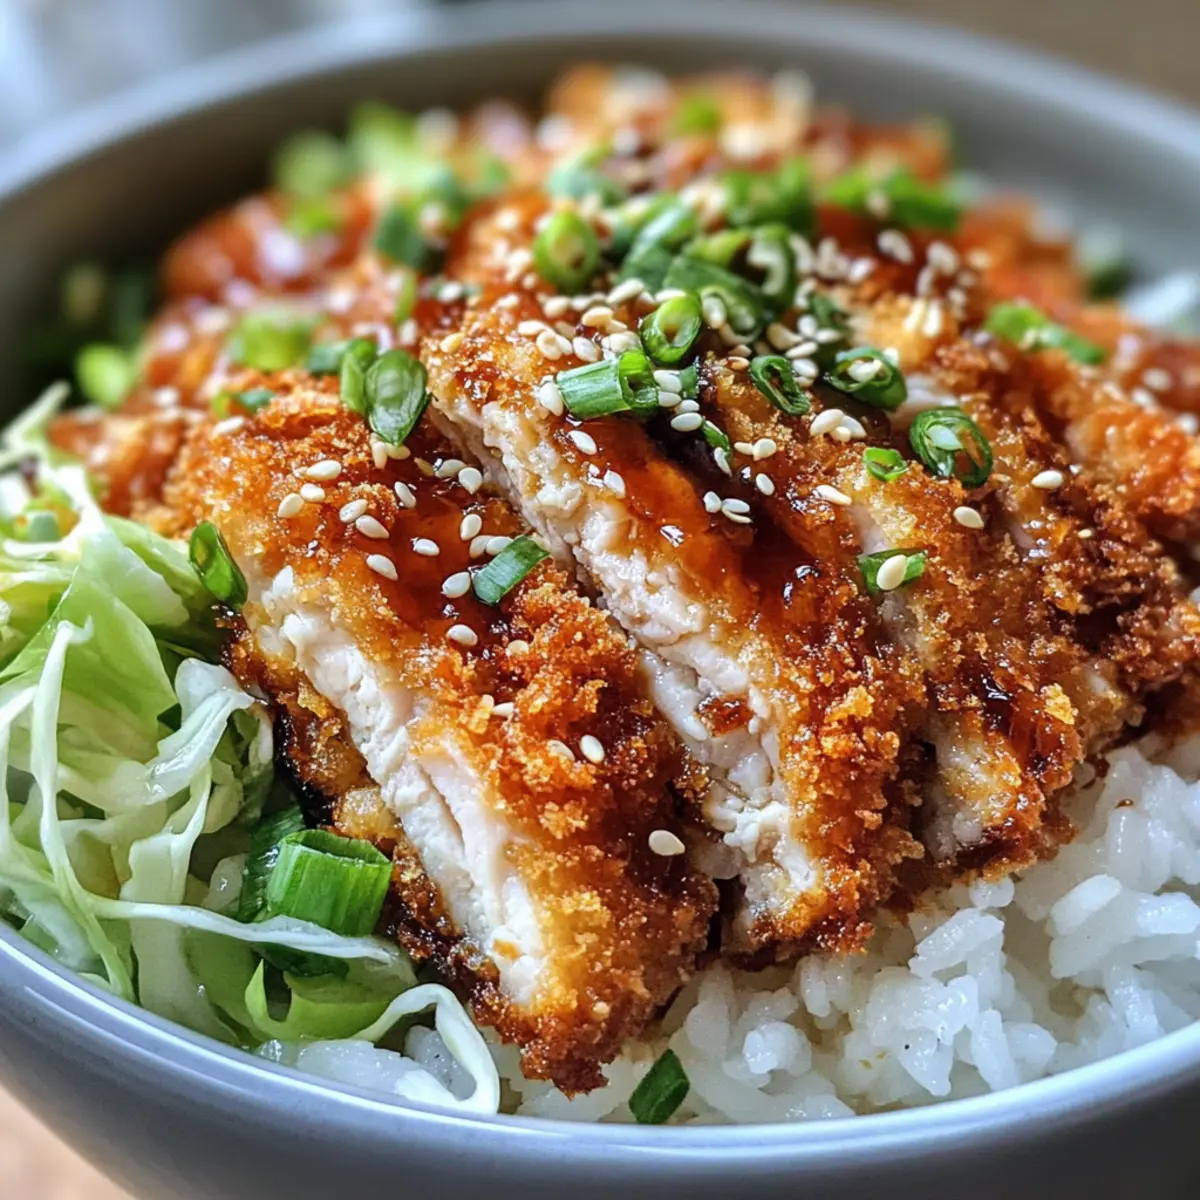
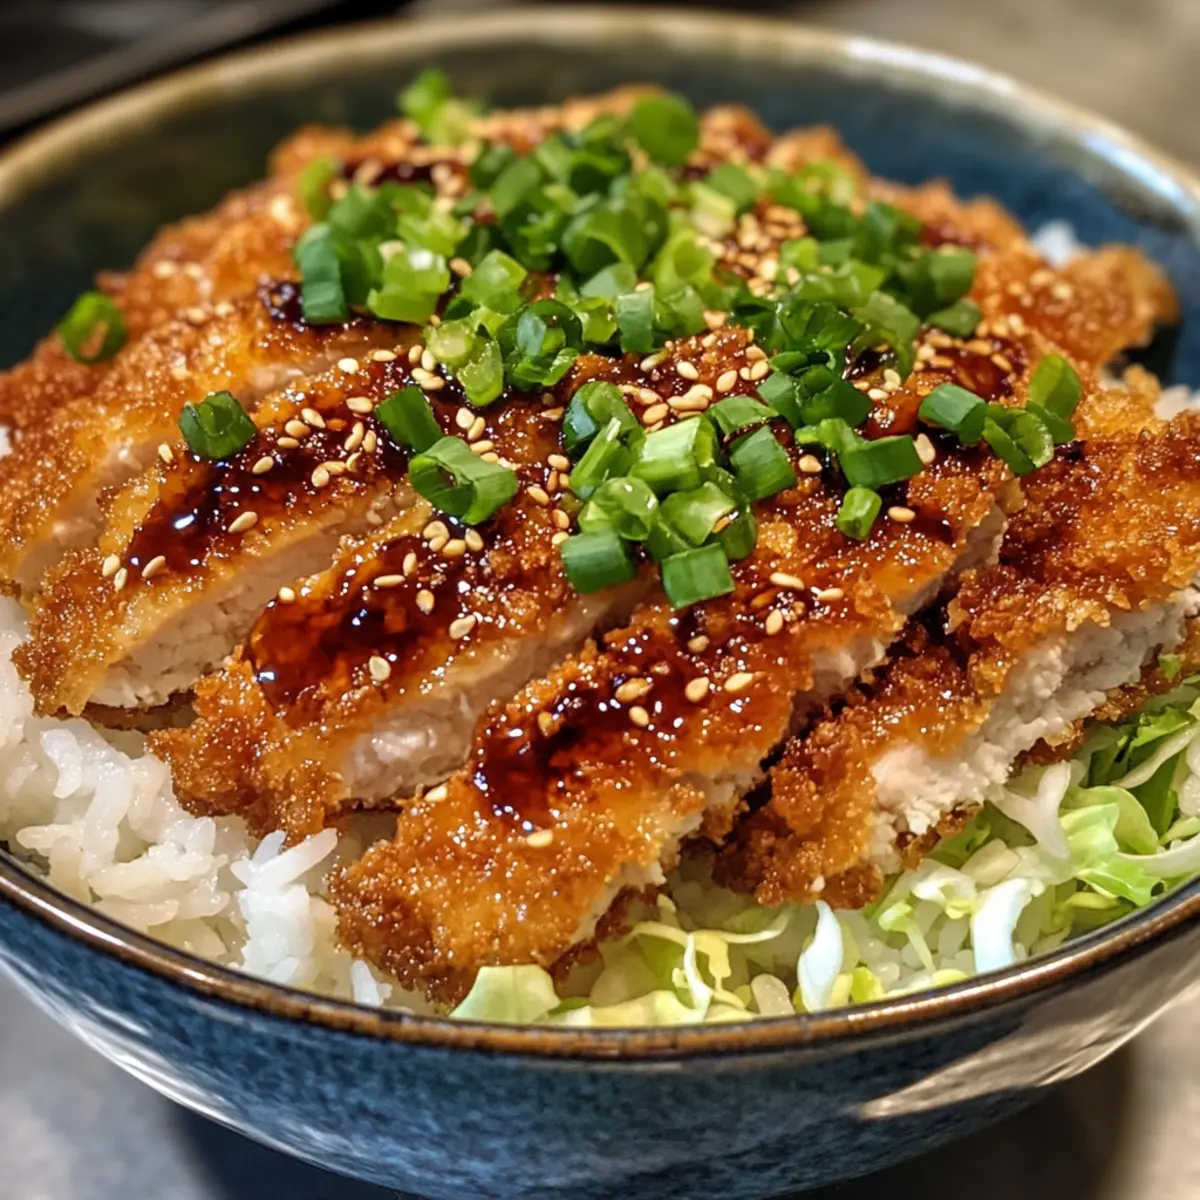
To assemble your Japanese Katsu Bowls, take a serving of the seasoned rice and place it at the bottom of a bowl. Top the rice with sliced katsu, layering it beautifully. Add a handful of shredded cabbage for a fresh crunch, then sprinkle with chopped green onions and sesame seeds for garnish. Finally, drizzle the soul-satisfying tonkatsu sauce over the top and, if desired, add pickled ginger for a tangy contrast.
Make Ahead Options
These Japanese Katsu Bowls are a fantastic choice for meal prep, making your busy weeknights smoother and more delicious! You can prepare the katsu (fried cutlets) up to 3 days in advance, allowing them to cool completely and then store them in an airtight container in the refrigerator. To maintain their crispy texture, reheat the katsu in the oven at 350°F for about 10-15 minutes before serving. Additionally, you can pre-cook the rice up to 24 hours in advance; just be sure to let it cool, then store it in the fridge in a covered container. When you’re ready to enjoy your Japanese Katsu Bowls, simply layer the rice with the reheated katsu and fresh toppings for a comforting meal that feels just as freshly made!
What to Serve with Japanese Katsu Bowls
The perfect meal is just a few complementary dishes away, making every bite of your Katsu experience even more memorable.
-
Creamy Coleslaw: A cool, crunchy counterpart, coleslaw contrasts beautifully with the warm, crispy Katsu, enhancing texture and flavor.
-
Garlic Edamame: These vibrant green pods bring a pop of flavor and protein, making them an enjoyable, nutritious side to balance your meal.
-
Steamed Broccoli: Tender, softly steamed broccoli adds a touch of earthiness, providing a pleasant color and a healthy element to your dinner.
-
Miso Soup: A comforting bowl of miso soup complements the richness of Katsu Bowls, introducing umami and warmth for a cozy dining experience.
-
Pickled Vegetables: Adding a tangy crunch, pickled vegetables provide a refreshing contrast to the savory Katsu and cut through its richness nicely.
-
Japanese Pickles (Tsukemono): Colorful and flavorful, these pickles enhance the palate with their briny taste, offering an exciting twist to your meal.
-
Fruit Salad: Bright, fresh fruits create a sweet finish, balancing the savory flavors of Katsu Bowls wonderfully while refreshing your taste buds.
-
Hot Green Tea: Sipping on fragrant green tea adds a calm touch and helps cleanse the palate, perfectly pairing with your hearty bowl.
How to Store and Freeze Japanese Katsu Bowls
Fridge: Store any leftovers in an airtight container for up to 3 days. Keep the katsu and rice separate to maintain their textures.
Freezer: Wrap the cooked katsu tightly in plastic wrap and aluminum foil, or place it in a freezer-safe bag. It can be frozen for up to 2 months.
Reheating: For best results, reheat katsu in the oven at 350°F for about 10-15 minutes until crispy again. Microwave the rice separately for a few minutes before serving with the katsu.
Make-Ahead Tip: Prepare the katsu in advance and store it in the refrigerator; reheat it in the oven to retain its signature crispiness when enjoying these delicious Japanese Katsu Bowls!
Japanese Katsu Bowls: Fun Flavor Twists
Get ready to unleash your creativity in the kitchen, and make these delicious Katsu Bowls your own masterpiece!
-
Switch the Protein: Try swapping chicken for juicy pork or go vegetarian with crispy eggplant or tofu for a delightful twist.
-
Add a Crunch: For an extra layer of texture, incorporate nuts like crushed peanuts or sesame seeds into your topping, offering a delightful crunch that contrasts the soft rice.
-
Spicy Kick: Create a spicy mayo drizzle by mixing mayonnaise with sriracha or chili paste, bringing warmth to every bite that’s perfect for heat lovers.
-
Unique Sauce: Experiment with your sauces by adding a splash of teriyaki or ponzu for zesty notes, elevating the flavors beyond traditional tonkatsu.
-
Veggie Boost: Add sautéed vegetables such as bell peppers or zucchini to make your bowl more vibrant and nutritious. The bright colors will make your dinner more inviting!
-
Rice Variety: Change up the texture of your base by using quinoa or cauliflower rice for a lighter option, while still keeping that comforting feel.
-
Herb Infusion: Sprinkle fresh herbs like cilantro or basil on top for an aromatic flair that adds freshness and vibrancy to your meal.
-
Garnish Upgrade: Swap out traditional toppings with avocado slices or a perfectly cooked soft-boiled egg for a creamy touch that’s simply divine.
These variations not only bring excitement to your dinners but also allow you to enjoy a new experience every time you dive into your Katsu Bowls! Want to explore more comforting dishes? Check out our beloved Japanese comfort food classics for inspiration!
Expert Tips for Japanese Katsu Bowls
Oil Temperature: Ensure your oil is hot enough for frying; test it by dropping in a piece of bread. It should bubble immediately for that perfect crispy coating!
Breading Station Order: Keep your breading station organized in the order of flour, egg, then panko. This workflow helps prevent soggy breading, ensuring your Japanese Katsu Bowls come out crispy.
Don’t Overcrowd: Fry only a couple of pieces at a time. Overcrowding the pan reduces the oil temperature, leading to soggy katsu instead of golden perfection.
Rice Resting: Let your rice sit covered after cooking. This step allows it to finish steaming, resulting in that fluffy texture we all love in a Katsu Bowl.
Customize Your Sauce: Feel free to adjust the tonkatsu sauce ingredients. Adding a hint of honey or extra soy can elevate the flavor profile to your liking!
Serve Immediately: For the best experience, serve your Japanese Katsu Bowls right away to enjoy the crispy texture and warm flavors.
Japanese Katsu Bowls Recipe FAQs
What should I look for when selecting chicken or pork for my Katsu?
Absolutely! When selecting chicken or pork, look for cuts that are fresh and have a bright color with no dark spots or odors. For chicken, boneless breasts or thighs work well, while pork loin is a juicy choice. Make sure the meat is firm and not too slimy, indicating freshness. If you’re opting for a vegetarian alternative, choose firm eggplant or tofu that is well-pressed to remove excess moisture.
How should I store leftovers of Japanese Katsu Bowls?
Very simple! You can store any leftover Japanese Katsu in an airtight container in the refrigerator for up to 3 days. To keep the katsu crispy, store it separately from the rice. When you’re ready to enjoy your leftovers, just reheat the katsu in the oven for the best results. If you want to keep them for longer, follow the freezing instructions below!
Can I freeze my cooked Katsu, and how do I do it?
Absolutely! To freeze your cooked katsu, wrap each piece tightly in plastic wrap, followed by a layer of aluminum foil. Place them in a freezer-safe bag or container to avoid freezer burn. They can last for up to 2 months in the freezer. When you’re ready to enjoy, reheat in the oven at 350°F for about 10-15 minutes to bring back that crunchy texture. Remember to reheat rice separately, as it only takes a few minutes in the microwave.
How do I ensure my Katsu turns out crispy every time?
For the crispiest Katsu, a few tips are key! First, ensure your oil is hot enough before frying—test it with a small piece of bread; it should bubble immediately when added. Don’t overcrowd the pan to maintain the oil temperature. Frying each piece individually is best for getting that golden brown crunch you’re looking for. Lastly, let the cooked katsu drain on paper towels to remove excess oil, keeping it crispy until serving.
Are there any dietary modifications I should consider?
Certainly! If anyone has gluten sensitivities, make sure to use gluten-free panko breadcrumbs and flour when preparing your Japanese Katsu Bowls. If you’re preparing a dish for vegetarians, substituting the meat with firm tofu or eggplant works great. Additionally, be mindful of allergies associated with soy sauce; try using tamari or coconut aminos as a soy sauce alternative for a gluten-free option.
Can I prepare Katsu in advance, and how should I reheat it?
Yes, you can prepare the katsu in advance! I often do this to save time during busy weeknights. After cooking, allow the katsu to cool completely and then wrap it tightly for storage. When you’re ready to enjoy, reheat it in the oven at 350°F for about 10-15 minutes to restore its crispiness. This method works much better than using a microwave, which can make the crust soggy. Enjoy the delightful crunch once again!
Japanese Katsu Bowls: Crispy Comfort for Your Dinner Table
Ingredients
Equipment
Method
- Rinse 1 cup of Japanese short-grain rice under cold water until clear. Soak the rice in water for 30 minutes, then combine with 1 cup of water in a pot. Boil, reduce heat, cover, and cook for 15 minutes. Let rest for 10 minutes.
- Pound 2 boneless chicken breasts or pork loin between plastic wrap to ½ inch thickness. Season with salt and pepper. Set up a breading station with flour, beaten eggs, and panko breadcrumbs.
- Coat the meat in flour, dip in beaten eggs, then cover with panko breadcrumbs. Set aside.
- Heat ½ inch of vegetable oil in a skillet over medium heat until 350°F. Fry each piece of meat for 4-5 minutes per side until golden brown. Drain on paper towels.
- Mix together 3 tablespoons tonkatsu sauce, 1 tablespoon soy sauce, and 1 tablespoon Worcestershire sauce. Adjust with ketchup or more soy sauce if desired.
- In a bowl, place seasoned rice at the bottom, top with sliced katsu, add shredded cabbage, green onions, and sesame seeds. Drizzle with tonkatsu sauce and add pickled ginger.
Leave a Reply