
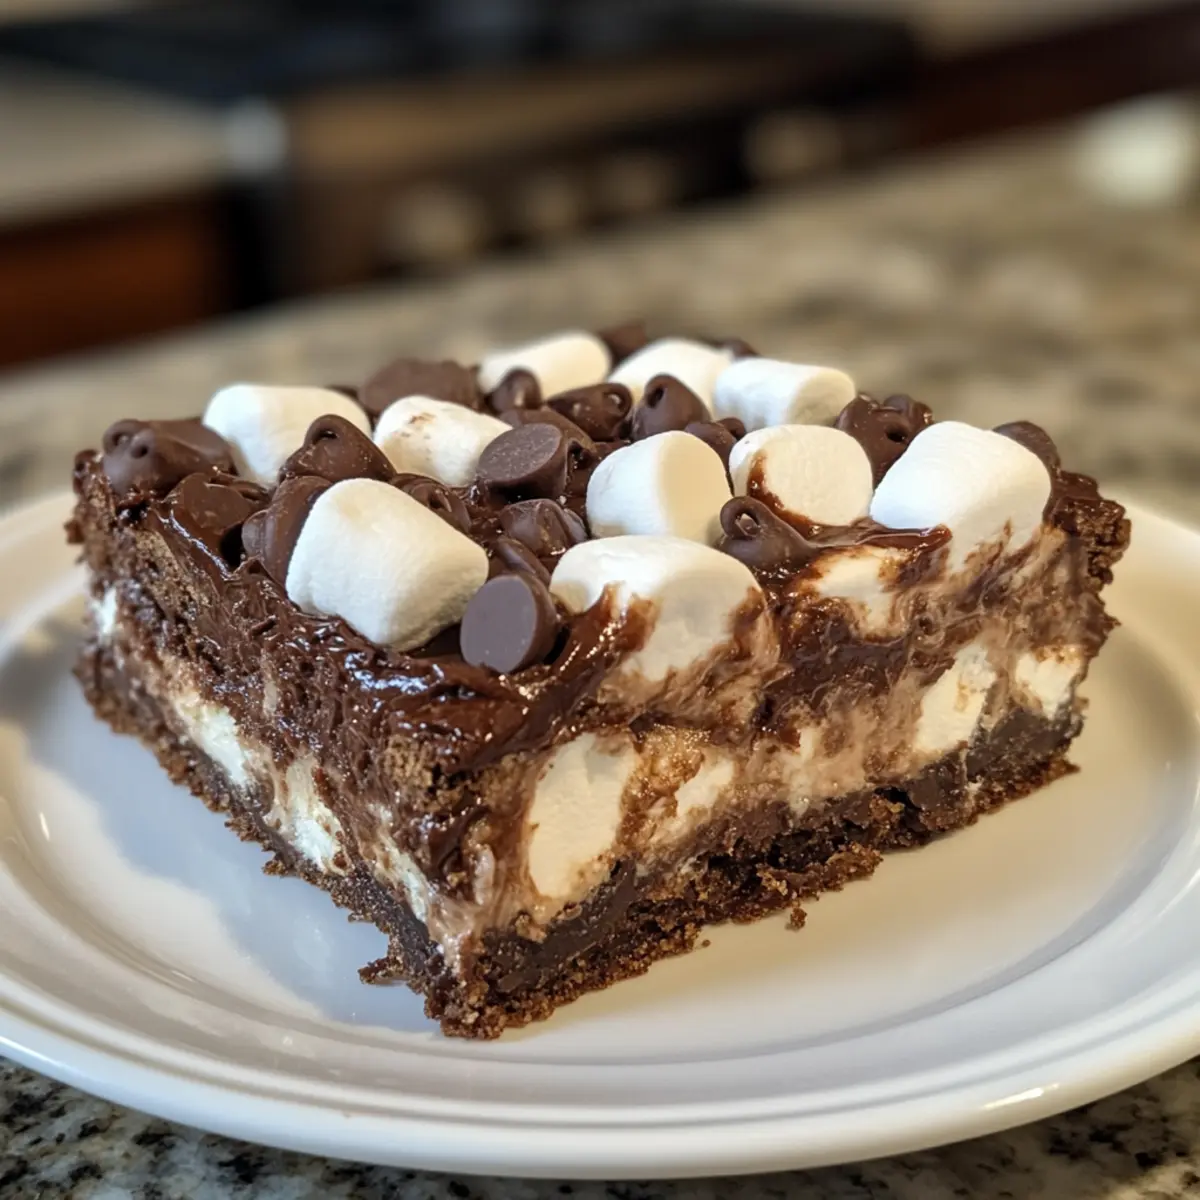
The aroma of melted chocolate and toasted marshmallows swirls through the kitchen, transporting me back to countless holiday gatherings. Every year, these Easy Holiday Christmas Bars become my secret weapon for delighting friends and family. With just a few simple ingredients and under 45 minutes, you can whip up a chewy, chocolaty dessert that captures festive cheer. Not only are these Christmas Bars a breeze to make, but they also offer endless customization options—think nut-free, gluten-free, or even a refreshing mint chocolate twist! Imagine bringing such joy and warmth to your celebration with a treat that fits everyone’s preferences. So, are you ready to create a delightful holiday memory that’s sure to leave your guests craving more?
Why are These Christmas Bars a Must-Try?
Simplicity reigns supreme in this recipe, allowing you to create mouthwatering bars with minimal effort. Customizable for every palate, you can tailor them to be nut-free, gluten-free, or even vegan! Crowd-pleaser alert! They’re perfect for holiday gatherings, guaranteed to impress family and friends. Quick and easy, these bars come together in under 45 minutes—ideal for last-minute dessert decisions. Serve warm with ice cream or alongside a cup of cocoa for a cozy treat. For an extra twist, check out my variation ideas to make them even more festive!
Christmas Bars Ingredients
• Get ready for a festive treat!
For the Base
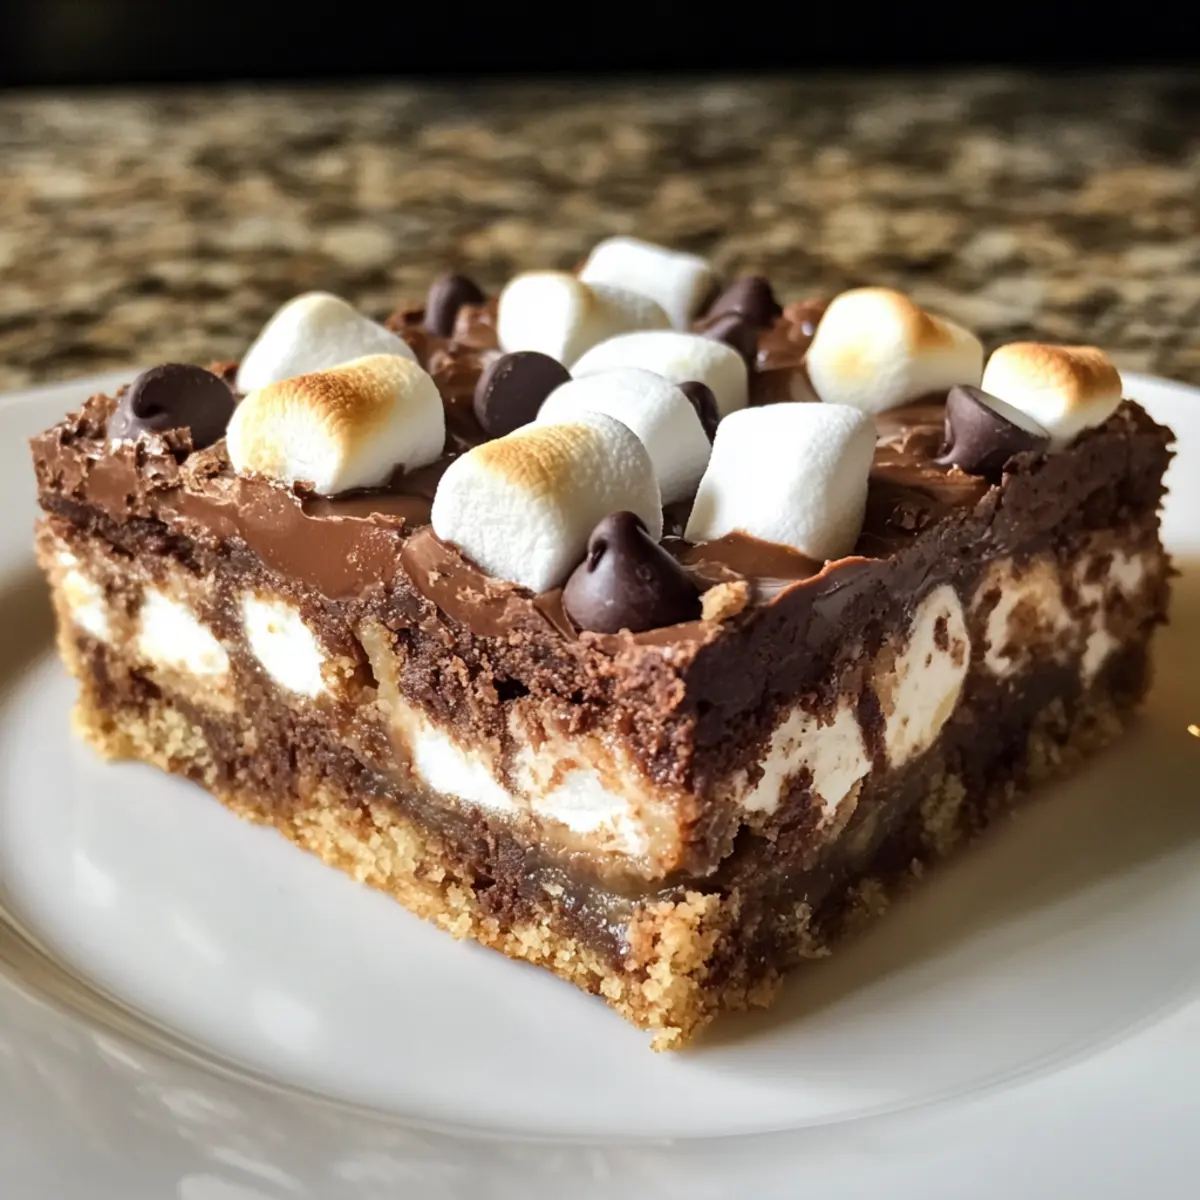
- Graham Cracker Crumbs – A sweet, crunchy foundation; feel free to substitute whole graham crackers for a slightly different texture.
- Unsweetened Cocoa Powder – This rich chocolate flavor is essential; opt for high-quality cocoa for a deeper taste.
- Powdered Sugar – Sweetens the mixture and ensures a smooth, melt-in-your-mouth texture; crucial for achieving the bars’ delectable consistency.
- Unsalted Butter (melted) – Adds richness and binds the ingredients; you can swap it out for melted coconut oil to keep it dairy-free.
For the Filling
- Sweetened Condensed Milk – This creamy goodness provides moisture, creating that irresistible chewy texture; it’s a must-have for your Christmas Bars!
- Mini Marshmallows – They add an extra fluffiness; their smaller size helps them distribute evenly throughout the bars.
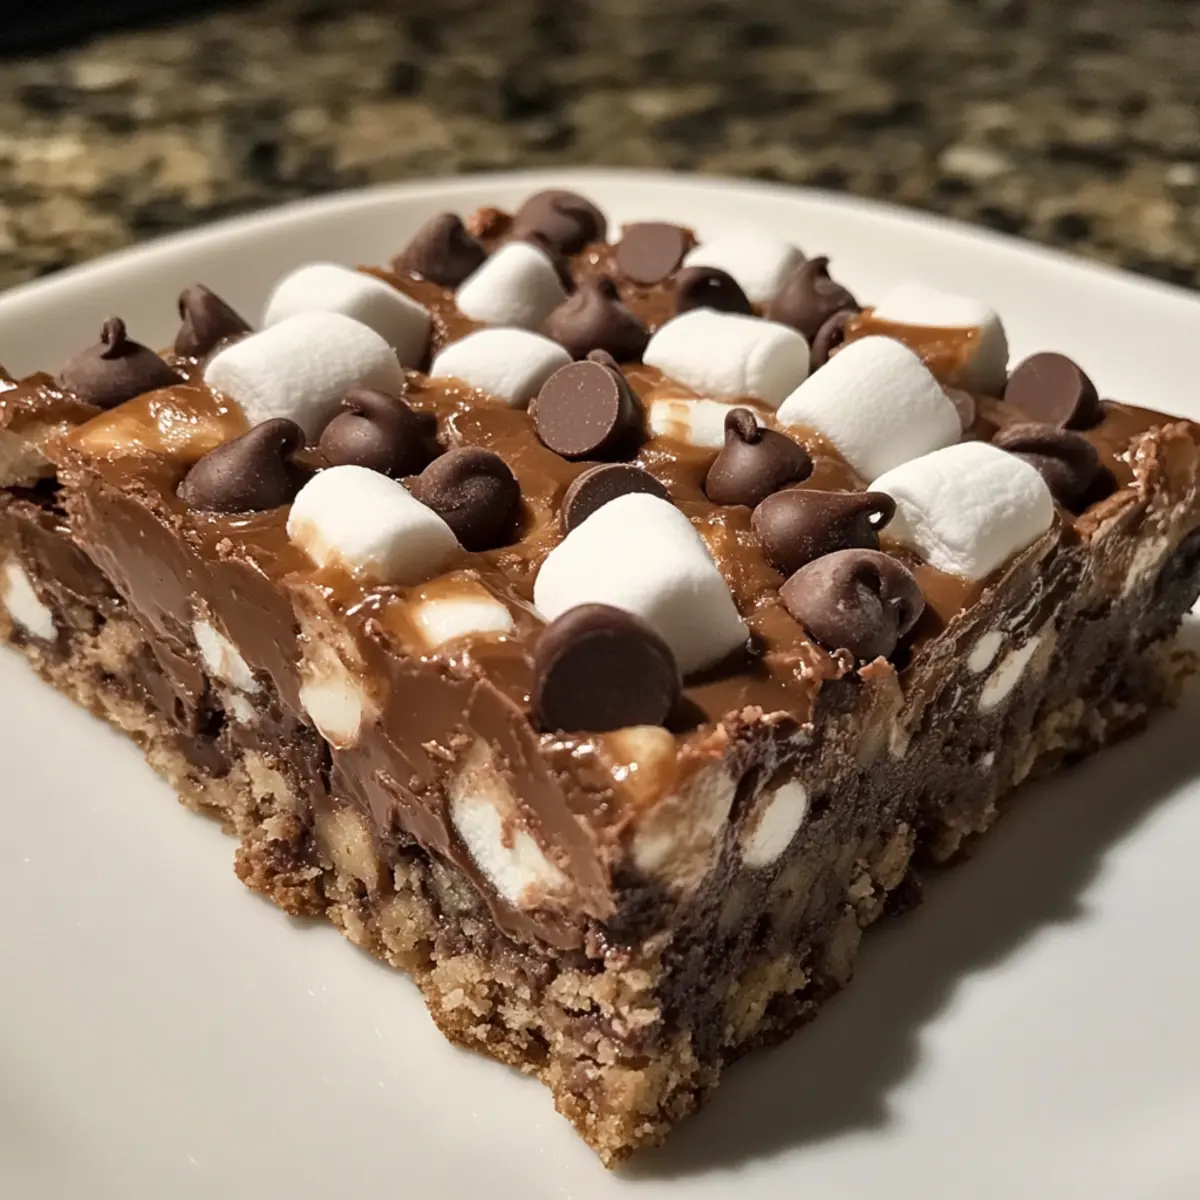
- Chocolate Chips – A double dose of chocolate joy; use dark, milk, or white chocolate chips based on your preference for a more indulgent taste.
- Chopped Nuts (optional) – For a delightful crunch; feel free to substitute with seeds if you need to keep it nut-free!
These ingredients come together to create the ultimate Christmas Bars, brimming with flavors and perfect for any holiday gathering!
Step‑by‑Step Instructions for Christmas Bars
Step 1: Preheat the Oven
Start by preheating your oven to 350°F (175°C) to ensure even baking for your Christmas Bars. This critical step creates the perfect environment for your bars to puff up beautifully while developing that delightful chewy texture. While the oven warms up, you can gather and prep your ingredients.
Step 2: Mix Dry Ingredients
In a large mixing bowl, whisk together the graham cracker crumbs, unsweetened cocoa powder, and powdered sugar until well combined. This process breaks up any lumps and allows the flavors to meld beautifully. Look for an even, fine mixture that appears slightly fluffy—this will be the base for your delicious Christmas Bars.
Step 3: Combine with Wet Ingredients
Next, pour in the melted unsalted butter and sweetened condensed milk into your dry mixture. Stir thoroughly until everything is nicely incorporated. The final blend should be thick and sticky, which is essential for achieving that rich, chewy texture in your Christmas Bars.
Step 4: Fold in Fun Additions
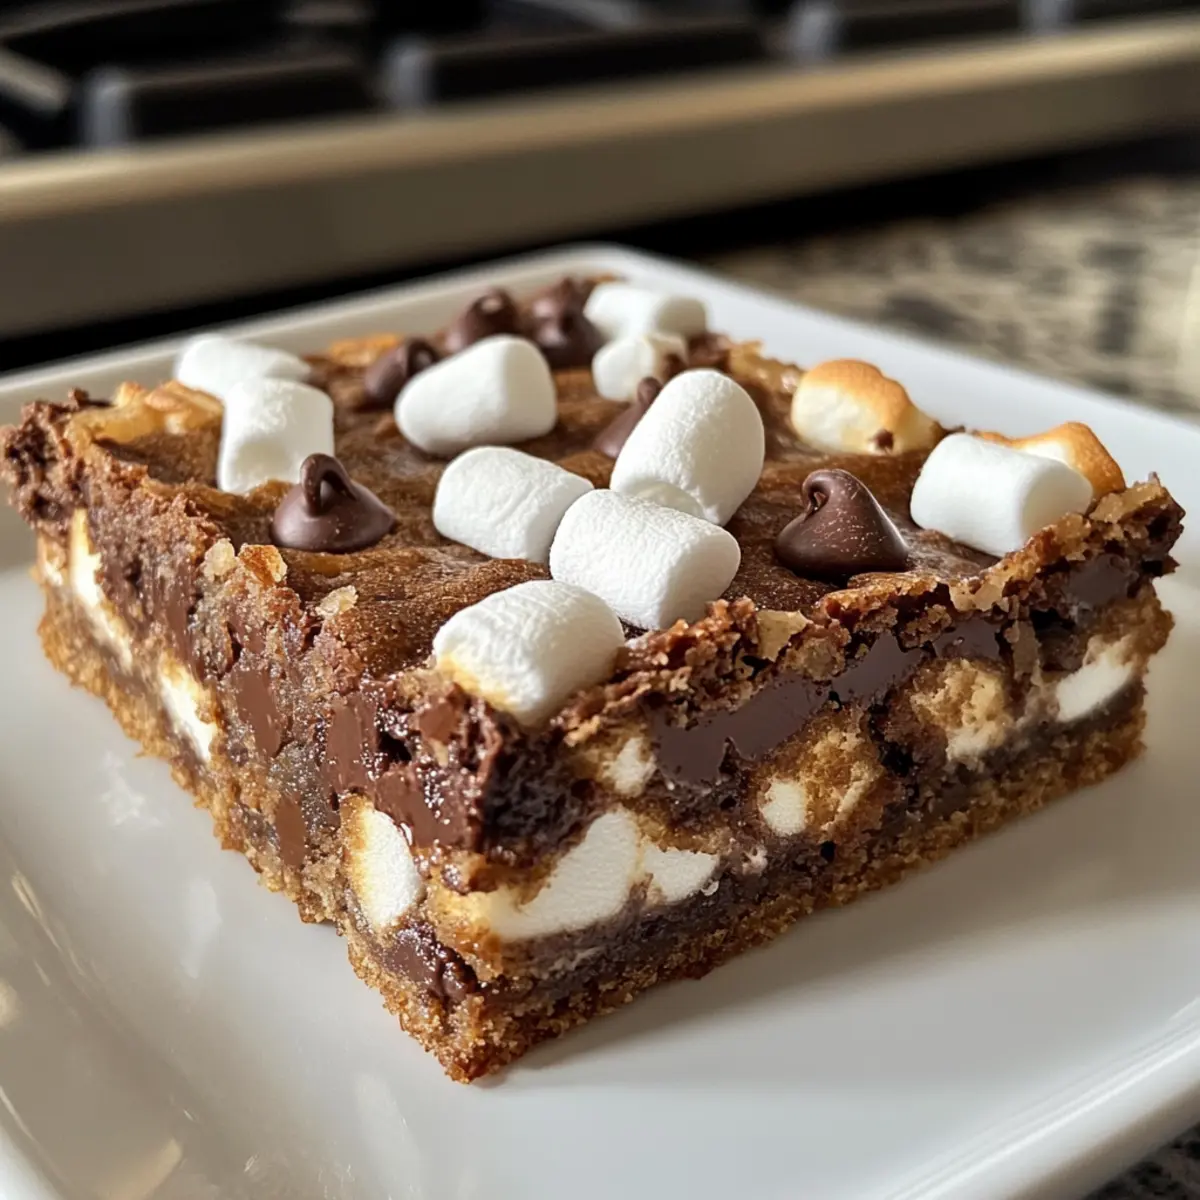
Gently fold in the mini marshmallows, chocolate chips, and optional chopped nuts. Be careful not to crush the marshmallows, as you want them to maintain their fluffy texture. This step creates delightful pockets of chocolate and marshmallow throughout your Christmas Bars, enhancing the overall taste experience.
Step 5: Prepare the Baking Pan
Spread the mixture evenly into a greased 9×13 inch baking pan. Use a spatula to level the surface, ensuring every corner is filled. This helps create uniform bars that bake evenly. Look for a smooth top as you press down gently; it’s important for achieving that perfect shape once baked.
Step 6: Bake to Perfection
Place the baking pan in your preheated oven and bake for 25-30 minutes. You’ll know the bars are done when the edges are set, and the center has a slight firmness. Keep an eye on them to prevent over-baking, as that could alter the delightful chewy texture of your Christmas Bars.
Step 7: Cool and Cut
Once baked, remove the pan from the oven and allow your bars to cool completely in the pan. This is crucial, as cutting them too soon can lead to crumbling. After cooling, use a sharp knife to cut the bars into squares, making sure to enjoy the delightful layers of flavor with every bite!
Make Ahead Options
These Christmas Bars are ideal for saving time during the busy holiday season! You can prepare the base mixture up to 24 hours in advance; simply follow the recipe until spreading the mixture into the baking pan. Cover it tightly in the refrigerator to maintain freshness and prevent any drying. On the day of serving, just pop it in the oven and bake as directed. If desired, the baked bars can be stored in an airtight container for up to three days, allowing the flavors to develop even more. This way, you can indulge in these delightful Christmas Bars with minimal effort, ensuring a stress-free celebration with loved ones!
Christmas Bars Customization Ideas
Get ready to unleash your creativity in the kitchen with these delightful variations!
-
Nut-Free Version: Simply leave out the chopped nuts and add more chocolate chips for extra indulgence.
No need to feel deprived when you can amp up the chocolatey goodness! -
Gluten-Free Option: Swap in gluten-free graham cracker crumbs or use almond flour to keep things deliciously safe for those with gluten sensitivities.
There’s nothing better than ensuring everyone can indulge in your festive treats! -
Vegan Adaptation: Replace the melted butter with coconut oil and find a vegan version of sweetened condensed milk for a compassionate twist.
Your friends will never know the difference when they sink their teeth into these chewy wonders! -
Mint Chocolate Twist: Add a teaspoon of peppermint extract for a refreshing holiday flavor that will brighten up every bite.
This variation is a perfect way to bring winter cheer to your dessert table! -
Fruit and Nut Medley: Toss in dried cranberries or cherries for a pop of color and fruity goodness, complementing the rich chocolate flavor beautifully.
It’s like welcoming the joy of the season into every delightful bite! -
Spicy Chocolate Bars: Mix in a pinch of cinnamon or cayenne pepper for a surprising kick that will tantalize taste buds.
This little secret ingredient will have everyone wondering what the magic touch was! -
White Chocolate Delight: Replace regular chocolate chips with white chocolate chips for a sweet, creamy variation that pairs perfectly with the marshmallows.
This approach makes for a stunning visual contrast, too!
Feel free to experiment with these options, and even try combining a few to discover your perfect holiday flavor! Dive into creativity by also checking out my expert tips to elevate your baking game!
How to Store and Freeze Christmas Bars
Room Temperature: Store baked Christmas Bars in an airtight container for up to 3 days to maintain freshness. They’ll retain their chewy texture and delightful flavor.
Fridge: For longer storage, keep the bars in the refrigerator for up to a week. This also helps flavors meld beautifully, making each bite even tastier!
Freezer: These Christmas Bars can be frozen for up to three months. Wrap them tightly in plastic wrap and then foil for best results.
Reheating: When you’re ready to enjoy, thaw the bars overnight in the fridge. You can reheat in the microwave for a few seconds to restore their warm, gooey goodness.
What to Serve with Easy Holiday Christmas Bars
The holiday season invites you to create warm memories, and pairing these delightful bars with complementary dishes can elevate your gathering.
- Hot Cocoa: Rich, creamy hot cocoa enhances the chocolatey goodness, providing a cozy and comforting vibe that warms the heart.
- Spiced Apple Cider: The sweet and spicy flavors of cider offer a festive contrast, balancing the richness of the Christmas Bars wonderfully.
- Vanilla Ice Cream: A scoop of creamy vanilla ice cream adds a delightful coolness, creating a perfect harmony of textures and temperatures.
- Fresh Fruit Salad: Bright, juicy fruit brings a splash of freshness, lifting the heaviness while adding a colorful touch to your dessert spread.
- Gingerbread Cookies: These spicy, molasses-rich cookies create a nostalgic holiday feel, pairing beautifully with the chewy chocolate bars.
- Chocolate Milkshake: For a sweet indulgence, a thick milkshake tops off the experience, making it a dessert lover’s dream come true.
- Pecan Pie: With sweet, nutty flavors, a slice of pecan pie shares the spotlight perfectly and brings extra festive cheer to your table.
- Peppermint Bark: The refreshing crunch of peppermint complements the chocolate, providing a holiday twist that will delight your guests.
Expert Tips for Christmas Bars
- Quality Ingredients: Use high-quality cocoa powder and chocolate chips to enhance the chocolate flavor in your Christmas Bars; it makes a noticeable difference!
- Don’t Rush Cooling: Allow your bars to cool completely before cutting. This prevents crumbling and ensures a perfect chewy texture.
- Proper Measuring: When measuring graham cracker crumbs, avoid packing them. This helps achieve the right texture for your Christmas Bars.
- Parchment Paper: Line your baking pan with parchment paper for easy removal and cleanup. It also helps the bars maintain their shape.
- Experiment with Flavors: Feel free to get creative! Swapping in nuts or trying a mint chocolate twist can add a unique twist to your Christmas Bars.
Christmas Bars Recipe FAQs
What kind of graham cracker crumbs should I use for Christmas Bars?
You can use store-bought graham cracker crumbs for convenience, but if you prefer, whole graham crackers can be crushed for a fresher taste. Look for them without dark spots or signs of staleness for the best flavor.
How long can I store Christmas Bars, and what’s the best way?
Absolutely! You can store baked Christmas Bars in an airtight container at room temperature for up to 3 days. For extended freshness, keep them in the fridge for a week. Ensure they’re tightly wrapped to maintain their lovely chewy texture and flavor.
Can I freeze Christmas Bars for later enjoyment?
Very! These delicious Christmas Bars can be frozen for up to three months. Just wrap them individually in plastic wrap, then in foil, to protect against freezer burn. When you’re ready to eat, allow them to thaw overnight in the fridge, then warm them slightly in the microwave for that fresh-baked taste!
What should I do if my Christmas Bars crumble when cutting?
If you find your bars crumbling, it may be because they were cut too soon. Always let them cool completely in the pan before slicing. If you’ve already cut them and they’re falling apart, consider them “bar crumbles” and enjoy over ice cream—they’re just as delicious!
Are there any dietary considerations I should keep in mind?
Definitely! If you’re making these Christmas Bars for others, consider potential nut allergies. Opt for nut-free variations or substitute chopped nuts with seeds. Additionally, for gluten-free requirements, you can use gluten-free graham cracker crumbs or almond flour, and for vegan needs, substitute coconut oil and vegan sweetened condensed milk.
What can I use instead of sweetened condensed milk?
If you need a dairy-free option, using a homemade or store-bought vegan sweetened condensed milk alternative works well! To make your own, combine 1 cup of coconut milk with ⅓ cup of sugar and simmer until reduced by half, which takes about 30 minutes. This will give you a similar texture and sweetness!
Christmas Bars: Chewy Chocolate Delights for Holiday Cheer
Ingredients
Equipment
Method
- Preheat oven to 350°F (175°C).
- In a large bowl, whisk together graham cracker crumbs, cocoa powder, and powdered sugar.
- Pour melted butter and sweetened condensed milk into dry mixture and stir until thick and sticky.
- Gently fold in mini marshmallows, chocolate chips, and optional chopped nuts.
- Spread mixture evenly into a greased 9x13 inch baking pan.
- Bake for 25-30 minutes; edges should be set with a slight firmness in the center.
- Let bars cool completely in the pan before cutting into squares.
Leave a Reply