
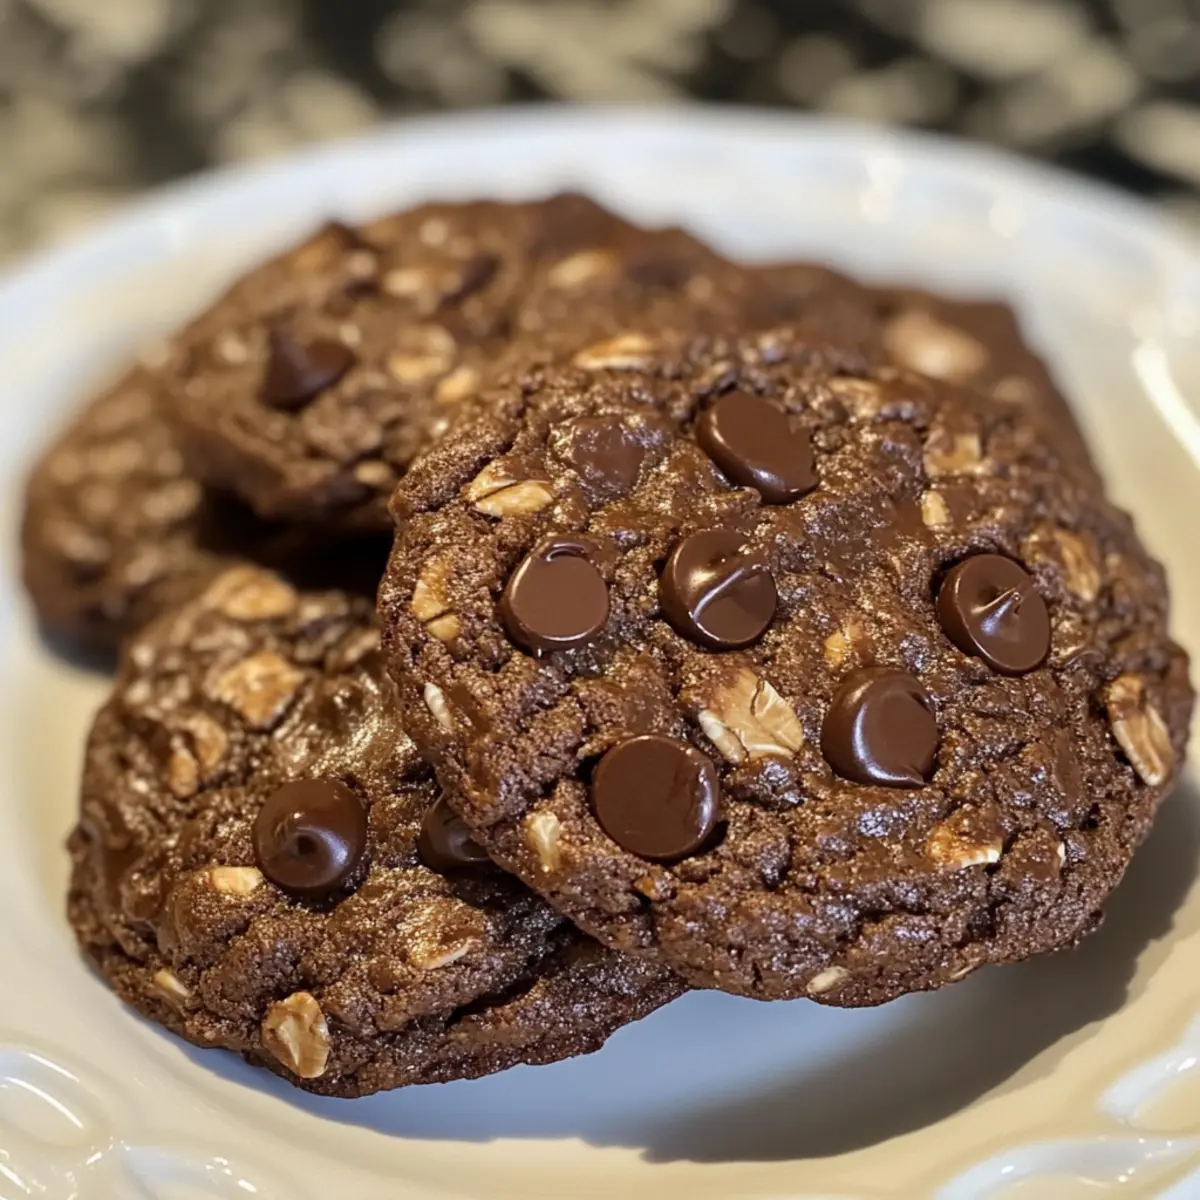
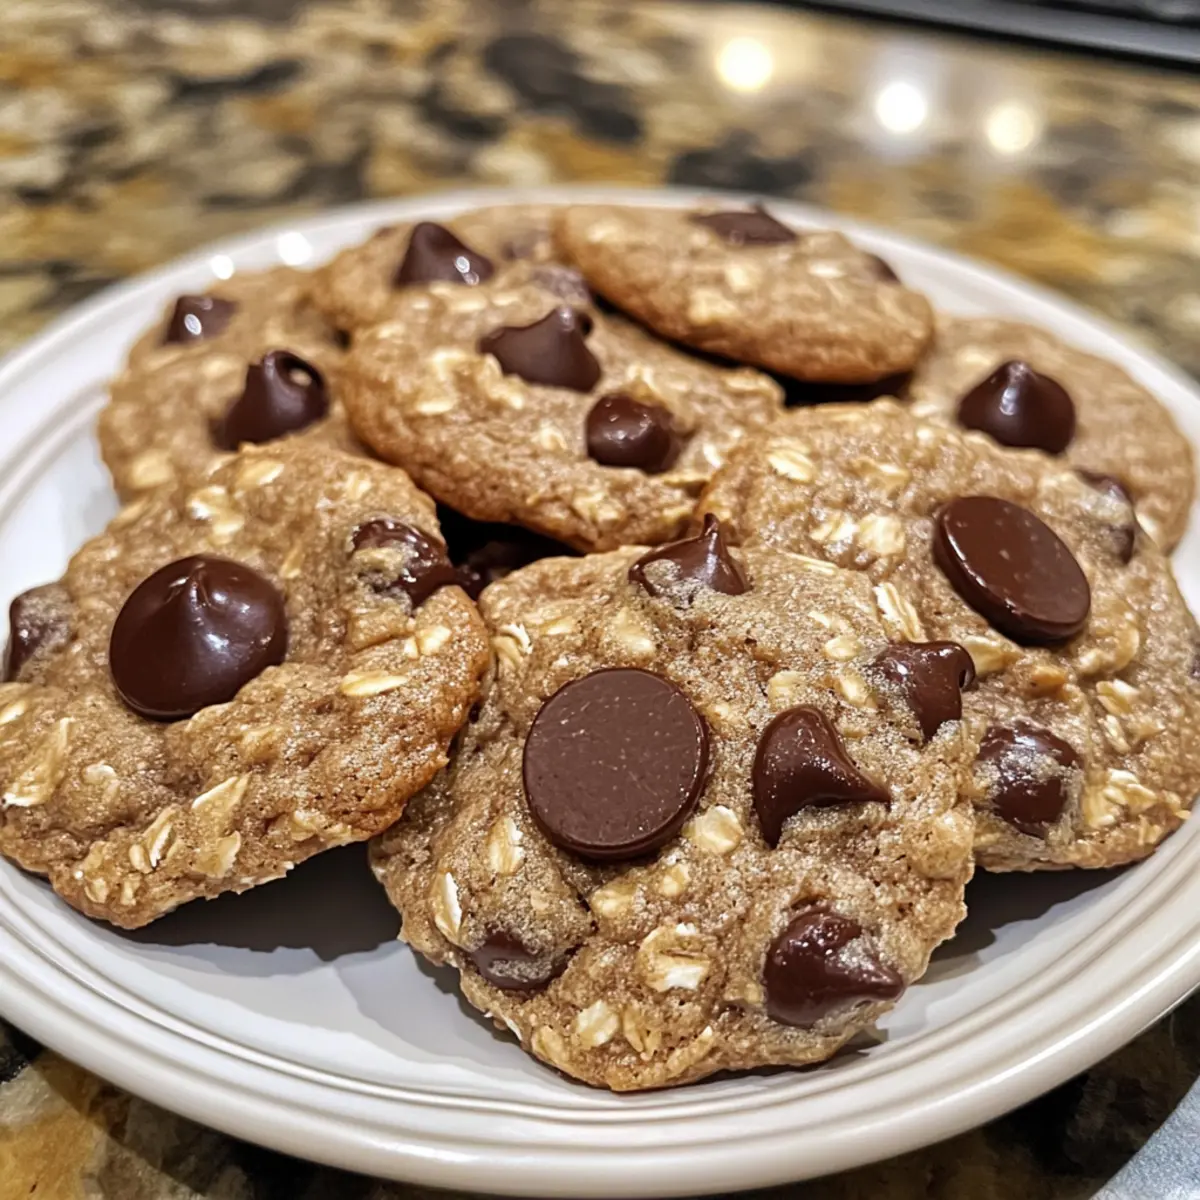
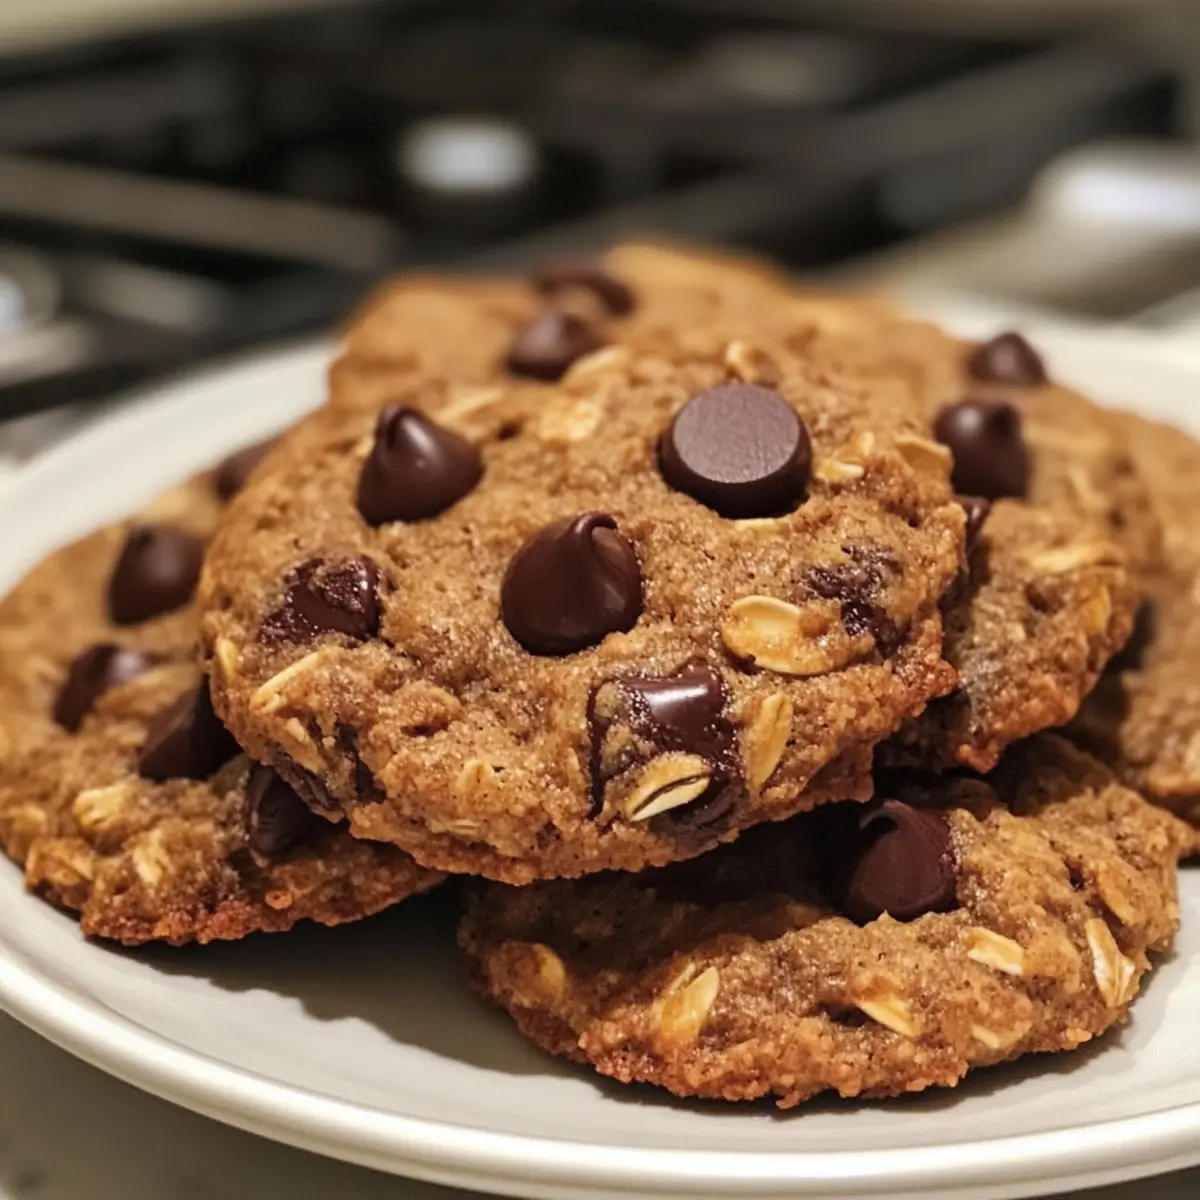
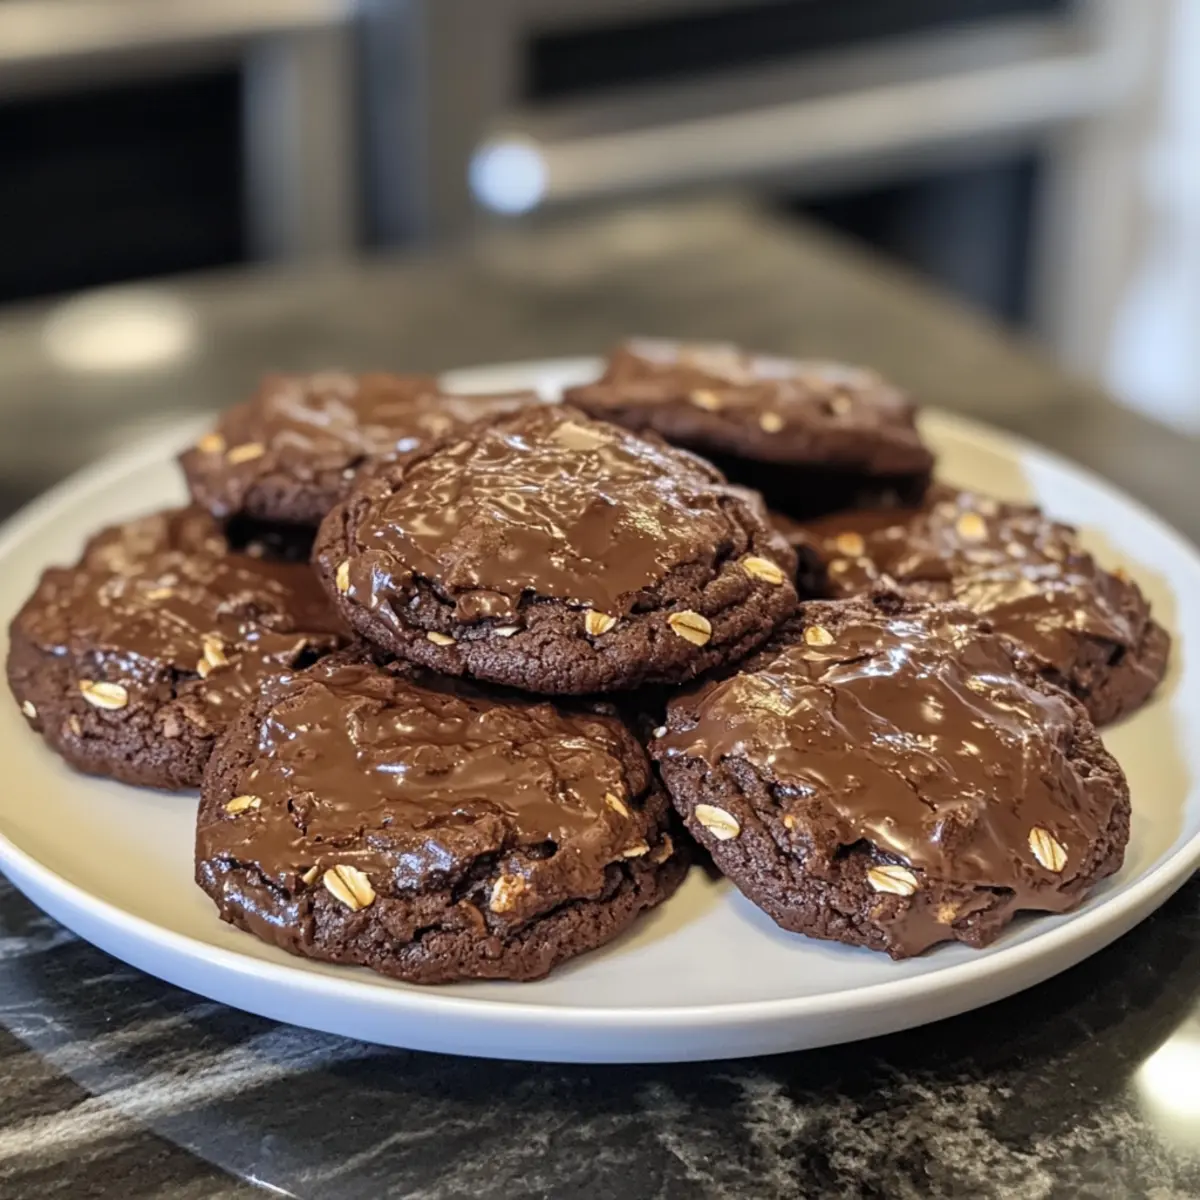
As I reached for the last remaining piece, the aroma of warm chocolate oat cookies enveloped me, transporting me back to cozy afternoons in the kitchen. These 4-Ingredient Gluten-Free Chocolate Oat Cookies are not just a sweet indulgence; they’re a simple and healthy treat perfect for any time cravings strike. With only a few pantry staples, these no-bake beauties come together in a flash and offer a delightful chewy texture that even the most discerning cookie lover can enjoy. They’re great for snacking or a guilt-free dessert that pairs beautifully with a cup of coffee or tea. So, are you ready to discover your new favorite cookie recipe?
Why Are These Cookies So Irresistible?
Simplicity at Its Finest: You only need four ingredients to whip up these scrumptious cookies, making them an effortless choice for any skill level.
Nutritious Delight: Indulge in a treat that combines wholesome oats with rich peanut butter, delivering a tasty yet guilt-free snack.
Customizable Options: Switch ingredients easily by trying almond butter or maple syrup to cater to your dietary needs without sacrificing flavor.
Quick and Easy: With no baking required, these cookies come together in minutes, perfect for spontaneous cravings or surprise guests.
Crowd-Pleasing Appeal: Whether at a brunch gathering or a cozy afternoon at home, these chocolate oat cookies are sure to impress everyone, just like other crowd-pleasers such as Crack Breakfast Casserole or Potato Sausage Chowder.
Chocolate Oat Cookie Ingredients
• With just a few simple ingredients, you’ll be on your way to enjoying these delightful treats in no time!
For the Cookies
- Oats – Provides structure and chewiness; can substitute with almond flour for a finer texture.
- Peanut Butter – Acts as a binder and adds richness; try almond butter for a nut-free alternative.
- Honey – Adds sweetness and moisture; use maple syrup for a vegan option.
- Chocolate Chips – For bursts of chocolate flavor; swap in dark chocolate or dairy-free chips for dietary needs.
Step‑by‑Step Instructions for 4-Ingredient Gluten-Free Chocolate Oat Cookies
Step 1: Preheat the Oven
Begin by preheating your oven to 350°F (175°C) to prepare for baking. This warm environment is essential for achieving the perfect texture in your chocolate oat cookies. While the oven heats up, gather your ingredients and equipment, including a medium mixing bowl and a baking sheet lined with parchment paper.
Step 2: Mix the Base Ingredients
In a medium bowl, combine the oats, peanut butter, and honey. Use a sturdy spatula to mix these ingredients until they are well blended and form a cohesive dough. This should take about 2-3 minutes, allowing the sticky texture of the peanut butter to fuse with the oats and honey, creating a rich base for your cookies.
Step 3: Incorporate the Chocolate Chips
Once the base is mixed, gently fold in the chocolate chips with your spatula. Ensure the chips are evenly distributed throughout the mixture, providing delightful bursts of chocolate in every bite. This step should take about 1 minute. You want to see a marbled effect where the chocolate is just mixed in, but not overworked.
Step 4: Scoop the Cookie Dough
Using a tablespoon or cookie scoop, portion out the cookie dough onto your prepared baking sheet. Space the dough rounds about 2 inches apart to allow for slight spreading during baking. Aim for a consistent size to ensure even baking, which will give you beautiful golden edges as they bake.
Step 5: Bake Until Golden
Place the baking sheet in the preheated oven and bake the cookies for 10-12 minutes. You’ll know they are done when the edges start to turn a light golden brown while the centers remain soft. As the aroma of chocolate oat cookies fills your kitchen, prepare to enjoy a sweet treat!
Step 6: Cool the Cookies
Once baked, remove the baking sheet from the oven and let the cookies cool on the sheet for about 5 minutes. This resting time allows them to set, making them easier to transfer later. They’ll be soft initially, but will firm up wonderfully in just a few minutes.
Step 7: Transfer to a Wire Rack
After 5 minutes, carefully transfer the cookies to a wire rack to cool completely. This step will prevent the bottoms from becoming too soggy and maintains that perfect chewy texture. Leave them on the rack for another 10-15 minutes, allowing the cookies to reach their ideal consistency before indulging.
Make Ahead Options
These 4-Ingredient Gluten-Free Chocolate Oat Cookies are ideal for busy home cooks looking to save time during the week! You can prepare the cookie dough up to 24 hours in advance; simply mix your oats, peanut butter, honey, and chocolate chips and store the dough in an airtight container in the refrigerator. This not only allows the flavors to meld but also makes it quick to scoop and bake when you’re ready for fresh cookies. When you’re set to enjoy them, just preheat your oven, scoop the chilled dough onto a baking sheet, and bake as directed. Trust that they’ll be just as delicious and chewy, ready to satisfy your sweet tooth without any fuss!
Chocolate Oat Cookies Variations
Feel free to mix things up with your chocolate oat cookies for a personalized treat that’ll make your taste buds dance!
-
Nut-Free: Use sunflower seed butter instead of peanut butter for a nut-free option that maintains creaminess and flavor.
This swap keeps the cookies delicious while accommodating nut allergies. -
Vegan Delight: Substitute honey with agave syrup or maple syrup to make your cookies entirely vegan.
You’ll enjoy the same sweetness and moisture without animal products. -
Fruit Fusion: Replace chocolate chips with your favorite dried fruits like cranberries or apricots for a chewy texture and fruity flavors.
This adds a nice burst of sweetness and a different consistency to each bite. -
Spice It Up: Add a teaspoon of cinnamon or a splash of vanilla extract to the mix for an aromatic twist.
These spices elevate the flavor profile, making each cookie that much more delightful. -
Coconut Crunch: Incorporate unsweetened shredded coconut into the dough for a tropical flair and a bit of chew.
The coconut adds a unique flavor that complements the chocolate perfectly, transporting you to a sunny paradise with every bite. -
Gluten-Free Granola: Swap oats for gluten-free granola to give your cookies a different crunch and taste.
It’s a fun way to experiment with textures while keeping things gluten-free. -
Chocolate Lovers: Use dark chocolate chips or swap in cacao nibs for a richer chocolate experience.
These options provide a deeper chocolate flavor with less sugar, satisfying the most discerning chocolate aficionados. -
Heat It Up: Add a pinch of cayenne pepper for a surprising little kick that contrasts beautifully with the sweetness.
It’s a bold choice that brings an exciting twist to your cookies, perfect for those who love a spicy edge!
These variations open up endless possibilities, ensuring that your chocolate oat cookies can cater to your every craving. Whether you’re feeling adventurous or looking for comfort food, these alterations can bring joy to your baking adventures! And if you’re in the mood for a more savory experience, check out my Caribbean Chicken and Rice recipe for another crowd-pleasing dish!
How to Store and Freeze Chocolate Oat Cookies
Room Temperature: Store the cookies in an airtight container for up to 1 week to maintain their freshness and chewy texture.
Fridge: If you prefer a chilled treat, keep them in the fridge for up to 2 weeks; just remember to let them sit at room temperature for a few minutes before enjoying.
Freezer: For long-term storage, freeze the cookies in a single layer on a baking sheet prior to transferring them to a sealed freezer bag. They’ll last up to 3 months!
Reheating: When you’re ready to indulge in your delicious chocolate oat cookies, simply warm them in the microwave for about 10-15 seconds to restore their soft, chewy goodness.
Expert Tips for Chocolate Oat Cookies
• Choose Quality Ingredients: Select high-quality peanut butter and chocolate chips to enhance the flavor of your chocolate oat cookies. Avoid sugary or processed brands.
• Measure Accurately: Using the correct measurements ensures the right dough consistency. Too much peanut butter can make the cookies overly greasy, so stick to the recipe.
• Don’t Overmix: Mix until just combined to maintain a tender texture. Overmixing can lead to tougher cookies, which are less enjoyable.
• Use Parchment Paper: Lining your baking sheet with parchment prevents sticking and ensures even baking, giving your cookies a nice, crispy edge.
• Experiment with Add-Ins: Feel free to swap chocolate chips with your favorite ingredients like nuts or dried fruits. This way, you can create a personalized version of chocolate oat cookies!
What to Serve with 4-Ingredient Gluten-Free Chocolate Oat Cookies
As you savor the delightful blend of chocolate and oats, consider these perfect pairings that elevate your snacking experience.
-
Creamy Almond Milk: A refreshing glass of almond milk complements the rich chocolate without overpowering the cookie’s flavor. It’s a match made in heaven for any sweet treat!
-
Fruity Yogurt Parfait: Layered yogurt with fresh berries adds a tangy contrast to the sweet cookies while offering a boost of nutrition and color to your dessert table.
-
Warm Herbal Tea: The soothing warmth of herbal tea, like chamomile or peppermint, creates a cozy atmosphere that beautifully complements the cookie’s chewy texture.
-
Crunchy Apple Slices: Crisp apple slices drizzled with a little honey bring a crunchy, refreshing bite that not only matches the sweetness of the cookies but also balances the textures nicely.
-
Rich Coffee: A cup of rich, brewed coffee provides a robust flavor that enhances the chocolate notes, making for a delightful pick-me-up alongside your indulgent treat.
-
Chocolate Drizzle: For an extra touch, drizzle some melted dark chocolate on top or serve with a side of chocolate sauce for added decadence. It makes every bite a little more special!
-
Coconut Whipped Cream: Fluffy coconut whipped cream adds a luscious, tropical twist that enhances the flavor and brings a lightness to indulgent afternoon snacking.
-
Berry Smoothie: Blend assorted berries with yogurt for a refreshing smoothie that acts as a sweet and vibrant companion to your cookies. This duo is nutritious and delicious!
-
Vanilla Ice Cream: For a classic dessert pairing, a scoop of creamy vanilla ice cream makes the perfect accompaniment, letting the warm cookies shine through while adding a cool, velvety mouthfeel.
Chocolate Oat Cookies Recipe FAQs
What type of oats should I use?
Absolutely! For the best results, use certified gluten-free oats to ensure they are safe for those with gluten sensitivities. Regular oats may contain cross-contamination, so it’s best to check the packaging.
How should I store the chocolate oat cookies?
I recommend keeping your cookies in an airtight container at room temperature. They’ll stay fresh for up to 1 week. If you prefer them a bit cooler, you can store them in the refrigerator for up to 2 weeks, but allow them to sit out for a few minutes before enjoying!
Can I freeze chocolate oat cookies?
Absolutely! For long-term storage, place the cookies in a single layer on a baking sheet and freeze them for about 2 hours. Once they are firm, transfer them to a sealed freezer bag. They can stay frozen for up to 3 months. Simply warm in the microwave for about 10-15 seconds when you’re ready to enjoy.
What should I do if my cookies turn out too crumbly?
If your cookies are too crumbly, it often means there’s not enough binding agent. Make sure you’ve added the right amount of peanut butter and honey. If the dough feels too dry, you can add a touch more peanut butter or a splash of water, mix gently, and then bake. Just remember, don’t overmix!
Are these cookies suitable for pets?
While oatmeal is generally safe for dogs, peanut butter and chocolate can be dangerous for pets. It’s best to keep these chocolate oat cookies away from your furry friends. If you’d like a pet-friendly treat, consider making a batch with just oats and a dog-safe peanut butter!
Can I substitute the honey with another sweetener?
Very much so! If you want to keep the recipe vegan, feel free to use maple syrup instead of honey. It adds a lovely flavor and delivers the necessary sweetness to bind your ingredients together. Just remember to use a little less, as maple syrup is more liquid than honey!
Sausage and Egg Casserole: Your Perfect Brunch Delight
Ingredients
Equipment
Method
- Preheat your oven to 350°F (175°C).
- In a mixing bowl, combine cooked sausage, beaten eggs, milk, and spices.
- Pour the mixture into a greased baking dish and sprinkle cheddar cheese on top.
- Bake for 30 minutes or until the eggs are set and the top is golden.
- Let it cool for 5 minutes before slicing and serving.
Leave a Reply