
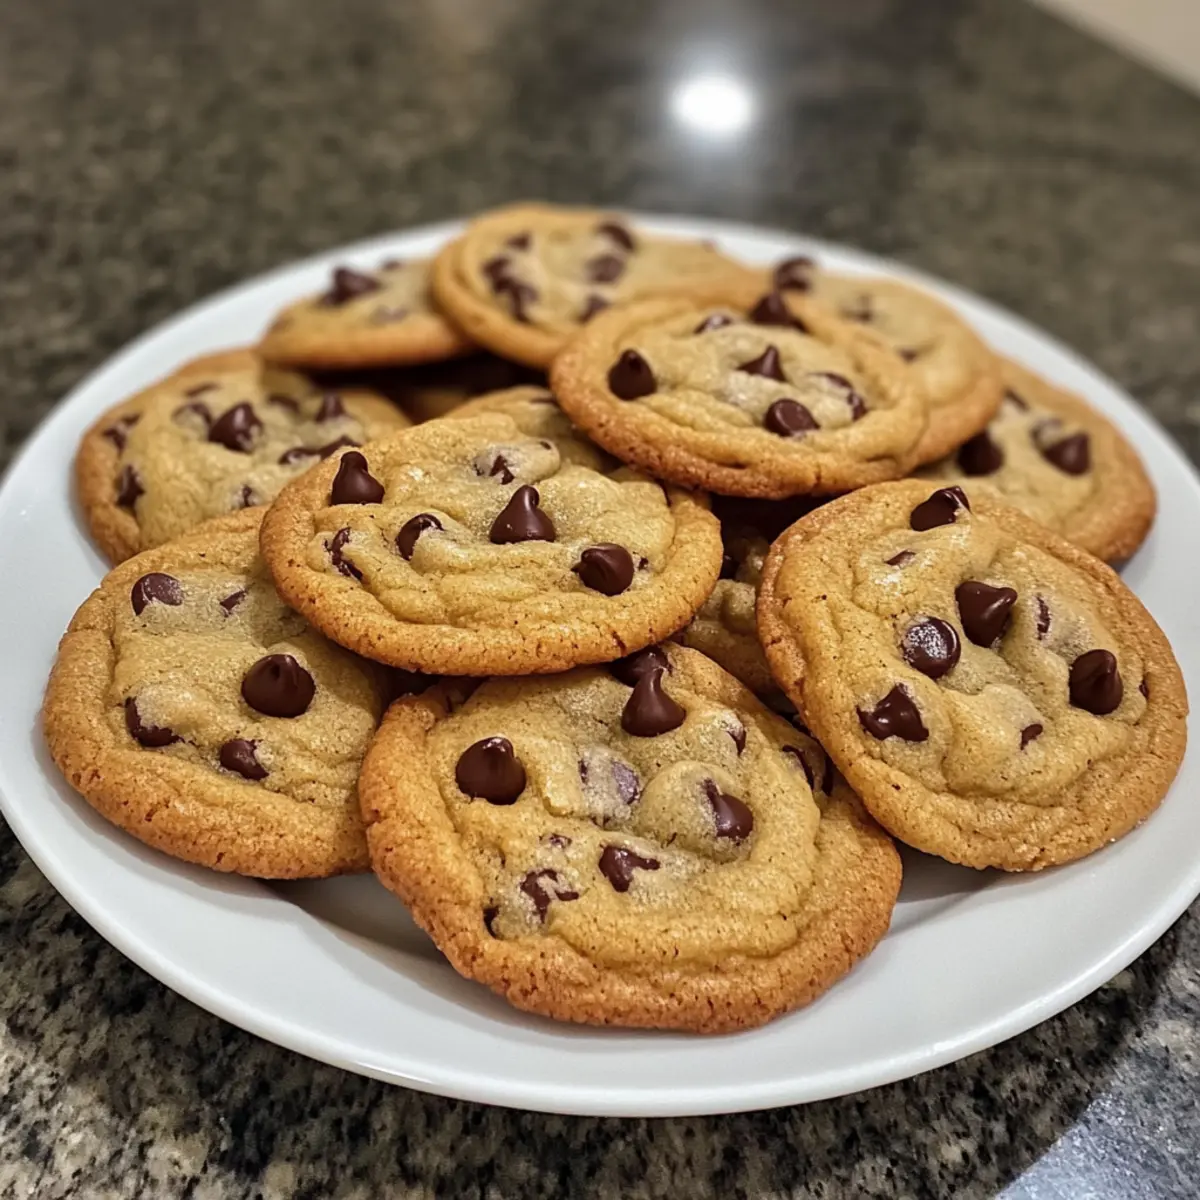
The sweet, chocolatey scent wafting through the kitchen can whisk you back to simpler, sweeter moments—like the first time you bit into a warm, gooey chocolate chip cookie. This Easy Homemade Chocolate Chip Cookie recipe is not only a nod to nostalgia but also offers a delightful way to create those moments anew. Perfect for both novice bakers and seasoned pros, these treats come together in under 30 minutes, making them an ideal option for spontaneous cravings or last-minute gatherings. With a melt-in-your-mouth texture and variations to please every chocolate lover—think nuts or alternative chips—it’s impossible to resist indulging in these classic cookies. Ready to discover the comforting joy of baking? Let’s get those ovens preheating!
Why Are These Cookies So Irresistible?
Decadent Flavor: Every bite bursts with rich chocolate goodness, balancing sweetness with a hint of saltiness for a delightful treat.
Quick & Easy: No chill time needed! Whip up these cookies in under 30 minutes, making them perfect for spontaneous cravings or unexpected guests.
Endless Variations: Feel free to customize! Add nuts for crunch or swap chocolate types to suit your taste.
Nostalgic Appeal: Classic chocolate chip cookies invoke warm memories and are sure to be a hit, whether for family gatherings or casual snacks.
Beginner-Friendly: If you’re new to baking, this recipe simplifies the process and creates delicious results without stress. You’ll love serving these alongside our delicious Chicken Avocado Melt or a comforting Low Carb Chicken Casserole.
Classic Chocolate Chip Cookie Ingredients
For the Cookie Base
- All-purpose flour – Provides structure and is the backbone of the cookie.
- Baking soda – This leavening agent helps cookies rise and ensures a soft texture.
- Salt – A pinch enhances flavor, balancing the sweetness perfectly.
- Unsalted butter – Adds moisture and flavor; remember to use it at room temperature for easier mixing. Substitute with margarine or coconut oil for a dairy-free option.
- Granulated sugar – Contributes sweetness and helps create a delightful cookie crunch.
- Brown sugar – Provides richness and moisture; use light or dark, based on your preference.
For Binding & Flavor
- Egg – Acts as a binding agent; essential for structure. For a vegan option, replace with a flax egg.
- Vanilla extract – Enhances the flavor, adding a lovely aromatic quality to your cookies.
For the Sweet Finish
- Chocolate chips – Offers flavor and sweetness; semi-sweet is traditional, but feel free to explore dark, milk, or white chocolate options.
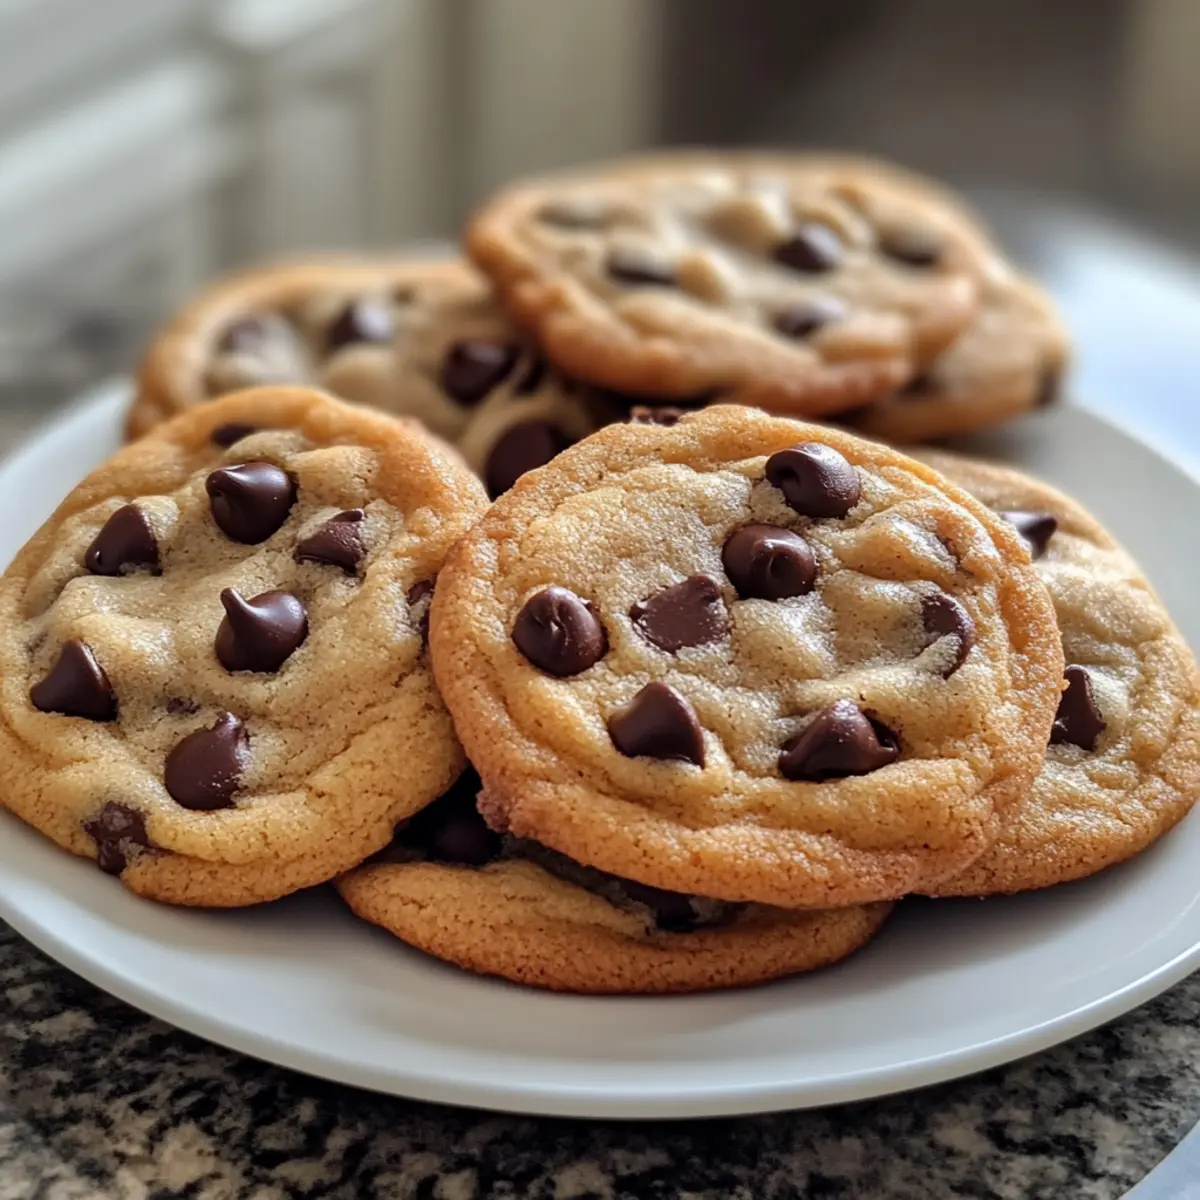
These ingredients for the Classic Chocolate Chip Cookies come together to create a treat that’s simple to make and truly satisfying. Enjoy the warm, nostalgic experience of baking these delightful cookies!
Step‑by‑Step Instructions for Easy Homemade Chocolate Chip Cookies
Step 1: Preheat the Oven
Begin by preheating your oven to 350°F (175°C). This temperature ensures that when you place the cookies inside, they will bake evenly, creating those perfectly golden edges. While the oven warms up, prepare your baking sheets by lining them with parchment paper, ready for the dough to come.
Step 2: Combine the Dry Ingredients
In a large mixing bowl, whisk together 2 cups of all-purpose flour, 1 teaspoon of baking soda, and a pinch of salt. Make sure there are no lumps in the flour to ensure a smooth dough. This dry mixture will set the foundation for your Easy Homemade Chocolate Chip Cookies, allowing them to rise beautifully in the oven.
Step 3: Cream the Butter and Sugars
In a separate bowl, combine 1 cup of room temperature unsalted butter, ¾ cup of granulated sugar, and ¾ cup of brown sugar. Using an electric mixer, cream these ingredients together on medium speed for about 2-3 minutes until the mixture is light and fluffy. This step is crucial for achieving that soft, chewy texture everyone loves in a cookie.
Step 4: Add Egg and Vanilla
Next, beat in 1 large egg and 1 teaspoon of pure vanilla extract into the creamed butter and sugars until fully combined. Mix until the egg is incorporated and the batter smooths out, infusing the cookie dough with rich flavor and moisture. The aromas from the vanilla will make your kitchen smell delightful!
Step 5: Incorporate the Dry Ingredients
Slowly add the bowl of dry ingredients to the wet mixture, gradually melding them together. Mix on low speed until the ingredients are just combined—avoid overmixing, as this can lead to tough cookies. You’ll want the dough to be soft and slightly sticky, perfect for scooping later.
Step 6: Fold in the Chocolate Chips
Gently fold in 1 to 2 cups of chocolate chips using a spatula, ensuring an even distribution throughout the cookie dough. This is the moment where the magic happens, bringing irresistible sweetness to your Easy Homemade Chocolate Chip Cookies. If you wish, consider adding nuts for an extra crunch!
Step 7: Scoop the Dough
Using a cookie scoop or a tablespoon, drop rounded dough onto the prepared baking sheets, spacing them about 2 inches apart. This allows the cookies to spread out while baking without merging into one another. The dough should be heaped, as they will slightly flatten in the oven, creating deliciously thick cookies.
Step 8: Bake the Cookies
Place the baking sheets in the preheated oven and bake for 10-12 minutes, or until the edges are golden brown. Keep an eye on them, as you’ll want the centers to remain slightly soft for that perfect gooey texture. A light golden color should indicate it’s time to take them out!
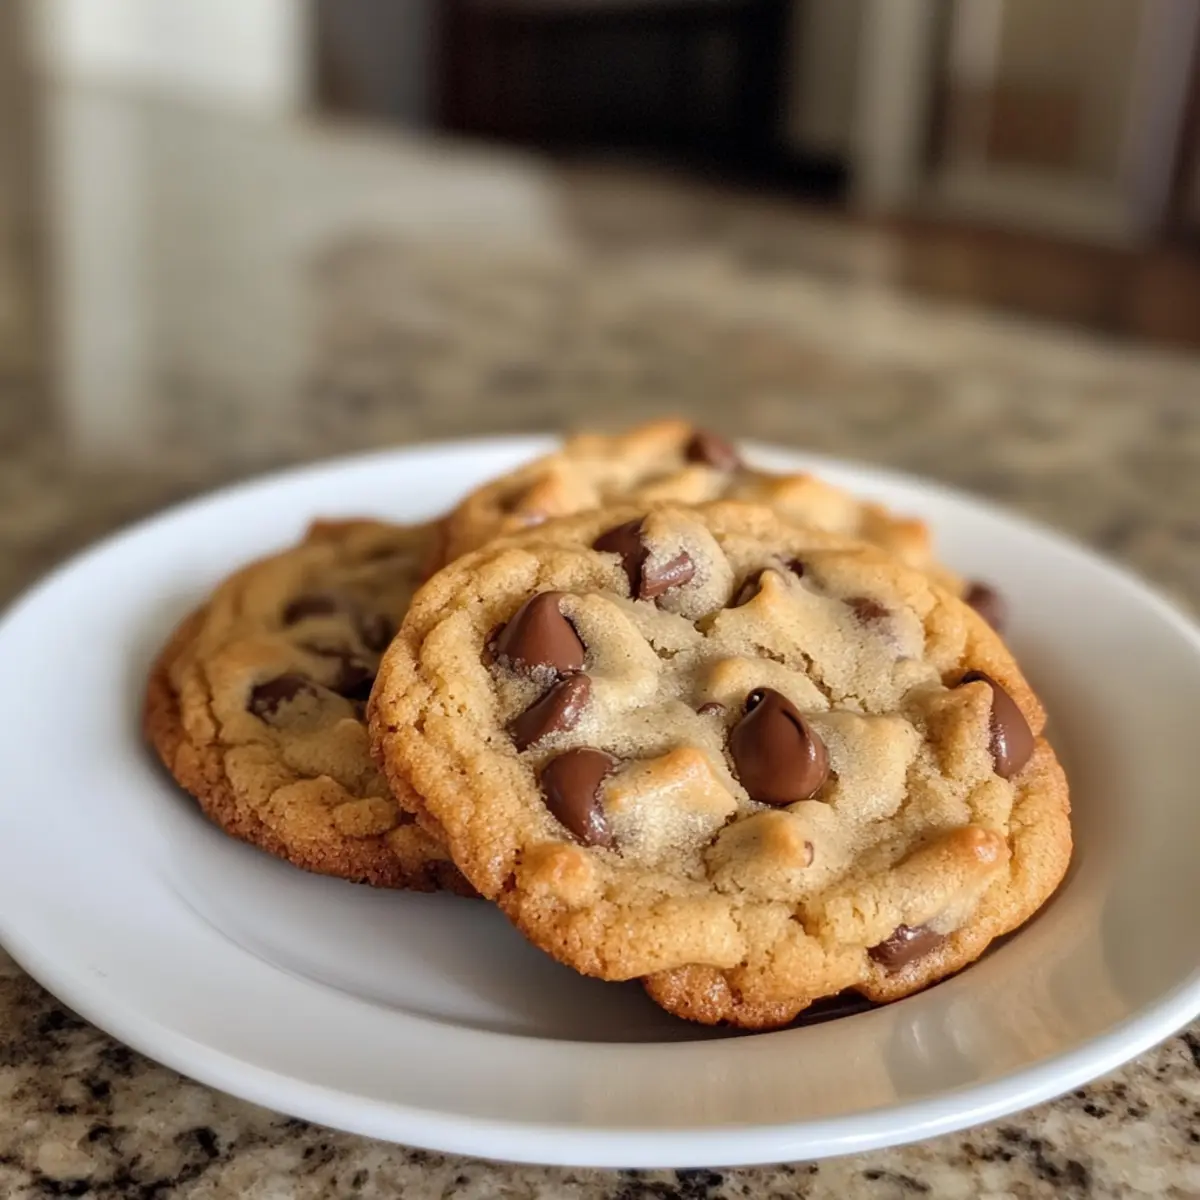
Step 9: Cool and Transfer
Once baked, remove the cookies from the oven and let them cool on the baking sheet for about 5 minutes. This cooling period allows the cookies to set and makes transferring them easier. Afterward, use a spatula to move them to a wire rack, where they can cool completely and develop that irresistible chewy texture!
Expert Tips for the Best Chocolate Chip Cookies
Room Temperature Butter: Make sure your unsalted butter is at room temperature for easy blending, creating that perfect cookie texture without lumps.
Don’t Overmix: Once you add the dry ingredients, mix just until combined. Overmixing can lead to tough cookies—nobody wants that!
Cool Gently: After baking, let cookies cool on the sheet for 5 minutes before transferring to a wire rack. This keeps them from breaking apart.
Watch the Bake Time: Keep an eye on the cookies as they bake; slightly underbaking will keep the centers soft and gooey, which is the true cookie lover’s dream!
Variations Galore: Personalize your chocolate chip cookies by adding nuts or using different types of chocolate; almond or butterscotch chips can offer delightful new flavors!
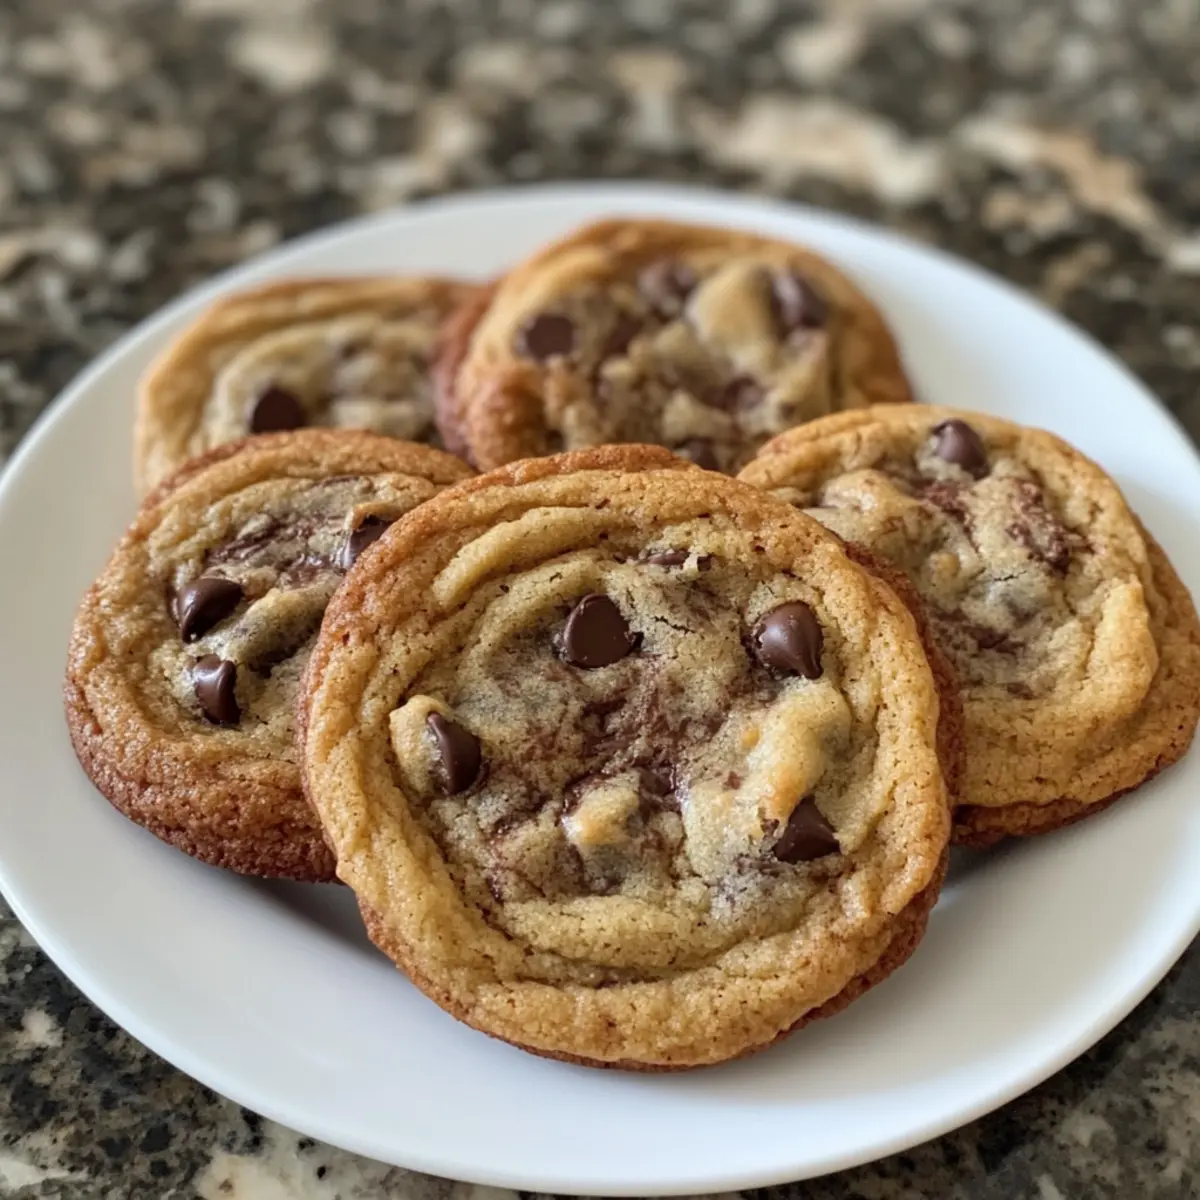
Enjoy baking these classic chocolate chip cookies with these helpful tips for an even sweeter experience!
What to Serve with Easy Homemade Chocolate Chip Cookies
The sweet, comforting aroma of freshly baked chocolate chip cookies deserves companions that enhance the experience and bring joy to every bite.
-
Cold Glass of Milk: A classic pairing! The creamy texture of milk perfectly complements the chocolatey sweetness, making each cookie even more delightful.
-
Rich Vanilla Ice Cream: For a treat that elevates indulgence, serve your cookies warm over a scoop of vanilla ice cream. The melting ice cream creates a heavenly dessert experience.
-
Fresh Berries: Bright, juicy berries add a refreshing contrast to the rich cookies, balancing sweetness with a delightful burst of tartness.
-
Decaf Coffee or Tea: These comforting beverages offer a warm, soothing experience while the subtle flavors enhance the cookie’s chocolate richness.
-
Homemade Whipped Cream: A dollop of freshly whipped cream on the side creates a luxurious experience, inviting you to enjoy a creamy bite with each cookie.
-
Salted Caramel Sauce: Drizzle this sweet, buttery sauce on your cookies for an irresistible sweet-salty combination, making each morsel absolutely tantalizing!
Each of these pairings adds an exciting dimension, ensuring that your chocolate chip cookies shine bright at any gathering or cozy night in. Enjoy every scrumptious bite!
Storage Tips for Classic Chocolate Chip Cookies
Airtight Container: Store your cookies in an airtight container at room temperature for up to one week to maintain their freshness and chewy texture.
Freezer: For longer storage, freeze the cookies individually in a freezer-safe bag or container for up to three months. Thaw at room temperature before enjoying!
Reheating: To enjoy warm cookies again, simply microwave for 10-15 seconds or place in a preheated oven at 350°F (175°C) for about 5 minutes.
Variations: If you’ve made variations like using nuts, be sure to label your container to keep track of different flavors!
Make Ahead Options
These Easy Homemade Chocolate Chip Cookies are perfect for busy home cooks looking to save time! You can prepare the dough up to 24 hours in advance. Simply follow the recipe through Step 6, then cover the bowl tightly and refrigerate. This not only enhances the flavors but also maintains the dough’s quality. When you’re ready to bake, let the dough sit at room temperature for about 15 minutes to soften slightly before scooping and placing on the baking sheet. By prepping ahead, you can whip up a batch of warm, gooey cookies with minimal effort, making them just as delicious as if you made them fresh that day!
Variations & Substitutions for Chocolate Chip Cookies
Feel free to let your creativity shine as you customize these cookies to suit your taste buds!
-
Dairy-Free: Substitute butter with coconut oil or a dairy-free margarine for a plant-based treat with the same delightful texture. You’ll still enjoy that luscious melt-in-your-mouth experience without the dairy!
-
Nutty Delight: Add in ½ to 1 cup of chopped walnuts or pecans for a crunchy contrast. The nuttiness complements the chocolate perfectly, giving your cookies an extra layer of flavor and texture.
-
Different Chocolate: Swap semi-sweet chocolate chips for dark or even white chocolate for a flavor twist. Experimenting with different chocolates can create new favorites and delightful surprises in each bite!
-
Sea Salt Finish: Sprinkle a tiny pinch of flaky sea salt on top before baking. This unexpected sprinkle enhances the sweetness and adds a sophisticated touch to your cookies that will leave everyone craving more.
-
Minty Fresh: Mix in a teaspoon of peppermint extract along with the vanilla for a refreshing mint chocolate chip flavor! This allows you to enjoy a seasonal twist that’s perfect for holiday gatherings.
-
Spicy Kick: If you’re feeling adventurous, add a dash of cayenne pepper or cinnamon for a warm kick. This can elevate the flavor profile unexpectedly, creating a unique treat sure to impress bold palates.
-
Coconut Love: Fold in ½ cup of shredded coconut for a tropical spin on classic cookies. Coconut adds an enticing chewiness that pairs well with chocolate, making these cookies feel like a sunny treat.
-
Gluten-Free: Substitute all-purpose flour with a 1:1 gluten-free baking blend. You can enjoy gooey chocolate chip cookies without the gluten while still maintaining that chewy delight!
If you find yourself enjoying these cookies, you might want to try them alongside our comforting Garlic Parmesan Chicken Meatloaf or the zesty flavors of Hot Honey Chicken. Happy baking!
Easy Homemade Chocolate Chip Cookies Recipe FAQs
How do I choose the right chocolate chips?
Absolutely! For the best flavor, opt for semi-sweet chocolate chips as they provide a classic sweetness. Dark chocolate offers a richer flavor, while milk chocolate delivers a creamier bite. If you prefer a twist, consider butterscotch or white chocolate chips for different taste experiences!
How should I store my cookies to keep them fresh?
To maintain the delightful chewiness of your cookies, store them in an airtight container at room temperature for up to one week. This will keep them soft and delicious! If you need to store them for a longer time, layer them between sheets of parchment paper in a freezer-safe container or bag, freezing for up to three months.
Can I freeze the cookie dough for later use?
Yes, you can! To freeze your cookie dough, scoop dough onto a baking sheet and freeze until solid. Once frozen, transfer the dough balls to a freezer-safe bag or container and label with the date. You can freeze the dough for up to three months. When you’re ready to bake, just pop the frozen balls onto a baking sheet and add an extra minute or two to the baking time.
What should I do if my cookies spread too much while baking?
Very! If your cookies spread excessively, it often means the butter was too warm or the dough isn’t scooped evenly. To troubleshoot, make sure your butter is softened but not melted. You might also consider chilling the dough for 30 minutes before baking to firm it up. If your cookies are already baked and spread too much, don’t fret—just enjoy them as delicious cookie bars!
Are these cookies suitable for people with allergies?
For those with allergies, this recipe can be altered to suit your needs! You can swap the all-purpose flour with a gluten-free flour blend. For dairy-free options, use coconut oil or margarine in place of the butter, and choose dairy-free chocolate chips. Always check labels to ensure no cross-contamination with allergens.
How can I enhance the flavor of my cookies?
To elevate the flavor, try adding a pinch of sea salt on top of the cookies just before baking or incorporate a touch of espresso powder into the dough. This will boost the chocolate’s richness, making the cookies even more delectable!
Savory Avocado Chicken Salad Everyone Will Love
Ingredients
Equipment
Method
- In a mixing bowl, combine the shredded chicken, diced avocado, celery, red onion, and cilantro.
- In a separate small bowl, whisk together the lime juice, olive oil, salt, and black pepper.
- Pour the dressing over the chicken mixture and gently toss to combine.
- Serve immediately or chill in the refrigerator for 30 minutes before serving.
Leave a Reply