
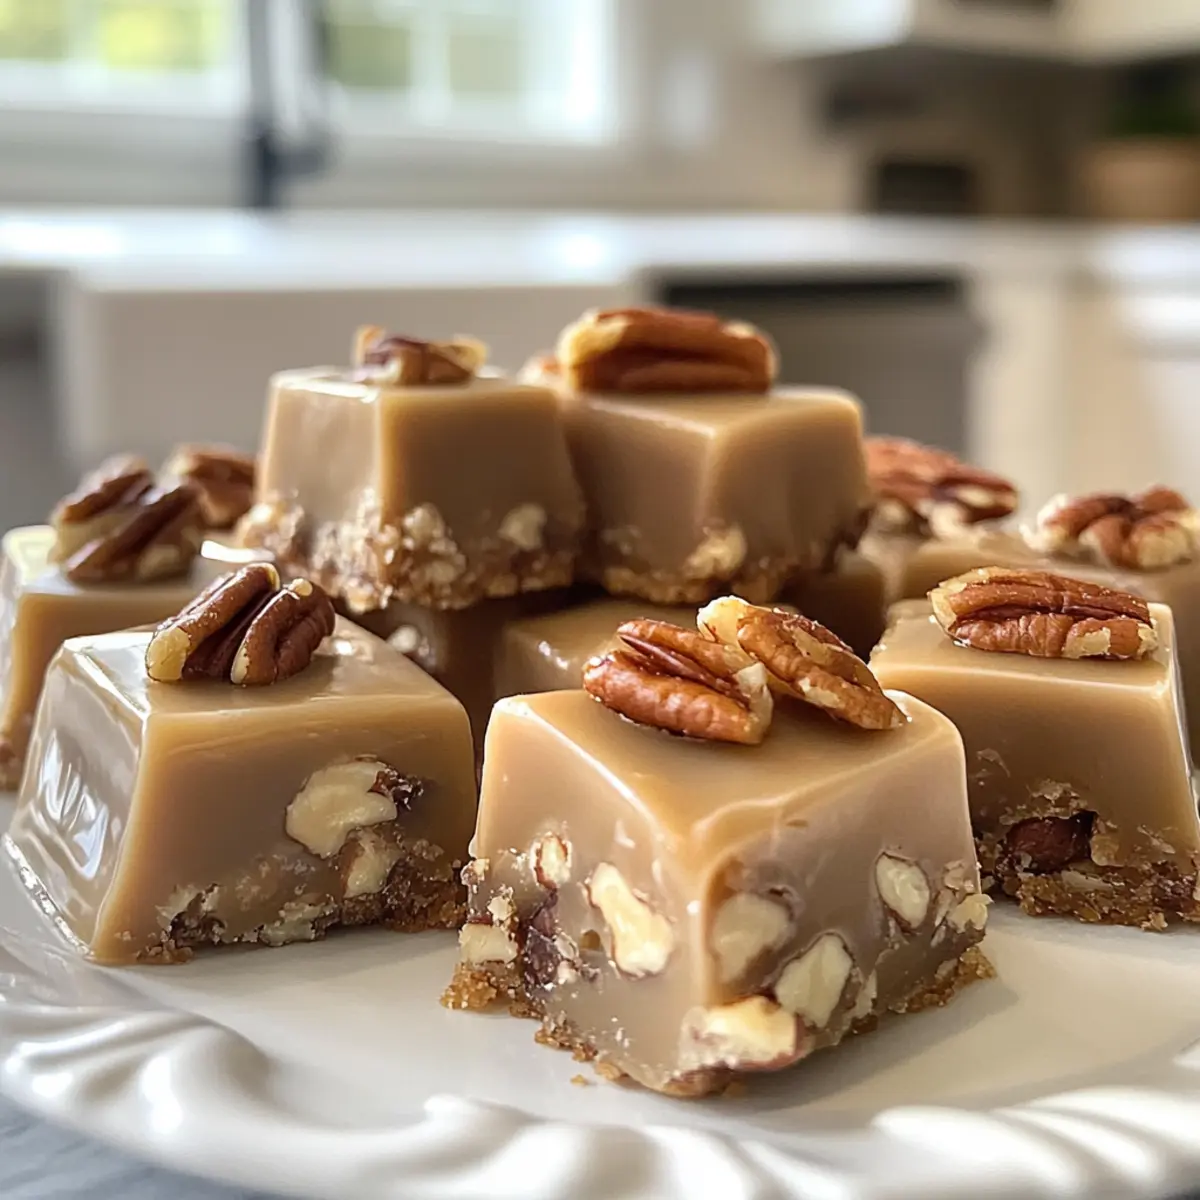
Amidst the sweet scent of caramelizing sugar, I once found myself lost in a delightful daydream about my Southern grandmother’s kitchen. It was there, with laughter echoing off the walls, that she would whip up her famous Vanilla Pecan Pralines—a recipe that has since become a cherished family tradition. Whether you’re escaping the fast-food grind or simply wanting to indulge in homemade sweets, these melt-in-your-mouth confections deliver an irresistible combination of rich vanilla and crunchy toasted pecans. Best of all, this no-bake treat comes together with ease, making it a perfect affair for both beginners and seasoned candy enthusiasts alike. So, ready to create a delicious batch that sparks memories and warms hearts? Let’s dive in!
Why are Vanilla Pecan Pralines so irresistible?
Easy Preparation: This no-bake recipe means you can whip up a batch in no time, making it perfect for impromptu gatherings.
Nostalgic Comfort: Each bite bursts with the warmth of vanilla and the crunch of toasted pecans, reminiscent of cherished family memories.
Versatile Enjoyment: Enjoy them as a post-dinner treat or pack them in a gift box to share with friends! They pair wonderfully with a cup of coffee or a hot cup of tea, much like the delightful experience of a Vanilla Bean Creme Brulee Cheesecake Cupcake.
Gluten-Free Delight: Suitable for everyone at the table, these pralines are a gluten-free indulgence, ensuring no one misses out on this sweet magic.
Elevated Flavors: Don’t hesitate to experiment! Try adding a splash of maple syrup for an extra twist, or swap out pecans for walnuts for a unique flavor profile.
Vanilla Pecan Praline Ingredients
For the Candy Base
• Granulated Sugar – This sugar provides sweetness and forms the candy base, essential for those rich Vanilla Pecan Pralines.
• Brown Sugar – It adds a delightful molasses depth and a softer texture, making the pralines even more appealing.
• Heavy Cream – Contributes to the richness and creates a creamy consistency that enhances the overall flavor.
• Unsalted Butter – It gives that necessary buttery flavor, enriching the taste experience of the pralines.
For Flavor and Texture
• Vanilla Extract – Infuses the mixture with a sweet, warm flavor that perfectly complements the pecans.
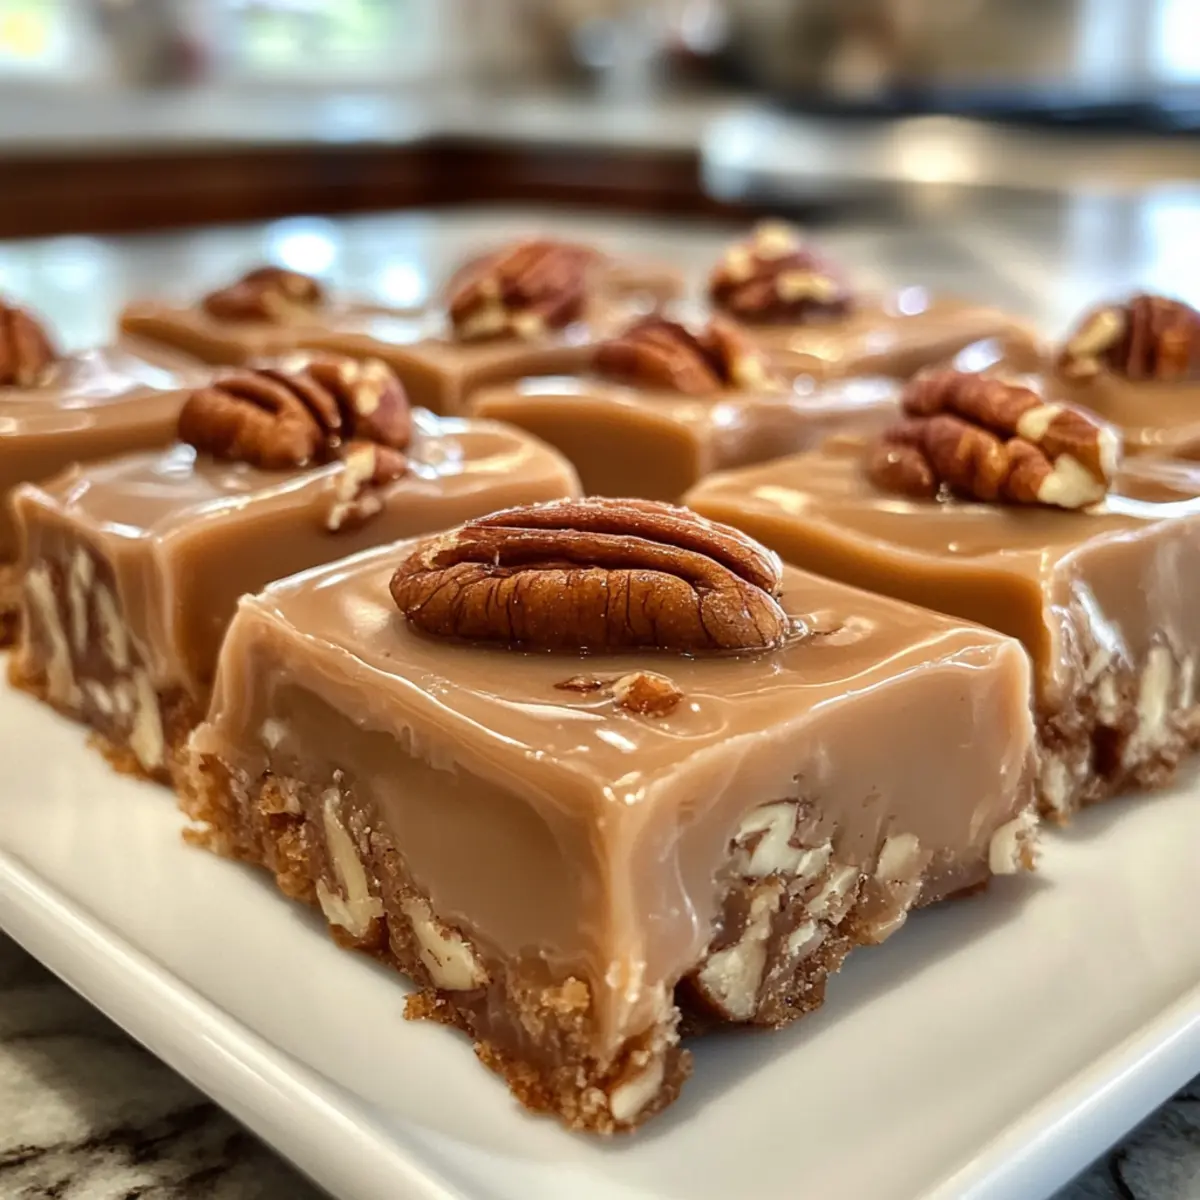
• Pecan Halves – The star ingredient; toasting them heightens their flavor and adds crunch to each bite.
• Salt – A pinch balances the sweetness and enhances the rich flavor of the pralines.
Step‑by‑Step Instructions for Vanilla Pecan Pralines
Step 1: Prepare the Baking Sheet
Begin by lining a baking sheet with parchment paper to prevent sticking. Make sure it’s ready to go, as you’ll need to spoon the mixture onto it quickly later. Also, grab a tablespoon or a small cookie scoop; this will help you form uniform mounds for your Vanilla Pecan Pralines.
Step 2: Toast Pecans
In a dry skillet, heat over medium heat. Add the pecan halves and toast them for about 5-7 minutes, stirring occasionally, until they become fragrant and lightly browned. Keep an eye on them to avoid burning, as this will enhance their flavor significantly. Once done, remove them from the skillet and set aside to cool.
Step 3: Make the Candy Mixture
In a heavy-bottomed saucepan, combine the granulated sugar, brown sugar, and heavy cream. Place the saucepan over medium heat and stir consistently until the sugars dissolve, and the mixture starts bubbling. Keep stirring for about 3-4 minutes until the mixture thickens slightly and begins to stick to the sides, giving you a glimpse of the rich texture to come.
Step 4: Add Butter
Now, incorporate the unsalted butter into the bubbling candy mixture. Stir continuously and bring it to a gentle boil. Let it boil for around 3-4 minutes while stirring, allowing it to thicken even more. The mixture should be bubbling steadily, gaining that luscious consistency characteristic of homemade Vanilla Pecan Pralines.
Step 5: Finalize Mixture
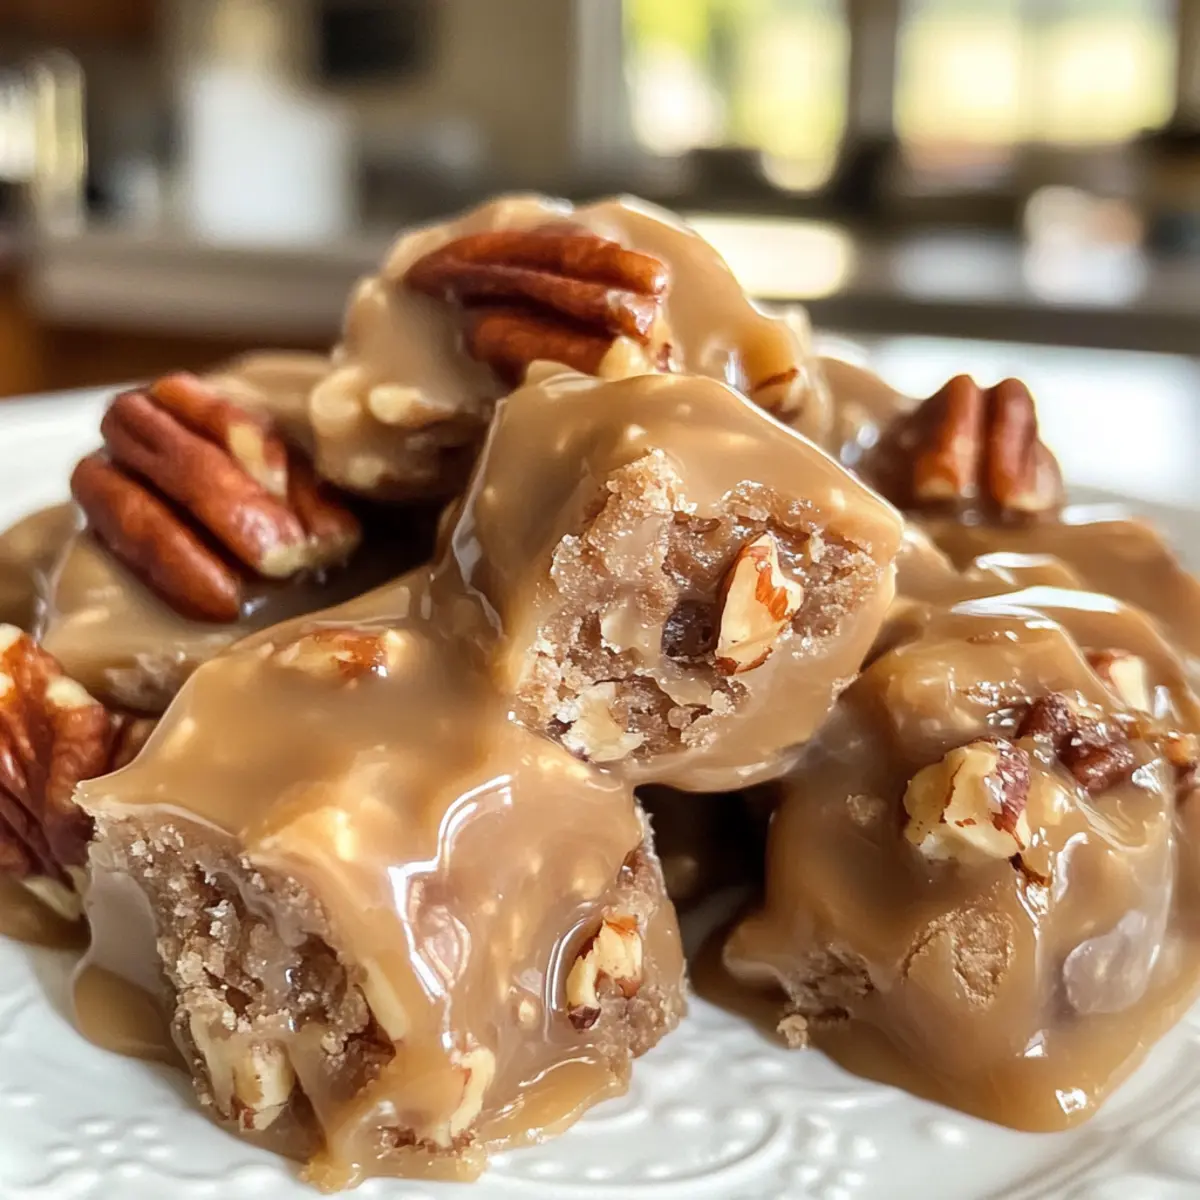
Remove the saucepan from the heat and carefully stir in the vanilla extract, toasted pecans, and a pinch of salt. Continue stirring for another 2-3 minutes until the mixture becomes creamy and slightly thicker. You’re looking for a smooth, rich consistency that signals it’s ready to be shaped into delectable treats.
Step 6: Shape Pralines
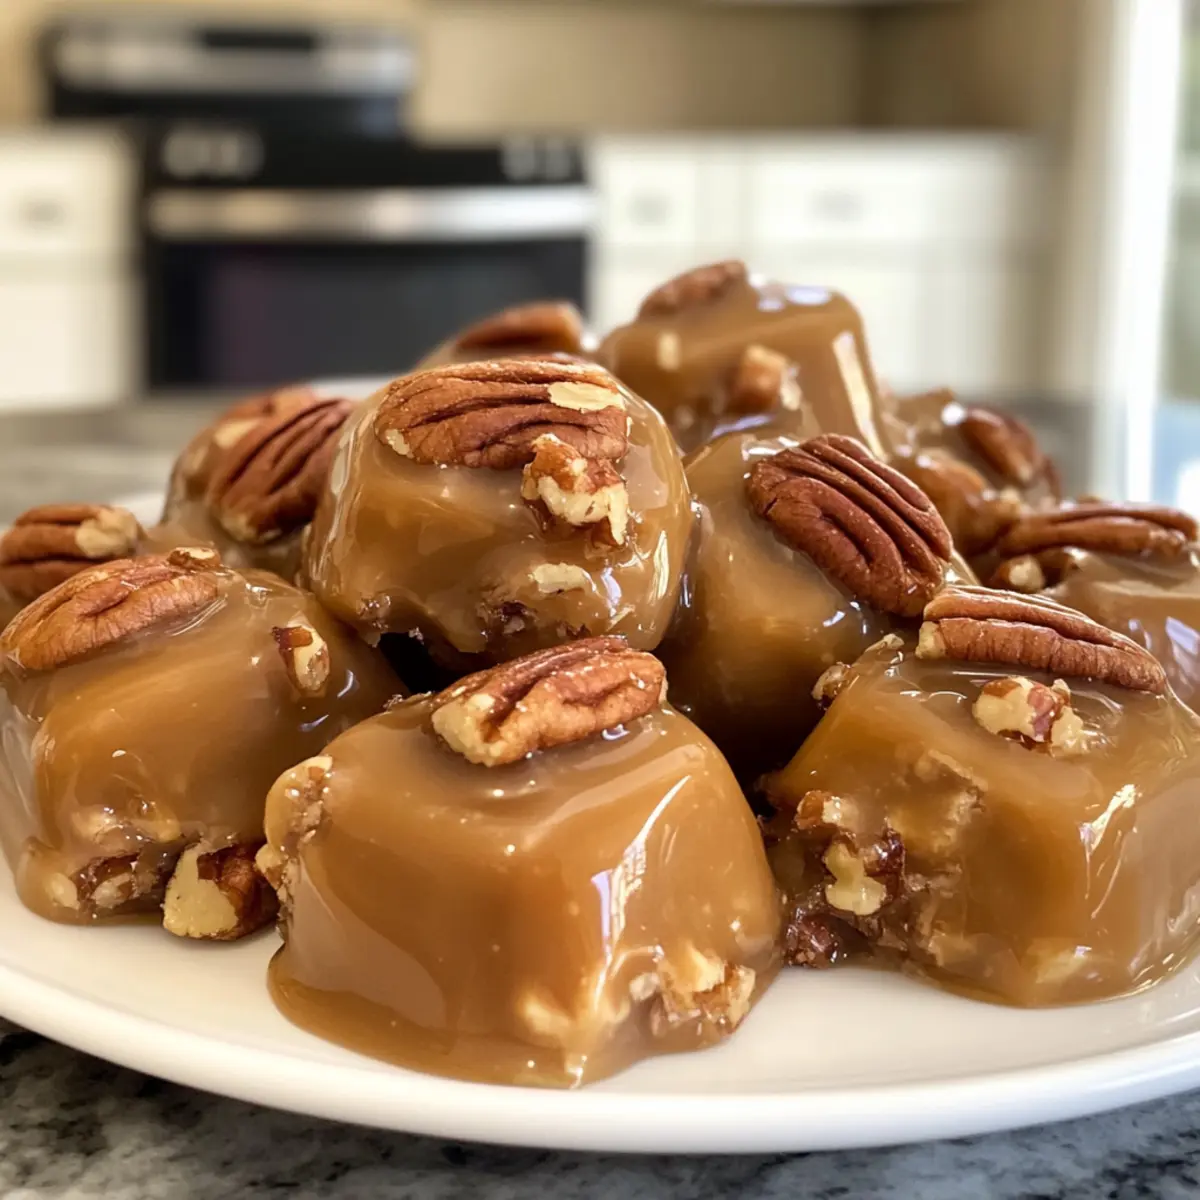
With a quick and steady hand, spoon the creamy mixture onto the prepared parchment in small mounds, leaving some space between each. Work promptly to ensure the pralines hold their shape as they cool. Allow them to rest at room temperature for about 20-30 minutes until they’re fully set and ready to be savored.
Vanilla Pecan Pralines Variations
Feel free to let your creativity shine by customizing these delightful pralines to suit your taste!
-
Nut Substitute: Swap pecans for walnuts, almonds, or hazelnuts for a delicious twist. Each nut brings its own unique flavor and texture, allowing you to personalize this treat to your preference.
-
Maple Twist: Add a splash of maple syrup to the candy mixture. This will infuse a warm and earthy sweetness that pairs beautifully with the vanilla and nuts, enhancing the overall flavor experience.
-
Bourbon Infusion: Incorporate a tablespoon of bourbon for a rich, warm note. This adds depth and a hint of sophistication that transforms your pralines into an adult treat!
-
Chopped Texture: Use chopped pecans instead of halves for a softer texture. This creates a more fudgy bite, making each praline melt in your mouth, like those creamy bites in a Vanilla Bean Brown Butter Cheesecake.
-
Spicy Kick: Add a dash of cayenne pepper or cinnamon for a surprising kick that contrasts wonderfully with the sweet and nutty flavors. Just a pinch can elevate the pralines to a whole new level!
-
Chocolate Drizzle: Drizzle with melted chocolate after setting. This adds a decadent layer that not only looks appealing but also intensifies the flavors. Imagine a contrast of vanilla, nuts, and chocolate that will have everyone reaching for more!
-
Gluten-Free Touch: Rest assured, these pralines are inherently gluten-free. If you’re looking for alternatives, try making them with naturally gluten-free ingredients only, ensuring that everyone can indulge without worry.
-
Flavor Explosion: Experiment with unique flavor extracts such as almond or coconut for a different twist that adds an energetic flavor burst with each bite!
Whichever variation you choose, each praline is sure to deliver sweet, joyful moments that mirror my grandma’s kitchen filled with love and laughter. Happy cooking!
Expert Tips for Vanilla Pecan Pralines
• Toast Your Pecans: Toasting enhances the nutty flavor of the pecans. Keep a watchful eye on them in the skillet to prevent burning.
• Work Quickly: Once the mixture thickens, act fast! It sets rapidly, so spoon the pralines onto parchment immediately to maintain their shape.
• Storage Savvy: To maintain sweetness, store pralines in an airtight container with layers of parchment paper. This prevents sticking and keeps them fresh.
• Flavor Flexibility: Feel free to experiment! Add a splash of bourbon or maple syrup to boost flavor, or try walnuts instead of pecans for a different twist.
• Gentle Boiling: Keep the mixture at a gentle boil; excessively high heat can lead to grainy pralines. Stir consistently to maintain creaminess.
How to Store and Freeze Vanilla Pecan Pralines
Room Temperature: Store your pralines in an airtight container at room temperature for up to 1 week to keep them fresh and delicious.
Fridge: For extended freshness, you can refrigerate the pralines, which will help them last for up to 2 weeks while maintaining their rich flavor.
Freezer: Freeze pralines for up to 3 months in an airtight container. Just be sure to separate layers with parchment paper to prevent sticking.
Reheating: When ready to enjoy, allow frozen pralines to thaw at room temperature for a delightful treat that’s just as sweet as the day you made them.
What to Serve with Melt-in-Your-Mouth Vanilla Pecan Pralines
Creating the perfect meal is about harmony, and these melt-in-your-mouth pralines can elevate your dining experience to sweet perfection.
-
Creamy Vanilla Ice Cream: The cool and creamy texture of vanilla ice cream beautifully contrasts the rich pralines while enhancing their flavors. A scoop on the side brings a delightful chill to your palate.
-
Fresh Berries: Juicy strawberries or raspberries add a refreshing burst of sweetness and a pop of color, balancing the richness of the pralines. Their tartness complements the buttery notes of the candy.
-
Coffee or Espresso: A warm cup of coffee pairs wonderfully with these sweets, providing a comforting end to your meal. The bitterness of coffee beautifully offsets the sweet, nutty pralines.
-
Chocolate-Laced Biscotti: Crunchy, chocolate-dipped biscotti provide a delightful crunch and add an extra layer of flavor that makes for delightful dipping action with your pralines.
-
Salted Caramel Sauce: A drizzle of salted caramel will elevate the flavor profile, bringing a harmonious sweet and salty experience that pairs lovely with the pralines’ richness.
-
Cheese Platter: Soft cheeses like goat or brie can be surprisingly delightful against the sweet pralines, creating a sophisticated flavor experience perfect for gatherings.
-
Mint Tea: Serve a warm cup of fresh mint tea for a refreshing herbal contrast. The lightness and refreshing qualities of mint cleanse the palate and enhance the praline experience.
-
Mini Fruit Tarts: Light, fruity tarts provide a lovely juxtaposition with pralines, showcasing seasonal fruits and offering a fresh, flaky bite that rounds out dessert beautifully.
Each suggestion not only creates variety in texture and flavor but also invites moments of joy to your table when enjoyed alongside your homemade Vanilla Pecan Pralines.
Make Ahead Options
These Vanilla Pecan Pralines are perfect for meal prep enthusiasts looking to save time during busy weeks! You can prepare the candy mixture up to 24 hours in advance. Simply follow the recipe instructions until you reach the final step of shaping the pralines. Store the creamy mixture in an airtight container in the refrigerator, ensuring it remains fresh and ready for use. When you’re ready to serve, reheat the mixture gently over low heat if it has thickened too much, then swiftly scoop and shape it onto parchment paper. This way, your pralines are just as delicious and wonderfully fresh for indulging any day!
Vanilla Pecan Pralines Recipe FAQs
How do I choose the right pecans for my pralines?
Absolutely! When selecting pecans, look for fresh, whole pecan halves that are plump and fragrant. Avoid any with dark spots, which could indicate spoilage. If you can, opt for pecans labeled as “fresh” or “raw” for the best flavor, and always check the expiration date if buying packaged nuts.
What’s the best way to store leftover Vanilla Pecan Pralines?
Very! To keep your pralines fresh, store them in an airtight container at room temperature for up to 1 week. For longer storage, you can refrigerate them, extending their freshness for up to 2 weeks. Just be sure to place parchment paper between layers if you’re stacking them, to prevent any sticking.
Can I freeze Vanilla Pecan Pralines? If so, how?
Certainly! To freeze your pralines, first allow them to cool completely. Then, place them in an airtight container, layering parchment paper between pralines to prevent sticking. They can be stored in the freezer for up to 3 months. When you’re ready to enjoy, simply thaw them at room temperature.
My pralines didn’t set properly; what went wrong?
Oh no! This can happen if the candy mixture doesn’t cook long enough. It’s crucial to allow the mixture to bubble gently for about 3-4 minutes after adding the butter; it should thicken slightly. If your pralines remain too soft after cooling, reheating the mixture on low heat and adding a bit more sugar can help achieve the right texture.
Are Vanilla Pecan Pralines gluten-free?
Yes, indeed! These delightful pralines are naturally gluten-free, making them suitable for everyone at the table. However, if you have allergies, ensure all your ingredients are certified gluten-free to avoid any cross-contamination.
Can I substitute pecans with another type of nut?
Absolutely! If you’re looking to mix things up, walnuts or even macadamia nuts can be excellent alternatives to pecans. Just toast them the same way to enhance their flavor and adjust the recipe to your preference. Enjoy your creative spin on these Vanilla Pecan Pralines!
Irresistible Vanilla Pecan Pralines for Sweet Moments
Ingredients
Equipment
Method
- Begin by lining a baking sheet with parchment paper to prevent sticking.
- In a dry skillet, heat pecan halves over medium heat for about 5-7 minutes until fragrant.
- Combine granulated sugar, brown sugar, and heavy cream in a heavy-bottomed saucepan over medium heat.
- Incorporate unsalted butter into the bubbling candy mixture and let it boil for around 3-4 minutes.
- Stir in vanilla extract, toasted pecans, and salt until the mixture is creamy and slightly thicker.
- Spoon the creamy mixture onto the prepared parchment in small mounds.
- Allow the pralines to rest at room temperature for about 20-30 minutes until fully set.
Leave a Reply