
There’s a certain magic that comes with gooey marshmallows melting into rich chocolate, but let’s be honest—setting up a campfire can feel like a mini-adventure all on its own. Enter my solution: Oven-Baked S’mores! This recipe invites you to enjoy that delicious, nostalgic flavor of classic s’mores from the comfort of your kitchen in just under 10 minutes. Not only are these oven-baked delights easy to whip up, but they also cater to everyone; with simple swaps, you can make gluten-free and vegan versions that leave everyone happily satisfied. Perfect for family movie nights or a quick dessert, these delightful treats promise to warm hearts and fill bellies. Curious how to create this sweet masterpiece? Let’s dive in!
Why Make Oven-Baked S’Mores?
Easy, these oven-baked s’mores are a breeze to prepare, requiring just a few simple steps to create a delightful dessert in under 10 minutes. Customizable, whether you’re craving a classic taste or need gluten-free and vegan options, this recipe caters to everyone’s preferences. Family-Friendly, the joys of making s’mores together create fun memories that everyone can enjoy! Satisfying Texture, experience the perfect balance of crispy graham crackers with gooey melted marshmallows and chocolate—a treat for the senses. Deliciously Versatile, feel free to experiment by swapping chocolate for Nutella or using different snacks; the possibilities are endless! Give this easy dessert a try and discover a new favorite for your next family get-together!
Oven-Baked S’Mores Ingredients
• Get ready for some magical flavor!
For the Base
- Graham Crackers – Provides the foundation and crunch; substitute with gluten-free graham crackers for a gluten-free treat.
For the Filling
- Chocolate Bars – Offers rich sweetness; pick your favorite type and ensure it’s gluten-free if needed.
- Large Marshmallows – Adds that fluffy, melt-in-your-mouth texture; for a vegan version, choose gelatin-free vegan marshmallows.
Optional Add-Ons
- Nutella or Peanut Butter – Swap for traditional chocolate to elevate flavors; both options add a creamy twist to your s’mores.
- Alternate Cookies or Snacks – Get creative! Use Ritz crackers, cookies, or any snack you love in place of graham crackers for a fun twist.
Indulge in these delightful oven-baked s’mores, perfect for any occasion!
Step‑by‑Step Instructions for Oven-Baked S’Mores
Step 1: Preheat the Oven
Begin by preheating your oven to 375°F (190°C) to ensure an evenly baked treat. This temperature is key to achieving perfectly melted marshmallows and chocolate in your Oven-Baked S’Mores. While the oven warms up, gather your ingredients and get ready for a delightful kitchen adventure.
Step 2: Prepare the Baking Sheet
Line a sheet pan with parchment paper or aluminum foil for easy cleanup and to prevent sticking. This step also helps to create a non-stick surface for your Oven-Baked S’Mores, ensuring that each delicious bite comes off easily once baked. Make sure the parchment or foil fits snugly on the pan.
Step 3: Arrange Graham Crackers
Carefully place your graham cracker squares on the lined sheet pan, leaving no gaps between them. You’ll want about 12-16 squares to create a satisfying batch of Oven-Baked S’Mores. Each cracker will form the delightful base, so arrange them neatly to set the stage for the sweet toppings.
Step 4: Add Chocolate and Marshmallows
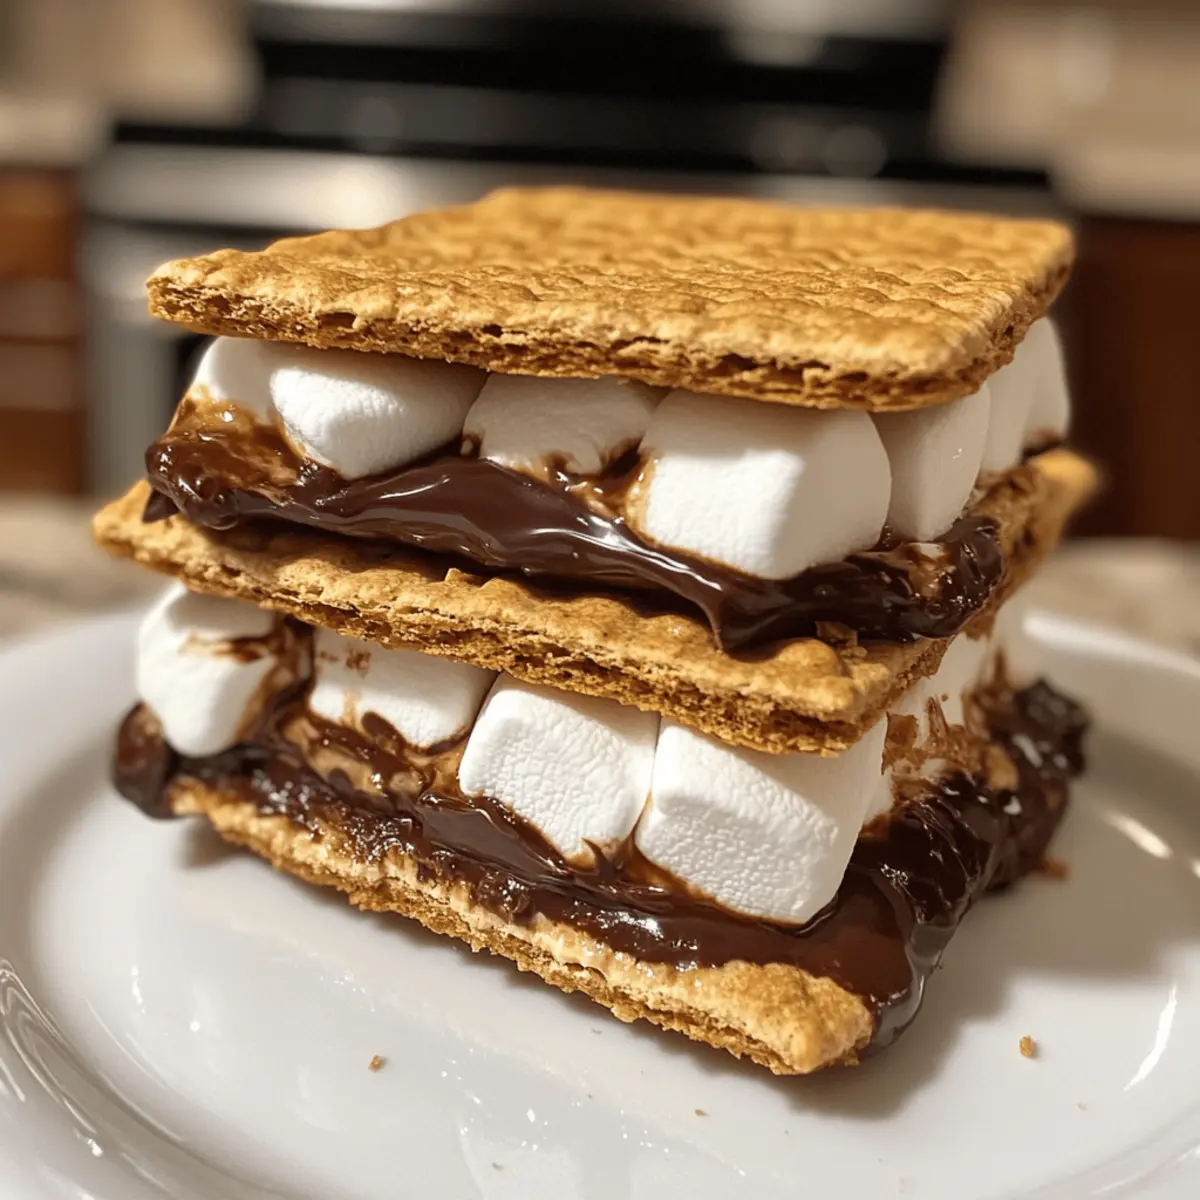
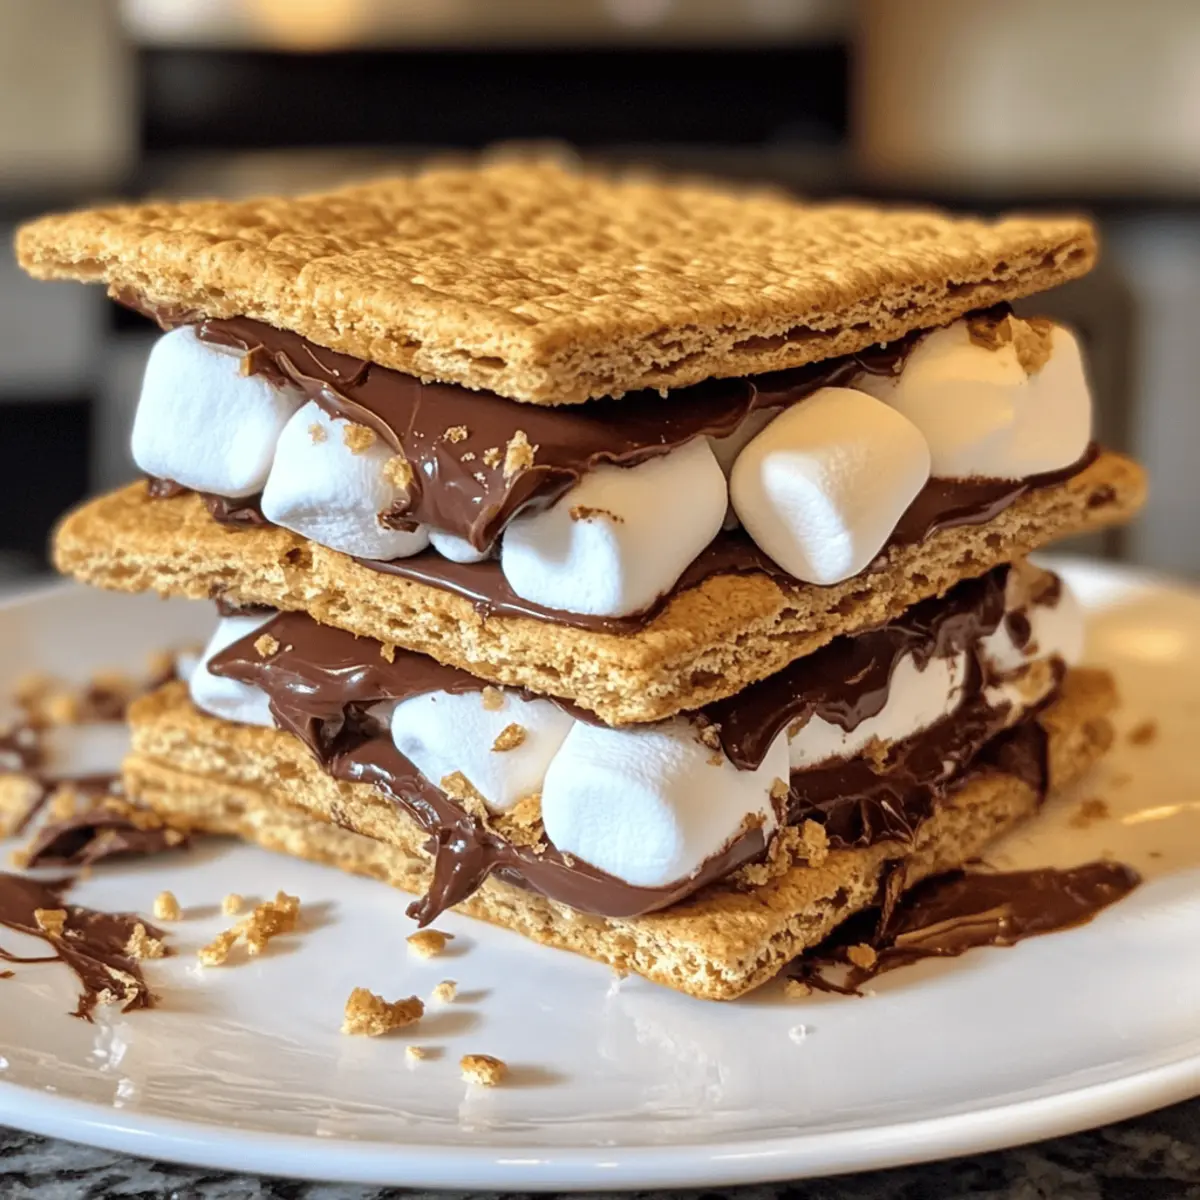
Top each graham cracker square with a piece of your favorite chocolate, followed by a large marshmallow. Ensure the marshmallows are placed with the domed side up to achieve that perfectly gooey melt. This layering will create the iconic, indulgent center that makes Oven-Baked S’Mores irresistible.
Step 5: Bake to Perfection
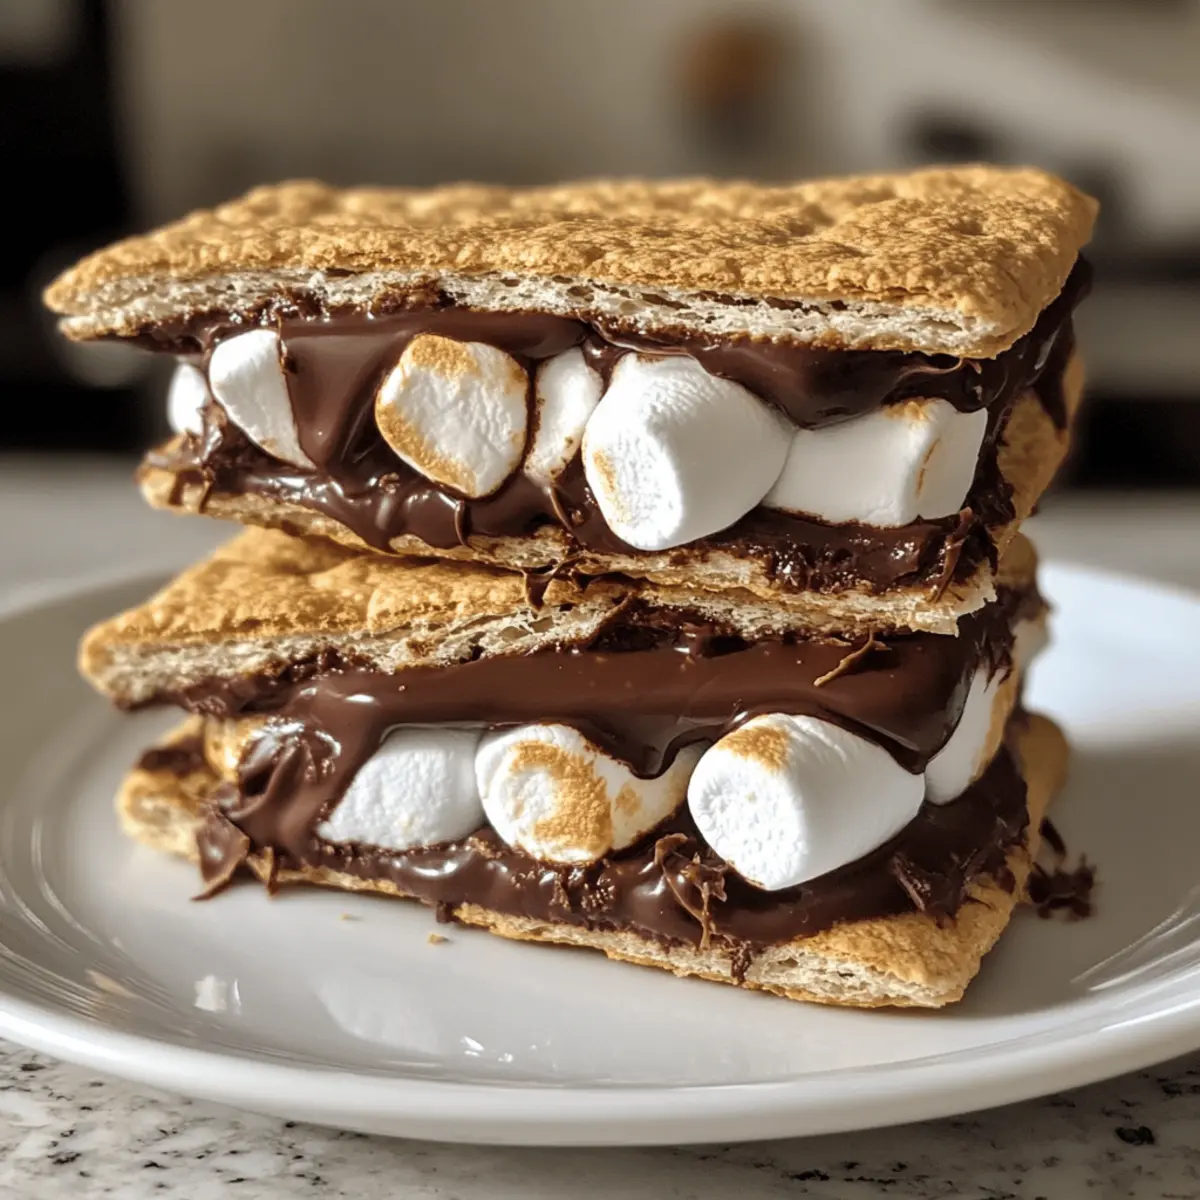
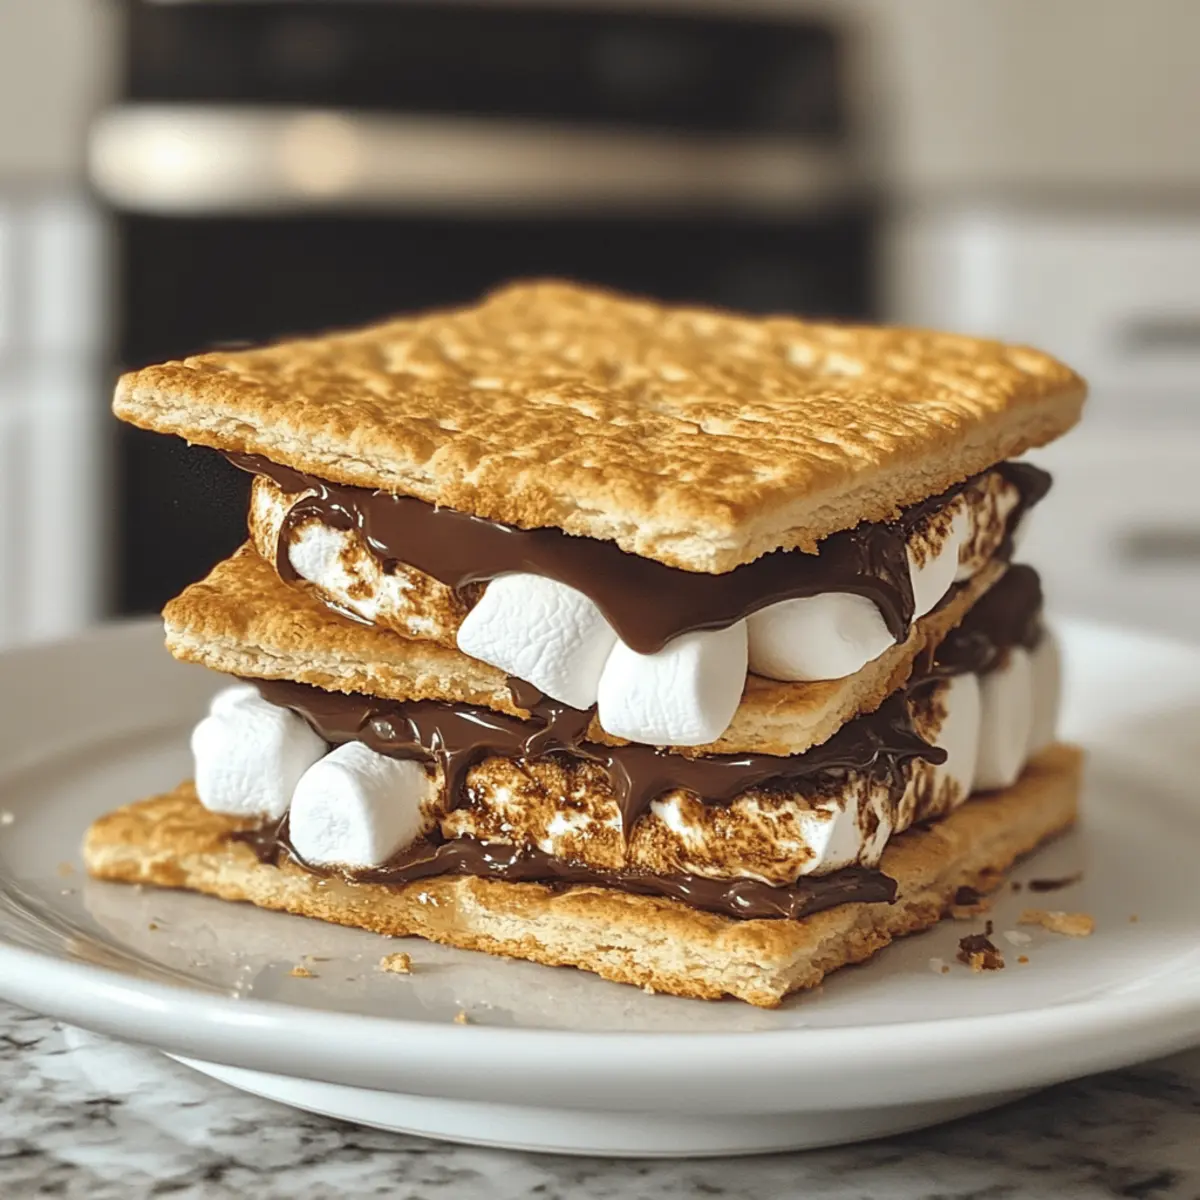
Slide your sheet pan into the preheated oven and bake for 5-7 minutes. Keep an eye on the marshmallows; they should become soft and begin to turn golden and bubbly. You’ll want them to look deliciously melty, creating an inviting scene of sweet indulgence right before your eyes.
Step 6: Create the Top Layer
Once baked, carefully remove the pan from the oven using oven mitts to protect your hands. While the marshmallows are still warm, gently place a halved graham cracker square on top of each melted marshmallow. This creates a lovely little sandwich that contains all the warm, gooey goodness of your Oven-Baked S’Mores.
Step 7: Serve and Enjoy
Let your Oven-Baked S’Mores cool for just a moment before serving. Use a spatula for easy lifting and enjoy each delightful bite while they’re still warm. Whether they are for a family gathering or a cozy movie night, these treats promise to bring smiles and satisfy your sweet cravings beautifully!
Make Ahead Options
These Oven-Baked S’mores are fantastic for busy home cooks looking to save time! You can prepare the graham crackers with chocolate and marshmallows layered on top up to 24 hours in advance. Simply assemble them on a lined baking sheet, cover tightly with plastic wrap to prevent drying out, and refrigerate. When you’re ready to indulge, preheat your oven to 375°F (190°C) and bake for 5-7 minutes until the marshmallows are soft and gooey. This way, you can enjoy a delicious homemade treat with minimal effort, making your dessert planning as sweet as the s’mores themselves without any fuss!
Oven-Baked S’Mores Variations
Feel free to embrace your creativity and tailor these s’mores to your taste preferences!
- Gluten-Free: Substitute graham crackers with gluten-free varieties to make this treat safe for those with gluten sensitivities. Your sweet tooth won’t even notice the difference!
- Vegan: Use vegan marshmallows and ensure your chocolate is dairy-free to create a delicious vegan option that everyone can enjoy. It’s a win-win for plant-based dessert lovers!
- Nutty Delight: Spread a layer of Nutella or peanut butter on the graham crackers before adding chocolate and marshmallows for a creamy twist. This version takes flavor to a whole new level!
- Flavor Boost: Try swapping dark chocolate with milk chocolate or even white chocolate for different taste experiences. Each variation offers a delightful surprise!
- Cookie Swap: Get creative! Use cookie bases like Oreos or even peanut butter cookies instead of graham crackers for an exciting texture and taste twist. The sweet crunch will elevate your s’mores!
- Ritz Crackers: For a salty-sweet combination, layer the ingredients using Ritz crackers. The hint of salt complements the sweetness perfectly, creating a unique flavor profile.
- Spicy Kick: Add a sprinkle of cinnamon or a dash of cayenne pepper to the chocolate for some unexpected heat. This twist adds depth and a surprising zing to the classic dessert!
- S’mores Bar: For a crowd-pleasing variation, create an assembly line with various chocolates, spreads, and toppings. Let everyone build their perfect s’more masterpiece!
Need more ideas? There are plenty of delightful ways to customize your baked s’mores, so don’t hesitate to mix and match until you find your favorite combination!
Expert Tips for Oven-Baked S’Mores
- Marshmallow Choice: Use vegetarian or vegan marshmallows to suit dietary preferences; double-check labels for gelatin content.
- Tip for Texture: Bake until marshmallows are golden and gooey. Overbaking can lead to overly crispy edges, so keep an eye on them.
- Flavor Enhancements: For added joy, spread Nutella or peanut butter on the graham crackers before topping with chocolate and marshmallows; this twist can elevate your Oven-Baked S’Mores!
- Creative Variations: Experiment with different snacks like cookies or Ritz crackers instead of standard graham crackers for a fun, unique treat.
- Storing Leftovers: If you have any left after a delicious evening, store them in an airtight container for up to 3 days. Reheat briefly to rekindle the gooey goodness!
How to Store and Freeze Oven-Baked S’Mores
Airtight Container: Store leftover oven-baked s’mores in an airtight container to maintain freshness for up to 3 days. Keep them at room temperature for best results.
Reheating: To enjoy the gooey texture again, reheat them in the microwave for 10-15 seconds or in the oven at 350°F (175°C) for about 5 minutes.
Freezing: If you want to prepare ahead, freeze individual s’mores wrapped in parchment or foil for up to 2 months. Thaw in the fridge before reheating.
No Campfire Needed: With proper storage, your delicious oven-baked s’mores can be enjoyed beyond just one night, bringing comfort and sweetness whenever the craving hits!
What to Serve with Oven-Baked S’Mores?
Creamy, sweet, and irresistible, these oven-baked treats offer a delightful end to your meal. Enhance their magic with these perfect pairings!
-
Vanilla Ice Cream: The cool, creamy texture contrasts beautifully with warm s’mores, creating a delightful blend of temperatures and flavors.
-
Fresh Berries: Strawberries or raspberries add a fruity note, cutting through the sweetness and adding a refreshing touch.
-
Hot Cocoa: A comforting mug of hot cocoa enhances the chocolate experience, making your dessert even cozier and more indulgent.
-
Nutty Brownies: Rich, fudgy brownies echo the chocolatey goodness of s’mores, while their dense texture provides a satisfying bite.
-
Caramel Sauce: Drizzle warm caramel over your s’mores for an extra layer of flavor that adds gooey sweetness to every bite.
-
Chocolate-Covered Pretzels: The salty crunch of pretzels complements the sweetness of s’mores, offering a fun twist to your dessert spread.
-
S’mores Milkshake: Blend up a creamy milkshake mimicking the flavors of s’mores, creating a drink that tempts everyone’s taste buds.
-
Coffee or Espresso: A strong cup of coffee balances the sweetness, making for a delightful contrast that will appeal to adult palates.
-
Coconut Macaroons: Chewy and sweet, these add a lovely texture that pairs nicely with the crunchy graham crackers in s’mores.
Oven-Baked S’Mores Recipe FAQs
How do I choose the right graham crackers for my oven-baked s’mores?
Absolutely! For traditional s’mores, regular graham crackers work perfectly. However, if you’re making gluten-free s’mores, look for gluten-free graham crackers which are usually available in most grocery stores. They offer the same satisfying crunch you expect without the gluten!
What’s the best way to store leftover oven-baked s’mores, and how long do they last?
To keep your oven-baked s’mores fresh, store them in an airtight container at room temperature for up to 3 days. This keeps them soft and gooey. Make sure to layer them carefully to prevent sticking!
Can I freeze oven-baked s’mores for later enjoyment?
Definitely! You can freeze individual oven-baked s’mores wrapped in parchment paper or aluminum foil. Ensure they’re tightly wrapped to avoid freezer burn. They can be kept for up to 2 months. When you’re ready to enjoy, thaw them in the fridge overnight and then reheat in the microwave or oven!
What should I do if my marshmallows aren’t melting properly?
Very! If your marshmallows aren’t melting as desired, check the baking time and oven temperature. It’s essential to preheat the oven correctly and keep an eye during the last few minutes of baking. If they’re browning too fast but not melting, you might want to lower the rack in the oven or adjust the temperature slightly. If you overbake them, they could harden, so timing is key!
Are there any allergy considerations with oven-baked s’mores?
Absolutely! If you or your loved ones have allergies, be sure to check the labels on all your ingredients. Look for gluten-free graham crackers and vegan marshmallows to accommodate dietary restrictions. You might also consider using dairy-free chocolate options for a fully vegan treat. Always double-check for allergy cross-contamination if needed!
Irresistible Oven-Baked S'Mores: Easy Dessert Magic at Home
Ingredients
Equipment
Method
- Preheat your oven to 375°F (190°C).
- Line a sheet pan with parchment paper or aluminum foil.
- Arrange graham cracker squares on the lined sheet pan, leaving no gaps.
- Top each graham cracker with a piece of chocolate, followed by a marshmallow with the domed side up.
- Bake for 5-7 minutes until marshmallows are golden and bubbly.
- Remove from oven and gently place a halved graham cracker on top of each melted marshmallow.
- Let cool briefly before serving and enjoy while warm.
Leave a Reply