
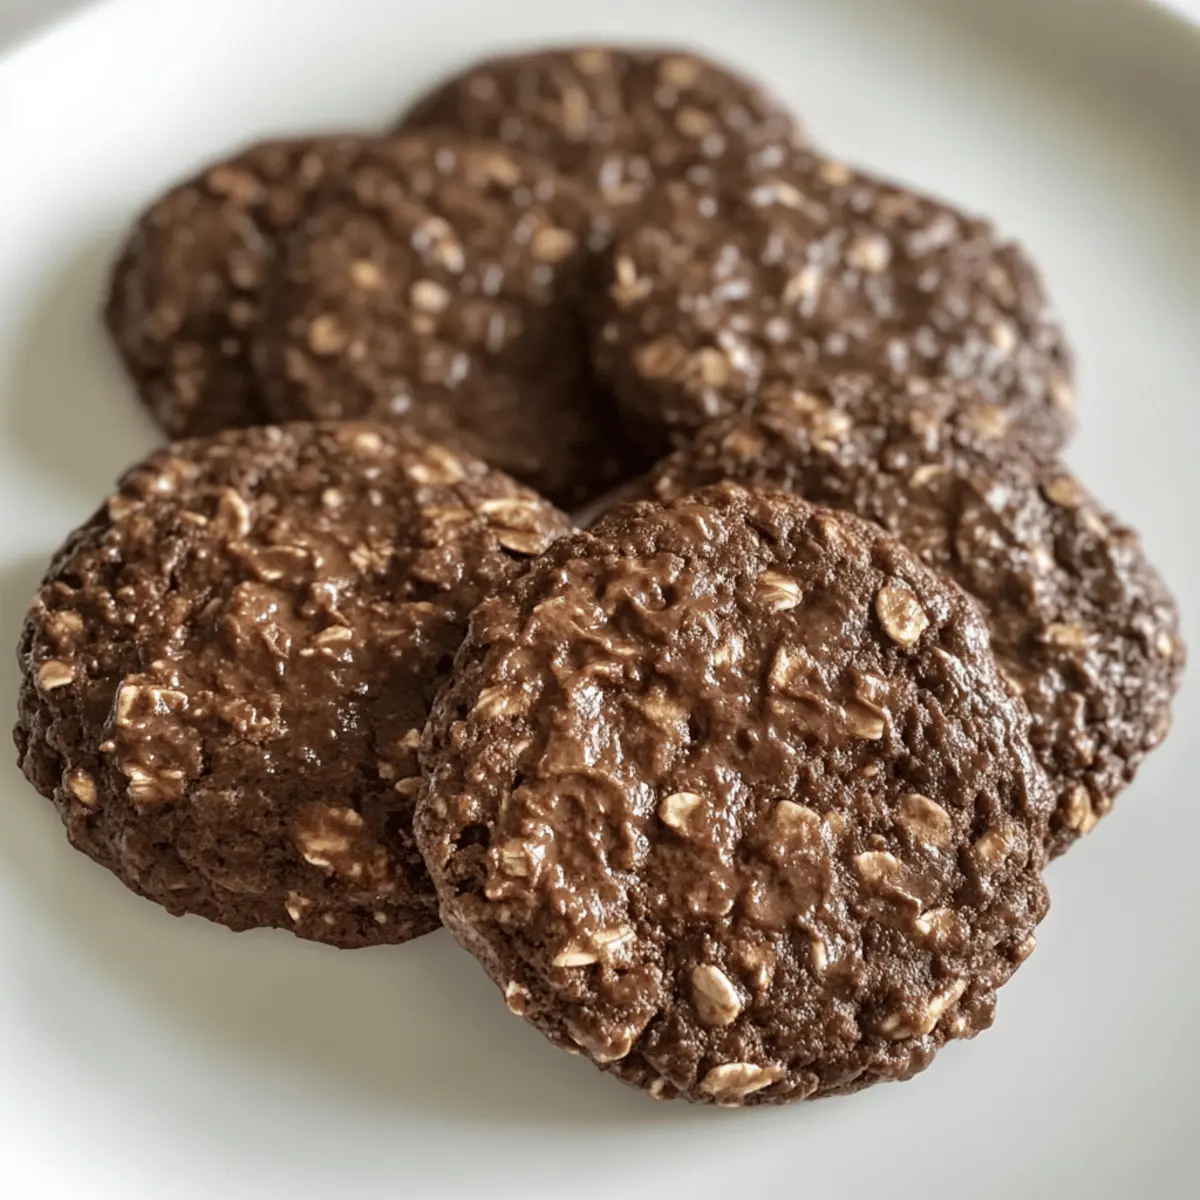
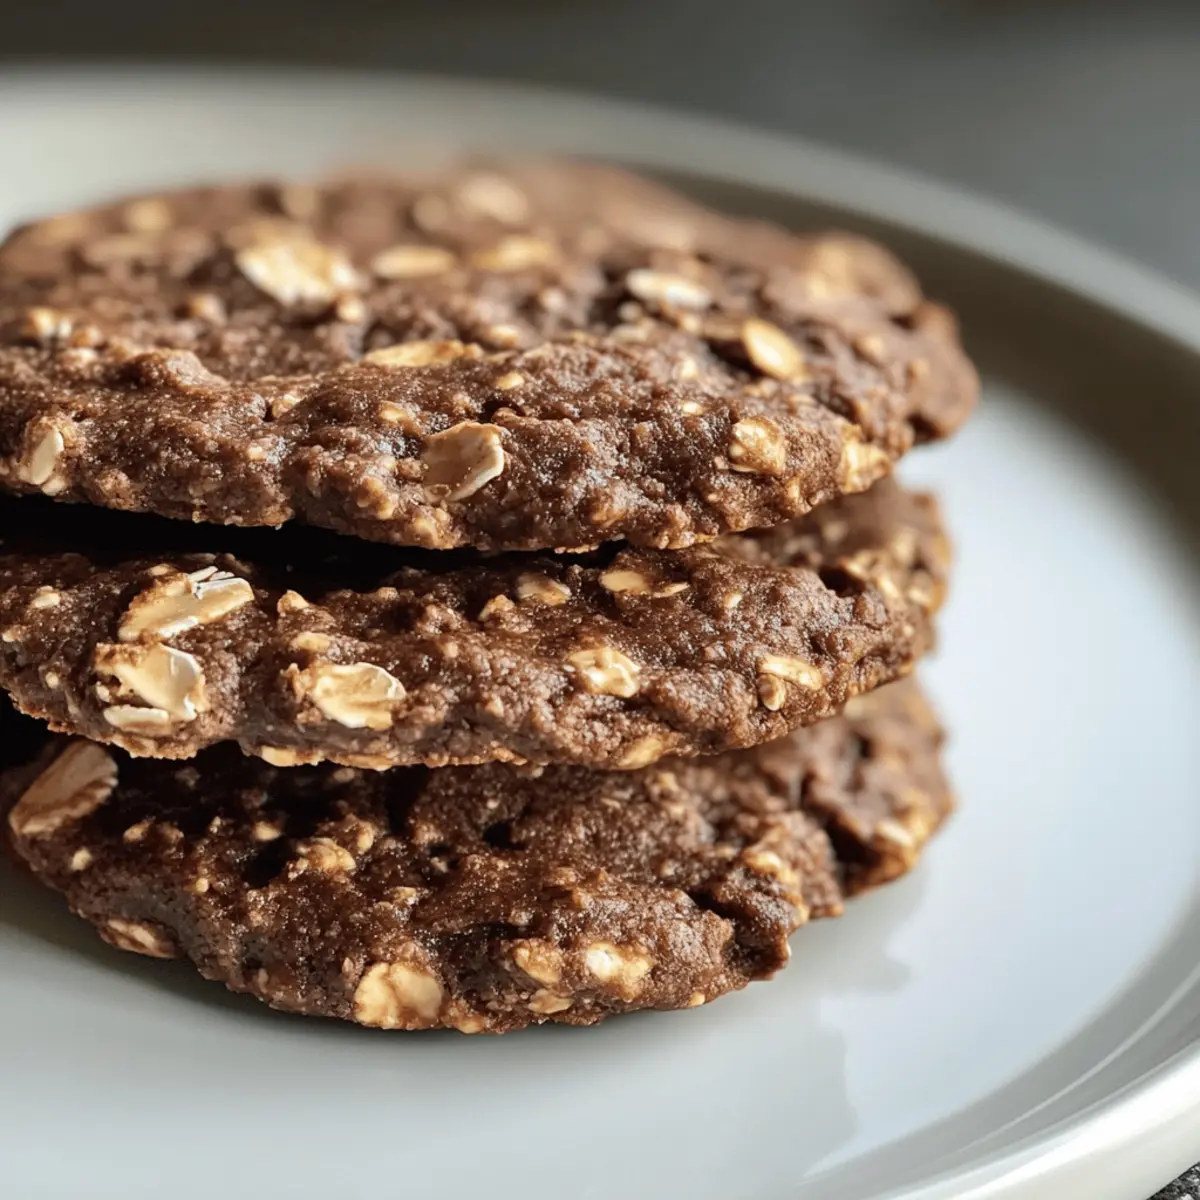
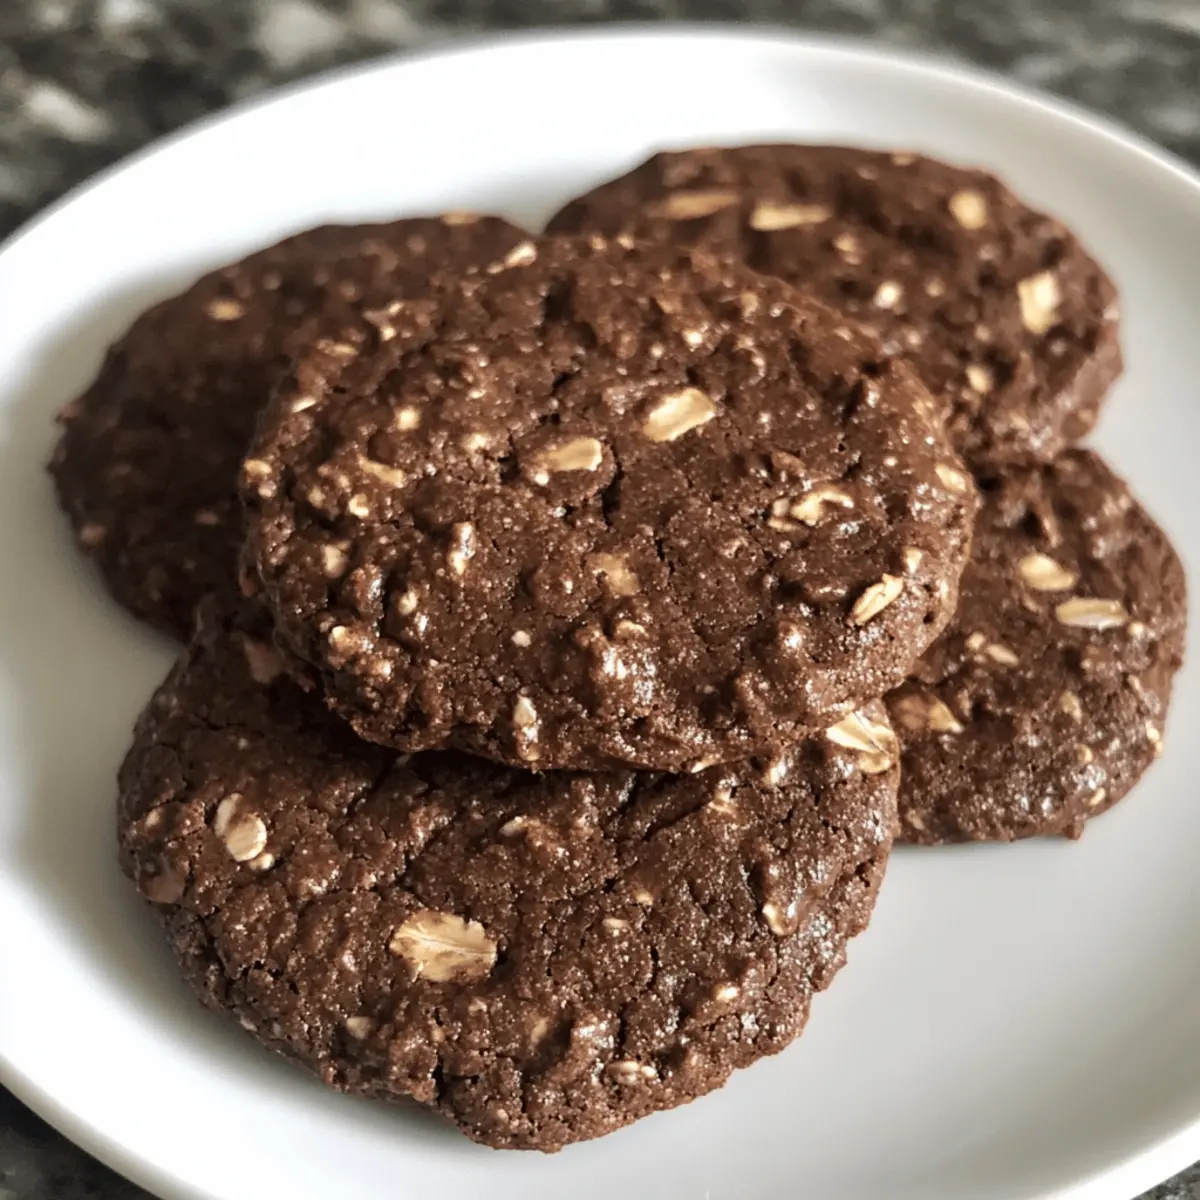
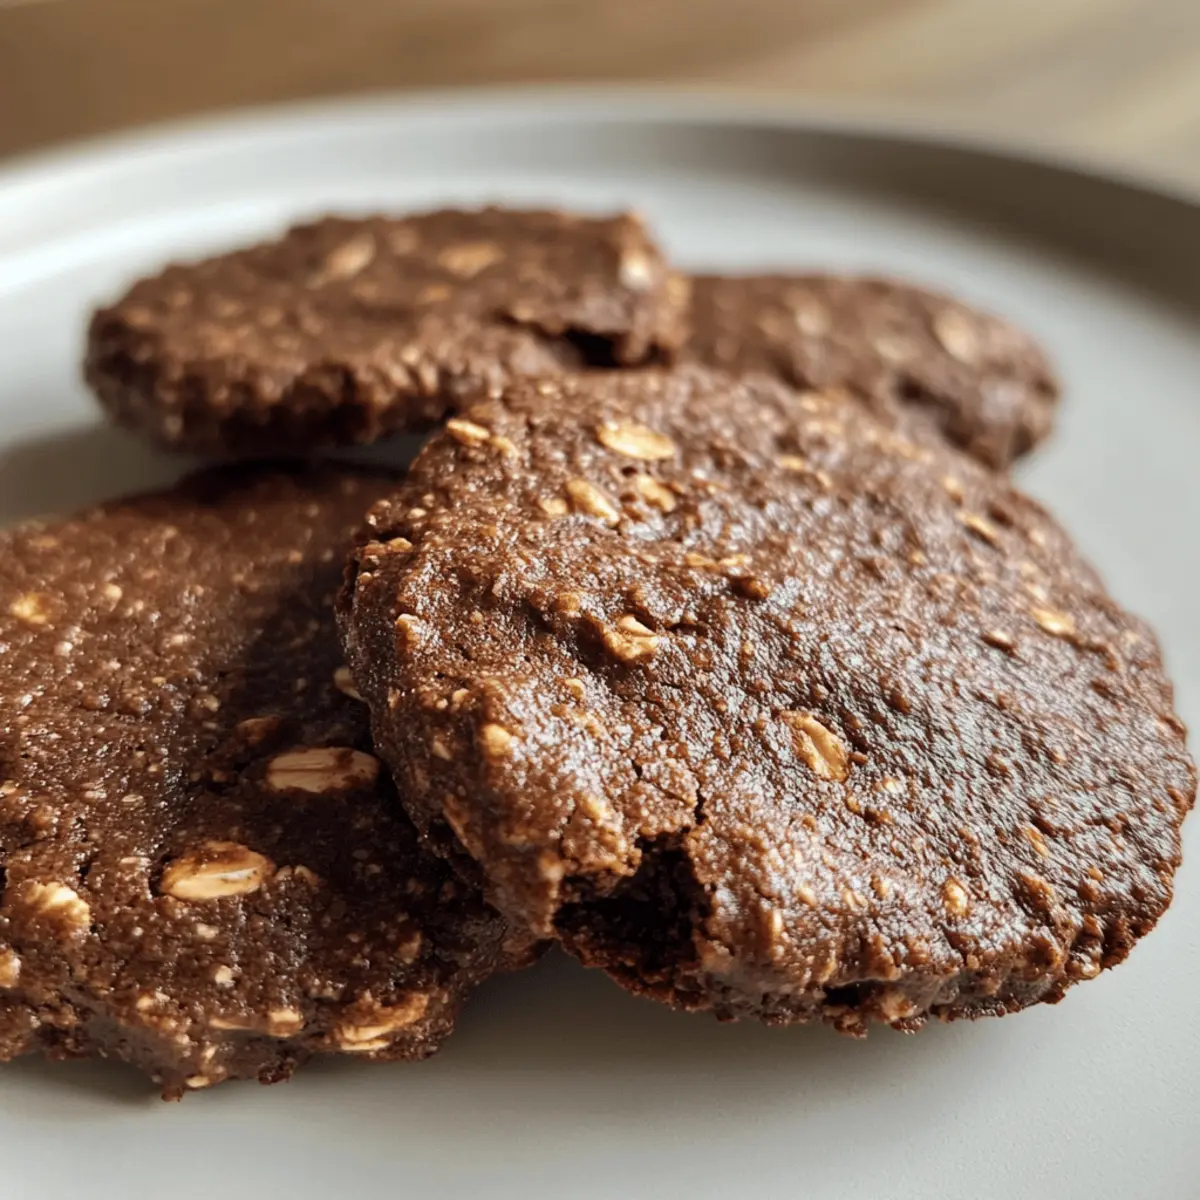
As the aroma of rich cocoa wafts through my kitchen, I can’t help but feel a surge of nostalgia for the simple joys of baking. Enter these 4-Ingredient Gluten-Free Chocolate Oat Cookies—a perfect blend of wholesome oats and decadent chocolate that caters to both the hurried home chef and the health-conscious snacker. Crafted with just four pantry staples, these cookies promise an effortless homemade treat that’s ready in a jiffy! Sweetened with maple syrup and held together by nut butter, each bite delivers a chewy satisfaction that even your gluten-loving friends won’t be able to resist. Whether you’re looking for a quick snack or a crowd-pleasing dessert, these cookies check all the boxes. Curious about how you can make this deliciousness in your own kitchen? Let’s get baking!
Why Are These Cookies So Irresistible?
Simplicity: With just four ingredients, making these cookies is a breeze even for beginners.
Gluten-Free: Enjoy a tasty treat without the gluten, making them perfect for everyone at your table.
Quick and Easy: You can whip up a batch in no time, ideal for unexpected cravings or spontaneous gatherings.
Chewy Texture: The combination of oats and nut butter gives these cookies a delightful chewiness that pairs beautifully with the rich chocolate flavor.
Customizable: Add-ins like chocolate chips or nuts allow you to create your own unique spin on this classic recipe. Pair these with a glass of milk or try them alongside Caribbean Chicken Rice for a balanced treat!
Chocolate Oat Cookies Ingredients
• Want to recreate these chewy delights? Here’s what you’ll need:
For the Cookies
- Rolled Oats – Provides structure and chewiness; for a gluten-free version, use certified gluten-free oats.
- Cocoa Powder – Adds rich chocolate flavor; Dutch-processed cocoa gives a deeper chocolatey taste.
- Nut Butter – Serves as a binder and adds healthy fats; swap with any nut or seed butter you prefer!
- Maple Syrup – Sweetens and adds moisture; honey or agave syrup are great alternatives.
These Chocolate Oat Cookies are not just simple to make but full of flavor, making well-deserved moments of indulgence!
Step‑by‑Step Instructions for 4-Ingredient Gluten-Free Chocolate Oat Cookies
Step 1: Preheat the Oven
Begin by preheating your oven to 350°F (175°C). While the oven warms up, grab a baking sheet and line it with parchment paper. This will prevent the cookies from sticking and make cleanup a breeze. A nice warm oven is essential for achieving those perfectly baked Chocolate Oat Cookies.
Step 2: Combine Dry Ingredients
In a large mixing bowl, combine the rolled oats and cocoa powder, stirring them together until they’re evenly mixed. This is where the rich chocolatey flavor starts to come to life! Use a fork or a whisk for this step to break up any clumps that may form. It’s the perfect base for your delicious cookies.
Step 3: Add Nut Butter
Next, add your chosen nut butter to the bowl with the oats and cocoa. Blend the mixture thoroughly with a spatula or wooden spoon until all the dry ingredients are coated with the nut butter. This will create a thick, sticky dough, which is essential for the structure and flavor of your Chocolate Oat Cookies.
Step 4: Mix in Sweetener
Pour in the maple syrup and mix until the dough is well combined and uniformly moist. This sweetener not only brings delightful flavor but also helps bind the ingredients together. You’ll know it’s ready when the dough holds together easily and releases from the sides of the bowl, giving you a beautifully cohesive mix.
Step 5: Shape the Cookies
Using a tablespoon, scoop the dough and drop it onto your lined baking sheet, spacing them about 2 inches apart. Gently flatten each dough ball with the back of the spoon or your fingers; this will help them spread slightly while baking. The anticipation builds as you prepare to pop these chewy Chocolate Oat Cookies into the oven!
Step 6: Bake the Cookies
Place the baking sheet in the preheated oven and bake the cookies for 10-12 minutes. Keep an eye on them; you want the edges to appear firm while the centers remain slightly soft. This contrast is what gives your cookies that irresistible chewiness once they’ve cooled down.
Step 7: Cool the Cookies
After baking, remove the sheet from the oven and let the cookies cool on the baking sheet for 5 minutes. This resting period helps them set perfectly and makes them easier to transfer. You’ll notice that they’ll firm up as they cool down, creating that delightful texture characteristic of the best Chocolate Oat Cookies.
Step 8: Transfer to Wire Rack
Finally, gently transfer the cookies to a wire rack to cool completely. Allowing air to circulate around them will enhance their texture and prevent sogginess. Once fully cooled, your homemade Chocolate Oat Cookies are ready to enjoy or store for later.
Make Ahead Options
These 4-Ingredient Gluten-Free Chocolate Oat Cookies are perfect for busy home cooks looking to save time! You can prepare the dough up to 24 hours in advance—simply mix your oats, cocoa powder, nut butter, and maple syrup until well combined, then cover the bowl tightly with plastic wrap and refrigerate. This helps the flavors meld beautifully while ensuring your cookies remain as delightful as ever. When you’re ready to bake, just scoop the chilled dough onto your baking sheet and follow the baking instructions (remember to add a minute or two to the baking time since the dough will be cold). With this prep, you’ll enjoy warm, homemade cookies with minimal effort anytime you crave a sweet treat!
Variations & Substitutions for Chocolate Oat Cookies
Feel free to get creative in your kitchen with these delicious cookie variations that will tantalize your taste buds!
-
Peanut Butter: Swap almond butter with peanut butter for a more robust flavor that many adore. Its creamy richness makes these cookies even more delightful!
-
No-Bake Option: For a quick treat, mix the ingredients and refrigerate until firm. These no-bake cookies are great for a last-minute dessert when you don’t want to turn on the oven.
-
Nut-Free: Use sunflower seed butter instead of nut butter for a delightful nut-free alternative. Perfect for those with allergies, these cookies still pack a punch!
-
Chocolate Chip Boost: Add a handful of mini chocolate chips to the dough for an extra chocolatey experience. The melty bits elevate the cookie’s flavor and texture!
-
Dried Fruit: Mix in dried cranberries or raisins for a sweet and chewy bite. Their tartness pairs perfectly with the chocolate and elevates the overall sweetness!
-
Oat Flour: For a different texture, try substituting half the rolled oats with oat flour for a softer cookie. This twist creates a more cake-like texture while maintaining that chewy goodness.
-
Spicy Kick: Add a pinch of cinnamon or a dash of cayenne pepper for a warm spiced flavor. This unexpected twist adds complexity and tantalizes your palate.
-
Caramel Drizzle: Drizzle melted caramel over cooled cookies for a decadent finish. This indulgent addition turns an already delightful treat into an irresistible dessert!
Feel inspired to mix things up? You can also pair these cookies with a refreshing glass of milk or enjoy them alongside Beef and Broccoli for a balanced snack!
What to Serve with 4-Ingredient Gluten-Free Chocolate Oat Cookies
There’s something truly magical about pairing these delightful Chocolate Oat Cookies with complementary flavors and textures for a well-rounded treat experience.
-
Creamy Vanilla Ice Cream: The rich, creamy texture contrasts beautifully with the chewy cookies, creating a delightful dessert duo that’s utterly indulgent.
-
Fresh Berries: Juicy strawberries or tart raspberries provide a refreshing balance, while their natural sweetness enhances the chocolatey goodness of the cookies.
-
Nutty Granola: Sprinkle some crunchy granola on top or serve it on the side to add a delightful crunch and extra wholesome flavor that pairs perfectly with the soft cookie texture.
-
A Warm Cup of Herbal Tea: A soothing herbal tea, such as chamomile or peppermint, offers a calming balance to the rich chocolate, elevating your snack time to a delightful ritual.
-
Cashew Cream Dip: Whip up a simple cashew cream for dipping; its nutty flavor and creamy texture complement the cookies perfectly, adding a gourmet touch.
-
Chilled Almond Milk: Enjoy these cookies with a glass of chilled almond milk, perfectly matching the nutty notes and providing a refreshing sip between bites.
Indulge in these pairing suggestions to enhance your cookie experience, making every bite a celebration of flavors!
Storage Tips for Chocolate Oat Cookies
-
Room Temperature: Keep your cookies in an airtight container for up to 5 days, ensuring they stay soft and chewy. A simple cookie jar works wonders for easy access!
-
Fridge: If you prefer them chilled, store in the refrigerator for up to a week. Just be sure to allow them to come to room temperature before enjoying!
-
Freezer: For longer storage, freeze cookies in a single layer on a baking sheet, then transfer to an airtight container. They can last up to 3 months, allowing you to always have a delicious chocolate oat cookie on hand!
-
Reheating: To bring back warmth and softness, simply microwave a cookie for 10-15 seconds. Enjoy the delightful aroma of chocolate as each bite melts in your mouth!
Expert Tips for Perfect Chocolate Oat Cookies
-
Choose Quality Ingredients: Use certified gluten-free oats and pure maple syrup to elevate flavor and ensure the best texture in your chocolate oat cookies.
-
Don’t Overmix: After adding the nut butter, mix just until combined to maintain a chewy texture. Overmixing can lead to dense cookies.
-
Proper Baking Time: Keep an eye on your cookies in the oven; they should be slightly soft in the center when you take them out, as they continue to firm up while cooling.
-
Customize Wisely: Feel free to mix in mini chocolate chips or dried fruit for extra flavor; however, balance these add-ins to keep the dough from becoming too wet.
-
Watch for Doneness: If unsure, do the “toothpick test” by inserting one into a cookie; it should come out clean but may have a few moist crumbs for the perfect soft center.
-
Storage Tips: Store your chocolate oat cookies in an airtight container to keep them fresh; you can freeze them for longer-lasting enjoyment too!
Chocolate Oat Cookies Recipe FAQs
What types of rolled oats should I use?
Absolutely! For the best texture, use certified gluten-free rolled oats if making these cookies for someone with gluten intolerance. These oats provide the structure and chewiness necessary for a satisfying cookie without the worry of gluten contamination.
How should I store my Chocolate Oat Cookies?
You can store these cookies in an airtight container at room temperature for up to 5 days. Make sure they’re well sealed to maintain their chewy texture. If you want to keep them fresh longer, consider freezing them.
Can I freeze Chocolate Oat Cookies?
Yes! To freeze your cookies, first place them in a single layer on a baking sheet and freeze them for about an hour until solid. Then, transfer the frozen cookies to an airtight container or freezer bag. This method prevents them from sticking together. They can last up to 3 months in the freezer. When you’re ready to enjoy, simply thaw at room temperature or heat them in the microwave for 10-15 seconds.
Why did my cookies turn out too dry or crumbly?
Very! This often happens due to overbaking or too much cocoa powder. Make sure to check your cookies at the minimum baking time of 10 minutes and remove them as soon as the edges are firm but the centers remain soft. If you find your dough too dry when mixing, a little extra nut butter can help moisten it.
Are these cookies safe for allergy considerations?
Definitely! Since this recipe uses nut butter, be mindful of nut allergies. You can easily swap out the nut butter for sunflower seed butter or tahini to cater to those with nut sensitivities. Remember to also check the labels of your oat and cocoa powder for possible allergens.
Can I make these cookies vegan?
Yes, you can! To ensure your Chocolate Oat Cookies are vegan, simply choose maple syrup or agave syrup as your sweetener. The nut butter is already plant-based, so you’re all set!
Savor Every Bite: Easy Mushroom and Tofu Stir-Fry Delight
Ingredients
Equipment
Method
- Preheat your oven to 350°F (175°C) and line a baking sheet with parchment paper.
- In a large mixing bowl, combine the rolled oats and cocoa powder, stirring until evenly mixed.
- Add your chosen nut butter and blend thoroughly until the dry ingredients are coated.
- Pour in the maple syrup and mix until the dough is well combined and uniformly moist.
- Scoop the dough onto the lined baking sheet, spacing them about 2 inches apart, and flatten each ball slightly.
- Bake for 10-12 minutes until edges appear firm while centers remain slightly soft.
- Let the cookies cool on the baking sheet for 5 minutes before transferring them to a wire rack.
- Allow cookies to cool completely before enjoying or storing for later.
Leave a Reply