
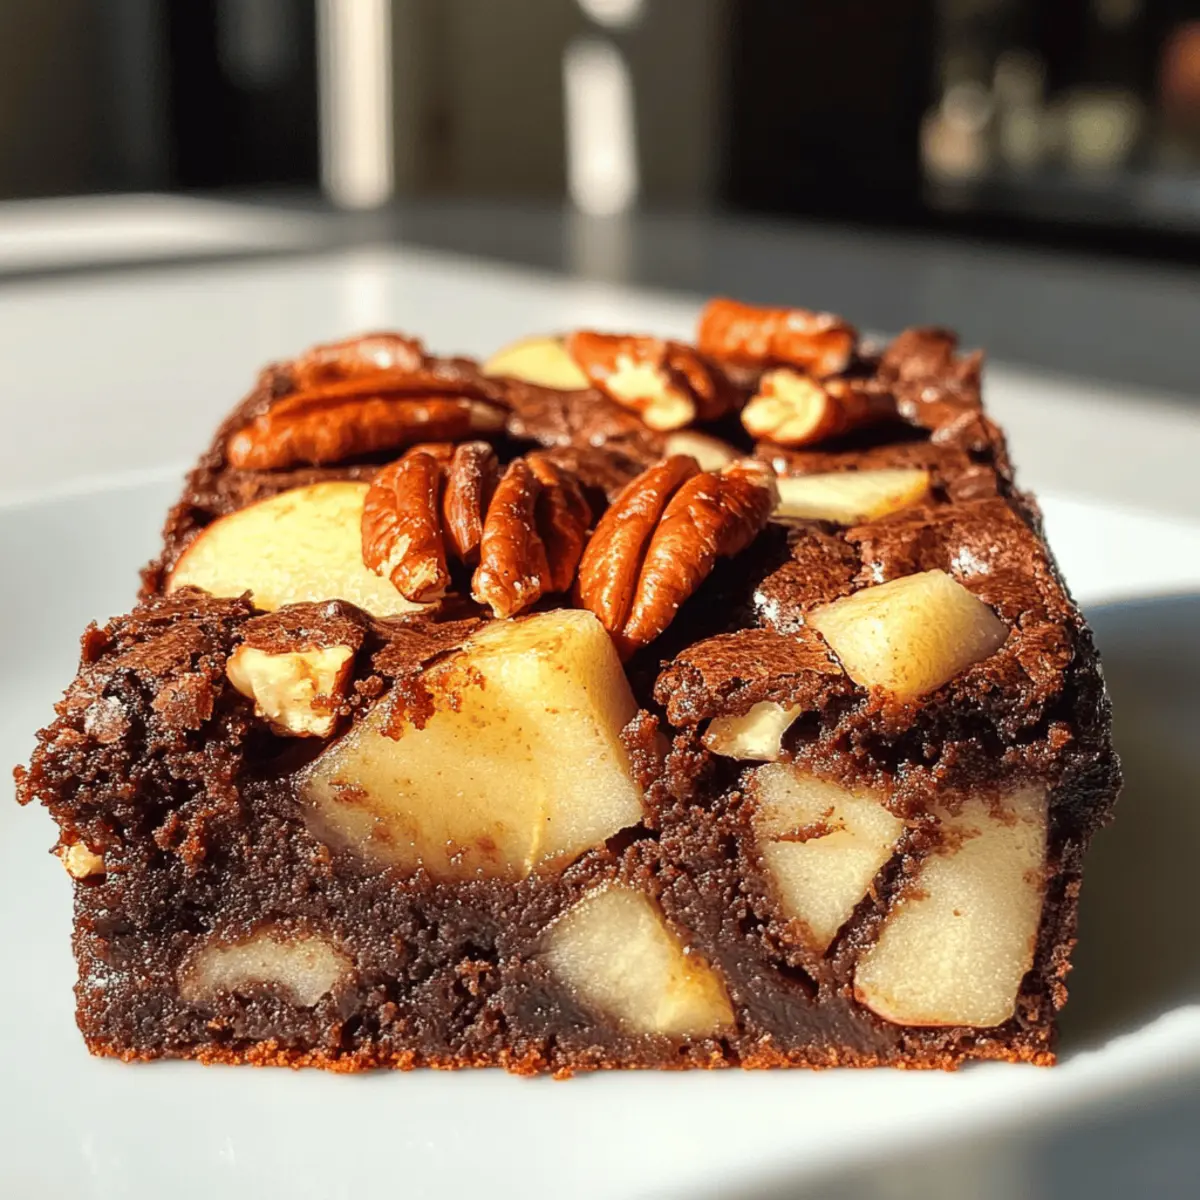
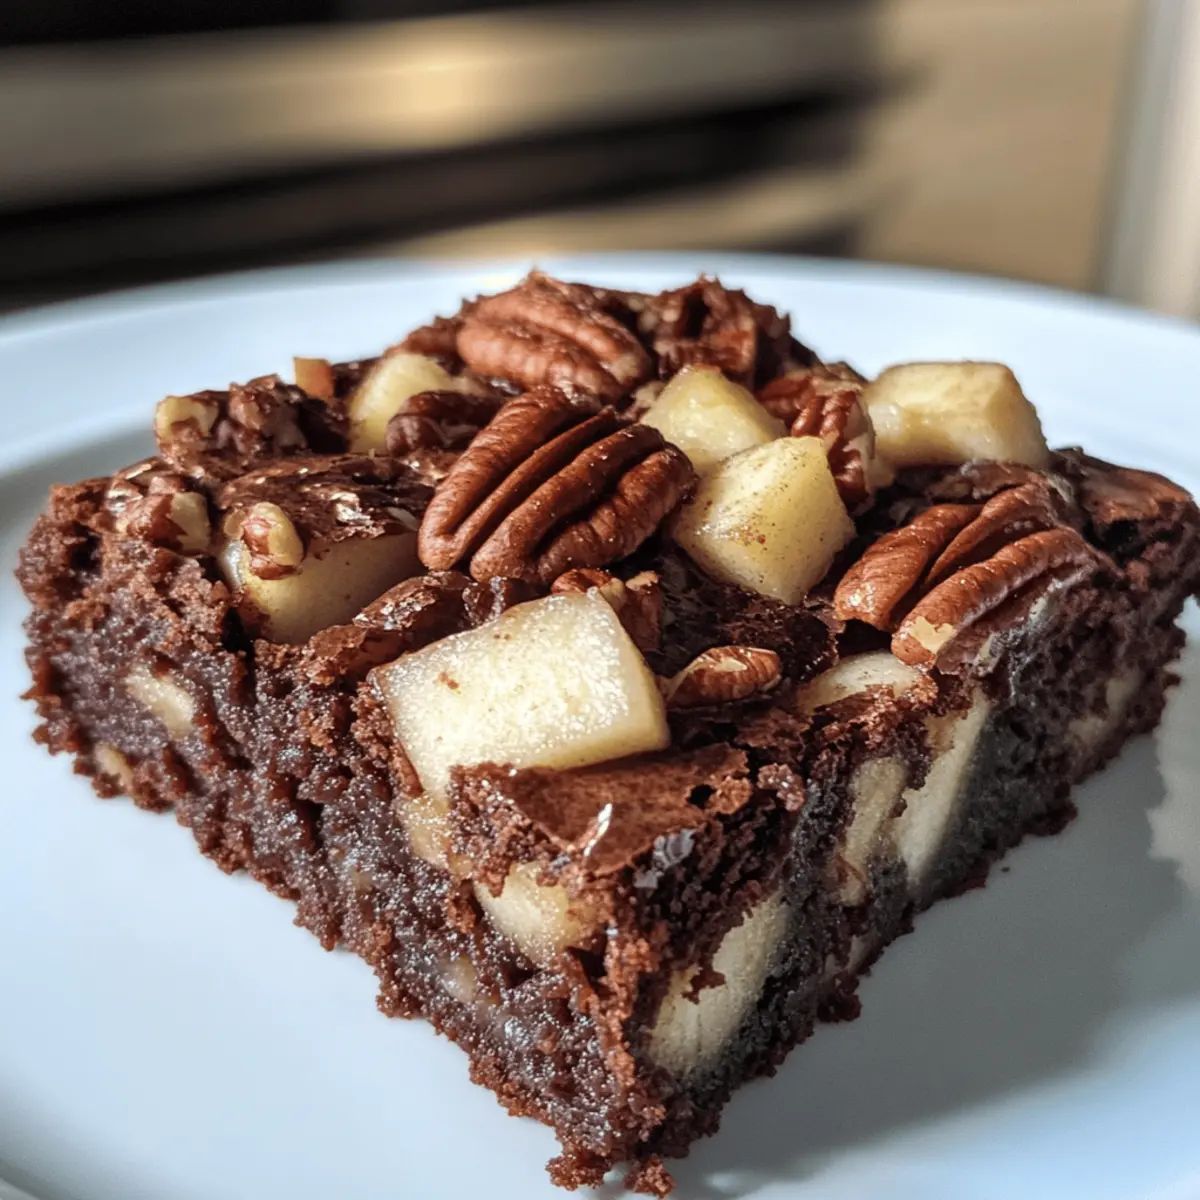
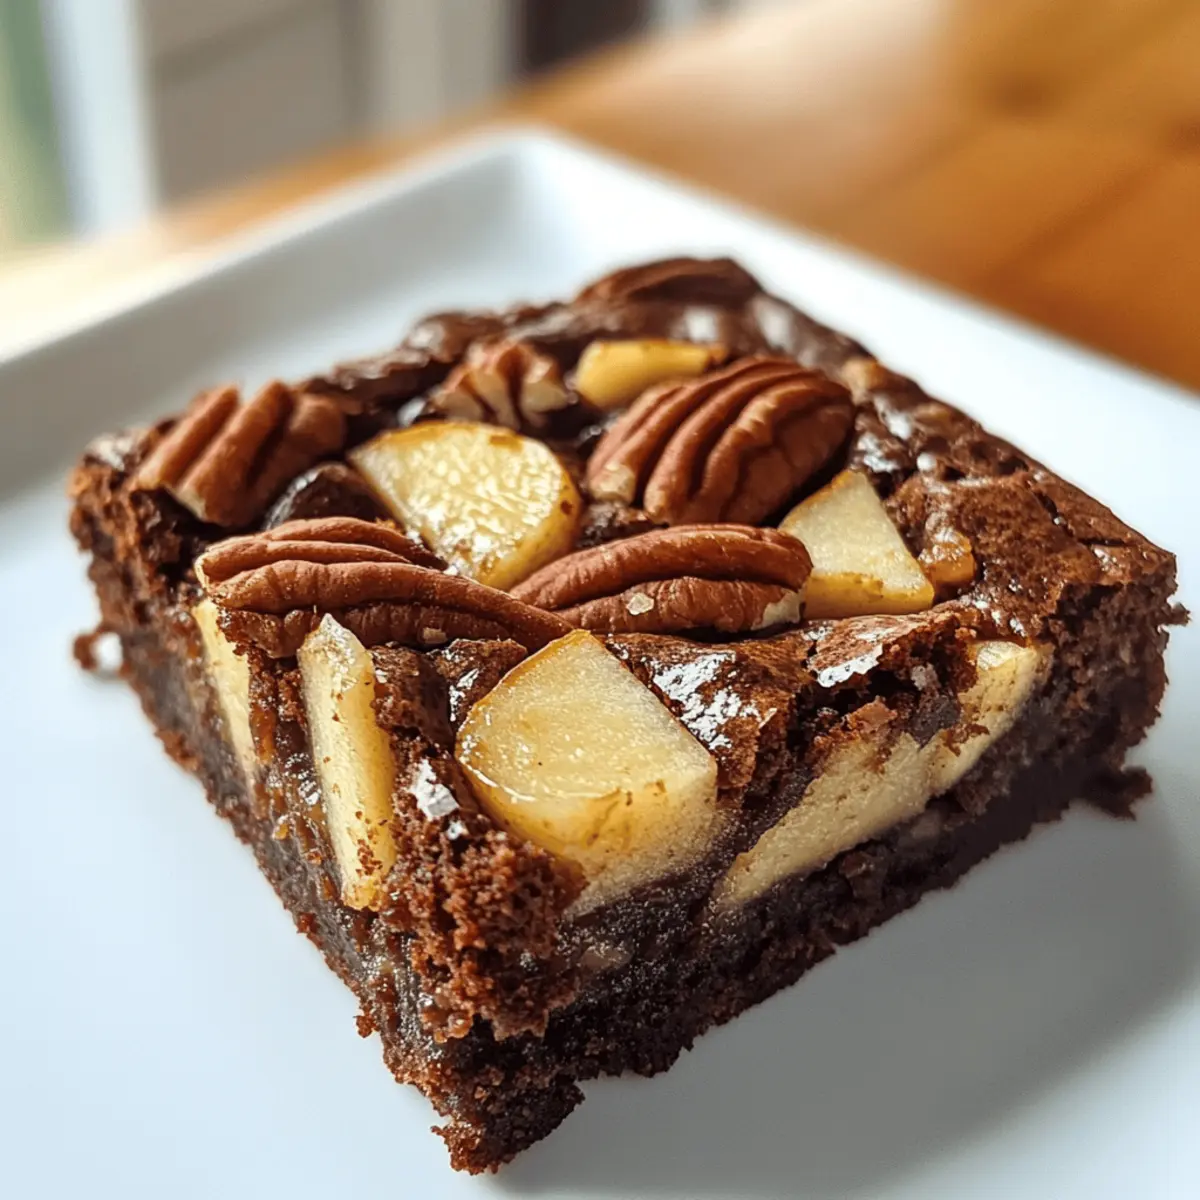
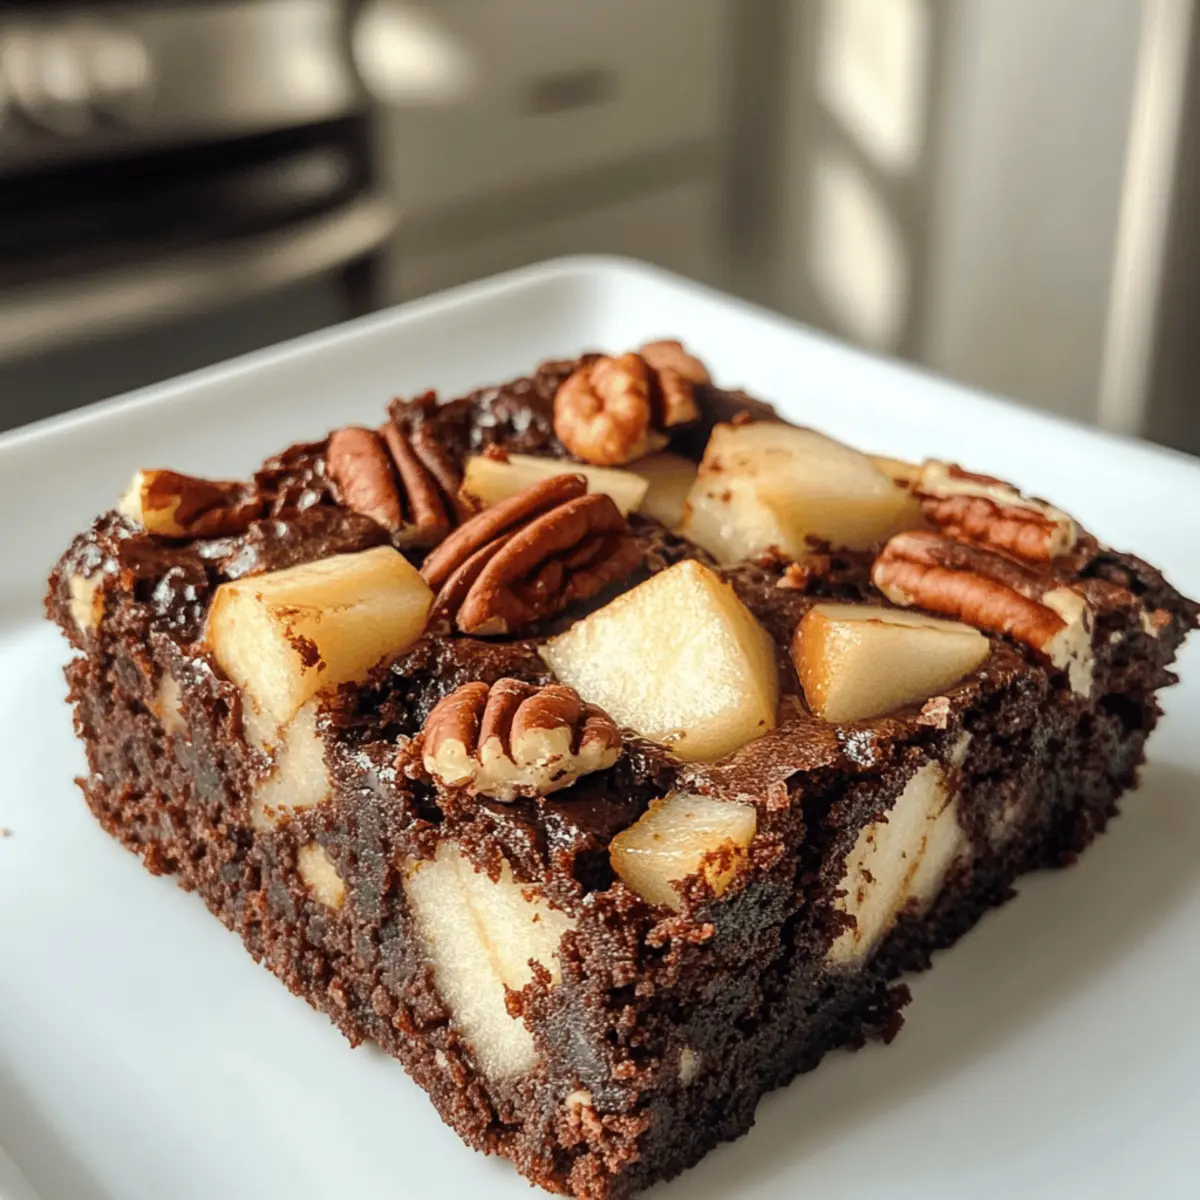
As the crisp autumn air arrives, I’m reminded of the comforting scents wafting through kitchens filled with warmth and love. These Chewy Apple Brownies with Pecans are my go-to treat; they’re not just any dessert, but a delightful twist on fall flavors that even those who aren’t fond of classic apple desserts will adore. Packed with tart chunks of fresh apples, robust pecans, and a hint of cinnamon, this one-bowl recipe fits perfectly into those busy afternoons when you crave something sweet without the fuss. Plus, they’re easy to whip up and make for a fantastic crowd-pleaser at gatherings or cozy nights at home. Who wouldn’t want to dive into a warm piece of this chewy goodness? Ready to bring the taste of fall into your kitchen? Let’s get started!
Why are these Apple Brownies irresistible?
Chewy Texture: These Apple Brownies deliver a delightful chewy bite combined with slightly crisp edges that make every mouthful satisfying.
Fall Flavors: Infused with cinnamon and real apple pieces, they capture the essence of autumn in every slice.
One-Bowl Wonder: Quick and easy to make, this recipe means less time in the kitchen and more time enjoying the cozy season.
Crowd-Pleaser: Perfect for parties or family gatherings, these brownies are a sure hit, even for those who typically avoid apple desserts.
Versatile Ingredients: Feel free to experiment! Try swapping in walnuts or adding a pinch of nutmeg for a different flavor twist, or explore gluten-free options. Let these tasty treats inspire your fall baking adventures!
Apple Brownies Ingredients
For the Batter
- Butter – Adds richness and moisture; use salted or unsalted to suit your taste.
- Sugar – Provides sweetness and aids in browning; can be reduced to 3/4 cup for a lighter touch.
- Egg – Binds ingredients and gives those chewy brownie goodness.
- All-Purpose Flour – Forms the foundation of the brownies; substitute with gluten-free flour on a 1:1 basis.
- Baking Powder – Helps the brownies rise slightly, ensuring a delightful texture.
- Salt – Enhances the sweetness; a crucial component even in dessert recipes.
- Cinnamon – Infuses warmth and a classic fall flavor; use pumpkin spice for a seasonal twist.
- Chopped Apple Pieces – Adds moisture and tartness; a mix of Granny Smith and Honey Crisp apples is perfect, but limit to 1 cup for ideal texture.
- Toasted Pecan Pieces – Imparts a delightful crunch and nutty flavor; walnuts make a great substitute or omit if preferred.
Enjoy making these Apple Brownies with a cozy twist that warms your heart.
Step‑by‑Step Instructions for Chewy Apple Brownies with Toasted Pecans
Step 1: Preheat and Prepare
Begin by preheating your oven to 350°F (175°C). As it warms, grab your 8 x 8 inch baking dish and lightly grease it with baking spray or line it with parchment paper. This will ensure your delicious Apple Brownies come out easily once baked, and a quick visual check of the pan can help confirm that you’re ready for the batter.
Step 2: Toast the Pecans
Next, add the pecan pieces to a skillet over medium heat. Toast them for about 4-5 minutes until they’re fragrant and golden, stirring occasionally to avoid burning. Once toasted, remove them from the heat and let them cool slightly. The toasty aroma will set the tone for the delightful flavors in your Apple Brownies.
Step 3: Chop the Apples
While the pecans cool, focus on your apples. Peel, core, and chop two medium apples into 1/2 inch chunks; aim for about 1 cup. Mix different varieties like Granny Smith and Honey Crisp to achieve a balance of tartness and sweetness. Set aside the apple pieces, and admire the fresh, vibrant colors that will brighten your chewy brownies.
Step 4: Cream the Butter and Sugar
In a large mixing bowl, cream together 1/2 cup of softened butter and 1 cup of sugar using an electric mixer on medium speed until the mixture is light and fluffy, about 3-4 minutes. The butter and sugar should combine beautifully, creating a creamy texture—which is the perfect base to incorporate the other essential ingredients for the rich flavor of your Apple Brownies.
Step 5: Combine the Wet Ingredients
With the butter and sugar creamy, add in one beaten egg, mixing just until combined. This addition binds your ingredients together and contributes to the chewy texture. Make sure to scrape down the sides of the bowl for an even blend. You’ll notice the mixture becoming homogenous and ready to incorporate the dry ingredients for your brownies.
Step 6: Mix in the Dry Ingredients
Now, sift together 1 cup of all-purpose flour, 1 teaspoon of baking powder, 1/4 teaspoon of salt, and 1 teaspoon of cinnamon in a separate bowl. Gradually add this dry blend to the butter mixture, mixing on low until just combined. The batter will be thick and sticky; that’s perfectly fine! You’re on your way to creating scrumptious Apple Brownies.
Step 7: Add Apples and Pecans
Gently fold in the chopped apple pieces and toasted pecans into the batter using a spatula. Aim for an even distribution throughout the mixture, but be careful not to over-mix. You might feel a delightful texture from the apples and nuts as you incorporate them. When done, the batter should be vibrant and inviting, ready to be transformed into chewy goodness.
Step 8: Pour into the Dish
Pour the batter into your prepared baking dish, using the spatula to spread it evenly across the surface. Ensure the mixture reaches all corners of the dish for uniform baking. As you level the top, take a moment to appreciate the warm, inviting look of your soon-to-be-baked Apple Brownies, exuding a cozy essence perfect for fall.
Step 9: Bake to Perfection
Place the baking dish in the preheated oven and bake for 30-40 minutes, or until the brownies turn a golden brown and a toothpick inserted into the center comes out clean. Keep an eye on them, checking at the 30-minute mark to avoid overbaking. The anticipation will fill your kitchen with delightful scents of cinnamon and apples.
Step 10: Cool and Slice
Once baked, remove the dish from the oven and allow the Apple Brownies to cool in the pan for about 15-30 minutes. This cooling time allows them to set up nicely for slicing. When ready, cut into squares and serve warm or at room temperature. The chewy texture will beckon you for a taste of this fall-inspired treat.
Make Ahead Options
These Chewy Apple Brownies are perfect for meal prep enthusiasts! You can prepare the batter up to 24 hours in advance and store it in the refrigerator; simply cover it tightly to maintain freshness. Additionally, you can chop the apples and toast the pecans ahead of time—just keep both in airtight containers in the fridge for up to 3 days. When you’re ready to bake, mix the prepped ingredients into the batter and pour it into your prepared baking dish. Bake as directed, and you’ll have delicious, chewy Apple Brownies ready with minimal effort, making your busy weeknights a little sweeter!
Expert Tips for Chewy Apple Brownies
- Baking Precision: Keep an eye on the baking time. Since ovens vary, check your Apple Brownies at around 30 minutes to avoid overbaking.
- Apple Mix: Use a combination of tart and sweet apples, like Granny Smith and Honey Crisp, for a balanced flavor and maintain the right texture.
- Cooling Importance: Allow your brownies to cool for at least 30 minutes before slicing. This will improve their chewy texture and help them hold together better.
- Pecan Substitution: If you’re not a fan of pecans, feel free to swap in walnuts, or even omit nuts altogether for a nut-free version of these delightful Apple Brownies.
- Store Wisely: Keep any leftover brownies in an airtight container at room temperature for up to three days. For longer storage, freeze them and reheat for a fresh taste!
How to Store and Freeze Apple Brownies
Room Temperature: Store leftover Apple Brownies in an airtight container at room temperature for up to 3 days for the best taste and texture.
Fridge: If you wish to keep them fresh longer, you can refrigerate the brownies in an airtight container for up to a week. Just remember to allow them to come to room temperature before serving.
Freezer: Freeze Apple Brownies by wrapping them individually in plastic wrap and placing them in a freezer-safe bag. They will maintain their quality for up to 3 months.
Reheating: To enjoy frozen brownies, simply thaw them at room temperature for a couple of hours and pop them in a warm oven for 5–10 minutes to restore their chewy goodness!
What to Serve with Chewy Apple Brownies with Pecans?
Indulging in a warm, chewy brownie is a treat, but pairing them with the right accompaniments can elevate your dessert experience to new heights.
-
Vanilla Ice Cream: A scoop of creamy vanilla ice cream melts beautifully over warm brownies, enhancing the comforting flavors.
-
Whipped Cream: Light and airy, whipped cream adds a cloud-like texture that perfectly balances the dense brownie while adding sweetness.
-
Caramel Sauce: Drizzling warm caramel sauce adds a lovely richness and wonderfully complements the apple and pecan flavors; it’s an irresistible pairing!
-
Apple Cider: The fresh taste of apple cider resonates with the brownie’s flavors and brings a refreshing contrast to the dessert.
-
Chai Tea: The warm spices in chai tea harmonize perfectly with the cinnamon in the brownies, creating a cozy tea-time treat.
-
Coffee: The robust flavor of freshly brewed coffee enhances the dessert experience, balancing the sweetness and adding depth to each bite.
-
Chocolate Sauce: For chocolate lovers, a decadent drizzle of chocolate sauce will introduce an exciting twist that hits the sweet spot.
-
Nutty Granola: A sprinkle of nutty granola as a topping adds extra crunch and invites a delightful texture contrast in each bite.
-
Pecans on Top: Garnish your brownies with extra toasted pecans for a lovely presentation and enhanced nuttiness that complements every mouthful.
Each pairing brings its own unique flavor and texture to the table, ensuring that your Chewy Apple Brownies become the star of every gathering!
Apple Brownies Variations & Substitutions
Feel free to explore these fun and delicious variations to make these Apple Brownies your own!
-
Nut-Free: Omit the pecans entirely for a nut-free treat that still boasts incredible flavor.
-
Gluten-Free: Substitute all-purpose flour with a gluten-free blend on a 1:1 ratio for a gluten-free version of these chewy delights.
-
Apple Variety: Try using different apple types! Mixing tart Granny Smith with sweet Fuji or Honey Crisp will elevate the flavor complexities wonderfully.
-
Spice it Up: Swap out cinnamon for pumpkin spice or nutmeg for a seasonal twist that will make your taste buds sing!
-
Add Chocolate: Fold in chocolate chips alongside the apples for a rich, sweet surprise that chocolate lovers will adore.
-
Coconut Bliss: Incorporate unsweetened shredded coconut for a tropical flair and added texture; it’s a delightful surprise in every bite!
-
Zesty Citrus: Grate in some lemon or orange zest to brighten the flavors; this will enhance the overall freshness of your brownies.
-
Elevate with Ice Cream: Top your warm Apple Brownies with a scoop of vanilla ice cream or serve alongside Caramel Apple Nachos for an indulgent dessert experience.
Feel inspired to mix and match these ideas, and don’t hesitate to check out more creative apple recipes like Wisconsin Apple Kringle or Apple Fries for more tasty options!
Apple Brownies Recipe FAQs
How do I choose the best apples for my Apple Brownies?
Absolutely! For the best results, I recommend using a mix of tart and sweet apples, like Granny Smith for tartness and Honey Crisp for sweetness. Look for apples that are firm, with no bruises or dark spots. This balance will enhance the flavor of your brownies while keeping the texture moist.
How should I store leftover Apple Brownies?
You can store your Apple Brownies in an airtight container at room temperature for up to 3 days. To prolong their freshness, refrigerate them for up to a week. Just remember to bring them back to room temperature before serving for the best taste!
Can I freeze my Apple Brownies?
Absolutely! To freeze your Apple Brownies, wrap them individually in plastic wrap and place them in a freezer-safe bag or container. They will stay fresh for up to 3 months. When you’re ready to enjoy them, thaw at room temperature and pop them into a warm oven for 5–10 minutes to revive their chewy texture.
What if my Apple Brownies end up too moist or dense?
No worries! If your brownies are too moist, it might be a sign that you’ve added too many apples. Stick to around 1 cup of chopped apples to maintain that perfect chewy consistency. If they seem dense, make sure you’re not overmixing after adding the dry ingredients, as this can create a heavy texture.
Are these Apple Brownies suitable for people with dietary restrictions?
They absolutely can be! For gluten-free options, you can substitute all-purpose flour with a 1:1 gluten-free flour blend. Additionally, feel free to reduce the sugar or opt for plant-based butter to accommodate dairy sensitivities. Just make sure to check labels for any potential allergens related to nuts if you choose to add pecans or walnuts!
How long should I cool my Apple Brownies before slicing?
I recommend letting your brownies cool in the pan for at least 15-30 minutes before slicing. This cooling time allows them to set nicely and helps achieve that perfect chewy texture. The longer they cool, the firmer they’ll become, making slicing much easier!
Chewy Apple Brownies with Toasted Pecans for Fall Bliss
Ingredients
Equipment
Method
- Preheat your oven to 350°F (175°C) and prepare your baking dish.
- Toast pecan pieces in a skillet over medium heat for 4-5 minutes until fragrant.
- Chop and prepare the apple pieces, aiming for about 1 cup.
- Cream butter and sugar together until light and fluffy, about 3-4 minutes.
- Add beaten egg into the butter mixture and mix until combined.
- Sift together flour, baking powder, salt, and cinnamon; gradually add to the butter mixture.
- Fold in the chopped apples and toasted pecans gently.
- Pour the batter into the prepared baking dish and level the top.
- Bake in the preheated oven for 30-40 minutes until golden brown and a toothpick comes out clean.
- Allow brownies to cool for 15-30 minutes before slicing into squares.
Leave a Reply