
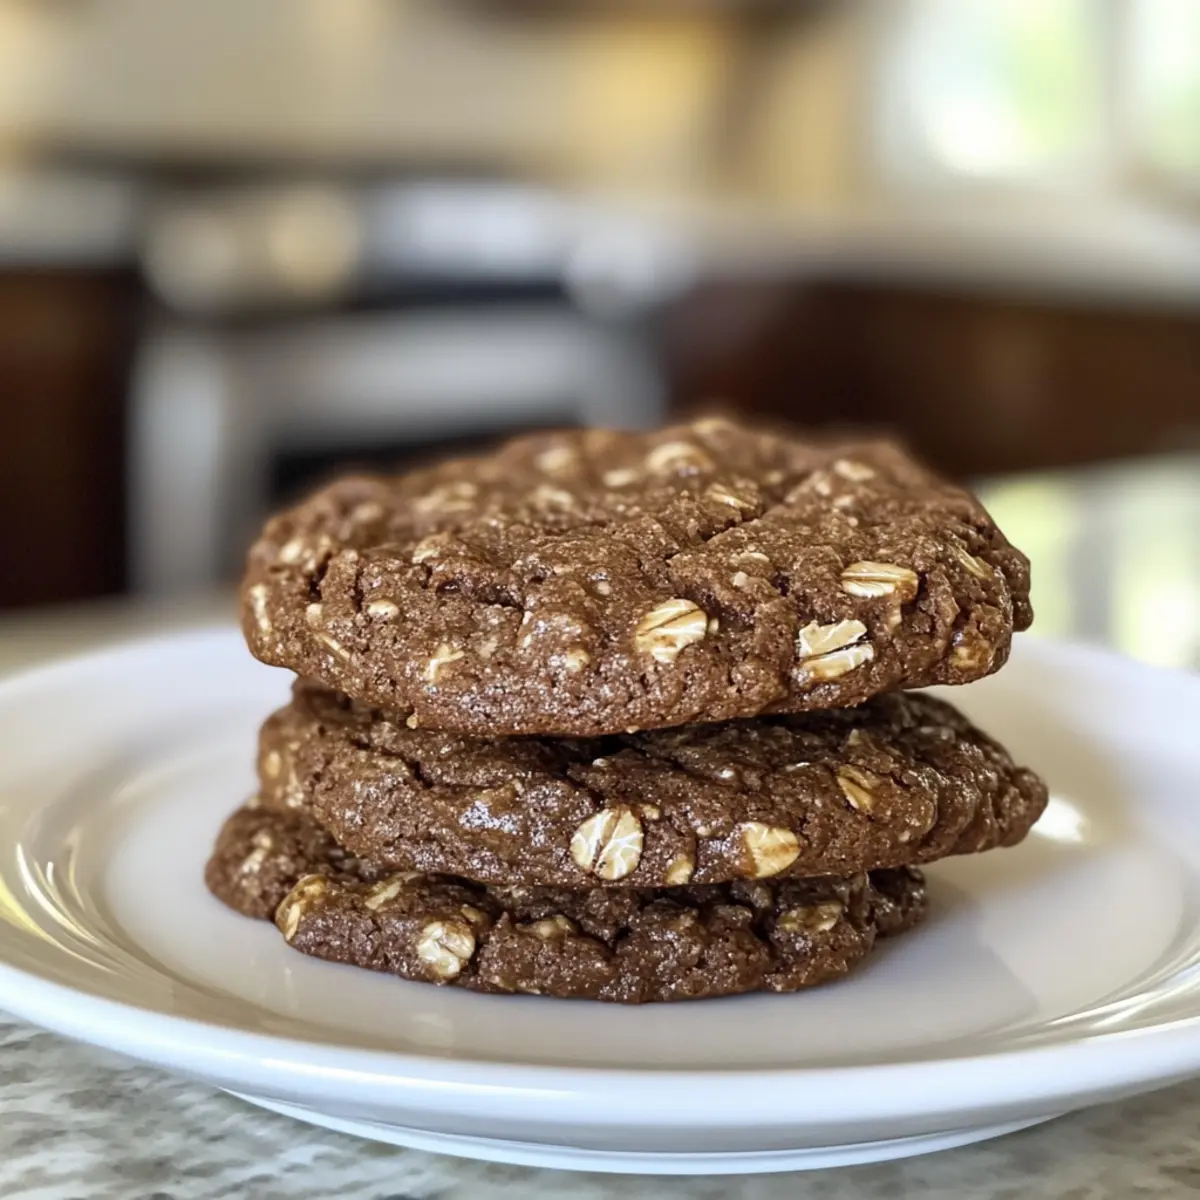
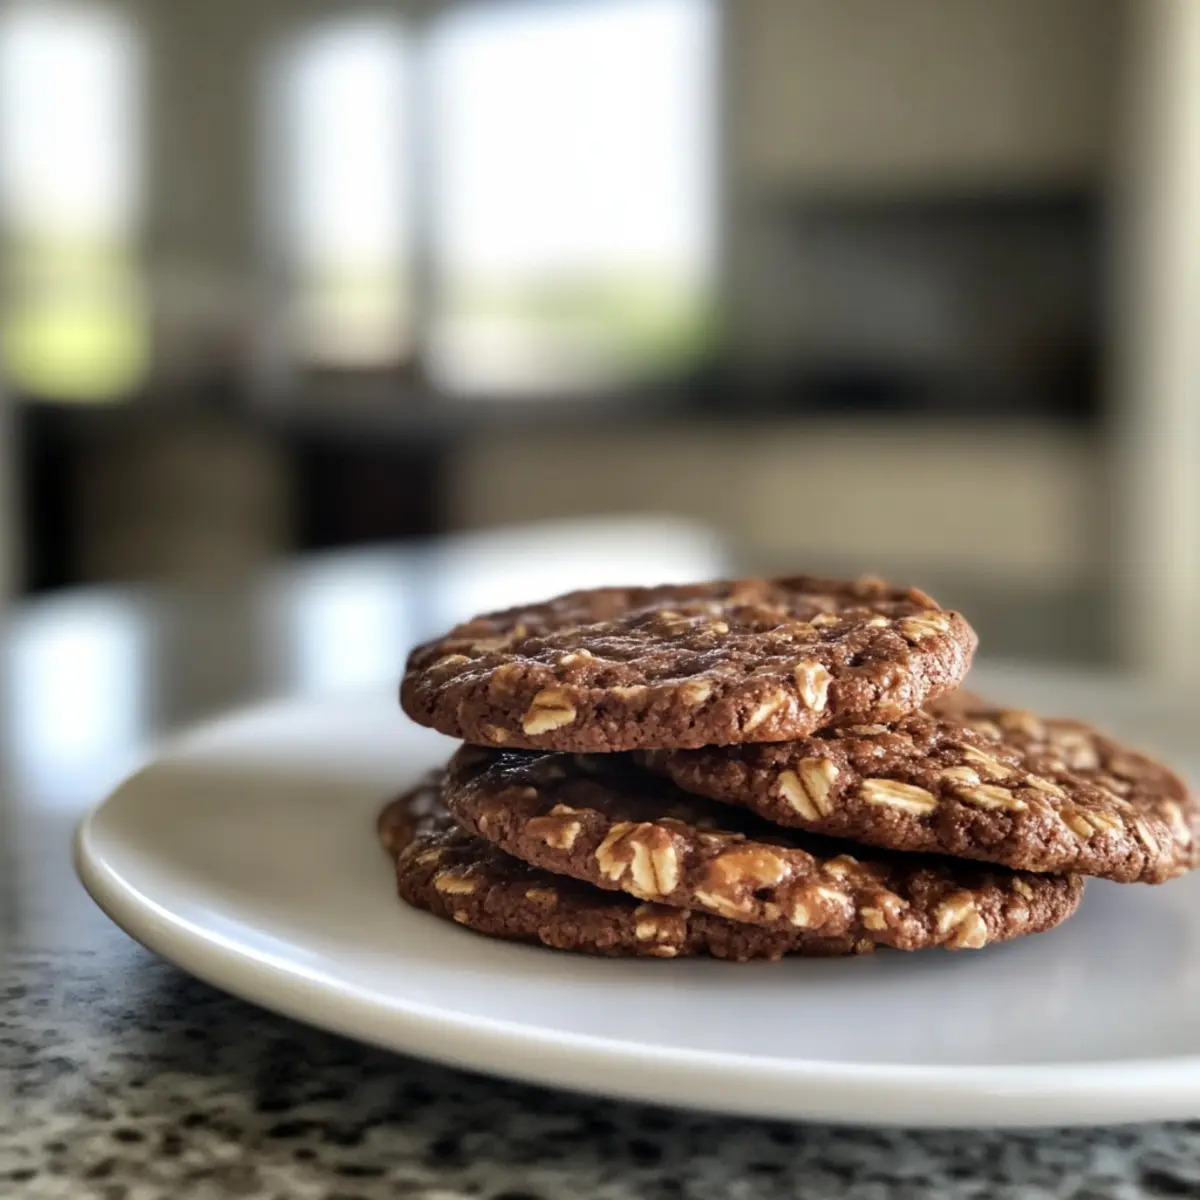
As I stood in my kitchen, the scent of warm chocolate wafting through the air, I couldn’t help but smile at my latest creation—these 4-Ingredient Crispy Chocolate Oat Cookies. With just four simple ingredients, I whipped up a delightful treat perfect for those afternoons when you need a little something sweet but don’t want to spend hours baking. What I love most about this recipe is its versatility: you can choose between a crispy or chewy texture and add your favorite nuts or dried fruits to customize your cookies. Plus, they’re gluten-free and ready in under 20 minutes, making them an ideal snack for anyone looking to ditch fast food for something homemade. Curious about how to make your kitchen a little sweeter? Let’s dive into the recipe!
Why are these cookies so delightful?
Simplicity at its core: You only need four ingredients to whip up these cookies, making them an approachable recipe for bakers of all levels.
Quick to Make: Prep and bake them in under 20 minutes—perfect for when a craving strikes!
Customizable to Perfection: Whether you prefer a crispy or chewy bite, you can adjust the texture and toss in your favorite mix-ins like nuts or dried fruits, allowing you to personalize each batch.
Healthy Indulgence: These cookies are gluten-free and made with wholesome ingredients, ideal for those looking to satisfy their sweet tooth without the guilt.
Whether paired with a cup of coffee for a delightful afternoon break or enjoyed as a tasty pick-me-up, these cookies are sure to become a staple in your kitchen. Happy baking!
Chocolate Oat Cookie Ingredients
• Just four ingredients needed!
For the Cookies
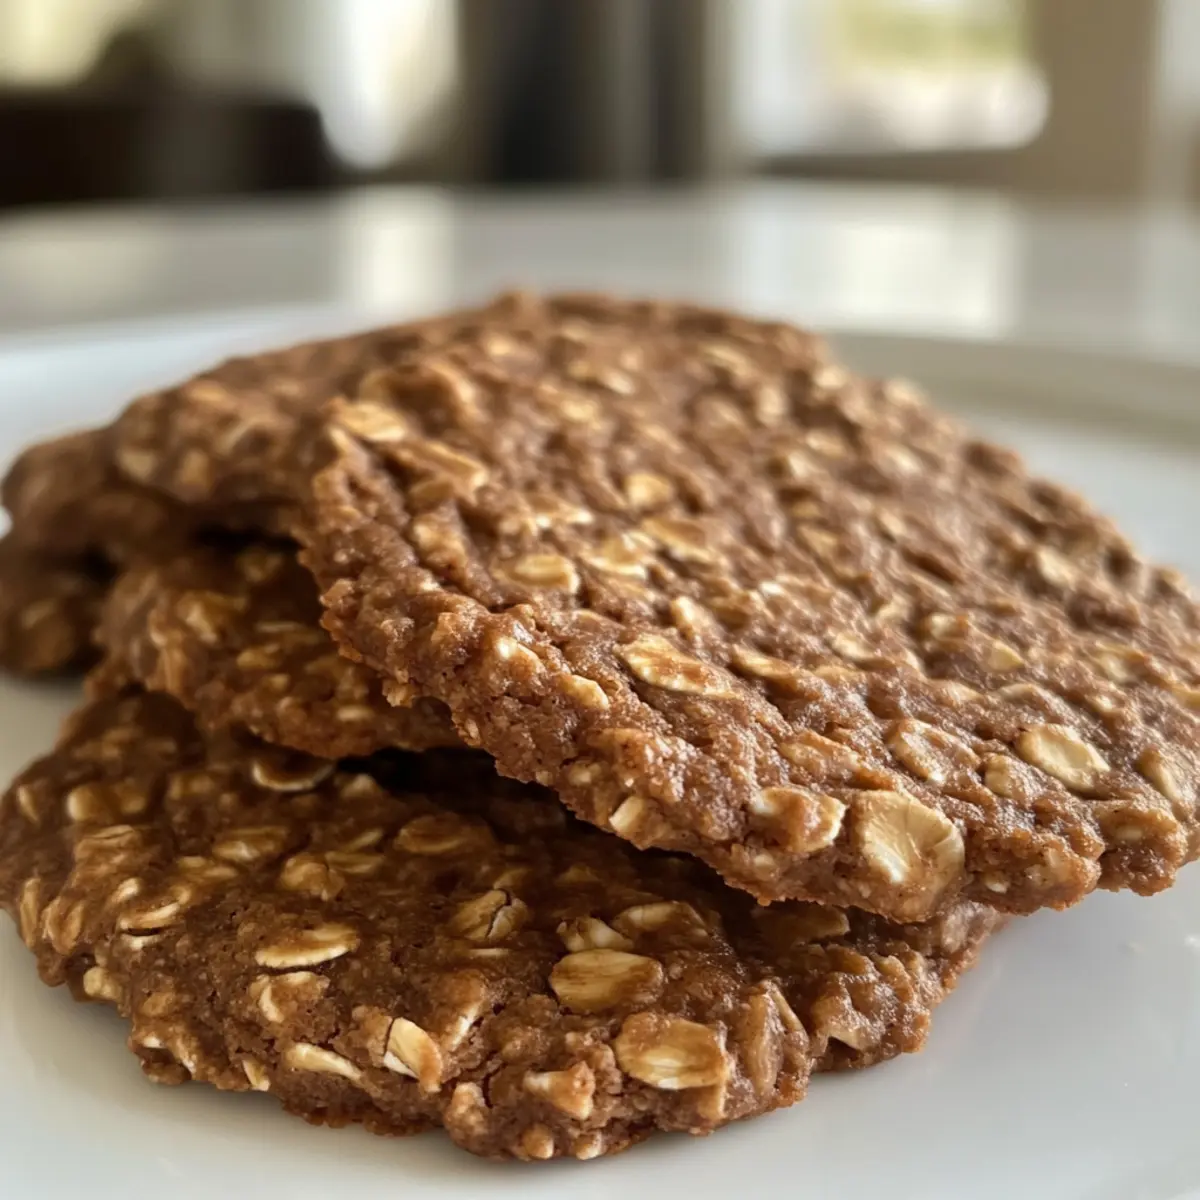
- Oats – Provide a hearty base; rolled oats work best for added texture.
- Nut Butter – Acts as a glue to hold the cookies together; almond or peanut butter adds delightful flavor.
- Honey or Maple Syrup – Sweetens naturally; agave syrup can be used for a vegan alternative.
- Cocoa Powder – Gives that rich chocolate essence; opt for unsweetened for bold flavor.
Optional Add-Ins
- Chocolate Chips – A decadent addition for those extra chocolatey bites.
- Dried Fruits – Adds a sweet chewiness; cranberries or raisins are lovely choices.
- Nuts – Chopped walnuts or pecans for a lovely crunch; great for healthy fats.
These ingredients come together to create scrumptious Chocolate Oat Cookies, fostering a warm sense of homemade goodness. Enjoy experimenting with your favorites!
Step‑by‑Step Instructions for 4-Ingredient Crispy Chocolate Oat Cookies
Step 1: Preheat the Oven
Begin by preheating your oven to 350°F (175°C). This ensures that by the time your cookie dough is ready, the oven is hot and ready to go, providing an even bake. Prepare a baking sheet by lining it with parchment paper, which will prevent your cookies from sticking and make cleanup a breeze.
Step 2: Mix the Base
In a large mixing bowl, combine rolled oats, nut butter, and your choice of honey or maple syrup. Use a sturdy spatula or spoon to mix the ingredients together until everything is fully combined and a cohesive dough forms. You should have a slightly sticky mixture that holds together well, ready to be transformed into delicious cookies.
Step 3: Incorporate Cocoa Powder
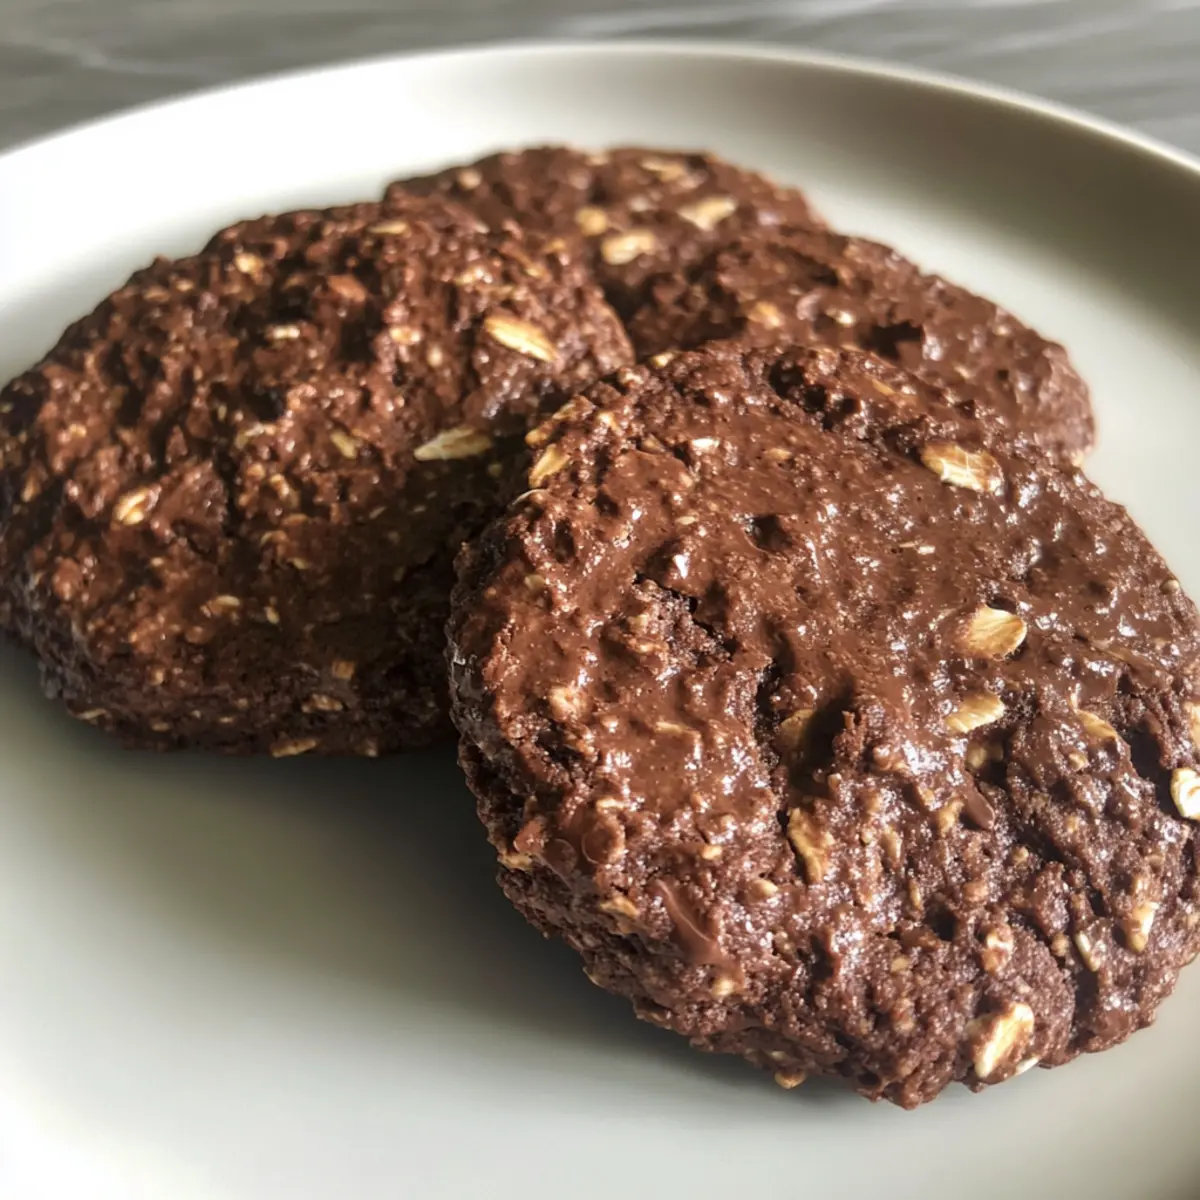
Next, add unsweetened cocoa powder to the oat mixture. Stir vigorously until the cocoa is evenly distributed throughout the dough, creating a beautifully rich chocolate color. This step is crucial for achieving that delectable chocolate flavor in your 4-Ingredient Crispy Chocolate Oat Cookies, making sure every bite is deliciously chocolatey.
Step 4: Shape the Cookies
Now it’s time to shape the cookies. Use your hands to scoop out portions of the dough and roll them into small balls, about the size of a tablespoon. Flatten each ball slightly and place them on the lined baking sheet, leaving space between them to allow for spreading as they bake. Aim for about 12 cookies, ensuring they are uniform in size for even baking.
Step 5: Bake the Cookies
Place the baking sheet in your preheated oven and bake for 10-12 minutes. Keep a close eye on them; the edges should be lightly crisp while the centers remain soft. The aroma of melting chocolate will fill your kitchen, enticing anyone nearby! When the baking time is up, they will firm up as they cool, so don’t worry if they seem a little soft in the center.
Step 6: Cool the Cookies
After baking, carefully remove the sheet from the oven and let the cookies cool on the baking sheet for about 5 minutes. This resting time allows them to set up a bit more. Once they’re easier to handle, transfer the cookies to a wire rack to cool completely. This final step ensures they achieve the perfect crispy texture while the centers remain delightfully chewy.
Variations & Substitutions for Chocolate Oat Cookies
Feel free to let your creativity shine as you make these delightful cookies your own!
-
Crispy Variation: Bake for an additional 2-3 minutes to enhance the crunch. Perfect for those who crave a little extra bite!
-
Nut-Free Option: Substitute sunflower seed butter instead of nut butter for a nut-free treat. This swap maintains that rich texture without the nuts.
-
Sweetener Swap: Use agave syrup instead of honey or maple syrup for a vegan option. You’ll still get the sweetness you love without any animal products.
-
Mix-in Magic: Add in dark chocolate chips or white chocolate chunks for a flavor explosion. Each bite becomes a surprise!
-
Fruit Fusion: Stir in dried cranberries or raisins for a bit of chewiness and a fruity twist. They’ll add just the right amount of sweetness!
-
Spice It Up: Incorporate a dash of cinnamon or a splash of vanilla extract to elevate the flavor profile. Your cookies will have a cozy, aromatic touch!
-
Nutritional Boost: Throw in some chia seeds or ground flaxseed for added nutrition. They provide extra fiber and omega-3s while remaining undetectable in flavor.
Enjoy exploring these variations—maybe even host a fun cookie-making night to craft your unique creations! And for more mouthwatering ideas, consider trying our delicious Cheesy Ground Beef and Potatoes or the flavorful Mongolian Ground Beef Noodles for your next family meal!
Expert Tips
• Consistency Check: Ensure the dough is slightly sticky but holds together. If too dry, add a touch more nut butter for the perfect chocolate oat cookie texture.
• Baking Time: Keep a close eye on your cookies while they bake. Overbaking can lead to hard cookies, so aim for those edges to be crisp while the center remains soft.
• Don’t Skimp on Cooling: Allow the cookies to cool on the baking sheet for about 5 minutes before transferring them to a wire rack. This helps them retain that delightful chewiness we all love.
• Storage Secrets: Store your cookies in an airtight container to maintain freshness. They last up to a week, making them an excellent healthy snack option for busy days.
• Mix It Up: Feel free to experiment with add-ins like chocolate chips or nuts. This personal touch can take your chocolate oat cookies to the next level of deliciousness.
What to Serve with 4-Ingredient Crispy Chocolate Oat Cookies
Looking to elevate your cookie experience? Here are some delightful pairings that will enhance the joy of these sweet treats.
-
Fresh Berries: The bright, tart flavor of strawberries or raspberries provides a refreshing contrast to the rich chocolatey cookies, creating a perfect balance.
-
Creamy Yogurt: A dollop of Greek yogurt adds creaminess and tang, making every bite a delightful blend of textures and flavors for a satisfying snack.
-
Nutty Trail Mix: A crunchy trail mix with almonds and dried fruits brings in additional textures and flavors, enhancing the chewy goodness of your cookies and providing satisfying munching between bites.
-
Glass of Milk: Nothing beats a classic pairing! A cold glass of milk complements the cookies beautifully, balancing their sweetness and enriching the chocolate flavor with each dunk.
-
Sweet Coffee: Brew a cup of your favorite coffee; the warm, aromatic beverage pairs perfectly with the cookies, turning your snack time into a cozy moment.
-
Vanilla Ice Cream: Serve cookies alongside a scoop of vanilla ice cream for an indulgent dessert experience; the warm cookie with cold ice cream is pure bliss.
Try these combinations to make your cookie moments special and remember, each pairing brings out the best in your homemade treats!
How to Store and Freeze Chocolate Oat Cookies
Airtight Container: Store cookies in an airtight container at room temperature for up to 7 days, ensuring they stay fresh and delicious.
Refrigerator: For longer-lasting freshness, keep the cookies in the refrigerator for up to 2 weeks. Just make sure to seal them properly to avoid drying out.
Freezer: Freeze cookies for up to 3 months in an airtight container or freezer bag. Place parchment paper between layers to prevent sticking.
Reheating: When you’re ready to enjoy, reheat cookies in the oven at 350°F (175°C) for 5-7 minutes, restoring their delightful textures perfectly.
Make Ahead Options
These 4-Ingredient Crispy Chocolate Oat Cookies are perfect for busy home cooks looking to streamline their meal prep! You can mix the cookie dough up to 24 hours ahead and store it in an airtight container in the refrigerator to maintain its freshness. If preferred, shape the cookies and freeze them for up to 3 months; just place the formed cookies on a baking sheet to flash freeze before transferring them to a freezer bag. When you’re ready to bake, there’s no need to thaw—just pop them into a preheated oven, adding a couple of extra minutes to the baking time for perfectly delicious results. Enjoy homemade goodness without the hassle!
Chocolate Oat Cookies Recipe FAQs
What type of oats should I use for these cookies?
I recommend using rolled oats for the best texture, as they provide a hearty base and hold together well during baking. Quick oats can work too, but you may lose that lovely chewy texture.
How should I store my Chocolate Oat Cookies?
Keep your cookies in an airtight container at room temperature for up to 7 days to maintain their freshness. If you want them to last longer, it’s best to refrigerate them, where they can stay good for up to 2 weeks.
Can I freeze these cookies, and if so, how?
Absolutely! You can freeze your Chocolate Oat Cookies for up to 3 months. To do this, place them in an airtight container or sealable freezer bag. I suggest layering parchment paper between the cookies to prevent them from sticking together. When you’re ready to enjoy them, simply reheat in the oven at 350°F (175°C) for 5-7 minutes.
What if my cookie dough feels too dry?
If your cookie dough seems too dry and crumbly, don’t worry! Just add a little more nut butter (about a teaspoon at a time) until you achieve a slightly sticky but cohesive mixture. The right consistency will allow for perfect cookies!
Are there any dietary considerations for pets with these cookies?
You should be mindful that while these cookies are healthy for humans, they contain ingredients like nut butter and honey that are not suitable for pets. Always keep such treats away from your furry friends to ensure their safety.
Can I add different ingredients to the recipe?
Very! You can customize your cookies by adding chocolate chips or dried fruits for extra flavor and texture. Feel free to experiment with spices like cinnamon or nutmeg to put your personal twist on this delightful recipe.
Savory Korean Ground Beef Bowl for Quick Weeknight Dinner
Ingredients
Equipment
Method
- Heat a large skillet over medium heat and add ground beef.
- Cook until browned, breaking it apart with a spatula.
- Stir in soy sauce, brown sugar, and garlic.
- Add broccoli and carrots; cook until vegetables are tender.
- Serve the beef and vegetable mixture over cooked rice.
Leave a Reply