
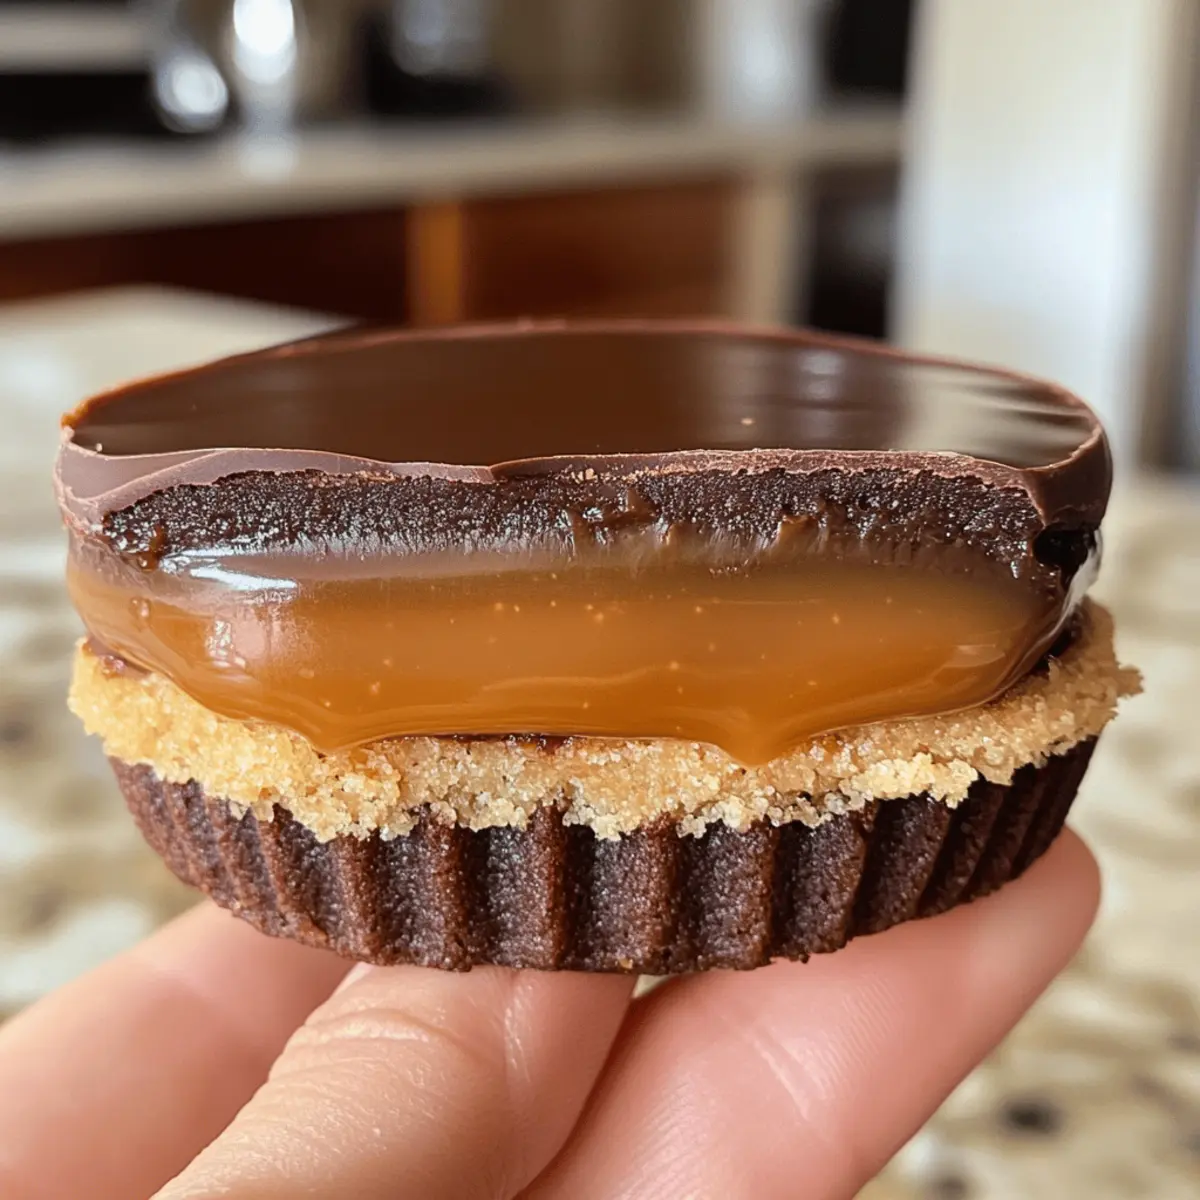
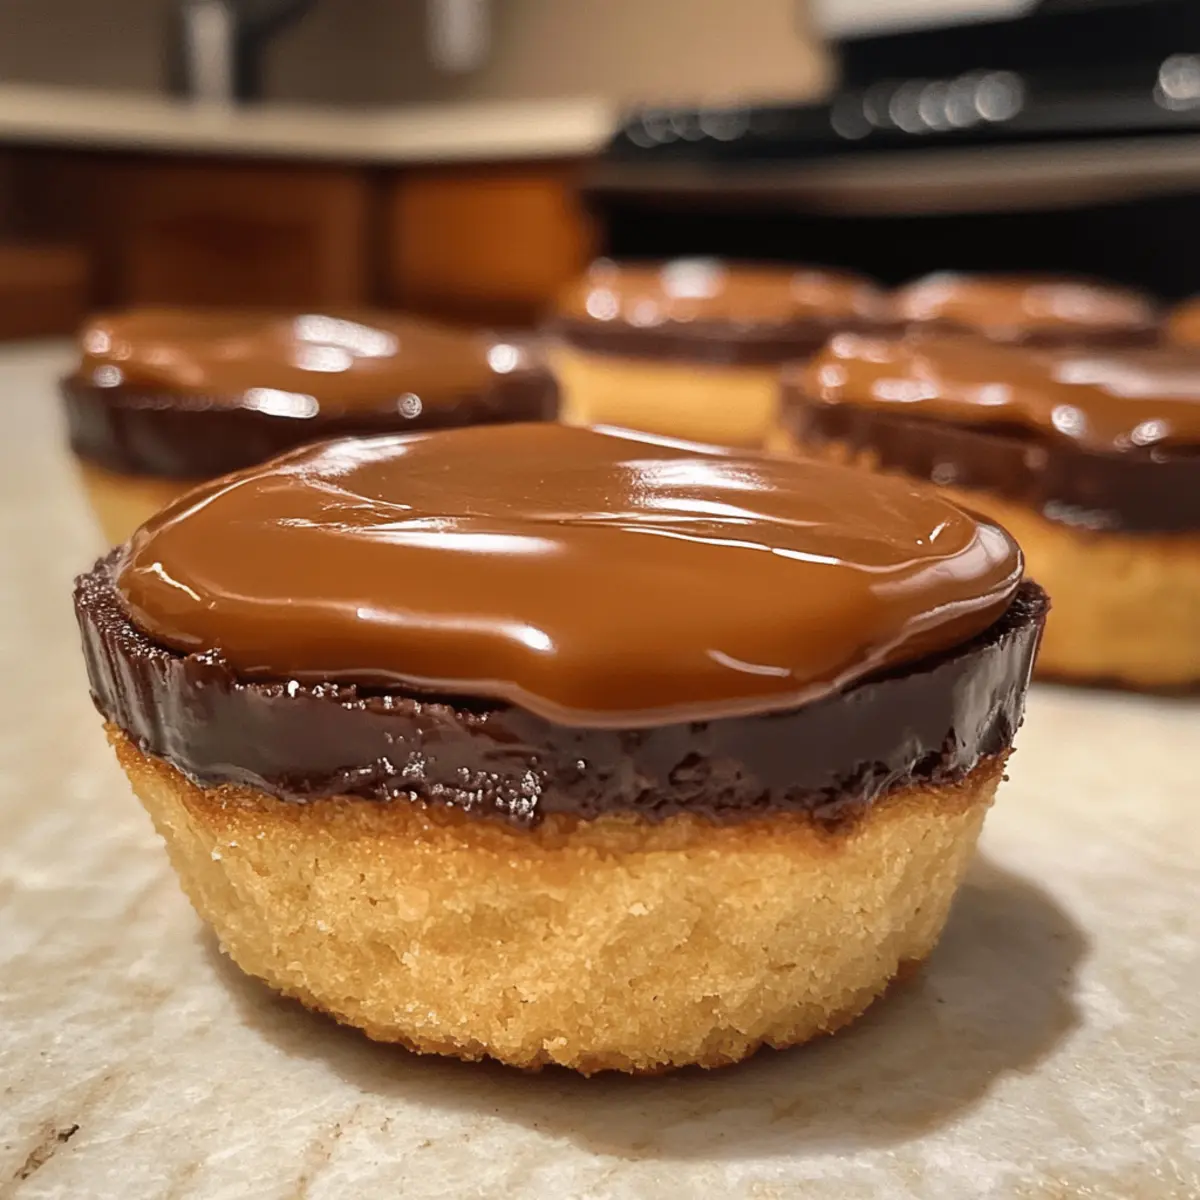
With a delightful crunch and a gooey surprise waiting inside, Twix Cookie Cups are a true treat for any dessert lover. These charming little morsels reflect the bliss of our favorite candy bar, featuring a soft sugar cookie base that cradles a luscious layer of creamy caramel, all topped off with rich milk chocolate. What I adore most about this recipe is its simplicity; you’ll find joy in making these scrumptious bites at home, giving your sweet cravings a satisfying remedy without the fuss of traditional candy-making. Plus, they’re perfect for sharing at gatherings, making them a crowd-pleaser. Ready to indulge in a chocolatey adventure? Let’s dive into these irresistible Twix Cookies!
Why Are Twix Cookies So Irresistible?
Decadent flavor: The luscious combination of chocolate, caramel, and cookie creates a symphony of taste that’s hard to resist. Effortless preparation: You don’t need advanced baking skills! Just mix, bake, and indulge. Versatile options: Customize your Twix Cookie Cups with different types of chocolate or caramels; the possibilities are endless! Perfect for sharing: Whether at parties or cozy nights in, these treats are guaranteed to impress. Plus, if you’re in the mood for more cookie creations, check out my delightful Cinnamon Roll Cookies or Banana Bread Cookies for added variety!
Twix Cookie Ingredients
• Prepare for a delightful baking adventure with these Twix Cookies!
For the Cookie Base
- Salted Butter – Provides richness and moisture for the cookie base. Use unsalted butter for a controlled saltiness.
- Granulated Sugar – Adds sweetness and helps in creaming for a light texture. Substitute with brown sugar for a deeper flavor.
- Vanilla Extract – Enhances the overall flavor profile. Opt for pure vanilla extract for the best results.
- Egg White – Acts as a binding agent to keep the cookies soft. A whole egg can be used for a slightly different chewiness.
- All-Purpose Flour – Gives structure to the cookie base. For a gluten-free option, substitute with a gluten-free flour blend.
- Baking Powder – A leavening agent that helps the cookies rise slightly. Ensure it’s fresh for the best effect.
For the Caramel Layer
- Caramels – The star of the topping, providing a sweet, gooey layer. Rich, soft caramels work best; consider making your own for an extra special touch.
- Milk – Used to soften the caramels for easy spreading. Heavy cream can add an indulgent richness to the layer.
For the Chocolate Topping
- Milk Chocolate Chips – Adds a decadent finish to the cookies. Feel free to explore dark chocolate chips for a more robust flavor or sugar-free options for a lighter twist.
This ingredient blueprint will ensure your Twix Cookies are not only delicious but also bring joy to all those who enjoy them!
Step‑by‑Step Instructions for Twix Cookies
Step 1: Preheat the Oven
Begin by preheating your oven to 350°F (175°C). This ensures that when your Twix Cookies are ready for baking, they can achieve that perfect golden-brown color and soft texture. Prepare a cookie sheet by leaving it ungreased and set it aside for later use.
Step 2: Cream Butter and Sugar
In a large mixing bowl, cream together the salted butter and granulated sugar until the mixture is light and fluffy, which should take about 3–5 minutes. You’ll know it’s ready when it appears pale and airy. This step is crucial for creating a tender base for your Twix Cookies.
Step 3: Incorporate Egg White and Vanilla
Add the egg white and vanilla extract to your creamed butter and sugar, mixing until fully incorporated. Beat the mixture for another 1–2 minutes until smooth, helping to enhance the flavor and binding the ingredients together.
Step 4: Add Dry Ingredients
Gradually sift in the all-purpose flour and baking powder, mixing on low speed until a soft dough forms. This should take about 1–2 minutes. Be sure to scrape down the sides of the bowl to ensure everything is evenly combined, resulting in a pliable cookie dough.
Step 5: Shape the Cookies
Roll out the dough on a lightly floured surface to about 1/4 to 1/2 inch thickness. Use a 2.5-inch cookie cutter to cut out circles. Each shape will create the delightful cookie base for your Twix Cookies. Place the dough circles on the prepared cookie sheet, leaving space between each.
Step 6: Bake the Cookie Bases
Bake the cookies in your preheated oven for 6–8 minutes, or until they are puffy and no longer glossy on top. Keep a close eye on them; they should be just set and lightly golden around the edges for that perfect chewy texture. Once ready, remove them from the oven and allow them to rest before transferring to a wire rack to cool completely.
Step 7: Prepare the Caramel Layer
While the cookie bases are cooling, place the unwrapped caramels and milk in a microwave-safe bowl. Heat in the microwave for about 1 minute, stirring halfway through to ensure a smooth and melted consistency. This caramel layer will add that irresistible gooeyness to your Twix Cookies.
Step 8: Spread the Caramel
Once smooth, spread the melted caramel generously over each cooled cookie using a spatula. Make sure to cover the entire surface, creating that signature layer of sweetness. After all the cookies are topped, place them in the refrigerator for 10–15 minutes to allow the caramel to set.
Step 9: Melt the Chocolate
In another microwave-safe bowl, melt the milk chocolate chips in 30-second intervals, stirring each time until completely smooth. This technique helps prevent scorching and ensures your chocolate topping is luscious and ready to drizzle over the caramel layers of your Twix Cookies.
Step 10: Finish with Chocolate
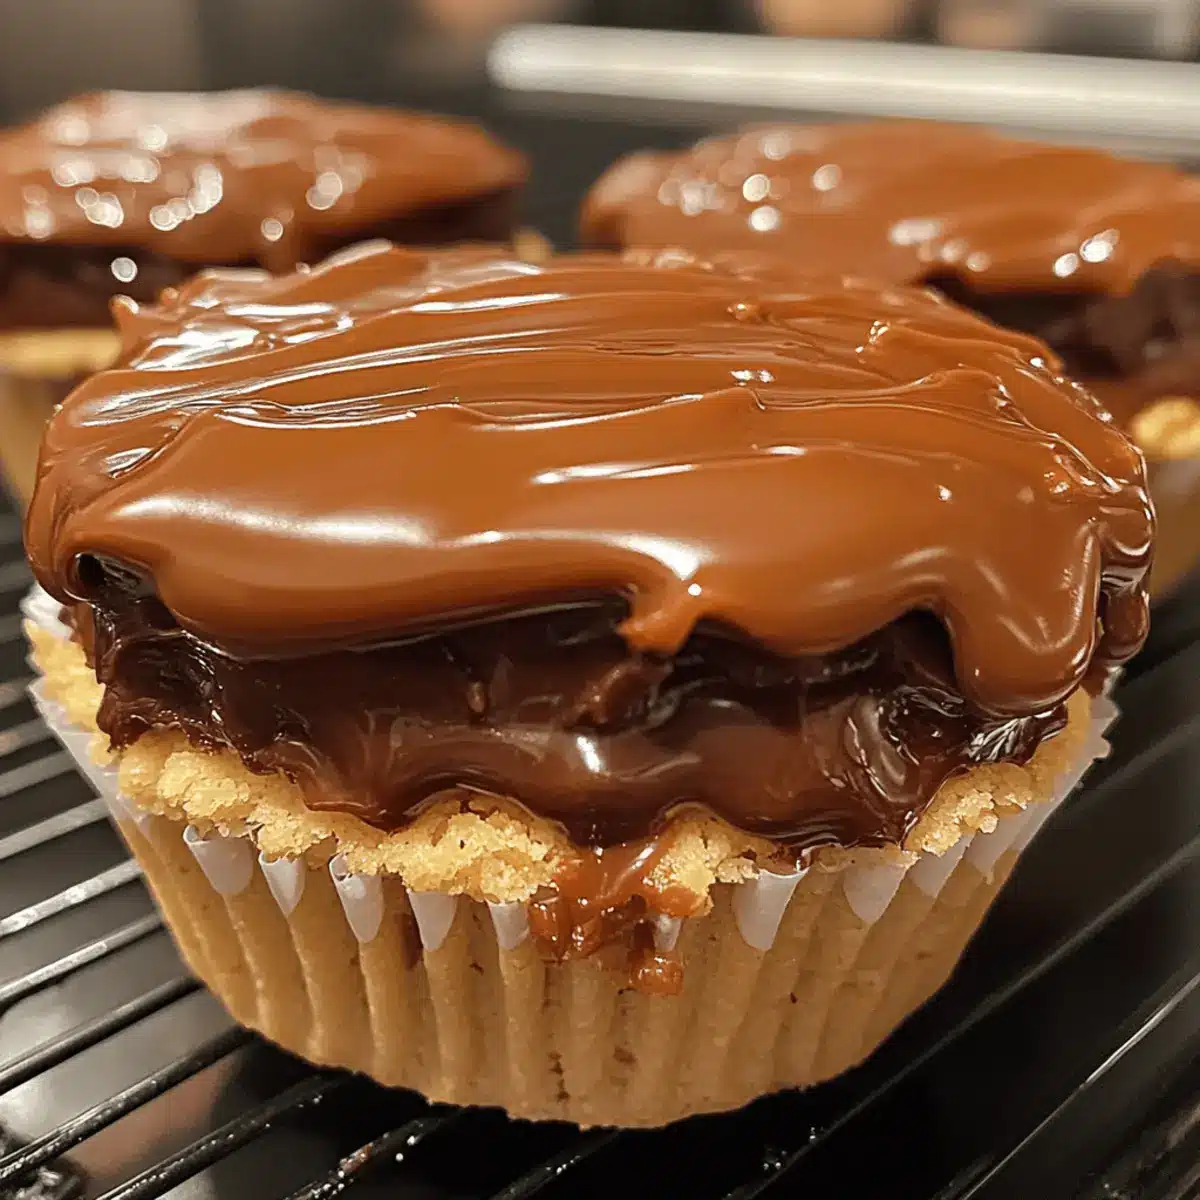
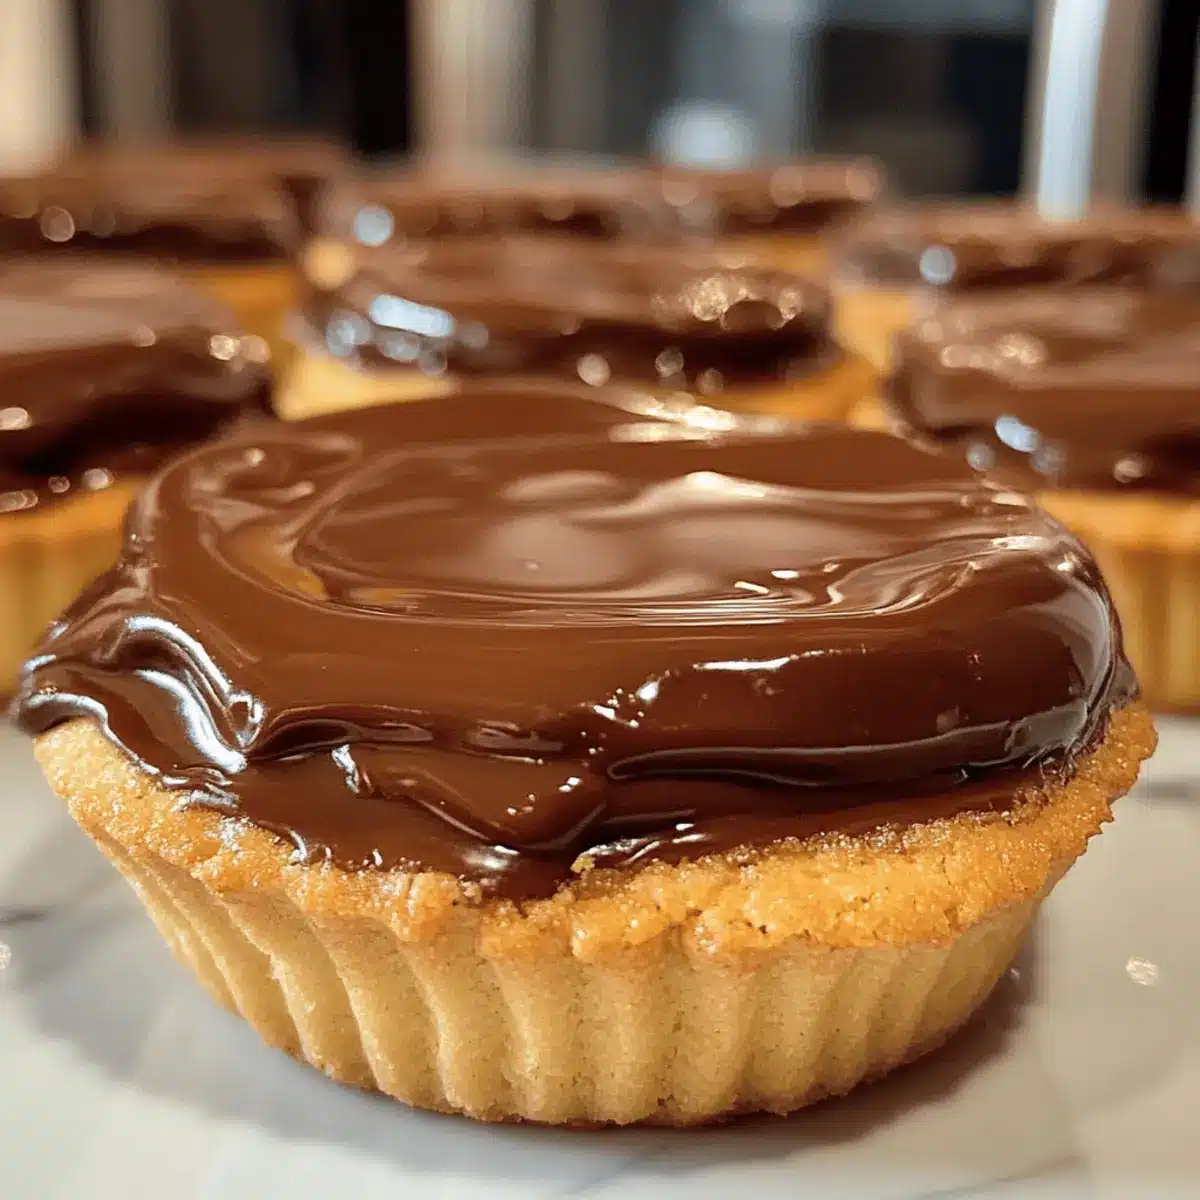
After the caramel has set, take your cooling cookies and spread the melted chocolate evenly over each one, fully covering the caramel. Let the chocolate cool at room temperature, allowing it to set and create a delectable finish on your Twix Cookies.
Step 11: Serve or Store
Once the chocolate has firmed up, your Twix Cookies are ready to be served! If you have any leftovers, store them in an airtight container at room temperature for 4–5 days, keeping their chewy goodness intact for future enjoyment.
Expert Tips for Twix Cookies
• Even Dough Thickness: Ensure your dough is rolled to an even thickness of 1/4 to 1/2 inch. Uneven thickness can lead to inconsistent baking times and textures.
• Chill for Clean Layers: After adding the caramel layer, refrigerate the cookies until firm. This helps create distinct layers when spreading the chocolate on top of your Twix Cookies.
• Melt Chocolate Slowly: Watch your chocolate carefully while melting, stirring every 30 seconds. This prevents scorching and ensures a silky finish for your Twix Cookies.
• Cooling Time Matters: Allow the cookie bases to cool completely before adding the caramel. This maintains their structure and prevents melting when toppings are applied.
• Try Flavor Variations: Don’t hesitate to experiment with different chocolate types or flavored caramels. Making variations ensures that your Twix Cookies are uniquely yours!
What to Serve with Twix Cookie Cups
Indulging in Twix Cookie Cups is a heavenly experience, and complementing them with the right pairings elevates your dessert game to new heights.
- Vanilla Ice Cream: A classic pairing that balances the sweetness of the cookies with creamy, cool vanilla. Perfect for those warm days!
- Fresh Berries: Tart raspberries or strawberries add a refreshing burst of flavor, cutting through the richness of chocolate and caramel.
- Coffee or Espresso: A warm cup brings out deep flavors in the cookie cups; the bitter notes of coffee enhance the dessert’s sweetness beautifully.
- Whipped Cream: Light and airy, a dollop of whipped cream softens the experience and adds a touch of elegance, making every bite delightful.
- Nutty Biscotti: The crunch of almond or hazelnut biscotti provides a contrasting texture and a nutty flavor that complements the sweetness.
- Chocolate-Covered Pretzels: These salty-sweet treats enhance the chocolate taste while adding satisfying crunch and a fun twist to your dessert spread.
- Milk or Dark Chocolate Shavings: Incorporate an extra touch of chocolate to keep the indulgence going. Sprinkle these on top for an aesthetic flourish.
- Hazelnut Spread Dipping Sauce: A gooey dip brings an extra layer of flavor while doubling as a fun interaction with the cookies.
- Caramel Drizzle: Enhance the caramel experience! A light drizzle of warm caramel sauce takes the indulgence level up a notch.
With these delightful pairings, your Twix Cookie Cups will be the talk of the table!
How to Store and Freeze Twix Cookies
Room Temperature: Keep your Twix Cookies in an airtight container at room temperature for up to 4-5 days. This helps maintain their soft texture and delightful flavors.
Fridge: For extended freshness, refrigerate Twix Cookies in an airtight container for up to 1 week. This can also intensify the flavors of the caramel and chocolate layers.
Freezer: Freeze the cookies for longer storage, placing them in an airtight container or freezer bag for up to 3 months. Ensure they are well separated to avoid sticking.
Reheating: When ready to enjoy, thaw at room temperature or heat briefly in the microwave for a few seconds to soften the chocolate.
Make Ahead Options
These Twix Cookie Cups are perfect for meal prep! You can prepare the cookie dough up to 3 days in advance; just wrap it tightly in plastic wrap and refrigerate to keep it fresh. The baked cookie bases can also be made ahead of time—store them in an airtight container for up to 5 days at room temperature. When you’re ready to finish the Twix Cookie Cups, simply spread the melted caramel over the cooled cookies, let them chill in the refrigerator for 10-15 minutes to set, then drizzle with melted chocolate. This approach ensures that your treats will be just as delicious as when freshly made, saving you time on busy weeknights while satisfying your sweet cravings!
Twix Cookies: Endless Variations Await!
Feel free to dive into these delightful variations to make your Twix Cookie Cups even more enticing and personal.
- Butterscotch Bliss: Swap out the classic caramels for butterscotch or flavored caramels to discover a new twist. This variation adds a rich, buttery taste that perfectly complements the cookie base.
- Crunchy Topping: Sprinkle crushed pretzels or chopped nuts on top of the chocolate for a satisfying crunch. The salty-sweet contrast elevates each bite, making these cookies not just rich but also incredibly fun to enjoy!
- Chocolate Dance: Experiment with different types of chocolate, like dark or white chocolate, for the topping. For a less sweet alternative, dark chocolate can give your Twix Cookies a sophisticated flavor that will impress any chocolate lover.
- Peanut Butter Twist: Drizzle warm peanut butter over the chocolate topping for a fantastic, nutty element. You can also mix peanut butter into the cookie dough for a creamy surprise in every bite!
- Holiday Cheer: Add festive spices like cinnamon or nutmeg to the cookie base during the holidays. It creates a warm aroma that makes these cookies a seasonal favorite alongside a cozy cup of hot cocoa.
- Vegan Delight: Substitute the butter with coconut oil, use flax eggs for binding, and choose dairy-free chocolate to convert your Twix Cookies into a vegan treat. A delightful option that everyone can enjoy!
- Fruity Fusion: Top the cookies with a fruit compote, like raspberry or cherry, beneath the chocolate layer for a refreshing taste contrast. The tartness complements the sweetness beautifully, adding a surprise to each bite.
- S’mores Style: Add mini marshmallows on top of the chocolate before it sets and toast them lightly. This will evoke the beloved campfire s’mores flavor—perfect for any occasion!
Feel inspired to create your own twist on these classic Twix Cookies! For more unique cookies, don’t forget to explore my scrumptious Cinnamon Roll Cookies or Spiced Apple Cookies for even more delightful treats.
Twix Cookies Recipe FAQs
What type of butter should I use for Twix Cookies?
I recommend using salted butter for a rich flavor, but unsalted butter can also be used. If you opt for unsalted, just adjust the added salt in the recipe accordingly for balance.
How long can I store Twix Cookies?
You can store Twix Cookies in an airtight container at room temperature for about 4 to 5 days. If you’re looking to extend their freshness, refrigerating them will keep them good for up to a week. The cool environment can actually enhance the flavor, especially of the caramel layer!
Can I freeze Twix Cookies, and how do I do that?
Absolutely! To freeze your Twix Cookies, first let them cool completely. Then, place them in an airtight container or sealable freezer bag, making sure to separate layers with parchment paper to prevent sticking. They can be frozen for up to 3 months. When you’re ready to enjoy them, thaw at room temperature or gently reheat in the microwave for a few seconds to bring back their delightful softness.
How can I tell if my Twix Cookies are overbaked?
Very! Keep an eye on your cookies as they bake. If they start to become dark brown all over or appear dry instead of puffy and slightly glossy, they are likely overbaked. You want them to be set and lightly golden around the edges for that perfect chewy texture.
Are Twix Cookies suitable for those with nut allergies?
Yes, since the basic recipe for Twix Cookies does not contain nuts, they can be enjoyed by those with nut allergies. However, if you decide to add any toppings like crushed nuts or mix in nut-flavored caramels, make sure to inform your guests to keep everyone safe and happy!
Irresistible Twix Cookies: Chewy, Chocolatey Bliss at Home
Ingredients
Equipment
Method
- Preheat your oven to 350°F (175°C) and prepare a cookie sheet by leaving it ungreased.
- Cream together the salted butter and granulated sugar until light and fluffy, about 3-5 minutes.
- Add egg white and vanilla extract, mixing until fully incorporated, about 1-2 minutes.
- Gradually sift in the flour and baking powder, mixing on low speed until a soft dough forms, about 1-2 minutes.
- Roll out the dough on a lightly floured surface to 1/4 to 1/2 inch thickness. Cut out circles using a 2.5-inch cookie cutter.
- Bake for 6-8 minutes until puffy and lightly golden around the edges. Allow to cool before transferring to a wire rack.
- In a microwave-safe bowl, heat the unwrapped caramels and milk for about 1 minute, stirring halfway through.
- Spread the melted caramel generously over each cooled cookie and refrigerate for 10-15 minutes to set.
- Melt the milk chocolate chips in 30-second intervals, stirring until smooth.
- Spread the melted chocolate over each caramel-covered cookie and allow to set at room temperature.
- Serve or store in an airtight container at room temperature for up to 4-5 days.
Leave a Reply