
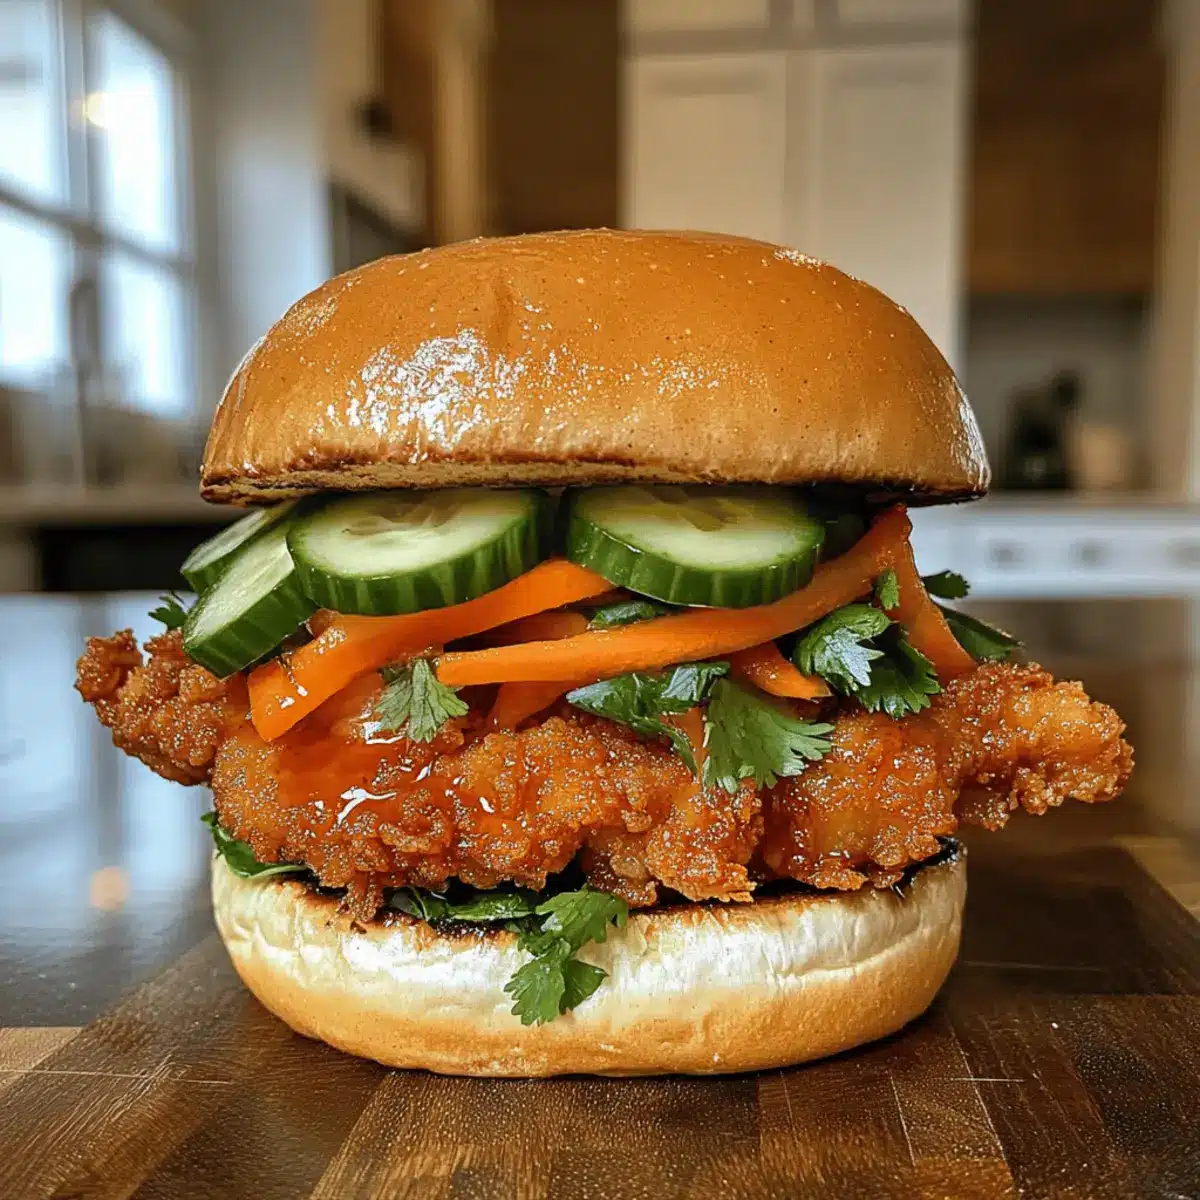
As I stared at a stack of plain old sandwich ingredients, a lightbulb moment sparked in my head—why not elevate lunch with a Flavor-Packed Thai Fried Chicken Sandwich? This isn’t just any sandwich; it’s a glorious combination of crispy chicken layered with bold Thai flavors and fresh, crunchy toppings. Perfect for those of us looking to ditch fast food in favor of something satisfying, this recipe offers both a spiced-up comfort food option and a chance to customize it to your liking. Whether you’re craving a vegetarian twist with tofu or the classic fried chicken experience, this dish fits the bill. Ready to dive into this savory adventure that promises to delight your taste buds? Let’s get cooking!
Why choose this Thai Fried Chicken Sandwich?
Exciting versatility: This sandwich is fully customizable to fit your dietary needs—swap chicken for crispy tofu or cauliflower!
Bold flavors: The infusion of coconut milk and curry powder elevates your taste experience.
Easy preparation: With straightforward steps, you can whip up a flavorful meal in under an hour.
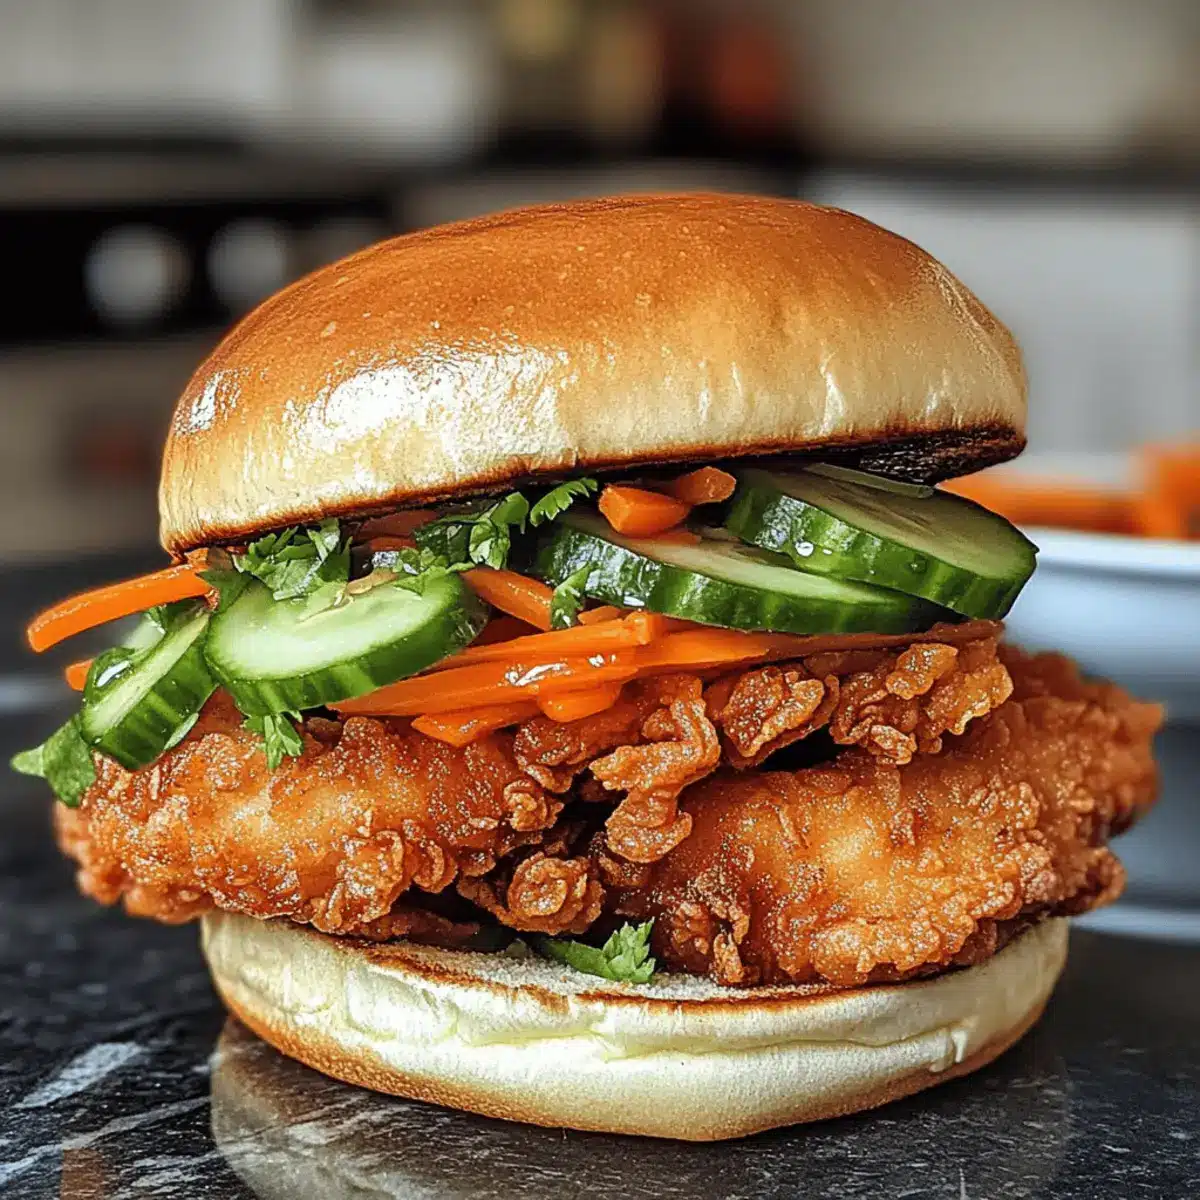
Crispy textures: Enjoy the satisfying crunch of the fried chicken against fresh, vibrant toppings like cucumbers and pickled carrots.
Crowd-pleasing appeal: Perfect for family dinners or casual gatherings, everyone will love this twist on a classic. Pair it with a side of sweet potato fries for a complete meal!
Thai Fried Chicken Sandwich Ingredients
For the Marinade
• Coconut Milk – Adds richness and moisture to the chicken; can substitute with almond milk for a lighter version.
• Curry Powder – Provides authentic Thai flavor; use yellow curry for a milder taste or red curry for more heat.
• Minced Garlic – Enhances the aromatic profile of the marinade; fresh garlic is preferable, but garlic powder can be used in a pinch.
• Grated Ginger – Adds zest and warmth; fresh ginger is best, but ground ginger can work—just use less due to potency.
• Salt – Enhances overall flavor; sea salt or kosher salt can be used interchangeably.
• Sugar – Balances the dish’s flavors and aids in browning; brown sugar adds deeper flavor, while white sugar is a more neutral option.
For the Coating
• Rice Flour or Cornstarch – Creates a light, crispy coating when frying; replace with gluten-free flour mix if needed.
For the Chicken
• Chicken Thighs – Tender and juicy cuts that hold flavor well; substitute with tofu or cauliflower for a vegetarian option.
For the Spread
• Thai Chili Sauce – Delivers sweetness and heat; adjust the quantity to control spiciness in your Thai Fried Chicken Sandwich.
• Plain Yogurt – Adds creaminess; can be substituted with mayonnaise or a dairy-free option for a vegan version.
For the Toppings
• Cucumbers – Provide crunch and freshness; sliced bell peppers can make a colorful substitute.
• Pickled Carrots – Bring tanginess and brightness; homemade or store-bought works well.
For Serving
• Buns – Soft brioche or sandwich buns hold the ingredients together without getting soggy; crusty rolls add delightful texture.
Embrace the wonderful flavors and textures of this Thai Fried Chicken Sandwich by gathering these ingredients, setting the stage for a delicious and customizable meal!
Step‑by‑Step Instructions for Thai Fried Chicken Sandwich
Step 1: Marinate Chicken
In a large bowl, whisk together coconut milk, curry powder, minced garlic, grated ginger, salt, and sugar until well combined. Add the chicken thighs to the marinade, ensuring they are thoroughly coated. Cover and refrigerate for at least 1 hour or overnight for deeper flavor. The chicken should be visibly infused with the rich marinade, ready to absorb all those Thai flavors.
Step 2: Prepare Coating
While the chicken marinates, prepare the crispy coating by mixing rice flour or cornstarch with a pinch of salt and pepper on a large plate. This dry mixture will create that desirable crunch on your Thai Fried Chicken Sandwich. Make sure the coating is evenly distributed, allowing it to envelop the chicken beautifully when you are ready to fry.
Step 3: Fry Chicken
Heat a deep skillet or frying pan over medium heat and pour in enough oil to cover the bottom, heating it to 350°F (175°C). Dredge each marinated chicken thigh in the rice flour mixture, shaking off any excess. Fry the chicken for about 5–7 minutes on each side or until golden brown and the internal temperature reaches 165°F (74°C). The chicken should be crisp, aromatic, and cooked through.
Step 4: Prepare Spread
In a small bowl, whisk together the Thai chili sauce and yogurt or mayonnaise until smooth and well blended. This creamy, spicy spread will add an extra layer of flavor to your Thai Fried Chicken Sandwich. Adjust the chili sauce to your heat preference, ensuring you have a perfect balance of creaminess and spice.
Step 5: Assemble Sandwich
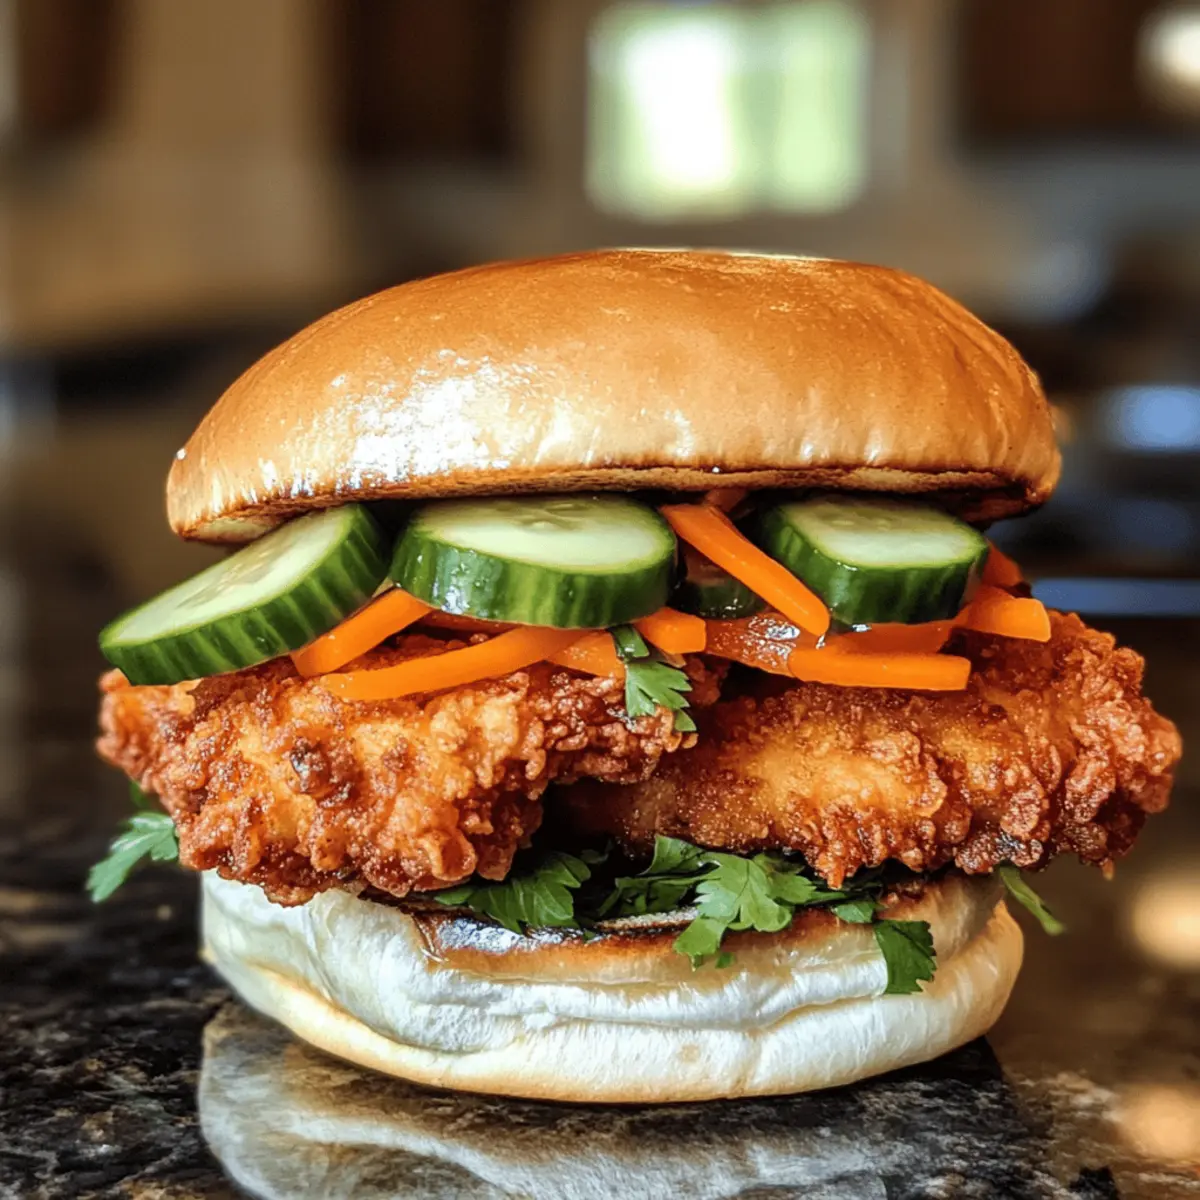
Toast your choice of brioche or sandwich buns until lightly golden and warm. Spread a generous layer of the chili mayo on both the top and bottom of each bun. Layer the crispy fried chicken on the bottom bun, followed by sliced cucumbers, pickled carrots, and any fresh herbs. Gently press down the top bun to create a delightful, stacked sandwich.
Step 6: Serve
For an extra burst of flavor, consider adding a sprinkle of fresh cilantro and a squeeze of lime juice over the ingredients before closing the sandwich. Your Thai Fried Chicken Sandwich is now ready to savor, offering a wonderful blend of textures and tastes in every bite. Serve with a side of sweet potato fries or a refreshing slaw for a complete meal.

Make Ahead Options
These Thai Fried Chicken Sandwiches are perfect for busy weeknights and meal prep! You can marinate the chicken thighs up to 24 hours in advance, allowing the flavors to deeply penetrate the meat. Additionally, you can prepare the crispy coating and store it separately in an airtight container for up to 3 days. When you’re ready to fry, simply dredge the marinated chicken in the coating and fry until golden and cooked through. For the spread, mixing the Thai chili sauce with yogurt can also be done ahead of time, and it stays fresh in the refrigerator for up to 3 days. This way, you’ll have delicious Thai Fried Chicken Sandwiches ready to assemble with minimal effort!
Thai Fried Chicken Sandwich Variations
Feel free to get creative with this recipe and make it your own with these delightful twists!
- Vegetarian Substitute: Swap chicken for crispy tofu or roasted cauliflower for a satisfying plant-based option. Each bite will still be packed with scrumptious flavor!
- Different Heat: Use spicy sriracha instead of Thai chili sauce for an extra kick. Adjust the amount to find your ideal heat level and enjoy the warm spice!
- Gluten-Free Option: Use gluten-free buns or wraps to make this sandwich suitable for those with gluten sensitivities. The flavors will shine just as brightly!
- Flavor Twist: Add a sprinkle of crushed peanuts on top of your toppings for a nutty, crunchy surprise. It brings wonderful texture that complements the creamy spread!
- Extra Crunch: Layer in some crunchy Asian slaw or shredded cabbage for added texture and a fresh taste. It’s a simple twist that enhances the overall experience!
- Herbaceous Boost: Toss in fresh herbs like cilantro or mint for a refreshing herbal note. They’ll elevate the sandwich to a whole new level of flavor!
- Creamy Deluxe: Swap out the yogurt or mayo with avocado for a creamy, rich texture. It not only adds flavor but also a touch of healthy fats!
- Zesty Zing: Drizzle some lime juice over the finished sandwich for a burst of freshness. It brightens the dish and balances the rich flavors beautifully!
Now you have a treasure trove of variations to create a Thai Fried Chicken Sandwich that’s uniquely yours! And if you’re craving a different chicken dish, check out this recipe for Sticky Garlic Chicken.
What to Serve with Thai Fried Chicken Sandwich
Elevate your dining experience with these delightful pairings that perfectly complement the bold flavors of your sandwich.
-
Sweet Potato Fries: Their crispy texture and natural sweetness balance the spicy, savory notes of the sandwich, making each bite harmonious.
-
Asian Slaw: This crunchy, zesty salad adds a refreshing contrast, enhancing the dish with vibrant colors and flavors.
-
Cucumber Salad: Light and refreshing, a cucumber salad brings a cool crunch that pairs beautifully with the rich chicken.
-
Mango Chutney: The sweet and tangy notes of mango chutney enhance the Thai spices while adding a delightful sweetness to the meal.
-
Chilled Coconut Water: A refreshing drink choice, it quenches your thirst and complements the tropical elements in the sandwich.
-
Lime Wedges: A simple squeeze of lime adds brightness and balances the richness, enhancing the overall flavor profile.
-
Sesame Green Beans: Tender with a slight crunch, these beans offer an earthy contrast while highlighting Asian-inspired flavors.
-
Thai Iced Tea: Sweet and creamy, this aromatic drink pairs seamlessly, providing a cozy warmth that enhances the meal experience.
Expert Tips for Thai Fried Chicken Sandwich
- Perfect Temperature: Ensure oil is at 350°F (175°C) for a crispy crust. Use a thermometer for accuracy; underheating can result in greasy chicken.
- Marinate Longer: For maximum flavor infusion, let the chicken marinate overnight. A shorter marination time will result in less flavorful meat.
- Don’t Crowd the Pan: Fry chicken in batches to maintain oil temperature. Overcrowding leads to steaming rather than frying, preventing that desired crunch.
- Store Smart: Keep leftover fried chicken separate from the buns and veggies to maintain crispiness. Store chicken in the fridge up to 3 days, or freeze for 2 months.
- Adjust Spice Levels: Adjust the amount of Thai chili sauce in the mayo spread to fit your heat preference. Remember, it’s easier to add heat than to reduce it later!
Storage Tips for Thai Fried Chicken Sandwich
Fridge: Store leftover fried chicken in an airtight container for up to 3 days. To keep the chicken crispy, avoid stacking layers directly on top of each other.
Freezer: If you want to extend the life of your fried chicken, freeze it for up to 2 months. Wrap each piece tightly in plastic wrap, then place them in a freezer-safe bag for added protection.
Reheating: For the best results, reheat fried chicken in an oven at 375°F (190°C) for 10-15 minutes, or until heated through and crispy. Avoid microwaving, as this can make the coating soggy.
Assembling Later: To enjoy a fresh sandwich later, store buns and toppings separately. Assemble just before serving to maintain crunch and flavor in your Thai Fried Chicken Sandwich.
Thai Fried Chicken Sandwich Recipe FAQs
What should I look for when selecting chicken for this recipe?
Absolutely! When selecting chicken thighs for your Thai Fried Chicken Sandwich, look for pieces that have a good amount of marbling and are firm to the touch. Make sure they are free from any dark spots or an off odor, indicating freshness. Organic or free-range options often yield a juicier result, and remember, the quality of your chicken plays a crucial role in the overall flavor of your dish!
How should I store leftovers of my Thai Fried Chicken Sandwich?
Very! After enjoying your Thai Fried Chicken Sandwich, store any leftovers in an airtight container in the refrigerator for up to 3 days. To keep the chicken crispy, I recommend storing it separately from the buns and fresh toppings; this prevents sogginess and maintains that delightful crunch. If you store the sandwich components together, allow them to cool completely before sealing.
Can I freeze the fried chicken for later use?
Absolutely! You can freeze the fried chicken for up to 2 months. To do this, let the chicken cool completely, then wrap each piece tightly in plastic wrap. After that, place them in a freezer-safe bag, squeezing out air to prevent freezer burn. When you’re ready to indulge, reheat the chicken in an oven at 375°F (190°C) for about 10-15 minutes until she’s hot and crispy again.
What if I have a dietary allergy related to the ingredients?
I often make adjustments for dietary needs! If you need to accommodate allergies, be mindful of the ingredients in the marinade and spread. Substitute coconut milk with almond milk if nut allergies aren’t present, or use a dairy-free yogurt for the mayo option. For gluten sensitivities, opt for gluten-free flour or corn starch for frying, and serve on gluten-free buns to keep your Thai Fried Chicken Sandwich delicious and safe to enjoy.
Are there tips to make sure my fried chicken has a crispy coating?
For a flawless crispy crust, ensure your oil reaches 350°F (175°C) before frying. Use a thermometer to maintain the right temperature; this prevents the chicken from being greasy. When dredging your marinated chicken, let any excess marinade drip off before coating it in the dry mixture. Fry in small batches, avoiding crowding the pan, which can lower the oil temperature and yield soggy results instead of that beautiful crunch!
How can I make this dish vegetarian?
The more the merrier! For an easy vegetarian adaptation of your Thai Fried Chicken Sandwich, swap the chicken for crispy fried tofu or cauliflower instead. Simply marinate your selected alternative in the same flavorful coconut milk and spice mixture. Follow the frying instructions, adjusting the cooking time as necessary, and you’ll have a delicious vegetarian option that’s just as satisfying!
Crispy Thai Fried Chicken Sandwich Bursting with Flavor
Ingredients
Equipment
Method
- In a large bowl, whisk together coconut milk, curry powder, minced garlic, grated ginger, salt, and sugar until well combined. Add chicken thighs and coat thoroughly. Cover and refrigerate for at least 1 hour.
- Prepare the coating by mixing rice flour or cornstarch with a pinch of salt and pepper on a large plate.
- Heat oil in a frying pan over medium heat until it reaches 350°F (175°C). Dredge marinated chicken in flour mixture and fry for 5–7 minutes on each side until golden brown and cooked through.
- In a small bowl, whisk together Thai chili sauce and yogurt or mayonnaise until smooth.
- Toast the buns, spread the chili mayo on both sides, layer the fried chicken, cucumbers, and pickled carrots, and press down with the top bun.
- Serve with optional fresh cilantro and lime juice for added flavor.
Leave a Reply