
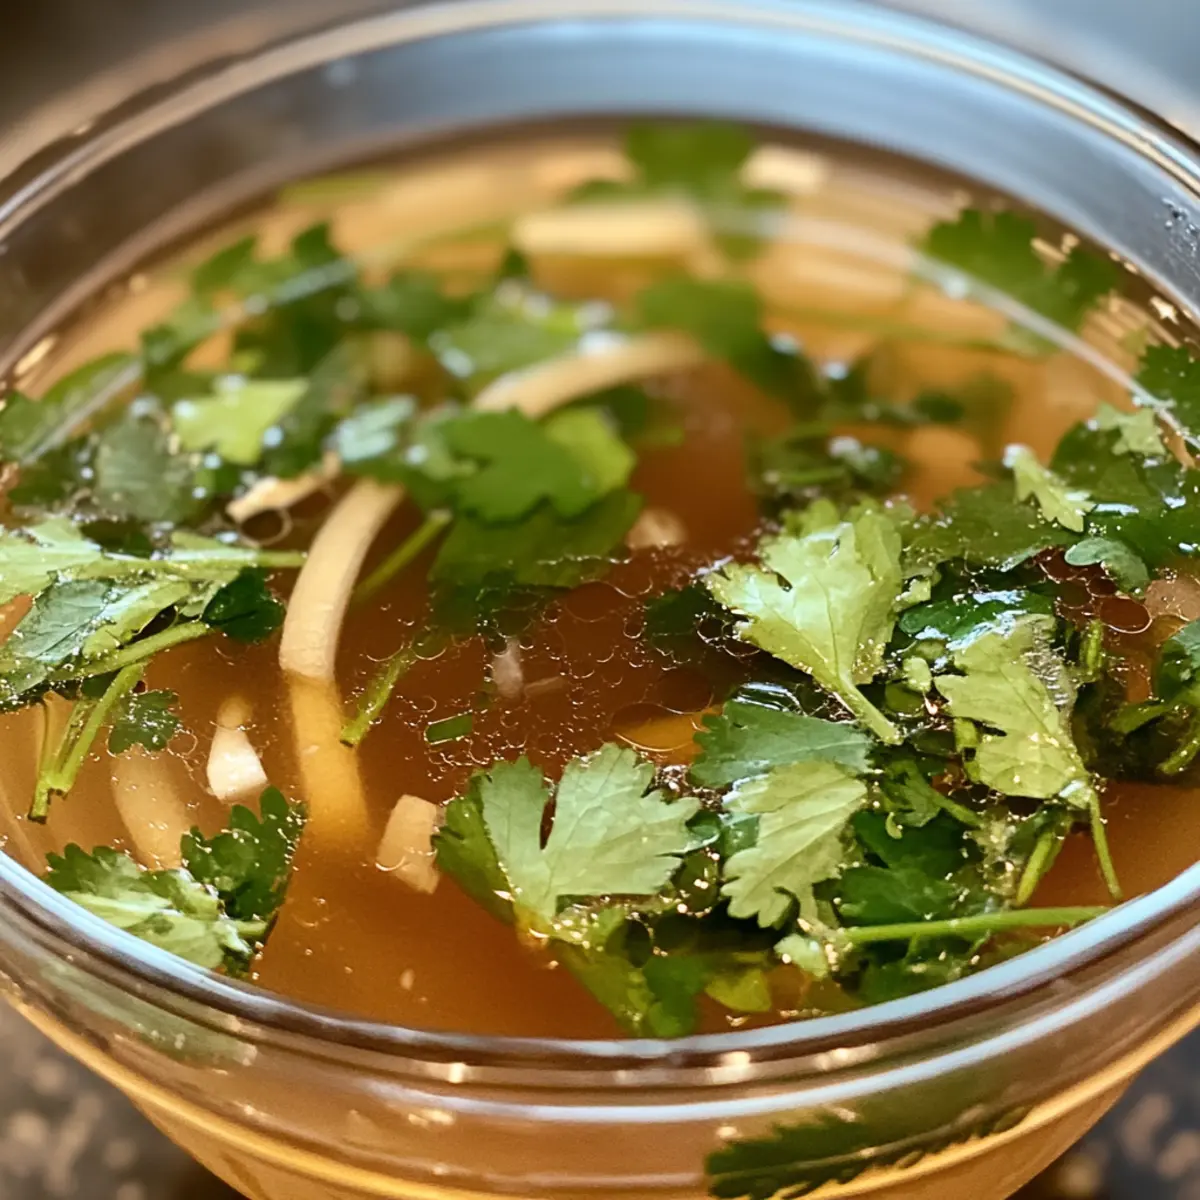
“Have you ever walked into a kitchen and felt immediately transported by the aroma wafting through the air?” That’s how I felt the first time I simmered my own homemade Thai broth. This captivating clear broth isn’t just a delicious base; it’s a warm embrace in a bowl, perfect for crafting comforting soups and noodle dishes. With a straightforward preparation process and nourishing ingredients, you’ll find that making Thai broth at home is as rewarding as it is enjoyable. Plus, it’s a versatile canvas that caters to both traditionalists opting for rich flavors and those looking for lighter, vegetarian options. As you embark on this culinary journey, how will you infuse your unique twist into this beloved Thai staple?

What Makes Thai Broth So Irresistible?
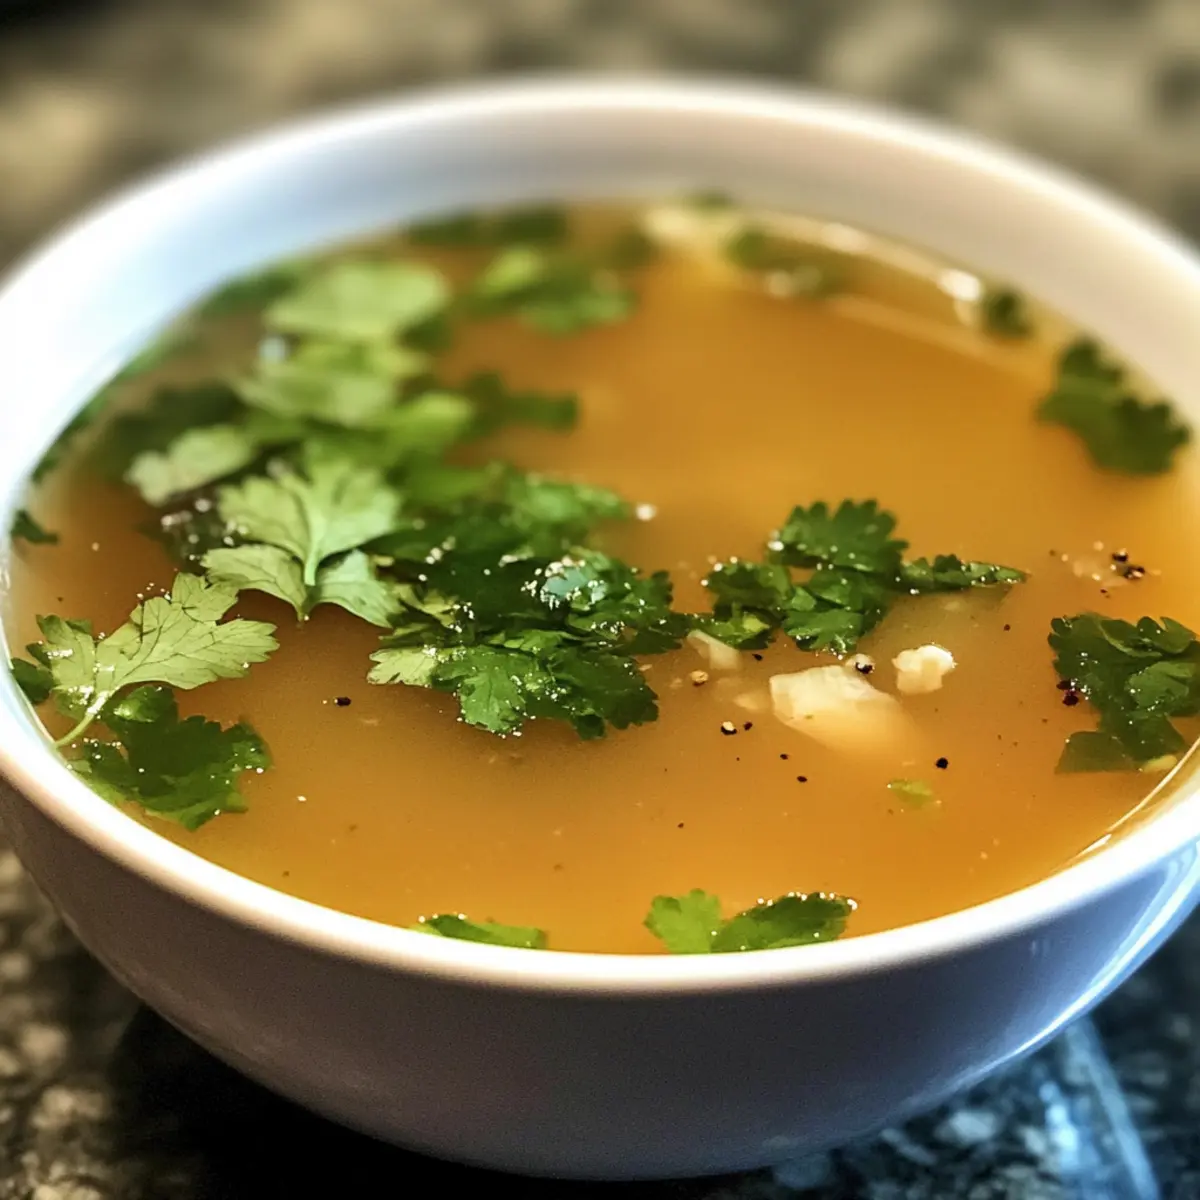
**Comforting, ** This homemade Thai broth offers an incredibly soothing experience that envelops you in warmth and flavor, making it perfect for rainy days or cozy nights in.
**Versatile, ** Whether you’re crafting a traditional soup or experimenting with your own twist, this broth serves as a fantastic base for countless dishes that cater to both meat lovers and vegetarians alike.
**Nourishing, ** Packed with wholesome ingredients, this broth not only delights your taste buds but also supports hydration and well-being, containing beneficial minerals from the bones.
**Quick & Easy, ** With straightforward steps and minimal prep time, you can have this aromatic broth simmering on your stovetop in no time, allowing you to focus on the fun of cooking!
If you’re looking for more inspiration, check out my Thai Fried Chicken that can pair beautifully with your homemade broth, or take a look at the Thai Basil Chicken for a delightful meal!
Thai Broth Ingredients
• Discover the essential components that take your Thai broth to the next level and make it truly homemade!
For the Base
- Chicken Bones – Essential for richness and collagen, making your broth silky; feel free to swap for pork bones for extra depth.
- Water – A key element; approximately 12 cups is perfect for ample simmering liquid.
For the Aromatics
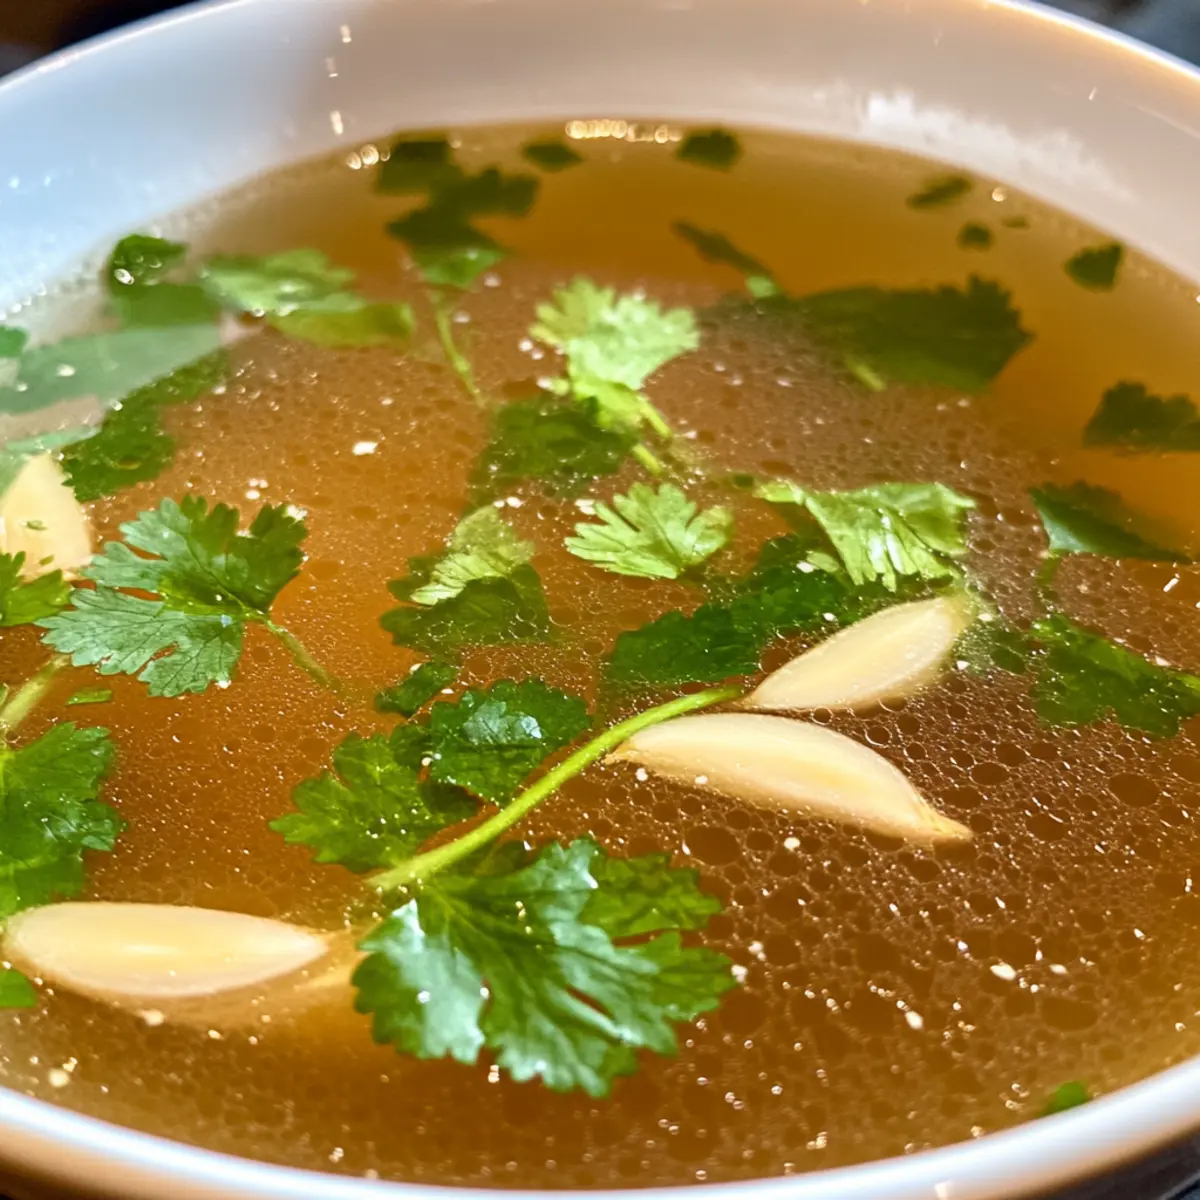
- Fresh Garlic – This adds warmth to the broth; lightly crush cloves to release even more flavor.
- Cilantro Roots/Stems – Provide the earthy fragrance characteristic of Thai cuisine; if you can’t find roots, stems work wonderfully!
- Ground White Pepper – Adds a hint of subtle spiciness; a delightful complement to the overall flavor profile.
For Seasoning
- Thin Soy Sauce – Enhances the broth’s color while adding a touch of savoriness; adjust according to your taste preferences.
- Fish Sauce – An authentic touch that brings salty depth to your Thai broth; remember to taste as you go!
Embrace the joy of crafting your own Thai broth, knowing you are building a nourishing foundation for countless delicious meals to come!
Step‑by‑Step Instructions for Thai Broth
Step 1: Prepare Ingredients
Start by rinsing the chicken bones under cold water to remove any impurities, which helps create a clear broth. Meanwhile, crush 4-5 garlic cloves lightly to enhance their flavor. Make sure to gather all your ingredients, including cilantro roots or stems, so you have everything within reach as you embark on creating your delicious Thai broth.
Step 2: Simmer Broth
Place the prepared chicken bones into a large stock pot and add approximately 12 cups of cold water. Turn the heat to medium-high until the water begins to bubble gently. Once it reaches a gentle simmer, lower the heat to keep it at a soft simmer, ensuring the broth remains clear and the flavors develop beautifully over the next several hours.
Step 3: Add Aromatics
After the broth has been simmering for about 30 minutes, carefully add the crushed garlic and cilantro roots or stems into the pot. Sprinkle in a pinch of ground white pepper for a subtle heat that complements the dish. Stir the mixture gently and allow the aromatic ingredients to infuse the broth for about another hour, enhancing its rich profile.
Step 4: Season Gradually
Once the broth has simmered for about an hour, begin to season it with thin soy sauce and fish sauce. Start with a couple of tablespoons of each, stirring to combine. Allow the broth to simmer for an additional 20 minutes, tasting occasionally to adjust the seasoning according to your preference for the perfect balance in your homemade Thai broth.
Step 5: Skim & Strain
During the first 30 minutes of simmering, use a ladle or a fine mesh skimmer to remove any floating foam or impurities that rise to the surface. This is crucial for achieving a cleaner broth. Once cooking is complete, strain the hot broth through a fine mesh sieve into another pot or large bowl to separate the liquids from any solids, ensuring a beautifully clear finish.
Step 6: Cool and Store
Let your freshly made Thai broth cool at room temperature for about 30 minutes. Once it has cooled down, pour it into airtight containers for storage. You can refrigerate it for up to 4 days; alternatively, freeze in smaller portions using ice cube trays for convenient use in future recipes, ensuring that this rich base is always at hand for your culinary creations.
Thai Broth Variations & Substitutions
Feel free to experiment with these delightful variations, transforming your Thai broth into a unique and personalized creation.
-
Richer Broth: Roast the chicken bones for added depth and flavor before simmering. This simple step can elevate your broth sensationally!
-
Herbal Boost: Incorporate fresh herbs such as lemongrass or kaffir lime leaves during simmering for an aromatic twist that adds brightness and zest. The fragrant notes will transport your senses straight to Thailand!
-
Vegetarian Delight: Swap chicken bones for a combination of mushrooms, seaweed, and a medley of vegetables, crafting a vibrant vegetarian broth that’s equally nourishing. The umami from the mushrooms provides a delightful richness.
-
Concentrated Cubes: For a broth that’s easy to use later, simmer longer and reduce until it thickens into a concentrated form. Freeze it in ice cube trays for quick flavor hits anytime.
-
Spicy Kick: Add a dash of chili flakes or fresh sliced chilies to your broth for a spicy twist that ignites your taste buds. Adjust the heat level to suit your preference, making it as fiery as you like!
-
Coconut Variation: Stir in a can of coconut milk at the end for a creamy, rich broth that’s perfect for a luxurious soup. This variation lends a tropical flair your family will adore.
-
Savory Miso: Incorporate white miso paste for an additional layer of savory depth. This can enhance flavor while keeping your broth beautifully balanced.
If you’re looking for more delicious pairings or recipes, considering exploring my Thai Fried Chicken or the flavorful Thai Basil Chicken. These dishes harmonize perfectly with your homemade broth, completing your Thai culinary experience!
What to Serve with Homemade Thai Broth
There’s nothing quite like the warmth and comfort of a meal crafted around this aromatic soup base.
- Rice Noodles: Their silky texture soaks up the broth beautifully, making each bite a burst of warm flavors.
- Fresh Vegetables: Bright colored bell peppers, bok choy, and carrots add a pop of color and crunch. They bring life and nutrients to your comforting bowl!
- Tofu: Firm tofu, gently fried or steamed, becomes a wonderful protein addition, soaking in the flavors of the broth. It’s a great choice for vegetarian dishes.
- Herb Garnish: Fresh cilantro or green onions provide a vibrant finish and an herby freshness that brightens the dish. Don’t skip this step!
- Lime Wedges: A squeeze of lime juice right before serving lifts the flavors and adds a zesty punch that perfectly complements the broth’s warmth.
- Chili Sauce: For those who enjoy a little heat, a drizzle of homemade chili sauce or sriracha can transform the broth into a fiery delight!
Enjoy the extraordinary experience of creating a full meal centered around your homemade Thai broth while exploring endless possibilities!
Expert Tips for Thai Broth
Start with Cold Water: Always begin with cold water to ensure a cleaner broth. This helps to extract flavors effectively without cloudiness.
Gentle Simmering: Simmer the broth gently; boiling can make it cloudy and muddy in flavor. Patience is key for a beautiful Thai broth.
Taste as You Go: Regularly taste the broth, especially during the last stages of cooking. This allows you to fine-tune the seasoning to your preferences.
Alternative Ingredients: If some ingredients are unavailable, don’t hesitate to substitute. For example, use vegetable scraps for a vegetarian broth while maintaining the essence of Thai flavors.
Proper Storage: When freezing, consider using ice cube trays for portioning. This way, you can quickly thaw just what you need for your next dish.
Experiment with Aromatics: Feel free to play with different aromatics like galangal or lemongrass for extra flavor. These can elevate your homemade Thai broth even further!
Make Ahead Options
Making Thai broth ahead of time is a game changer for busy weeknights! You can prepare the entire broth and refrigerate it for up to 4 days or freeze portions for up to 3 months. Start by simmering the broth as directed, then let it cool completely before storing it in airtight containers. To maintain the highest quality, avoid adding final seasonings (like soy sauce and fish sauce) until you reheat the broth, as this allows for better flavor adjustment. When you’re ready to enjoy, simply reheat gently on the stove and add any desired ingredients. This way, you’ll have a delicious, homemade Thai broth at your fingertips with minimal effort!
How to Store and Freeze Thai Broth
Fridge: Store your homemade Thai broth in airtight containers in the refrigerator for up to 4 days. This keeps it fresh and ready for use in soups and sauces.
Freezer: For longer storage, freeze Thai broth in small portions using ice cube trays. Once frozen, transfer cubes to a freezer bag for easy, convenient access.
Reheating: To enjoy your broth, simply thaw in the refrigerator overnight and warm it gently on the stovetop or in the microwave. Avoid boiling to maintain clarity and flavor.
Labeling: Always label your containers with the date so you can easily track freshness. Proper storage ensures you can relish this delightful broth whenever the craving strikes!
Thai Broth Recipe FAQs
What type of chicken bones should I use for the best flavor?
Absolutely! I recommend using a combination of chicken backs and necks, or even whole chickens cut into parts, as they provide richness and collagen for a lovely silky texture. If you’re looking for a deeper flavor, pork bones can also work wonderfully.
How should I store my homemade Thai broth?
Once your broth has cooled for about 30 minutes, transfer it into airtight containers and refrigerate. It can stay fresh for up to 4 days! For longer storage, consider freezing it.
Can I freeze Thai broth for later use?
Yes, I often freeze my Thai broth for future meals! To do this, pour your cooled broth into ice cube trays and freeze until solid. Once frozen, transfer the cubes into a freezer-safe bag or container. You can store them for up to 3 months! This way, you can easily add just the right amount to your recipes later.
What should I do if my broth tastes too salty?
If your broth ends up too salty, a great trick is to add a peeled potato to the pot while simmering. The potato absorbs some of the saltiness. Let it simmer for about 20 minutes, then remove the potato and taste again. If it’s still a bit salty, you can dilute it with additional water.
Can I modify the recipe for dietary restrictions?
Very much so! For a vegetarian option, substitute the chicken bones with a variety of vegetables, like mushrooms and seaweed, and use vegetable broth as the base instead of water. You can still include the garlic, cilantro, and spices to maintain that beloved Thai flavor!
How can I tell if my broth has gone bad?
Trust your senses! If you notice any unusual odors, a cloudy appearance, or if the broth has been stored longer than 4 days in the fridge, it’s best not to consume it. Always prioritize safety in your kitchen!
Warm Your Heart with Homemade Thai Broth Bliss
Ingredients
Equipment
Method
- Start by rinsing the chicken bones under cold water to remove any impurities, which helps create a clear broth.
- Place the prepared chicken bones into a large stock pot and add approximately 12 cups of cold water. Turn the heat to medium-high until the water begins to bubble gently.
- After verifying it reaches a gentle simmer, lower the heat to keep it at a soft simmer for several hours.
- After around 30 minutes, add the crushed garlic and cilantro roots or stems into the pot along with ground white pepper.
- Once the broth has simmered for about an hour, begin seasoning it with thin soy sauce and fish sauce.
- During the first 30 minutes of simmering, use a ladle or skimmer to remove any floating foam, then strain the broth through a fine mesh sieve at the end.
- Let the broth cool at room temperature for about 30 minutes before pouring into airtight containers for storage.
Leave a Reply