
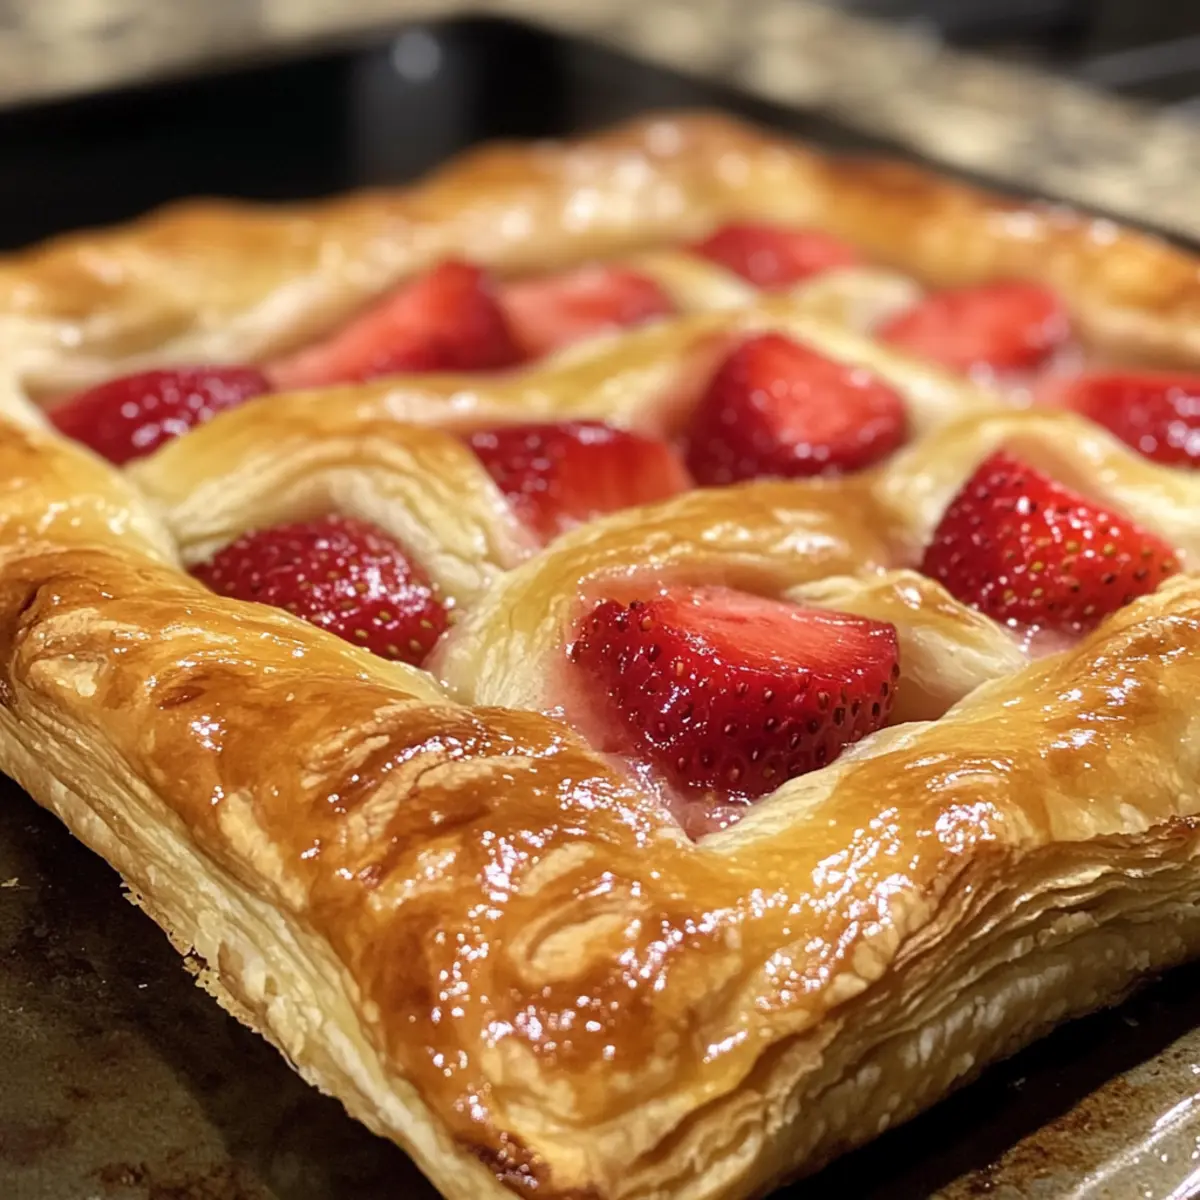
As I unwrapped the warm, flaky pastry fresh from the oven, the sweet aroma of strawberries and cream cheese enveloped me like a comforting hug. This Cream Cheese Strawberry Danish is not just a treat for special occasions; it effortlessly transforms an ordinary brunch into a moment of pure joy. With its buttery layers and a delightful blend of creamy filling, this recipe is your ticket to becoming the star of any gathering, all while keeping the process surprisingly simple. Whether you’re hosting a Sunday brunch or indulging in a cozy afternoon tea, these danishes are the perfect combo of comfort and sophistication. Ready to fill your kitchen with warmth and a hint of sweetness? Let’s dive into this delicious baking adventure!

Why Is This Danish Recipe So Special?
Simplicity at its finest: You don’t need to be a pastry chef to master this Cream Cheese Strawberry Danish. With straightforward steps, anyone can impress their brunch guests.
Irresistible Flavor: The sweet strawberries, creamy filling, and buttery pastry create a symphony of tastes that’s hard to resist.
Versatile Options: Feeling adventurous? Switch out the filling with Strawberry Cheesecake Stuffed or try a flavorsome twist with peach or raspberry.
Crowd-Pleaser: Whether for a family gathering or a cozy tea time, these danishes elevate any occasion.
Make Ahead: Prep the dough the night before. Simply bake them fresh in the morning for a warm delight that fills your home with mouthwatering aromas!
This is a recipe that will undoubtedly leave everyone wanting more, so roll up your sleeves and enjoy the delightful process!
Strawberry Danish Ingredients
For the Pastry
• Homemade Danish Pastry – The flaky base is best made a day in advance for optimal texture.
• Egg Yolk – Provides a beautiful golden color for the pastry; omit if you prefer a vegan option.
For the Cream Cheese Filling
• Full-Fat Cream Cheese – Gives a rich and creamy texture; non-fat can be used but may change the flavor.
• Granulated White Sugar – Sweetens the filling; adjust the amount to fit your taste preference.
• Milk – Adds moisture; any type of milk works well for this filling.
• Lemon Zest – Brightens the filling with a lovely citrus note; orange zest is a tasty alternative.
For the Strawberry Layer
• Strawberry Jam – Provides a sweet contrast to the cream cheese; feel free to swap with raspberry or apricot jam for variety.
• Fresh Strawberries – Adds natural sweetness and juicy texture; frozen strawberries can be used but will affect the final texture.
For Finish
• Demerara Sugar – A crunchy topping, perfect for adding extra sweetness; can be substituted with regular sugar.
These ingredients come together to create a delightful Strawberry Danish that’s sure to be a hit at your next brunch!
Step‑by‑Step Instructions for Strawberry Danish
Step 1: Prepare Pastry Dough
Start by making the homemade Danish pastry a day in advance for the best results. Combine flour, sugar, and salt in a large bowl, then incorporate butter until the mixture resembles coarse crumbs. Gradually add chilled water, mixing just until combined. Form the dough into a rectangle, wrap it in plastic, and refrigerate for at least 8 hours to achieve a flaky texture.
Step 2: Roll and Cut Dough
Once the dough has rested, preheat your oven to 400°F (200°C). Lightly flour your work surface and roll the chilled dough into a large rectangle, about ¼ inch thick. Trim the edges for a clean cut, then cut the dough into squares, roughly 4×4 inches. This is the base for your Cream Cheese Strawberry Danish, ready to be shaped.
Step 3: Shape the Danish
Take each square of dough and gently press down in the center to create a well for the filling. Use your fingers or a small glass to form a dent carefully. The sides of each square should rise slightly, creating a lovely rim. Arrange the shaped squares on a parchment-lined baking sheet, giving them enough space to puff up during baking.
Step 4: Make the Cream Cheese Filling
In a mixing bowl, combine softened cream cheese with granulated sugar, milk, and lemon zest. Use a hand mixer or a sturdy fork to blend until the mixture is smooth and creamy. This filling will be decadently rich and pairs beautifully with the strawberry jam, bringing flavor harmony to your Strawberry Danish.
Step 5: Fill the Pastries
Spoon about a tablespoon of strawberry jam into each dent of the shaped pastry squares. Next, add a dollop of the cream cheese mixture on top of the jam. Cut fresh strawberries into small pieces and scatter them over the cream cheese, allowing the vibrant colors to showcase the deliciousness of your Strawberry Danish.
Step 6: Prepare for Baking
Brush the edges of each pastry with egg yolk to achieve a lovely golden brown color once baked. Sprinkle demerara sugar generously over the edges for a delightful crunch. This step not only enhances the pastries’ appearance but also elevates the sweetness, making your Strawberry Danish irresistible.
Step 7: Bake the Danishes
Place the baking sheet in the preheated oven and bake for about 20 minutes. Keep an eye on the pastries, watching for a golden-brown color and flaky layers as they puff up. The aroma of buttery strawberries and cream filling will fill your kitchen—this is the moment to get excited!
Step 8: Cool and Serve
Once the Cream Cheese Strawberry Danishes are beautifully golden, remove them from the oven and let them cool on a wire rack for about 5-10 minutes. This cooling time allows the filling to set slightly. Serve them warm for the best experience, perhaps dusted with powdered sugar for an elegant touch. Enjoy!

Strawberry Danish Variations
Feel free to put your own spin on this delightful pastry, turning every batch into a unique treat!
-
Fruit Swaps: Try using fresh peaches or raspberries instead of strawberries for a different fruity flavor explosion that’s sure to impress.
-
Flavored Cream Cheese: Experiment with flavored cream cheese like vanilla or almond; it adds depth and richness to the filling, making each bite utterly delightful.
-
Jam Alternatives: Substituting the strawberry jam with raspberry or apricot jam offers a sweet twist that still pairs wonderfully with cream cheese.
-
Vegan Option: Replace cream cheese with vegan cream cheese and use non-dairy milk for an equally luscious filling that everyone can enjoy.
-
Spiced Touch: Add a pinch of cinnamon or nutmeg to the cream cheese mix for warm, aromatic notes that elevate the overall flavor experience.
-
Nutty Crunch: Incorporate chopped nuts, like almonds or walnuts, into the filling for added texture and a delightful crunch that contrasts beautifully with the creamy filling.
-
Zesty Version: Add more lemon zest or try lime zest for a citrusy brightness that cuts through the richness—perfect for a fresh twist on this classic.
-
Mini Danish Delight: Roll the dough thinner and cut smaller pieces to make bite-sized danishes for brunch gatherings or afternoon tea. These little treats are great for sharing!
So, whether you whip up a batch of these Danishes with seasonal fruit or explore other flavors, there’s no limit to the delicious creations you can make! And if you’re thirsting for more sweet strawberry ideas, don’t forget to check out our Strawberry Cheesecake Cinnamon Rolls or try a delightful Strawberry Shortcake Cake. The culinary possibilities are endless!
What to Serve with Cream Cheese Strawberry Danish
Enhance your brunch experience with delightful side dishes that perfectly complement the sweet and creamy flavors of this pastry.
- Fresh Fruit Salad: A colorful mix of seasonal fruits adds a refreshing contrast, balancing the richness of the danish.
- Crispy Bacon Strips: Salty, crispy bacon offers a delightful texture and flavor contrast, creating a savory element to your sweet brunch.
- Smooth Greek Yogurt: Creamy and tangy yogurt provides a luscious contrast. Drizzle with honey for added sweetness to round it out!
- Fluffy Scrambled Eggs: Light, airy scrambled eggs are a classic brunch choice that complements the danish without overshadowing it.
- Chilled Sparkling Water: Refreshing and bubbly, sparkling water cleanses the palate and enhances the brunch experience.
- Rich Coffee or Tea: A good cup of coffee or tea brings warmth and comfort, with the bitterness balancing the sweetness of the danish beautifully.
- Creamy Infused Cream Cheese Spread: Pair with bagels for the ultimate brunch platter, allowing guests to enjoy an array of flavors.
Bring together these delightful pairings and watch as your brunch becomes a cherished memory, filled with laughter and delicious bites!
Expert Tips for Strawberry Danish
• Resting Time: Ensure your pastry dough rests adequately for a flaky texture; this step is crucial for perfect layers.
• Avoid Overworking: Handle the dough gently; overworking can lead to tough pastries. Keep your butter cold for best results.
• Jam Selection: Choose a high-quality strawberry jam for maximum flavor. Experiment with other jams, but be mindful of their sweetness level in your Strawberry Danish.
• Filling Flexibility: Customize your filling by adding fresh herbs like mint or basil; this can elevate the flavor profile beautifully.
• Baking Watch: Keep a close eye on your pastries while baking; every oven is different, and you want them golden without burning.
• Serving Warm: The best way to enjoy your Strawberry Danish is warm, with a light dusting of powdered sugar for added sweetness and presentation.
Make Ahead Options
These Cream Cheese Strawberry Danishes are perfect for meal prep enthusiasts! You can prepare the homemade Danish pastry up to 24 hours in advance, allowing it to rest in the refrigerator for at least 8 hours. Simply roll the dough into squares and place them on a baking sheet before covering and refrigerating. The cream cheese filling can also be mixed and stored in the refrigerator for up to 3 days. When you’re ready to bake, fill the pastries with your jam and cream cheese mixture, add fresh strawberries, brush with egg wash, and sprinkle with demerara sugar. Finish baking as directed for warm, flaky pastries just as delicious as if made fresh!
How to Store and Freeze Strawberry Danish
Fridge: Store leftover Strawberry Danish in an airtight container in the fridge for up to 3 days. This keeps them fresh while preventing them from drying out.
Freezer: Freeze unbaked danishes (without fresh strawberries) on a parchment-lined baking sheet until solid. Transfer to a freezer-safe bag for up to 3 months. Bake directly from frozen, adding a few extra minutes to the baking time.
Reheating: To reheat, warm in the oven at 350°F (175°C) for about 10-15 minutes until heated through. This helps restore that flaky texture and fresh flavor.
Make-Ahead: Prepare the dough and filling the night before, assemble, and store unbaked in the fridge, then bake in the morning for a delicious, fresh breakfast!
Cream Cheese Strawberry Danish Recipe FAQs
How do I know if my strawberries are ripe enough for the Danish?
Absolutely! Look for strawberries that are bright red and feel slightly firm to the touch. Avoid those with dark spots all over or excessive softness, as they may spoil quickly. For the best flavor, choose strawberries that are in season.
What is the best way to store leftover Cream Cheese Strawberry Danish?
To keep your danishes fresh, store them in an airtight container in the fridge for up to 3 days. This will prevent them from drying out while allowing you to enjoy them later. You can also reheat them in the oven to restore their flaky texture!
Can I freeze Cream Cheese Strawberry Danish?
Very! To freeze unbaked danishes, shape them without adding fresh strawberries, then place them on a parchment-lined baking sheet and freeze until solid. Afterward, transfer them to a freezer-safe bag or container. They can be stored for up to 3 months! Bake them directly from frozen, adding a few extra minutes to the baking time when ready to enjoy.
What should I do if my pastry dough is too wet or sticky?
If your dough is too wet, try adding a little more flour—sprinkling a tablespoon at a time until it feels manageable. When rolling out the dough, dust your surface with flour to prevent sticking. Just remember, handle it gently to keep that flaky texture intact!
Are there any dietary considerations for the Cream Cheese Strawberry Danish?
Absolutely! If you or your guests have allergies, be cautious with the cream cheese and egg yolk. For a vegan version, you can substitute the cream cheese with a plant-based cream cheese and skip the egg wash. Also, ensure your jam is allergy-friendly, particularly if a specific fruit allergy might be relevant.
Is it possible to make the Danish ahead of time?
Yes, indeed! You can prepare the dough and filling the night before. Roll out and shape the danishes, then store them unbaked in the fridge overnight. Bake them in the morning for a fresh treat that will fill your home with delicious aromas!

Flaky Strawberry Danish That Will Brighten Your Brunch!
Ingredients
Equipment
Method
- Start by making the homemade Danish pastry a day in advance for the best results. Combine flour, sugar, and salt in a large bowl, then incorporate butter until the mixture resembles coarse crumbs. Gradually add chilled water, mixing just until combined. Form the dough into a rectangle, wrap it in plastic, and refrigerate for at least 8 hours to achieve a flaky texture.
- Once the dough has rested, preheat your oven to 400°F (200°C). Lightly flour your work surface and roll the chilled dough into a large rectangle, about ¼ inch thick. Trim the edges for a clean cut, then cut the dough into squares, roughly 4x4 inches.
- Take each square of dough and gently press down in the center to create a well for the filling. Arrange the shaped squares on a parchment-lined baking sheet.
- In a mixing bowl, combine softened cream cheese with granulated sugar, milk, and lemon zest. Blend until smooth and creamy.
- Spoon about a tablespoon of strawberry jam into each dent of the shaped pastry squares. Add a dollop of the cream cheese mixture on top of the jam. Scatter fresh strawberry pieces over the cream cheese.
- Brush the edges of each pastry with egg yolk to achieve a golden color once baked. Sprinkle demerara sugar generously over the edges.
- Place the baking sheet in the oven and bake for about 20 minutes, watching for a golden-brown color and flaky layers.
- Once done, let them cool on a wire rack for about 5-10 minutes. Serve warm, optionally dusted with powdered sugar.
Leave a Reply