
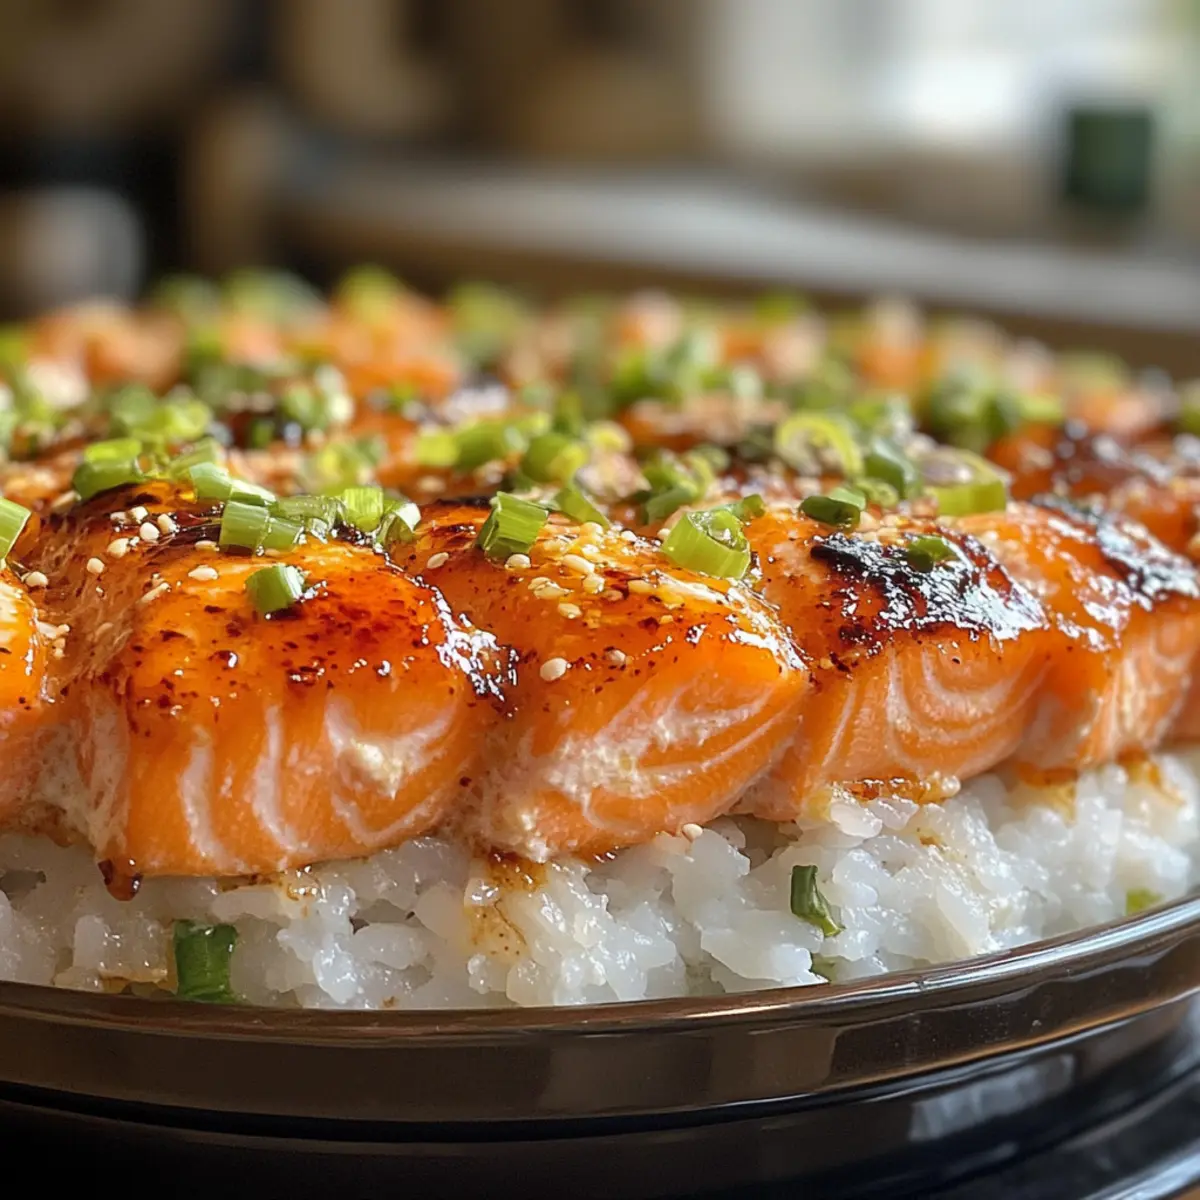
The aroma of savory goodness wafted through my kitchen as I whipped up this Spicy Salmon Sushi Bake, and trust me, it’s nothing short of a revelation! This delightful twist on traditional sushi transforms your favorite flavors into a comforting casserole, making it a perfect centerpiece for family dinners or casual get-togethers. With its creamy sriracha mayo topping bubbling to perfection and the tender, flaky salmon nestled on a bed of sushi rice, you’ll experience a flavor explosion that’s both satisfying and exciting. Best of all, this dish allows for customizable spice levels, so you can dial up the heat or keep it mild for a family-friendly version. Ready to indulge in a mouthwatering experience that brings the essence of Japanese cuisine right to your table? Let’s dive into the recipe and make mealtime memorable!
Why is Spicy Salmon Sushi Bake a Must-Try?
Unforgettable Flavor: The combination of flaky salmon, creamy sriracha mayo, and perfectly seasoned sushi rice creates a rich, savory flavor that will leave everyone asking for seconds!
Stress-Free Cooking: Simply combine and bake for an easy preparation that won’t take all day, allowing you more time to enjoy with guests.
Customizable Spice: Adjust the amount of sriracha to suit your family’s taste preferences. Have little ones? No problem!
Crowd-Pleaser: Perfect for dinner parties or cozy family nights, this dish brings people together with its hearty, comforting servings.
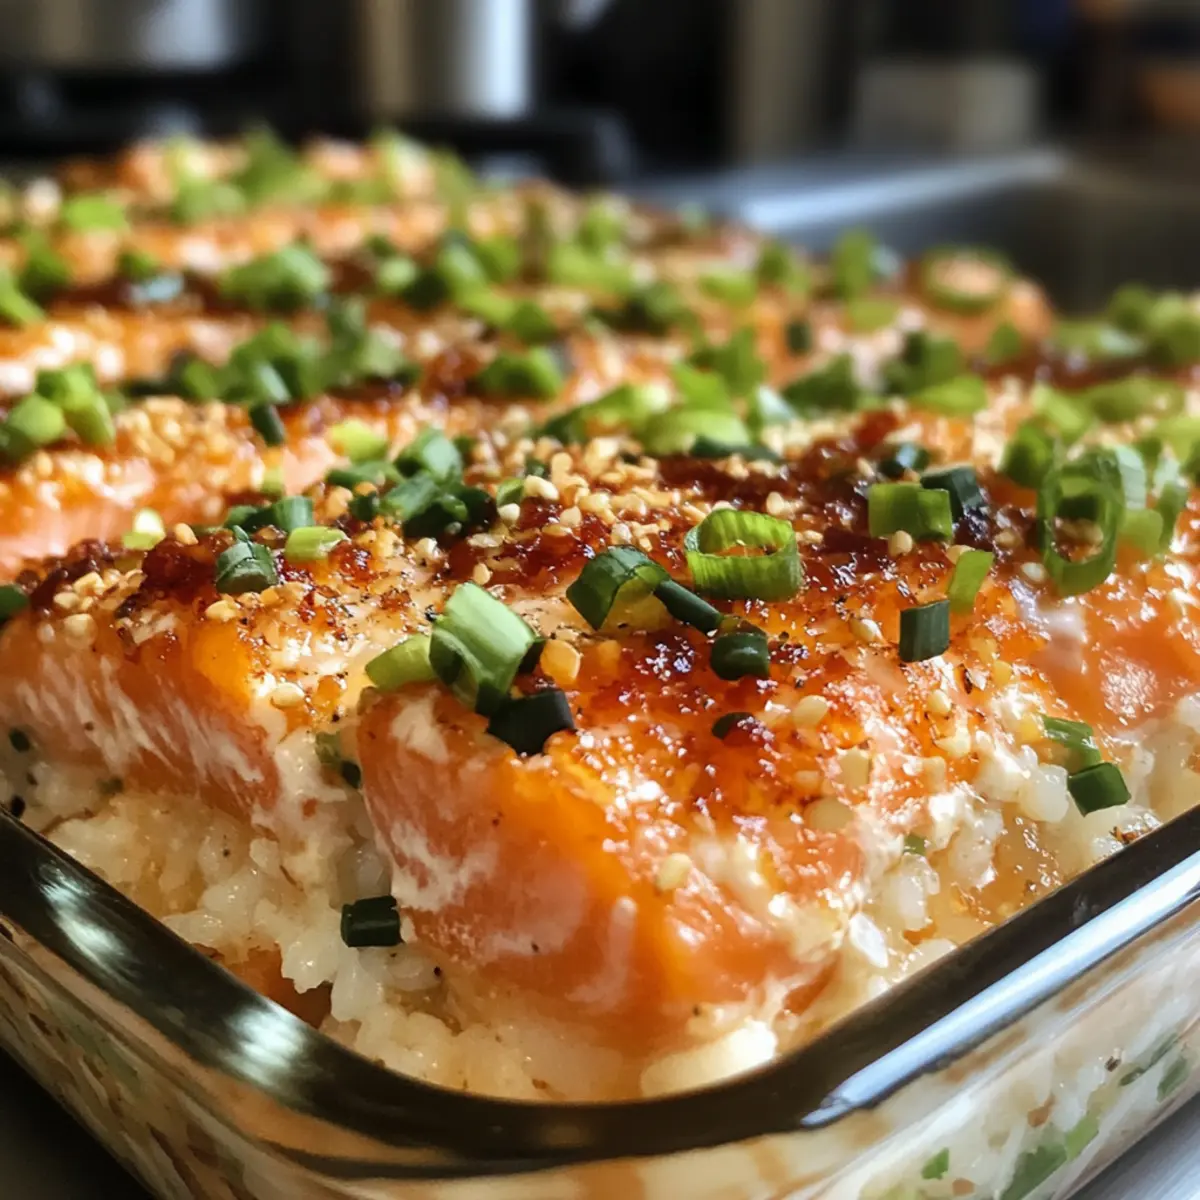
Eye-Catching Presentation: The bubbling, golden top and vibrant toppings make for a visually stunning dish that impresses without the fuss of traditional sushi rolling.
If you’re looking for more delightful meals, check out my Loaded Baked Potato for an equally inviting dish!
Spicy Salmon Sushi Bake Ingredients
For the Rice
- Sushi Rice – Provides the foundational texture and structure for your bake; rinse thoroughly to prevent gumminess.
- Water – Essential for cooking the sushi rice to perfect tenderness.
- Rice Vinegar – Adds a delightful tang to the cooked rice, enhancing the overall flavor.
- Sugar – Balances the acidity of the vinegar, giving the rice a subtle sweetness.
- Salt – Critical for seasoning, ensuring a well-rounded taste for the rice.
For the Filling
- Fresh Salmon Fillet – The star of the dish, offering rich flavor and moisture; consider using cooked crab or shrimp as a delicious substitute.
- Mayonnaise – Creates a creamy topping that adds luxurious richness; vital for a perfect crust under the broiler.
- Sriracha Sauce – Adds a spicy kick; adjust the amount based on your preferred heat level for a truly personalized Spicy Salmon Sushi Bake.
- Sesame Oil – Infuses an extra layer of flavor that complements the other ingredients beautifully.
- Green Onions – Adds fresh crunch and vibrant color to the dish; you can vary the amount based on your taste.
For the Garnish
- Nori – An optional garnish that enhances the traditional sushi feel; add for extra flair.
- Tobiko – Bright and crunchy, this garnish adds a visual pop and a burst of flavor.
Now that you have the ingredients ready, let’s embark on this culinary adventure together!
Step‑by‑Step Instructions for Spicy Salmon Sushi Bake
Step 1: Preheat the Oven
Begin by preheating your oven to 375°F (190°C). This ensures your Spicy Salmon Sushi Bake cooks evenly and achieves that delightful, golden top crust. While the oven heats up, you can prepare the sushi rice, saving time and making your cooking process smoother.
Step 2: Cook the Sushi Rice
Rinse 2 cups of sushi rice under cold water until the water runs clear to prevent gumminess. In a medium pot, combine the rinsed rice with 2.5 cups of water, bringing it to a gentle simmer over medium heat. Cook for about 15-20 minutes, then reduce heat and cover, allowing it to steam for an additional 10 minutes to achieve fluffy rice.
Step 3: Season the Rice
After letting the cooked rice sit covered, fluff it gently with a fork. In a small bowl, mix together rice vinegar, sugar, and salt until dissolved. Pour this mixture over the rice and fold it in carefully, ensuring each grain is seasoned. This step adds the tangy flavor characteristic of sushi rice and forms the perfect base for your bake.
Step 4: Assemble the Dish
Spread the seasoned sushi rice evenly in a greased baking dish, ensuring it covers the bottom completely. Allow the rice to cool slightly while you prepare the spicy salmon topping. This ensures the rice maintains its structure when layering the ingredients. The dish is now ready for the savory filling!
Step 5: Prepare the Salmon Mixture
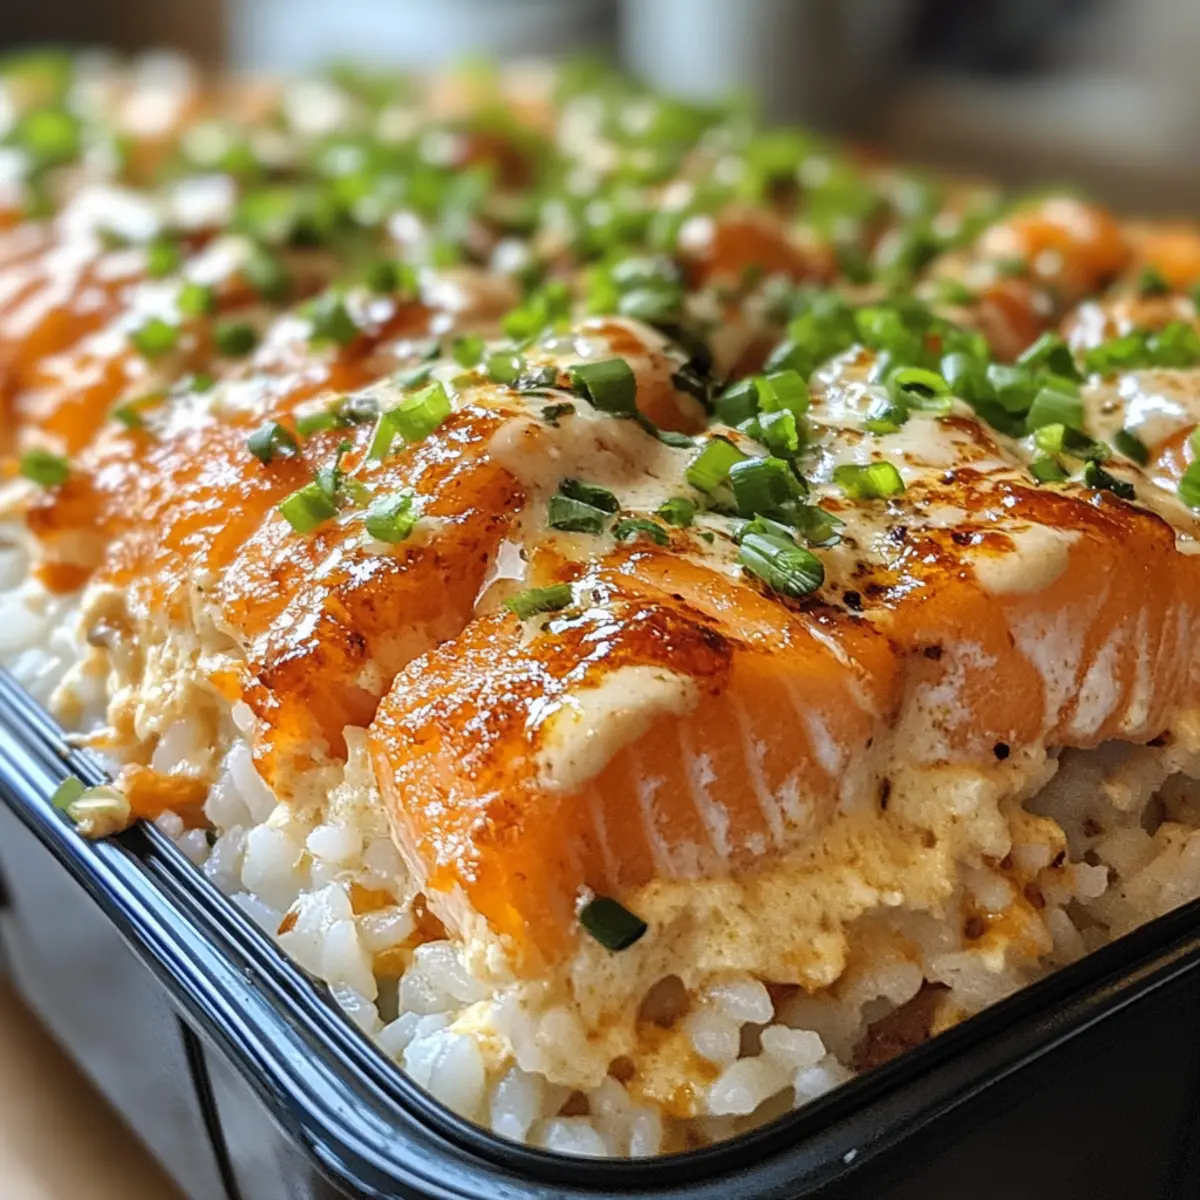
In a separate mixing bowl, combine diced fresh salmon fillet, mayonnaise, sriracha sauce, sesame oil, and finely chopped green onions. Mix until everything is well incorporated, creating a creamy, spicy mixture. This flavorful topping will elevate your Spicy Salmon Sushi Bake and give it that irresistible kick.
Step 6: Layer the Salmon on Rice
Carefully spread the salmon mixture over the layer of seasoned rice in the baking dish. Ensure an even distribution for consistent flavor with every bite. The salmon will cook beautifully and meld with the rice, so take care to cover all areas for an equal finish.
Step 7: Bake to Perfection
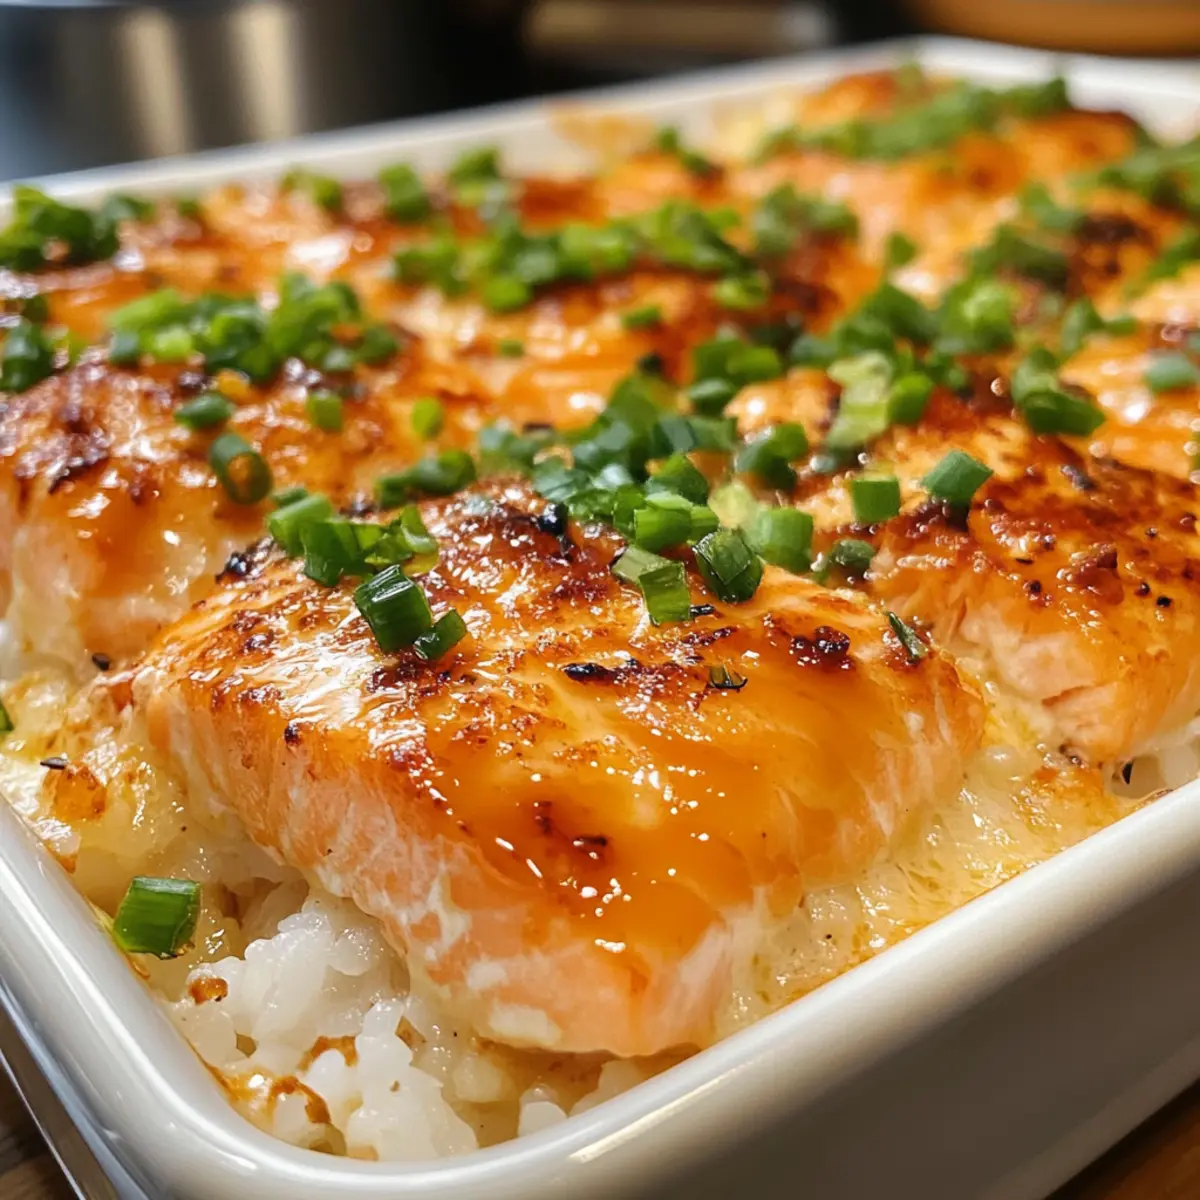
Place the assembled dish in the preheated oven and bake for 25-30 minutes. You’ll know it’s ready when the salmon is cooked through and the topping is lightly golden and bubbly. Watching for that beautiful color ensures a delightful texture in your Spicy Salmon Sushi Bake.
Step 8: Garnish and Serve
Once baked, remove the dish from the oven and allow it to cool slightly. For a stunning presentation, garnish with additional chopped green onions, nori strips, and tobiko if desired. This final touch adds freshness and a decorative flair, making your dish visually appealing.
Step 9: Enjoy Family-Style
Serve your Spicy Salmon Sushi Bake warm, scooping out generous portions for everyone to enjoy family-style. This dish not only satisfies the taste buds but also brings people together, making it a perfect centerpiece for your next meal.
Expert Tips for Spicy Salmon Sushi Bake
-
Pat Salmon Dry: Always dry your salmon thoroughly before mixing. This helps achieve a nicely browned topping and prevents excess moisture that could make the dish soggy.
-
Don’t Rush the Rice: Allow the sushi rice to rest after cooking. This step ensures it becomes fluffy and maintains its structure when baked, giving your Spicy Salmon Sushi Bake the perfect texture.
-
Watch the Broiler: Keep a close eye on the broiler during the last few minutes of baking. Broiling creates a beautiful golden crust, but it can quickly burn if left unattended.
-
Customize Spice Levels: Adjust the amount of sriracha to tailor the heat to your family’s preferences. For a milder version, use less sriracha or even a creamy alternative, ensuring everyone enjoys this dish.
-
Generous Portioning: When serving, scoop out family-style. This dish is perfect for sharing, creating a warm and inviting atmosphere that encourages conversation and connection.
Storage Tips for Spicy Salmon Sushi Bake
Fridge: Store any leftovers in an airtight container in the refrigerator for up to 2 days. This keeps the flavors fresh while making it easy to enjoy again!
Freezer: If you prefer to freeze it, wrap it tightly in plastic wrap and then aluminum foil. It will maintain its quality for up to 2 months.
Reheating: For the best texture, reheat in the oven at 350°F (175°C) for about 15-20 minutes, or until warmed through. This method helps revive the crispy, golden topping of your Spicy Salmon Sushi Bake.
Room Temperature: Avoid leaving the dish out for more than 2 hours to ensure food safety and maintain the quality of your delicious meal.
Spicy Salmon Sushi Bake Variations
Feel free to explore these exciting variations for your Spicy Salmon Sushi Bake and make it your own!
-
Seafood Swap: Substitute fresh salmon with cooked crab or shrimp for a delightful twist. Chicken also brings its unique flavor to this comforting dish!
-
Spice Adjustment: Adjust the sriracha to control heat levels; use less for a mild option or add a pinch of chili flakes for an extra kick. Tailoring the spice lets everyone enjoy this dish!
-
Vegetable Boost: Toss in diced bell peppers or avocado for added freshness and color. These vibrant additions enhance texture and provide nutritious benefits to your meal.
-
Topping Twist: Try topping with panko breadcrumbs mixed with sesame seeds for a crunchy finish. This creates a delightful contrast to the creamy salmon layer, elevating the heartiness of your bake.
-
Flavor Infusion: Experiment with a splash of lime juice or a sprinkle of fresh cilantro before serving to add brightness. A little zing connects beautifully with the rich flavors of the dish!
-
Soy Sauce Drizzle: Serve with a drizzle of soy sauce or a side of pickled ginger to elevate flavor profiles and enhance the sushi experience, making every bite truly satisfying.
-
Serving Style: Serve your bake in individual ramekins for a fun, personalized dinner option. This makes for a beautiful presentation and adds a sense of occasion!
For more culinary inspiration, consider trying my delightful recipe for Baked Beef Tacos, and enjoy exploring the joys of homemade meals together!
What to Serve with Spicy Salmon Sushi Bake
Transform your meal into a sensory delight with perfect pairings for this flavorful casserole!
- Miso Soup: A warm, comforting bowl of miso soup enriches the dining experience, complementing the sushi flavors beautifully.
- Cucumber Salad: Crisp and refreshing, a simple cucumber salad with rice vinegar and sesame oil adds a crunchy contrast to the rich bake.
- Edamame: Lightly salted edamame provides a protein-packed snack that’s easy to enjoy while waiting for the main dish.
- Seaweed Salad: This adds an umami surprise with its delicate textures and flavors, enhancing the overall Japanese theme of the meal.
- Pickled Ginger: Serve it on the side for a bright and zesty kick that can cleanse the palate between bites of creamy baked goodness.
- Sake: A light and chilled sake pairs wonderfully, bringing the authentic Japanese experience right to your table with its subtle flavor profile.
- Green Tea: A steaming cup of green tea rounds out the meal, offering a gentle finish with its earthy notes that balance the spiciness.
- Chocolate Mochi: For dessert, let the sweet bite of chocolate mochi provide a delightful textural contrast, pleasing the senses after a hearty meal.
- Fruit Sorbet: A refreshing sorbet will cleanse the palate, leaving a sweet note to end your meal on a light, airy touch.
Make Ahead Options
These Spicy Salmon Sushi Bake preparations are perfect for busy home cooks looking to save time! You can prepare the sushi rice and season it up to 24 hours in advance. Simply let it cool completely, then cover and refrigerate. The salmon mixture can also be made ahead of time; assemble it in a bowl and store it in the fridge for up to 3 days. To maintain quality, make sure to tightly cover both components to prevent drying out. When you’re ready to serve, layer the salmon mixture over the rice, pop it in the oven, and bake until golden for that delightful, crowd-pleasing dish waiting just for you!
Spicy Salmon Sushi Bake Recipe FAQs
What type of salmon should I use for the Spicy Salmon Sushi Bake?
Absolutely! I recommend using fresh salmon fillets for the best flavor and texture. Look for fillets that are bright pink and moist, avoiding any with dark spots or an off smell. If you’re looking for alternatives, cooked crab or shrimp can also lend delicious flavors to the dish.
How should I store leftovers of the Spicy Salmon Sushi Bake?
You can store leftovers in an airtight container in the refrigerator for up to 2 days. Just make sure to let it cool to room temperature before sealing it away to preserve the flavors and freshness. When you’re ready to reheat, popping it in the oven at 350°F (175°C) for about 15-20 minutes will bring back that yummy, golden topping!
Can I freeze the Spicy Salmon Sushi Bake?
Yes! Freezing is a great way to enjoy it later. Wrap the dish tightly in plastic wrap, then in aluminum foil to prevent freezer burn. It can last up to 2 months in the freezer. When ready to enjoy, thaw it overnight in the fridge and then reheat in the oven for the best results.
What if my sushi rice turns out gummy?
No worries! If your sushi rice ends up gummy, it may have been rinsed less than thoroughly before cooking. Moving forward, rinse it under cold water until the water runs clear to remove excess starch. If it’s already cooked, try fluffing it gently with a fork after it’s done steaming, which can help separate the grains a bit.
Is this recipe suitable for those with seafood allergies?
Definitely not! If you or your guests have seafood allergies, I recommend avoiding this recipe altogether. Instead, you can explore similar baked dishes using vegetables, tofu, or chicken as your protein base. This way, you can still enjoy a delicious bake without any allergic reactions.
How do I know when the Spicy Salmon Sushi Bake is done?
Very good question! You’ll know it’s ready when the salmon is thoroughly cooked and the topping is bubbly and lightly golden. Typically, this process takes about 25-30 minutes in the oven. Keep an eye on it, especially during the last few minutes, to prevent any burning from the broiler.
Spicy Salmon Sushi Bake That Will Wow Your Dinner Guests
Ingredients
Equipment
Method
- Preheat your oven to 375°F (190°C).
- Rinse 2 cups of sushi rice under cold water until the water runs clear. Combine the rinsed rice with 2.5 cups of water in a medium pot and simmer over medium heat for 15-20 minutes.
- Fluff the cooked rice with a fork. Mix rice vinegar, sugar, and salt in a bowl until dissolved and fold into the rice.
- Spread the seasoned sushi rice evenly in a greased baking dish.
- Combine diced salmon, mayonnaise, sriracha, sesame oil, and green onions in a bowl until well mixed.
- Spread the salmon mixture over the layer of seasoned rice.
- Bake in the preheated oven for 25-30 minutes until the salmon is cooked through and the topping is golden.
- Remove from the oven, cool slightly, and garnish with green onions, nori strips, and tobiko if desired.
- Serve warm, scooping out generous portions for a family-style meal.
Leave a Reply