
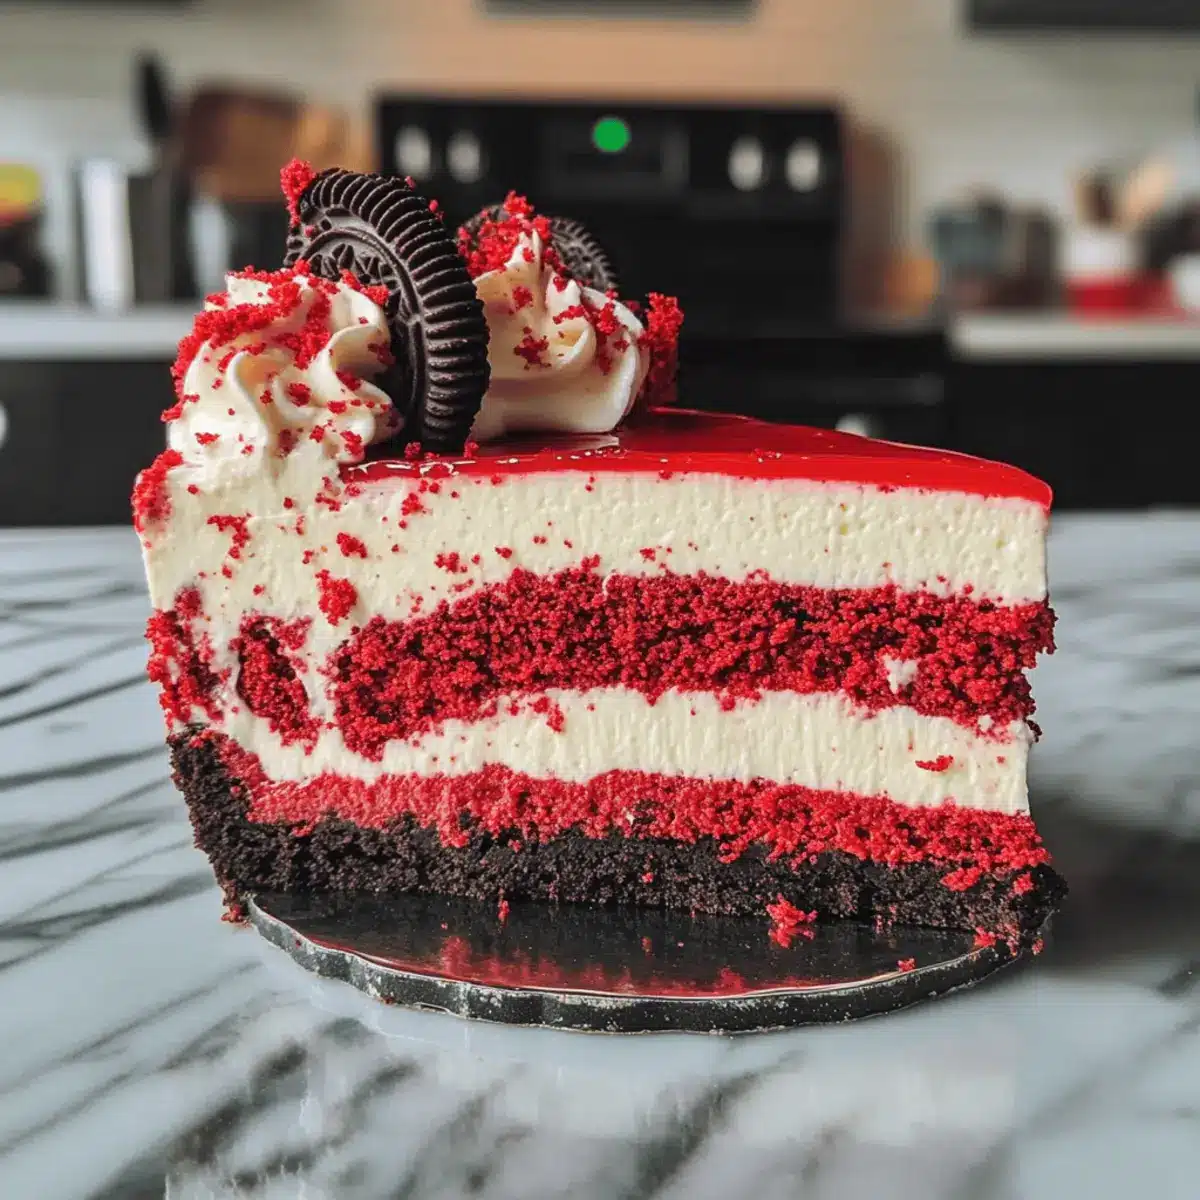
As I stood in my kitchen, the scent of baking wafted through the air, transporting me to a cozy café where delicate desserts are the star of the show. That’s when I knew it was time to whip up a stunning Red Velvet Oreo Cheesecake. This show-stopping dessert is not only gluten-free but also remarkably beginner-friendly, making it perfect for those special occasions where you want to impress without the stress. Picture a silky, creamy filling layered atop a crunchy Oreo crust that adds a delightful twist to the classic red velvet flavor. It’s a treat that satisfies your sweet tooth while also being a feast for the eyes. Ready to create a dessert that’s sure to charm your friends and family? Let’s dive into the world of velvety goodness together!
Why is Red Velvet Oreo Cheesecake a must-try?
Decadent flavors: The rich combination of creamy cheesecake and the signature chocolatey red velvet flavor will leave your taste buds dancing with joy.
Gluten-free indulgence: Enjoy this delightful dessert worry-free, as it’s crafted to cater to gluten-free diets without sacrificing taste or texture.
Simple preparation: This beginner-friendly recipe makes baking a breeze, allowing even novice cooks to create a showstopping dessert effortlessly.
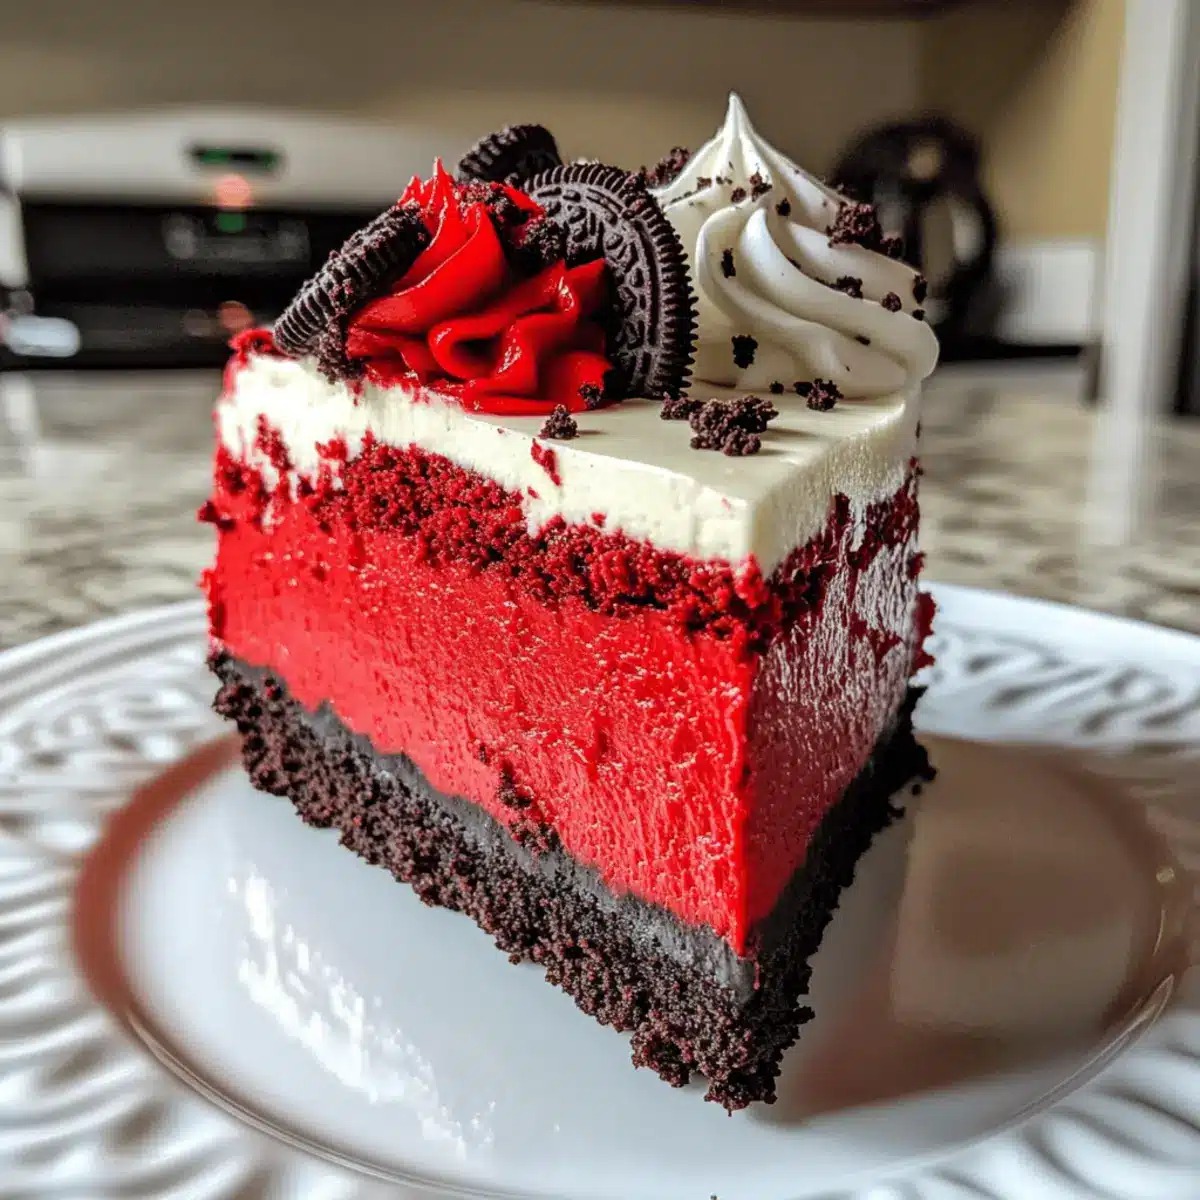
Stunning presentation: With its vibrant red and creamy layers, this cheesecake is as beautiful as it is delicious—perfect for impressing guests or enjoying a special treat at home.
Versatile options: Explore exciting variations by adding chocolate chips or crushed Oreos into the filling for an extra touch of indulgence! If you enjoy cheesecake as much as this recipe, you might want to check out our Strawberry Cheesecake Cinnamon Rolls for another delicious twist.
Crowd-pleaser: Whether it’s a festive gathering or a cozy family night, this dessert is bound to be a favorite among friends and loved ones alike!
Red Velvet Oreo Cheesecake Ingredients
For the Crust
- Oreo Cookies – Crushed finely to create a stable, crunchy layer for the base.
- Butter – Use unsalted, melted butter to bind the crust together perfectly.
For the Filling
- Cream Cheese – Ensure it’s at room temperature for smooth mixing, making the filling velvety.
- Granulated Sugar – Sweetens the cheesecake; feel free to substitute with powdered sugar for a silkier texture.
- Eggs – Use large eggs at room temperature to provide structure and richness.
- Sour Cream – Adds creaminess and tang; can be swapped with Greek yogurt for a different flavor profile.
- Red Velvet Cake Mix – Use a gluten-free mix for those following gluten-free diets while maintaining flavor and color.
- Vanilla Extract – Opt for pure vanilla extract to greatly enhance the overall flavor of the cheesecake.
- Food Coloring (Optional) – Adjust the amount to intensify the red color for a visually stunning dessert.
Get ready to indulge in this delightful Red Velvet Oreo Cheesecake!
Step‑by‑Step Instructions for Red Velvet Oreo Cheesecake
Step 1: Prepare the Crust
Begin by preheating your oven to 350°F (175°C). In a mixing bowl, crush the Oreo cookies into fine crumbs, then stir in the melted unsalted butter until well combined. Press this mixture firmly into the bottom of a 9-inch springform pan, ensuring it’s evenly spread. Bake the crust for 10 minutes, then set aside to cool while you prepare the filling.
Step 2: Make the Filling
In a large mixing bowl, beat the cream cheese with granulated sugar until the mixture is creamy and smooth, approximately 2-3 minutes. Gradually add in the eggs, one at a time, mixing well after each addition. This will ensure a silky texture for your Red Velvet Oreo Cheesecake. Next, fold in the sour cream, vanilla extract, and red velvet cake mix until just combined, taking care not to overmix.
Step 3: Bake the Cheesecake
Carefully pour the filling over the cooled Oreo crust in the springform pan, spreading it gently with a spatula to create an even layer. Place the cheesecake in the preheated oven, baking at 325°F (160°C) for 60-75 minutes. You’ll know it’s ready when the edges are set but the center has a slight wobble, indicating a creamy consistency.
Step 4: Cool Gradually
Once baked, turn off the oven and crack the door open, allowing the cheesecake to cool gradually inside for about 1 hour. This step helps prevent cracks from forming due to temperature fluctuations. Afterward, remove the cheesecake from the oven and refrigerate for a minimum of 6 hours, preferably overnight, to ensure it’s fully set and chilled.
Step 5: Serve and Enjoy
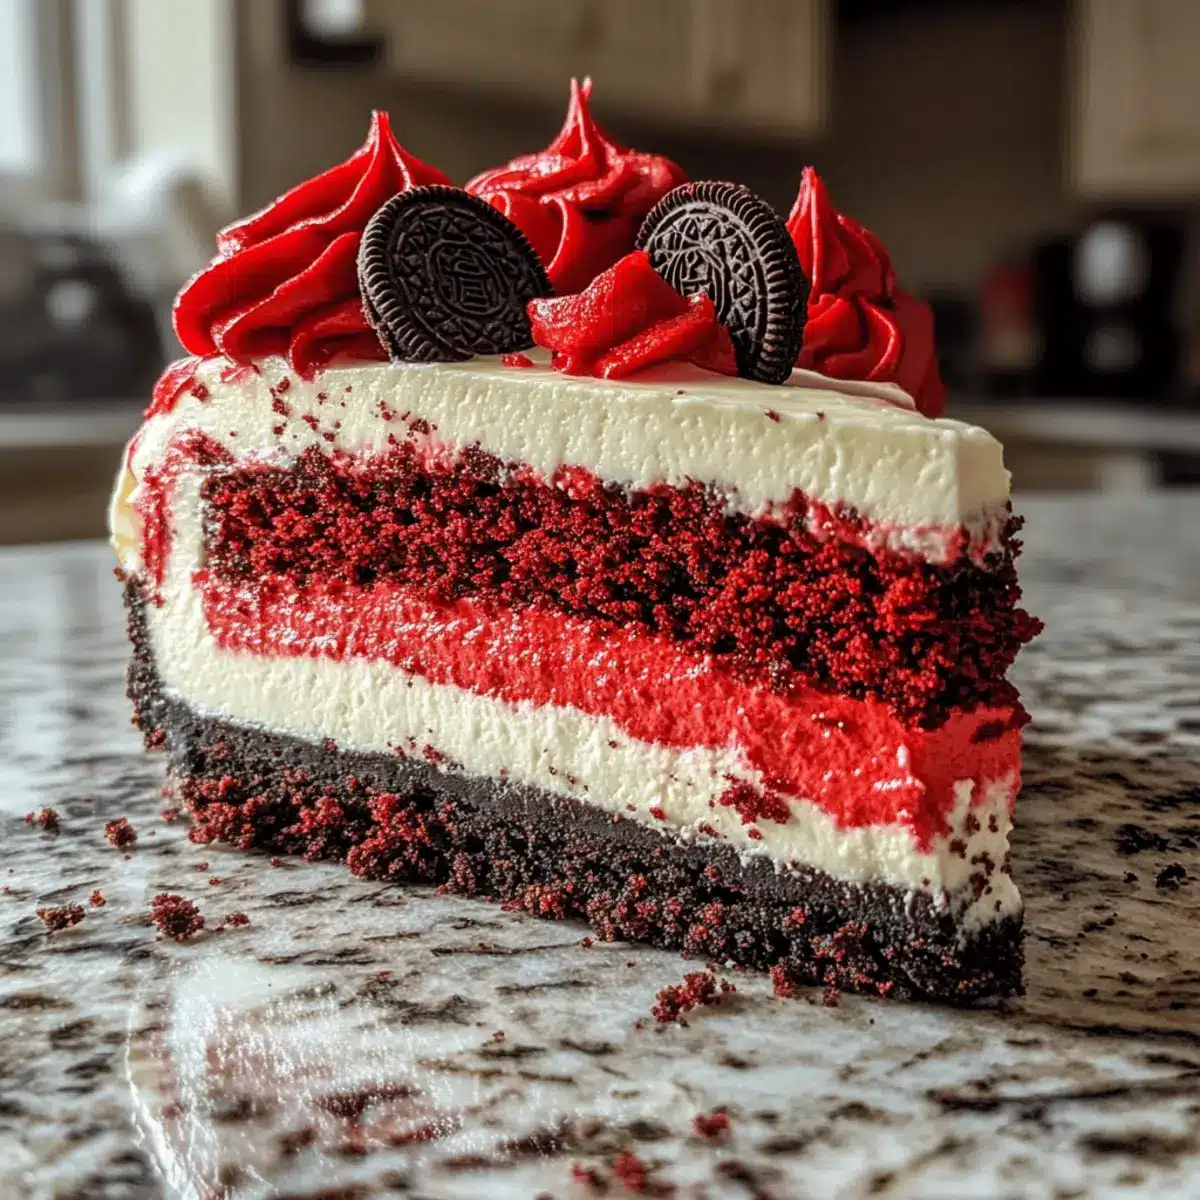
Once your Red Velvet Oreo Cheesecake has chilled, carefully remove it from the springform pan. To serve, slice into generous pieces and consider garnishing with whipped cream or crumbled Oreos for that added touch of decadence. Each bite promises a delightful combination of creamy cheesecake and crunchy crust—pure bliss!
Make Ahead Options
These Red Velvet Oreo Cheesecakes are a fantastic choice for busy home cooks! You can easily prepare the crust by crushing the Oreo cookies and mixing them with melted butter up to 24 hours in advance; just store it in the fridge to keep it fresh. The filling can also be made ahead and refrigerated for up to 3 days—simply blend the cream cheese, sugar, eggs, sour cream, vanilla, and red velvet cake mix, and cover it tightly. When you’re ready to bake, pour the filling over the crust and follow the usual baking instructions. This way, you’ll enjoy a stunning dessert with minimal last-minute effort, ensuring it remains just as delicious!
Expert Tips for Red Velvet Oreo Cheesecake
-
Room Temperature Ingredients: Ensure all ingredients, especially cream cheese and eggs, are at room temperature for easy blending and a smooth filling.
-
Gentle Mixing: Avoid overmixing the batter after adding the eggs to prevent cracks in your cheesecake. Mix just until incorporated for the best texture.
-
Cooling Technique: Allow the cheesecake to cool slowly in the oven after baking; this helps minimize sudden temperature changes that can lead to cracking.
-
Quality Ingredients: Use pure vanilla extract and a gluten-free red velvet cake mix for the best flavor in your Red Velvet Oreo Cheesecake.
-
Chill Time Matters: Don’t skip the chilling time! Refrigerate for at least 6 hours (preferably overnight) to ensure the cheesecake fully sets and flavors develop beautifully.
Red Velvet Oreo Cheesecake Variations
Feel free to get creative and customize your Red Velvet Oreo Cheesecake to match your tastes and preferences!
-
Add Chocolate Chips: Mix in semi-sweet chocolate chips for a delightful burst of chocolatey goodness in every bite. The chocolate pairs beautifully with the red velvet flavor, adding an extra layer of indulgence.
-
Mint Infusion: For a refreshing twist, incorporate a few drops of mint extract into the filling. The coolness of mint complements the rich flavors nicely, offering a delightful surprise with each slice.
-
Berries on Top: Garnish your cheesecake with fresh strawberries or raspberries for a burst of color and a lovely tartness that contrasts beautifully with the creamy filling. It not only looks stunning but adds a fresh flavor pop!
-
Delectable Swirls: Create beautiful swirls by drizzling chocolate ganache or caramel sauce on top of the cheesecake before serving. The lush drizzles not only enhance the look but elevate the flavors to a whole new level.
-
Coconut Whisper: Incorporate shredded coconut into the cheesecake batter for added texture and a subtle hint of tropical flavor. It pairs wonderfully with the creaminess, making each slice a little more exciting.
-
Crushed Oreo Topping: Sprinkle some crushed Oreo cookies on top of your chilled cheesecake for an additional crunch. This provides a fun texture contrast and really emphasizes the Oreo crust beneath.
-
Vegan Option: Replace cream cheese with a blend of soaked cashews and coconut cream for a plant-based version. You won’t miss the dairy, and this version will cater to vegan friends and family alike! If you prefer more cheesecake varieties, try our delightful Vanilla Bean Cheesecake.
-
Spiced Delight: Add a pinch of cinnamon or nutmeg to the filling for a hint of warmth and spice. This twist will remind you of cozy baking days, inviting warmth with every tasty mouthful.
What to Serve with Decadent Gluten-Free Red Velvet Oreo Cheesecake
Create a delightful meal that pairs perfectly with this awe-inspiring cheesecake and excites your palate.
-
Fresh Berries: Juicy strawberries, raspberries, or blueberries add a pop of color and sweet-tart freshness that beautifully contrasts the rich cheesecake.
-
Whipped Cream: A dollop of light, airy whipped cream complements the creamy texture, adding a heavenly touch with every bite.
-
Chocolate Ganache: Drizzle warm chocolate ganache over the cheesecake for an indulgent layer that enhances the dessert’s decadent experience.
-
Espresso or Coffee: Sip a cup of robust espresso or coffee alongside your cheesecake. The bold flavors of coffee accentuate the richness and sweetness of the dessert.
-
Mint Chocolate Chip Ice Cream: This refreshing ice cream adds a cool and creamy counterpart with a slight crunch, making for a delightful texture contrast when served together.
-
Creamy Fruit Salad: A light and colorful fruit salad provides a refreshing break from the richness of the cheesecake while enhancing the overall sweetness of your meal.
-
Sparkling Water with Lime: Stay refreshed with bubbles! This light drink cleanses the palate and adds a zesty flavor that complements the indulgence of the cheesecake.
-
Chocolate Dipped Strawberries: The addition of chocolate-dipped strawberries impressively marries flavors, enhancing the experience of the Red Velvet Oreo Cheesecake without overwhelming it.
-
Caramel Sauce Drizzle: A drizzle of warm caramel sauce can elevate each slice, adding buttery richness that pairs beautifully with the cheesecake’s texture.
-
Red Wine: Consider serving a glass of lightly chilled red wine. Its fruity notes harmonize with the dessert, making it a sophisticated pairing for your cheesecake.
How to Store and Freeze Red Velvet Oreo Cheesecake
Fridge: Store leftovers in an airtight container or tightly covered with plastic wrap for up to 1 week. This keeps the cheesecake fresh and creamy.
Freezer: For longer storage, wrap individual slices in plastic wrap followed by aluminum foil and freeze for up to 3 months. Thaw in the fridge before serving.
Reheating: Enjoy chilled, but if desired, you can briefly microwave slices for about 10-15 seconds for a warm treat. This brings out the flavors in your Red Velvet Oreo Cheesecake beautifully!
Red Velvet Oreo Cheesecake Recipe FAQs
What type of Oreo cookies should I use for the crust?
Absolutely! Regular Oreo cookies work wonderfully for this crust. If you’re aiming for gluten-free, there are gluten-free Oreos available that can be a perfect substitute without sacrificing flavor!
How should I store leftover Red Velvet Oreo Cheesecake?
Very! Store any leftovers tightly covered with plastic wrap in the refrigerator for up to 1 week. This will keep the cheesecake moist and creamy for your next craving.
Can I freeze Red Velvet Oreo Cheesecake?
Yes, you can! To freeze, wrap individual slices in plastic wrap, then in aluminum foil, and freeze for up to 3 months. When you’re ready to enjoy, simply thaw it in the fridge overnight.
What if my cheesecake cracks during baking?
Don’t worry! Cheesecake cracks can happen, but you can prevent them by not overmixing after adding the eggs and allowing the cheesecake to cool gradually in the oven after baking. If a crack forms, consider topping it with whipped cream or chocolate shavings for a delightful cover-up!
Is this dessert safe for those with allergies?
Check the ingredients! This Red Velvet Oreo Cheesecake contains dairy and gluten unless substitutions are made. For gluten-free options, use a gluten-free cake mix and gluten-free Oreos. Always consult with your guests regarding allergies before serving!
How long does it take for the cheesecake to chill?
I recommend chilling your Red Velvet Oreo Cheesecake for at least 6 hours, but preferably overnight. This time allows the flavors to develop and the texture to become perfectly set, making each slice divine!

Irresistible Red Velvet Oreo Cheesecake You Must Try!
Ingredients
Equipment
Method
- Preheat your oven to 350°F (175°C). In a mixing bowl, crush the Oreo cookies into fine crumbs, then stir in the melted unsalted butter until combined. Press into the bottom of a 9-inch springform pan. Bake for 10 minutes.
- In a large mixing bowl, beat the cream cheese with granulated sugar until creamy, about 2-3 minutes. Gradually add the eggs one at a time, mixing well after each addition. Fold in sour cream, vanilla extract, and red velvet cake mix until combined.
- Pour the filling over the cooled Oreo crust, spreading gently. Bake at 325°F (160°C) for 60-75 minutes until edges are set but center is slightly wobbly.
- After baking, turn off the oven and crack the door, allowing the cheesecake to cool in the oven for 1 hour. Refrigerate for at least 6 hours, preferably overnight.
- Remove the cheesecake from the pan, slice, and serve. Garnish with whipped cream or crumbled Oreos if desired.
Leave a Reply