
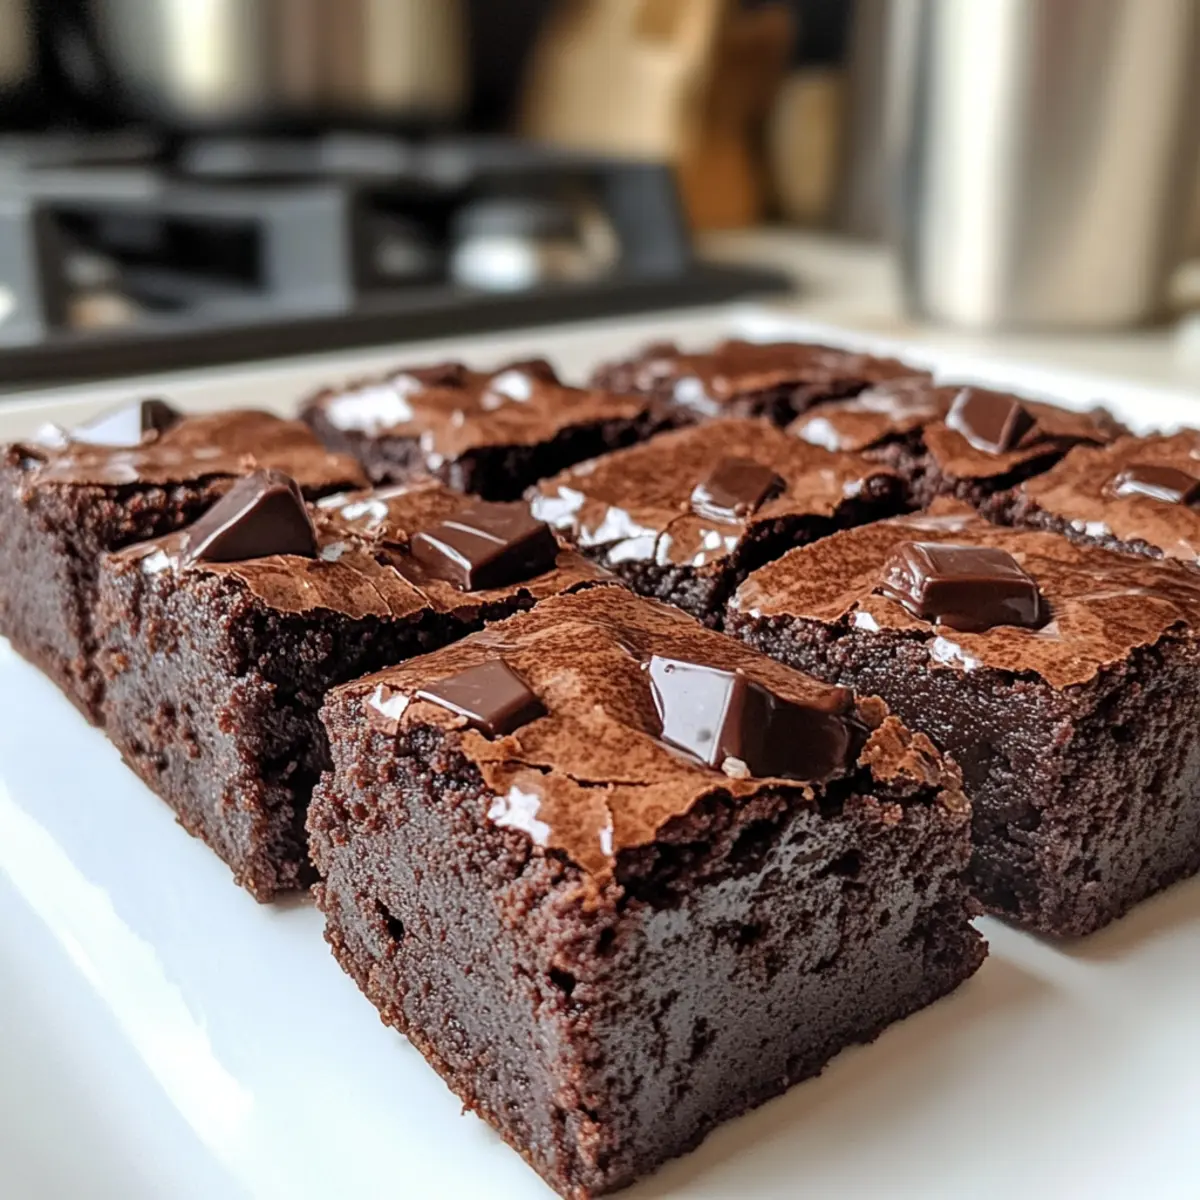
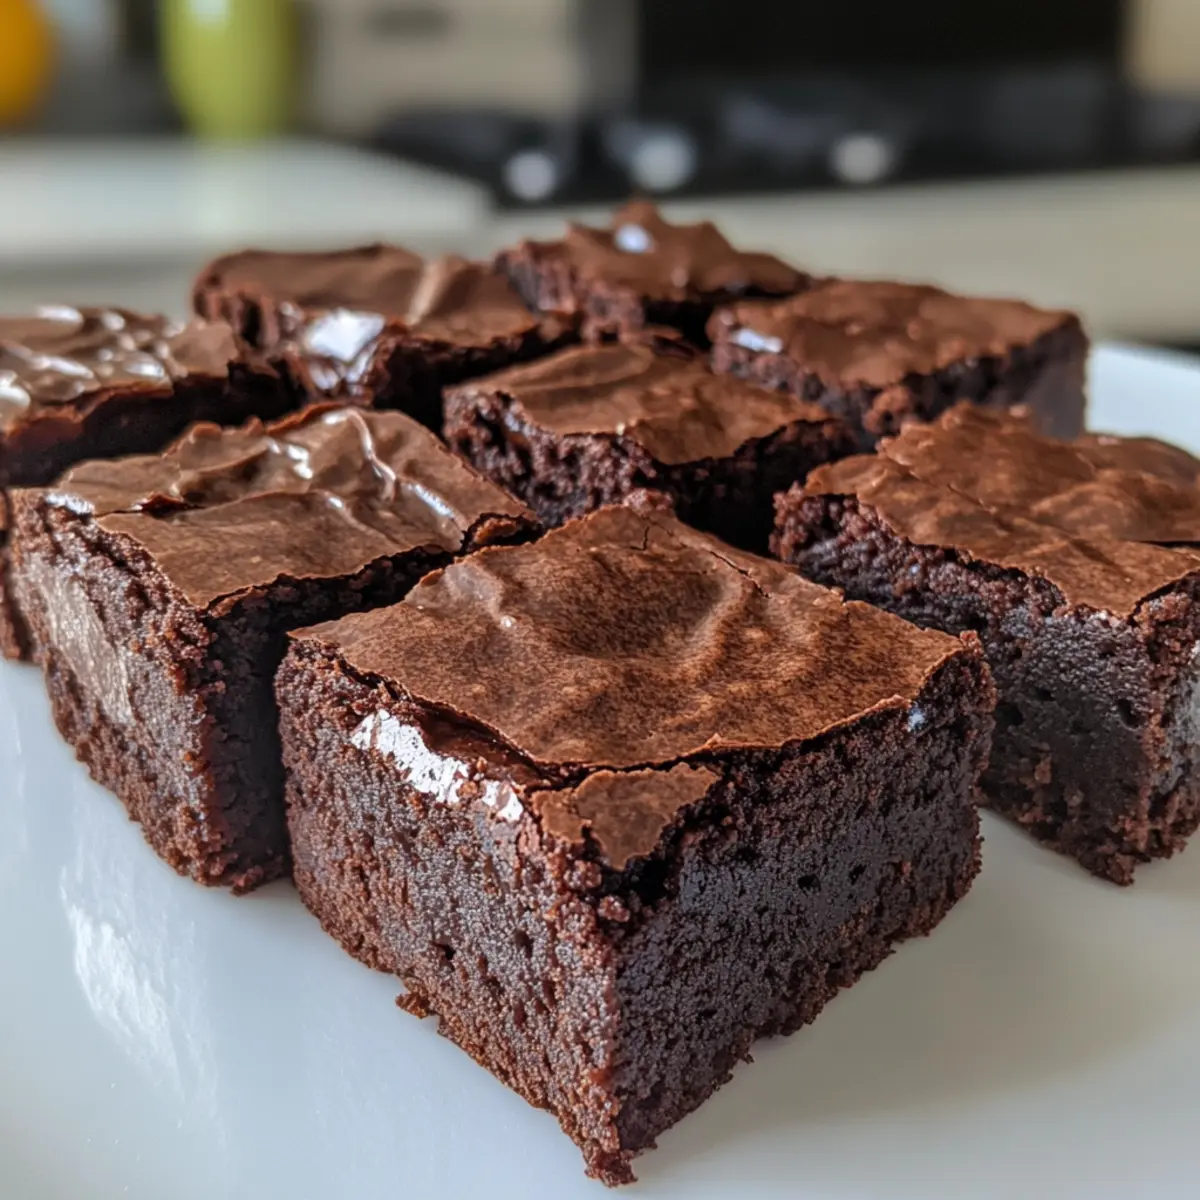
There’s something utterly enchanting about the first bite of these Chewy Chocolate Mochi Brownies. Imagine sinking your teeth into a fudgy base that gives way to a chewy center, all while being wrapped in a lightly crisped crust. The rich, chocolatey goodness is enough to transport you to a dreamy Hawaiian bakery, where traditional mochi meets comforting brownies—what a delightful fusion! This gluten-free treat brings not only pleasure but also quick satisfaction, making it ideal for gatherings when you want dessert to shine. Whether you’re sharing with friends or enjoying them all by yourself, these brownies promise to become your new favorite indulgence. Curious about how to bring this unique dessert to life in your own kitchen? Let’s dive into the recipe!
Why Are Mochi Brownies So Irresistible?
Chewy Texture: The glutinous rice flour creates an addictive chewiness that elevates every bite, making these brownies stand out from traditional options.
Rich Chocolate Flavor: Each brownie is packed with rich dark chocolate combined with cocoa, satisfying even the strongest chocolate cravings.
Gluten-Free Delight: Perfect for those with gluten sensitivities, these gluten-free brownies ensure no one misses out on dessert.
Versatile Servings: Elevate your presentation by serving these brownies with whipped cream or ice cream, making them crowd-pleasing for any occasion.
Quick and Simple: With straightforward instructions, you’ll have these decadent delights ready in no time, allowing you to enjoy homemade happiness in a flash.
Mochi Brownies Ingredients
For the Batter
- Glutinous Rice Flour – This key ingredient provides the unique chewy texture typical of mochi; no substitutions yield the same result.
- Dark Chocolate (½ cup) – Adds rich chocolate flavor; using high-quality chocolate gives the best results.
- Unsalted Butter (5 tbsp) – Contributes to the fudgy texture; can be substituted with coconut oil for a dairy-free version.
- Cocoa Powder (¼ cup) – Enhances the chocolate flavor; no direct substitution is recommended, but carob powder can serve as an alternative.
- Sugar (¾ cup) – Sweetens the batter; consider using coconut sugar for a lower glycemic index option.
- Whole Milk (1½ cups) – Provides moisture; substitutes include almond milk or oat milk for dairy-free baking.
- Eggs (2) – Binds ingredients together; for a vegan option, use flax eggs (2 tbsp ground flaxseed mixed with 6 tbsp water).
- Vanilla Extract (½ tsp) – Adds depth of flavor; pure vanilla is preferred, but imitation vanilla works in a pinch.
- Baking Powder (1 tsp) – Helps with rise and fluffiness; ensure it’s fresh for best results.
- Salt (⅛ tsp) – Enhances all flavors and is essential for balance.
For the Topping
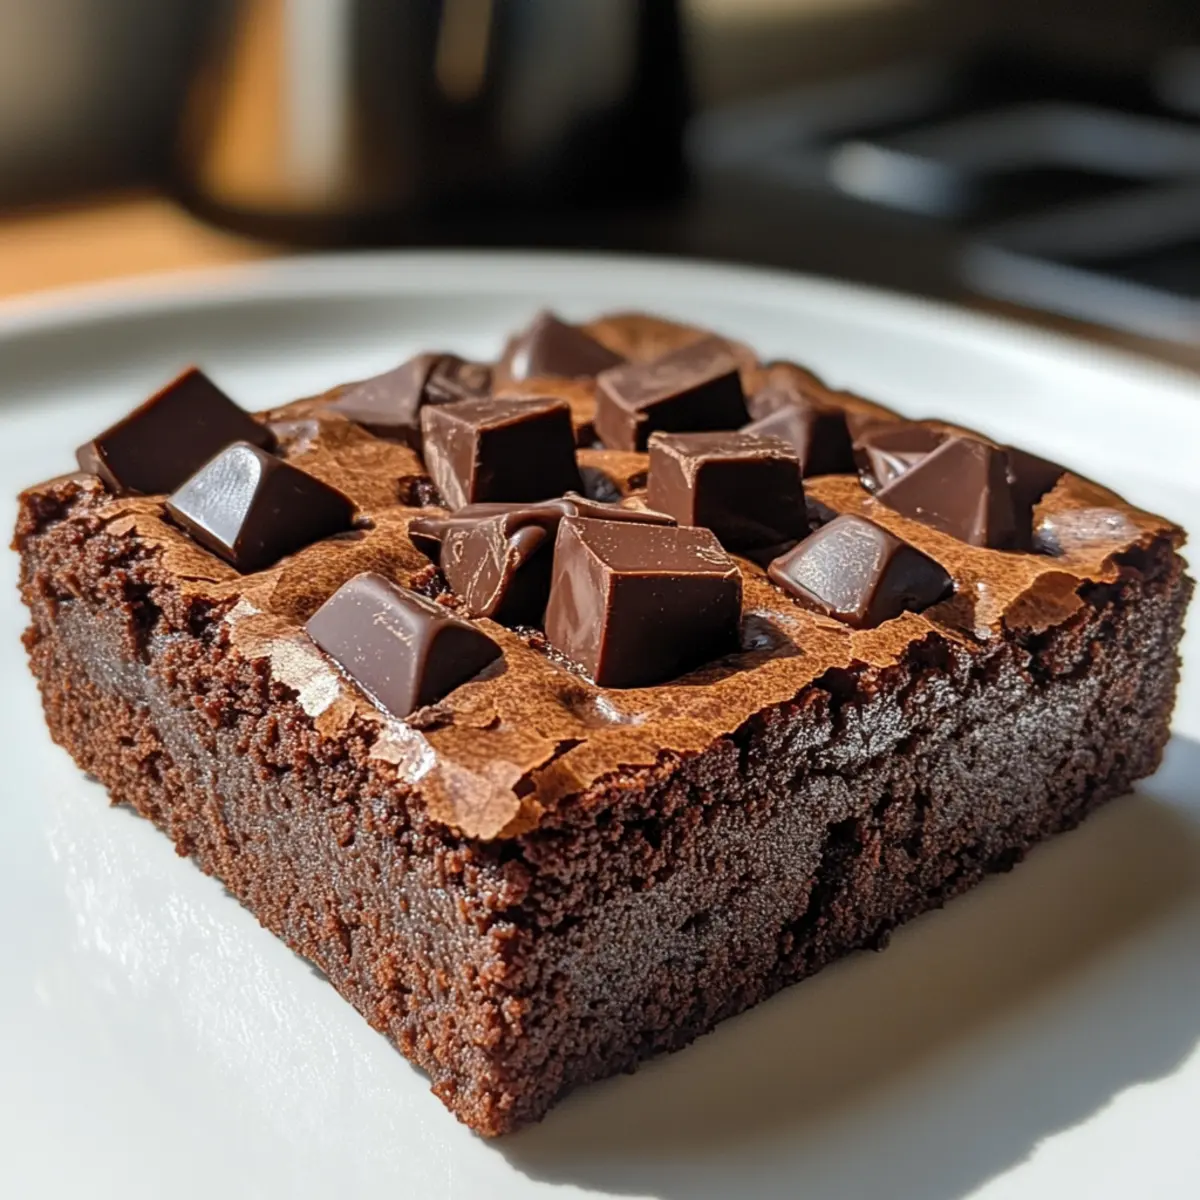
- Chocolate Chunks – Adds richness; optional but highly recommended for extra chocolate flavor.
These Mochi Brownies are a delightful twist on your traditional chocolate brownie, inviting everyone to relish the chewy goodness with every bite!
Step‑by‑Step Instructions for Mochi Brownies
Step 1: Preheat the Oven
Begin by preheating your oven to 320°F (160-170°C). While the oven warms up, line an 8×8-inch baking pan with parchment paper, allowing some overhang on the sides for easy removal later. This step is essential to prevent sticking and to help achieve perfectly shaped Mochi Brownies once baked.
Step 2: Melt Chocolate and Butter
In a double boiler, melt ½ cup of dark chocolate and 5 tablespoons of unsalted butter together. Stir occasionally until both ingredients are completely melted and creamy, then remove from heat and let the mixture cool slightly. This rich chocolate mixture is key to giving your fudgy Mochi Brownies their luscious flavor.
Step 3: Mix Wet Ingredients
In a mixing bowl, whisk together 2 eggs and ½ teaspoon of vanilla extract until well combined. Slowly add 1½ cups of whole milk, stirring until the mixture is smooth. This creamy blend will serve as the moist base for your delicious Mochi Brownies, creating that perfect fudgy texture.
Step 4: Combine Chocolate Mixture
Once your chocolate and butter mixture has cooled, gradually pour it into the wet ingredients. Mix thoroughly until the batter is smooth and fully combined. The glossy chocolate blend will enhance the rich flavor profile of your Mochi Brownies, making each bite a delight.
Step 5: Prepare Dry Ingredients
In a separate bowl, sift together 1 cup of glutinous rice flour, ¼ cup of cocoa powder, 1 teaspoon of baking powder, ⅛ teaspoon of salt, and ¾ cup of sugar. Whisk these dry ingredients well to ensure even distribution, as this blend creates the chewy texture that is characteristic of Mochi Brownies.
Step 6: Combine Wet and Dry Ingredients
Gently fold the dry ingredients into the wet mixture using a spatula until a smooth batter forms. Be careful not to overmix, as this can affect the texture. You want to maintain the lightness while ensuring that everything is well incorporated, leading to perfectly chewy brownies.
Step 7: Prepare for Baking
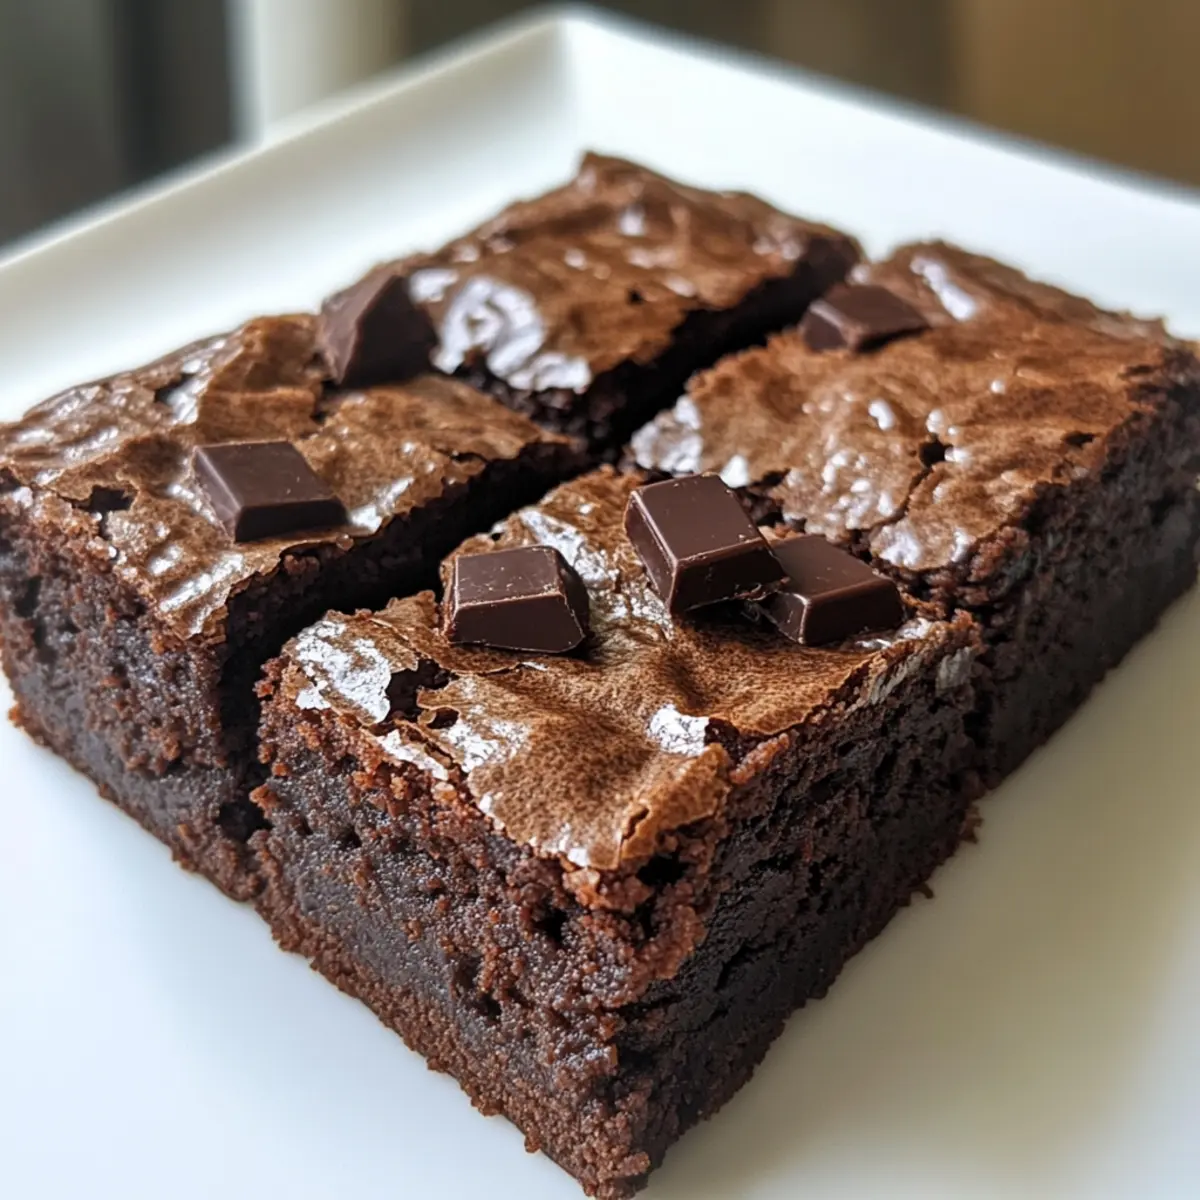
Pour the batter into the lined baking pan, smoothing it out evenly with a spatula. To ensure a lump-free batter, sift it through a sieve as you transfer it. This step is vital for achieving the uniform texture that makes these Mochi Brownies so irresistible. For an extra touch, sprinkle chocolate chunks on top.
Step 8: Bake the Brownies
Bake the Mochi Brownies in the preheated oven for 55-60 minutes. Keep an eye on them—when a toothpick inserted into the center comes out clean or with a few moist crumbs, it’s time to take them out. The aroma will fill your kitchen, hinting at the delectable treat soon to be ready.
Step 9: Cool the Brownies
Once baked, remove the pan from the oven and allow the brownies to cool in the pan for at least 15 minutes. This cooling period is essential for setting the texture. If you try to remove them too early, they may crumble and lose their delicious shape.
Step 10: Slice and Serve
Using the parchment overhang, gently lift the brownies out of the pan and transfer them to a wire rack to cool completely. Once cooled, cut the brownies into squares. These Mochi Brownies can be enjoyed plain or with some whipped cream or ice cream for an extra indulgence!
What to Serve with Chewy Chocolate Mochi Brownies
Looking to create a memorable dessert spread that perfectly complements the delightful taste of your mochi brownies?
- Creamy Whipped Cream: A dollop of light, fluffy whipped cream adds a luscious touch that balances the dense chocolate.
- Vanilla Ice Cream: The cool creaminess of vanilla ice cream enhances the fudgy chocolate experience, especially when served warm.
- Fresh Berries: Juicy strawberries or raspberries offer a fresh burst of flavor, cutting through the richness and providing a pop of color.
- Chocolate Sauce: Drizzle rich chocolate sauce over the brownies for an indulgent, extra-chocolaty treat that chocolate lovers will adore.
- Dulce de Leche: This sweet caramel-like sauce pairs beautifully with mochi brownies, creating a sweet harmony that’s simply irresistible. Each spoonful brings a delightful creaminess.
- Espresso or Coffee: A hot cup of coffee or espresso creates a perfect pairing. The bitter notes of coffee enhance the sweetness of the brownies, creating a balanced indulgence.
- Coconut Macaroons: These chewy coconut treats echo the mochi texture; together, they create a delightful contrast that invites seconds.
- Mint Leaves: Fresh mint can add a refreshing note, brightening the dessert while bringing a lovely visual appeal to your plates.
- Flavored Tea: A soothing cup of herbal or green tea enhances the overall experience, making it feel lighter after the rich brownies.
- Sea Salt Flakes: A sprinkle of flaky sea salt on top of the brownies elevates the flavors, enhancing both the chocolate richness and chewy texture.
Make Ahead Options
These Chewy Chocolate Mochi Brownies are perfect for meal prep enthusiasts looking to save time! You can prepare the brownie batter ahead of time, refrigerating it for up to 24 hours in an airtight container. Just remember to give the batter a good stir before pouring it into the baking pan when you’re ready to bake. Additionally, you can bake the brownies in advance and store them at room temperature for up to 3 days, or refrigerate for longer freshness. To maintain quality, ensure they are properly sealed to prevent drying out. When it’s time to indulge, simply slice and enjoy these delightful Mochi Brownies that taste just as fresh as the day they were made!
Mochi Brownies: Creative Twists and Substitutions
Feel free to transform these delightful mochi brownies into your signature treat with these easy and delicious variations!
-
Gluten-Free Swap: Instead of traditional flours, use almond flour for a different texture, bearing in mind it won’t achieve the same chewiness.
-
Dairy-Free Delight: Replace unsalted butter with coconut oil, ensuring all your dairy-free friends can enjoy the chocolatey goodness.
-
Nutty Flavor Boost: Add peanut butter chunks or swirl in some almond butter for a rich and nutty surprise in every bite.
-
Alternative Sweeteners: Use coconut sugar or maple syrup to lower the glycemic index while keeping those sweet cravings satisfied.
-
Matcha Magic: For a beautiful green variation, mix in 1-2 tablespoons of matcha powder into your batter for a flavor twist and antioxidant boost.
-
Fruit Infusion: Toss in some chopped dried fruits like cranberries or cherries for a tart sweetness that pairs wonderfully with chocolate.
-
Heat It Up: Stir a pinch of cayenne pepper or chili powder into the batter for a subtly spicy kick that elevates the rich chocolate flavor.
-
Extra Toppings: Boost the chocolatey experience by sprinkling extra chocolate chunks or nuts on top before baking, making every bite an adventure!
You might also enjoy experimenting with toppings or finding the best way to store your brownies for that perfectly chewy bite time after time. Happy baking!
How to Store and Freeze Mochi Brownies
Room Temperature: Keep mochi brownies in an airtight container at room temperature for up to 3 days to maintain their chewy texture and flavor.
Fridge: For longer freshness, store them in the refrigerator for up to 1 week. Just be sure to let them come to room temperature before enjoying for the best texture!
Freezer: If you want to keep them for an extended period, wrap the brownies tightly in plastic wrap or aluminum foil and freeze for up to 3 months. Thaw in the fridge overnight before serving.
Reheating: To enjoy the mochi brownies warm, reheat individual squares in the microwave for about 10-15 seconds, enhancing that gooey, fudgy center!
Expert Tips for Mochi Brownies
-
Use Quality Ingredients: Always opt for high-quality dark chocolate; it significantly enhances the flavor of your Mochi Brownies.
-
Avoid Overmixing: Combine the wet and dry ingredients gently. Overmixing can lead to tougher brownies, losing that signature chewy texture.
-
Cool Before Cutting: Let the brownies cool thoroughly in the pan before slicing. This helps achieve clean cuts and preserves the gooey center.
-
Substitution Smartly: If substituting ingredients, be mindful that glutinous rice flour is key for chewiness. Alternatives can change the texture unexpectedly.
-
Experiment with Add-Ins: Consider incorporating chocolate chunks, nuts, or flavored extracts for a unique twist. Just don’t forget to keep the focus on the mochi brownies’ delightful chewiness!
Mochi Brownies Recipe FAQs
What type of glutinous rice flour should I use for mochi brownies?
Absolutely! It’s best to use sweet rice flour or glutinous rice flour specifically labeled for baking. Regular rice flour won’t provide that characteristic chewiness. Brands like Mochiko can usually be found in Asian markets or health food stores, and they deliver the best results!
How long can I store mochi brownies, and what’s the best method?
To enjoy the best texture, store your mochi brownies in an airtight container at room temperature for up to 3 days. If you want them to last longer, refrigerate them for up to 1 week. Just remember to let them come to room temperature before indulging for that delightful chewiness!
Can I freeze mochi brownies and how?
Absolutely! To freeze your mochi brownies, tightly wrap them in plastic wrap, then aluminum foil, and pop them in the freezer for up to 3 months. When you’re ready to eat them, thaw them in the fridge overnight. If you want to enjoy them warm, reheat individual squares in the microwave for about 10-15 seconds.
What should I do if my brownies aren’t chewy enough?
If your brownies turn out less chewy, it might be due to the mixing technique or ingredient ratios. Make sure to gently fold the wet and dry ingredients until just combined, avoiding overmixing. Also, ensure that you’re using glutinous rice flour since other types won’t yield the same texture. For future batches, consider reducing the baking time as well; slightly underbaking can enhance chewiness!
Are mochi brownies suitable for gluten-free diets?
Yes, indeed! Mochi brownies are naturally gluten-free, making them a fantastic treat for those with gluten sensitivities. Just ensure that all other ingredients, such as the chocolate and vanilla extract, are also labeled gluten-free. Enjoy the fudgy, chewy goodness without worry!
Can pets eat mochi brownies?
No, it’s best to keep these mochi brownies away from pets. The sugar, chocolate, and other ingredients can be harmful to them. If you’re looking to share a treat with your furry friend, consider making a dog-friendly dessert that uses safe ingredients for pets instead!
Mochi Brownies: Chewy Chocolate Bliss in Every Bite
Ingredients
Equipment
Method
- Preheat your oven to 320°F (160-170°C) and line an 8x8-inch baking pan with parchment paper.
- Melt ½ cup of dark chocolate and 5 tablespoons of unsalted butter in a double boiler, stirring until creamy.
- Whisk together 2 eggs and ½ teaspoon of vanilla extract, then stir in 1½ cups of whole milk until smooth.
- Gradually add the chocolate mixture into the wet ingredients and mix thoroughly until smooth.
- Sift together 1 cup of glutinous rice flour, ¼ cup of cocoa powder, 1 teaspoon of baking powder, ⅛ teaspoon of salt, and ¾ cup of sugar in a separate bowl.
- Fold the dry ingredients into the wet mixture gently until a smooth batter forms.
- Pour the batter into the lined pan, smoothing it out evenly and using a sieve if necessary. Optionally sprinkle chocolate chunks on top.
- Bake for 55-60 minutes, or until a toothpick comes out clean or with a few moist crumbs.
- Let the brownies cool in the pan for at least 15 minutes before lifting them out using the parchment paper.
- Cut the cooled brownies into squares and serve plain or with whipped cream or ice cream.
Leave a Reply