
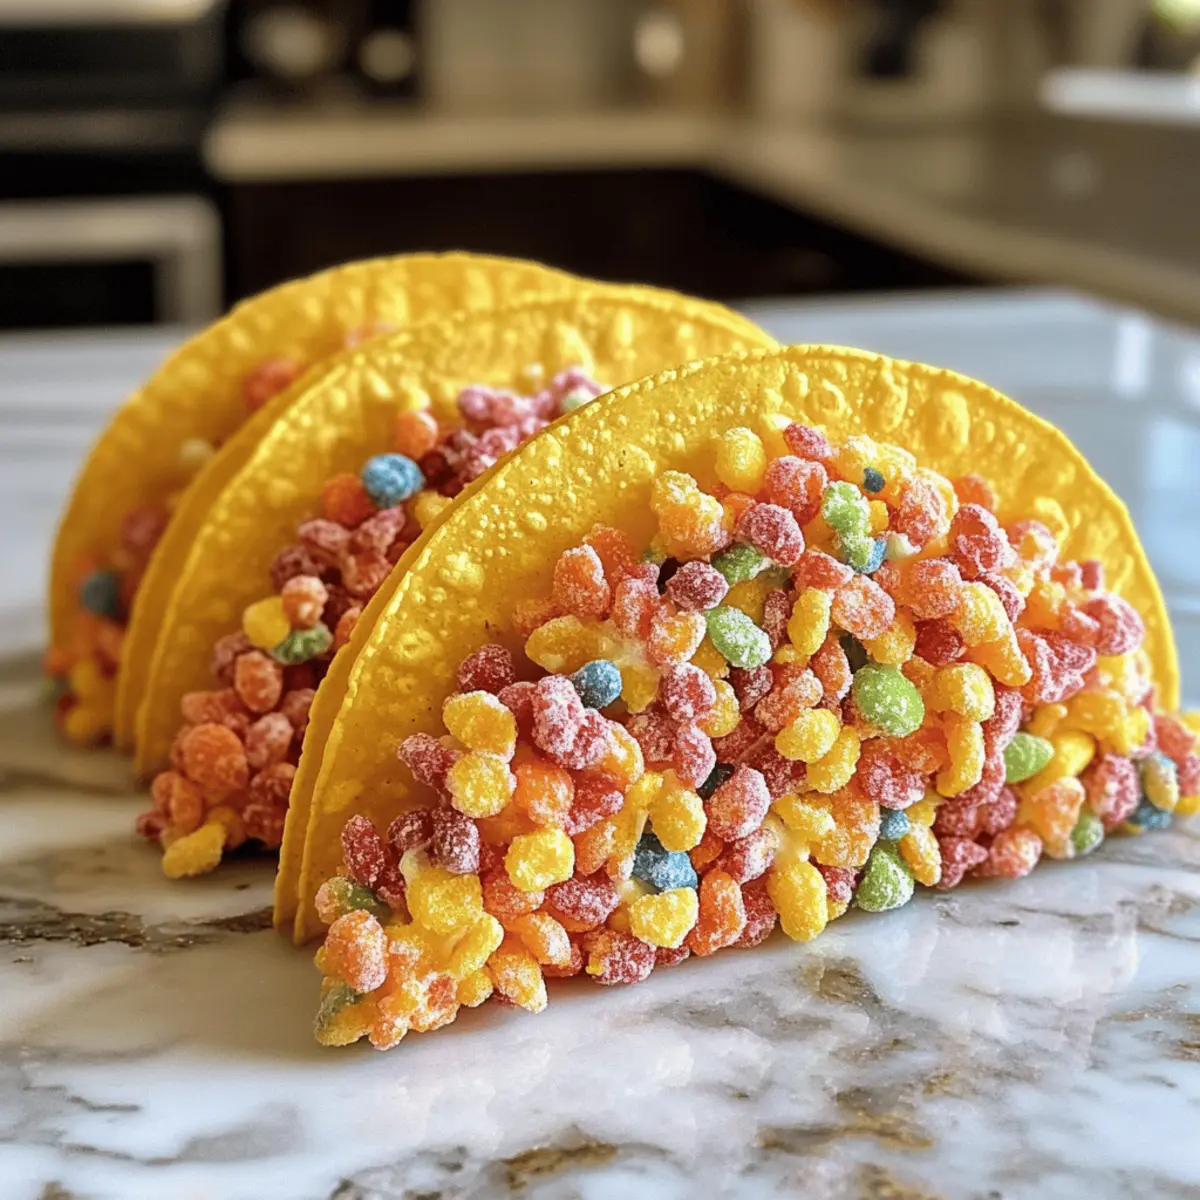
You’d think dessert could only be a treat for the taste buds, but let’s face it—Fruity Pebbles Cheesecake Tacos are a feast for the eyes, too! This vibrant and playful creation features a creamy cheesecake filling cradled within crunchy taco-shaped shells made of fruity cereal. It’s the perfect recipe to break away from mundane sweets, bringing both nostalgia and color to your table. Not only are these no-bake tacos quick to whip up, but they also invite everyone—friends or family—to join in the fun of assembling their own flavor-packed treats. If you’re tired of fast food and are looking for something exciting to make at home, dive into this delightful recipe! So, are you ready to indulge your inner child while impressing your dinner guests?
Why are Fruity Pebbles Cheesecake Tacos irresistible?
Vibrant Colors: Each taco delights the eyes with a rainbow of fruity hues, making them a show-stopping dessert.
No-Bake Convenience: Perfect for warm days, these easy-to-make treats come together without an oven!
Customizable Fun: Feel free to switch up the cereal or add liqueur for adult gatherings, as you can also experiment with variations like Cocoa Pebbles or Cinnamon Toast Crunch.
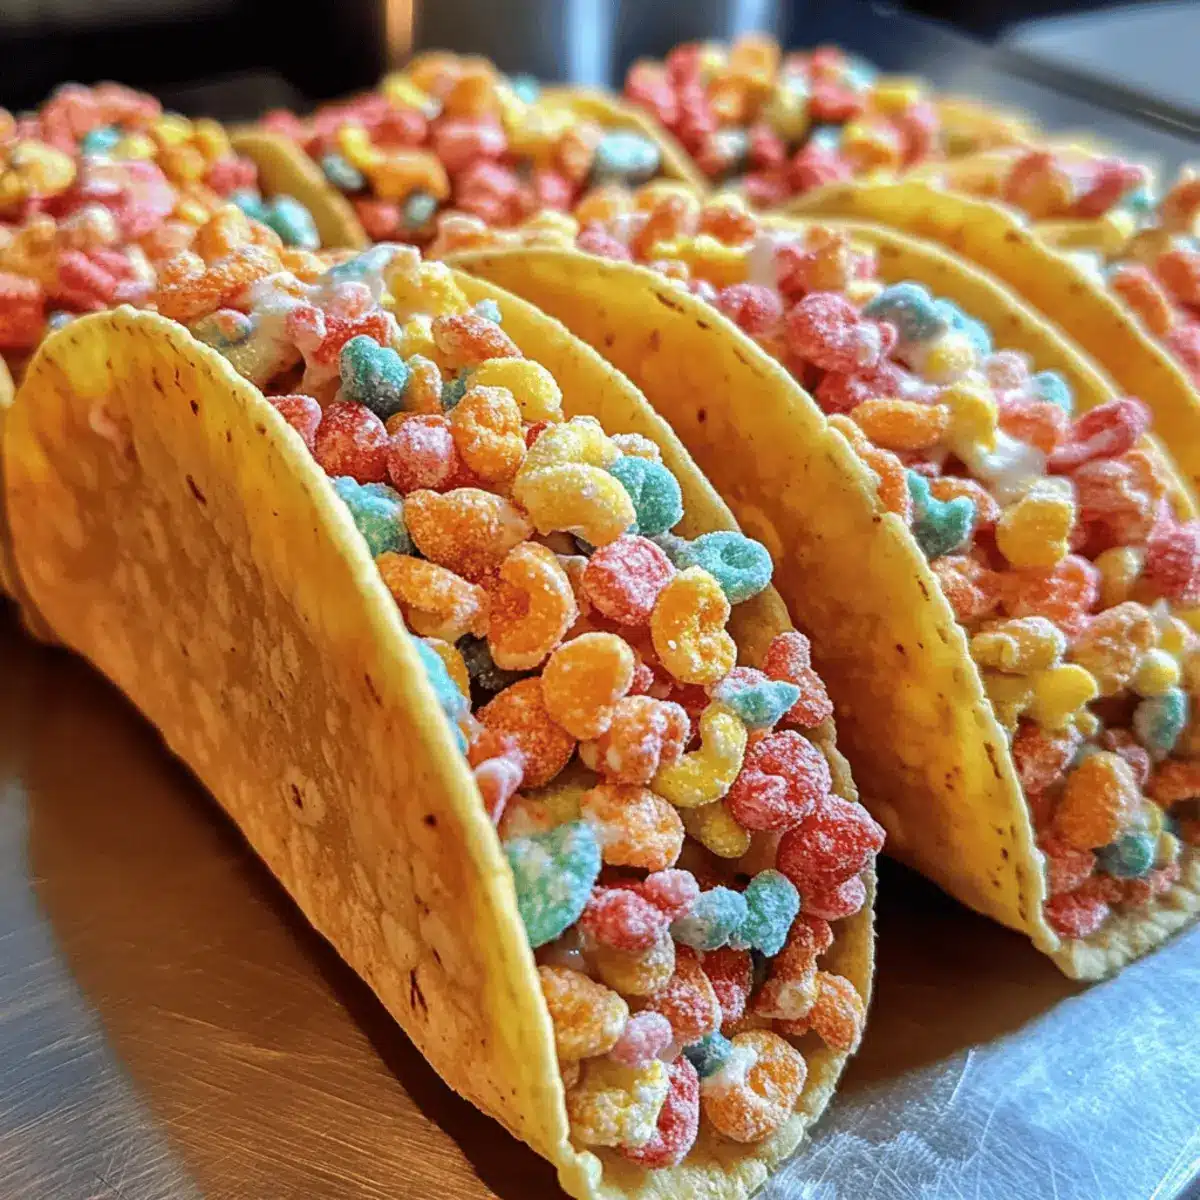
Crowd-Pleasing Appeal: Ideal for parties or family get-togethers, everyone can enjoy assembling their own colorful dessert.
Nostalgic Flavors: The classic combination of fruity cereal and cheesecake will spark joy for kids and adults alike!
Fruity Pebbles Cheesecake Tacos Ingredients
For the Taco Shells
• Fruity Cereal – This is the star of the show and creates a fun, crunchy base; choose any vibrant brand!
• Unsalted Butter (1/2 cup, melted) – This binds the cereal mixture together, adding richness and flavor.
For the Cheesecake Filling
• Cream Cheese (8 oz, softened) – The creamy base for your filling; make sure it’s at room temperature for easy mixing.
• Powdered Sugar (1/2 cup, sifted) – Sweetens the cheesecake filling and helps stabilize it, ensuring a smooth texture.
• Vanilla Extract (1 tsp) – Adds fragrant depth and enhances the overall flavor of the filling.
• Whipped Cream (1 cup) – This lightens the filling, creating a fluffy texture; fold gently to maintain its volume.
For Garnish
• Additional Fruity Cereal – Sprinkle on top for added texture and a pop of color; it’s also great for serving style!
Step‑by‑Step Instructions for Fruity Pebbles Cheesecake Tacos
Step 1: Prepare the Taco Shells
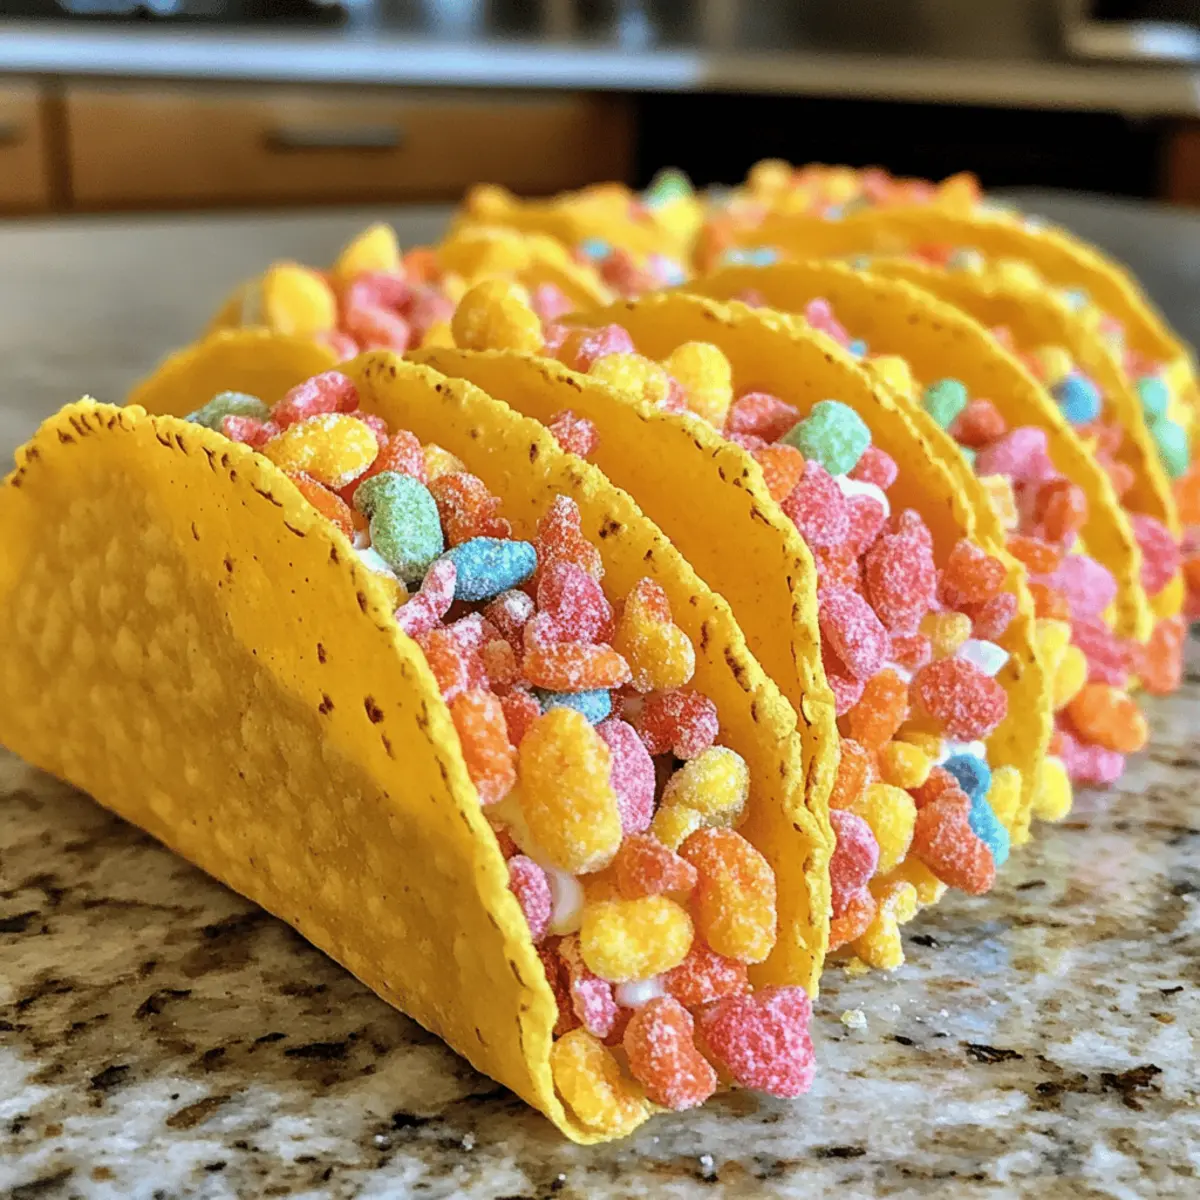
In a large mixing bowl, combine crispy Fruity Pebbles cereal with ½ cup of melted unsalted butter, mixing well until all the cereal pieces are evenly coated. The colorful cereal should glisten with a buttery sheen. Pour the mixture into small taco-shaped molds or muffin tins, pressing it firmly to form the shape. Refrigerate for at least 30 minutes to allow the shells to set and become crunchy.
Step 2: Make the Cheesecake Filling
While the taco shells chill, prepare the creamy filling. In a separate bowl, beat 8 oz of softened cream cheese using a hand mixer on medium speed until light and fluffy, which should take about 2-3 minutes. Gradually add in ½ cup of sifted powdered sugar and 1 teaspoon of vanilla extract, mixing until completely smooth and well combined. The filling should be silky and taste wonderfully sweet.
Step 3: Incorporate the Whipped Cream
Once your cheesecake filling is ready, it’s time to make it light and airy. Gently fold in 1 cup of whipped cream using a spatula, being careful to preserve the volume. The mixture should become fluffy and thicker as you incorporate the whipped cream. This lightening process is essential for creating the perfect texture that balances well with the crunchy taco shell of your Fruity Pebbles Cheesecake Tacos.
Step 4: Assemble the Tacos
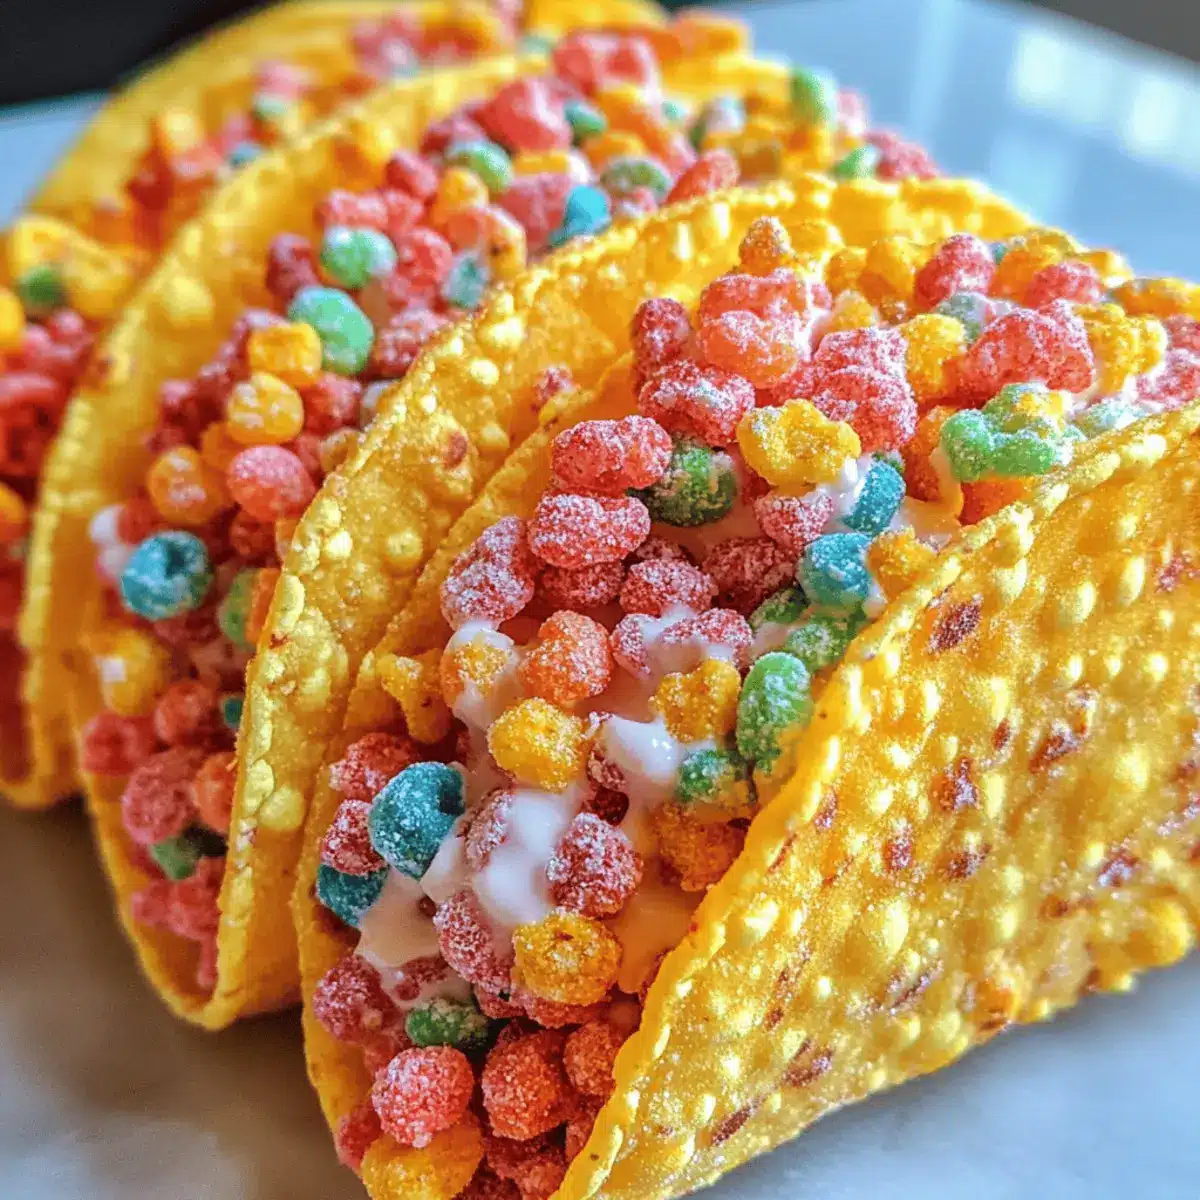
Retrieve your taco shells from the refrigerator, ensuring they are firm and ready to fill. Using a spoon or piping bag, generously fill each cereal shell with the luscious cheesecake mixture, making sure to heap it slightly above the edge for an enticing presentation. The vivid colors of the filling should peek out, enticing your guests to take a bite.
Step 5: Garnish and Serve
To finish off your Fruity Pebbles Cheesecake Tacos, sprinkle an additional handful of Fruity Pebbles on top of each filled taco for a pop of color and added crunch. Serve immediately for the best texture and flavor experience, or place them back in the fridge for another 30 minutes for a firmer filling. Enjoy this fun and colorful dessert at your next gathering!
Expert Tips for Fruity Pebbles Cheesecake Tacos
• Room Temperature Cream Cheese: Ensure that your cream cheese is softened at room temperature for smooth mixing and a creamy filling without lumps.
• Gentle Folding: When incorporating whipped cream, gently fold it into the cream cheese mixture. Avoid overmixing to keep the filling light and airy for your Fruity Pebbles Cheesecake Tacos.
• Mold Firmness: Press the cereal mixture firmly into taco molds. This helps create sturdy shells, preventing them from crumbling when filled with the cheesecake mixture.
• Chill Time: Allow taco shells to chill for at least 30 minutes to set properly. This prevents them from breaking under the weight of the filling.
• Garnish Just Before Serving: For the best texture and visual appeal, sprinkle additional Fruity Pebbles on top right before serving, maintaining their crunch.
Make Ahead Options
Fruity Pebbles Cheesecake Tacos are perfect for meal prep enthusiasts looking to save time! You can prepare the taco shells up to 3 days in advance; just store them in an airtight container to maintain their crunch. The cheesecake filling can be made up to 24 hours ahead—simply refrigerate it until you’re ready to assemble. When it’s time to serve, all you need to do is fill the chilled cereal shells with the creamy filling, sprinkle with extra Fruity Pebbles, and enjoy a delightful dessert that tastes just as fresh as when you first made it! This makes entertaining a breeze, ensuring your dessert is ready with minimal effort.
How to Store and Freeze Fruity Pebbles Cheesecake Tacos
Room Temperature: Enjoy your Fruity Pebbles Cheesecake Tacos fresh for the best texture; they’re best served immediately after assembly.
Fridge: Store leftover assembled tacos in an airtight container in the refrigerator for up to 4 hours; beyond that, the shells may become soggy.
Freezer: If you need to freeze the components, store the taco shells separately in an airtight container for up to 2 weeks. The cheesecake filling can be frozen for 1 month; thaw in the fridge before use.
Reheating: While you won’t need to reheat, if freezing, simply fill the taco shells with the thawed cheesecake filling when ready to serve for a delightful dessert anytime!
Fruity Pebbles Cheesecake Tacos Variations
Feel free to customize these delightful tacos and make them uniquely yours!
- Cocoa Pebbles: Swap Fruity Pebbles for Cocoa Pebbles for a delicious chocolate twist that chocolate lovers will adore.
- Cinnamon Toast Crunch: Use this spiced favorite for a warm, comforting flavor that’ll bring cozy vibes to your dessert.
- Adult Version: Add a tablespoon of orange liqueur to the filling for a fun, boozy adult treat, garnished with a sprinkle of orange zest.
- Seasonal Colors: Change up cereal colors to celebrate holidays—think red and green for Christmas or pastels for Easter to keep the vibe festive!
- Nutty Crunch: Add chopped nuts, like almonds or pecans, into the filling for added texture and a delightful crunch in every bite.
- Chocolate Drizzle: Drizzle melted chocolate over the cheesecake-filled tacos before serving for an indulgent touch that enhances both flavor and visual appeal.
- Fresh Fruit: Top with strawberries, raspberries, or kiwi slices for a fresh fruit explosion that adds vibrant colors and juicy flavor.
- Mini Versions: Create bite-sized versions using mini taco shells for a fun snack perfect for parties or a playful twist on traditional tapas-style desserts.
Exploring these variations will ignite your creativity! For more delicious ideas, check out our scrumptious Strawberry Cheesecake Cinnamon Rolls or check how you can make delightful Baked Beef Tacos for your next meal. Enjoy the journey of flavor customization!
What to Serve with Fruity Pebbles Cheesecake Tacos
To create a delightful feast that perfectly complements these playful tacos, consider pairing them with sweet, textural companions.
- Light Fruit Salad: A refreshing mix of berries and citrus will balance the creamy sweetness of the tacos, adding a bright and juicy contrast.
- Chocolate Drizzle: A simple drizzle of melted chocolate across the tacos enhances the flavor and adds a touch of decadence and indulgence.
- Vanilla Ice Cream: The creamy texture of vanilla ice cream pairs wonderfully with crunchy taco shells, offering an extra layer of richness. Enjoy the harmony of flavors as the cool scoop melts slightly against the warmth of the tacos.
- Sparkling Lemonade: A fizzy, citrusy drink like sparkling lemonade cleanses the palate, making it a refreshing choice to accompany your dessert adventure.
- Mini Cupcakes: Light and fluffy mini cupcakes are perfect for sharing on dessert tables, offering a soft contrast to the crunchy texture of the tacos.
- Whipped Cream Topping: Serve extra whipped cream on the side for guests to top their Fruity Pebbles Cheesecake Tacos, creating a customizable dessert experience.
Fruity Pebbles Cheesecake Tacos Recipe FAQs
How do I choose the right fruity cereal for the taco shells?
Absolutely! For the best results, opt for fruity cereals that are vibrant and colorful. Look for varieties that have a bright assortment of colors without any dark spots or excessive crumbling. The fresher the cereal, the crunchier the taco shells will be. A blend of color is key!
How should I store leftover Fruity Pebbles Cheesecake Tacos?
To maintain their delightful texture, store any assembled tacos in an airtight container in the refrigerator for up to 4 hours. After this time, the shells might start to get soggy due to the cheesecake filling. If you expect leftovers, consider storing the shells and filling separately!
Can I freeze Fruity Pebbles Cheesecake Tacos?
Yes, you can! Here’s how:
- For the taco shells, place them in an airtight container and freeze for up to 2 weeks.
- The cheesecake filling can be frozen in a separate container for up to 1 month.
- When ready to enjoy, thaw the filling in the refrigerator overnight and fill the taco shells just before serving for the best texture.
What if my cream cheese filling isn’t smooth?
If your cream cheese isn’t blending smoothly, it might not be at room temperature. Make sure it’s softened properly before mixing, and if you’re still facing issues, you can add a splash of milk or extra whipped cream while mixing to help achieve that silky consistency.
Are there any dietary considerations for this recipe?
Yes! This recipe is vegetarian-friendly, but keep an eye on ingredient labels if you’re catering to specific allergies. If you want to provide a nut-free version, just double-check that the cereal you’re using doesn’t contain any nut traces. Always ask guests about any allergies before serving!
Fruity Pebbles Cheesecake Tacos for a Colorful Dessert Adventure
Ingredients
Equipment
Method
- In a large mixing bowl, combine crispy Fruity Pebbles cereal with melted unsalted butter, mixing well until all pieces are evenly coated. Pour the mixture into taco-shaped molds, pressing firmly to form the shape. Refrigerate for at least 30 minutes to set.
- While the taco shells chill, prepare the creamy filling. Beat softened cream cheese using a hand mixer until light and fluffy, then gradually add in sifted powdered sugar and vanilla extract, mixing until smooth.
- Gently fold in whipped cream using a spatula, being careful to preserve the volume. The filling should become fluffy and thicker.
- Retrieve taco shells from the refrigerator and fill each with the cheesecake mixture, heaping it slightly for an enticing presentation.
- Sprinkle additional Fruity Pebbles on top of each taco before serving. Serve immediately or refrigerate for another 30 minutes for a firmer filling.
Leave a Reply