
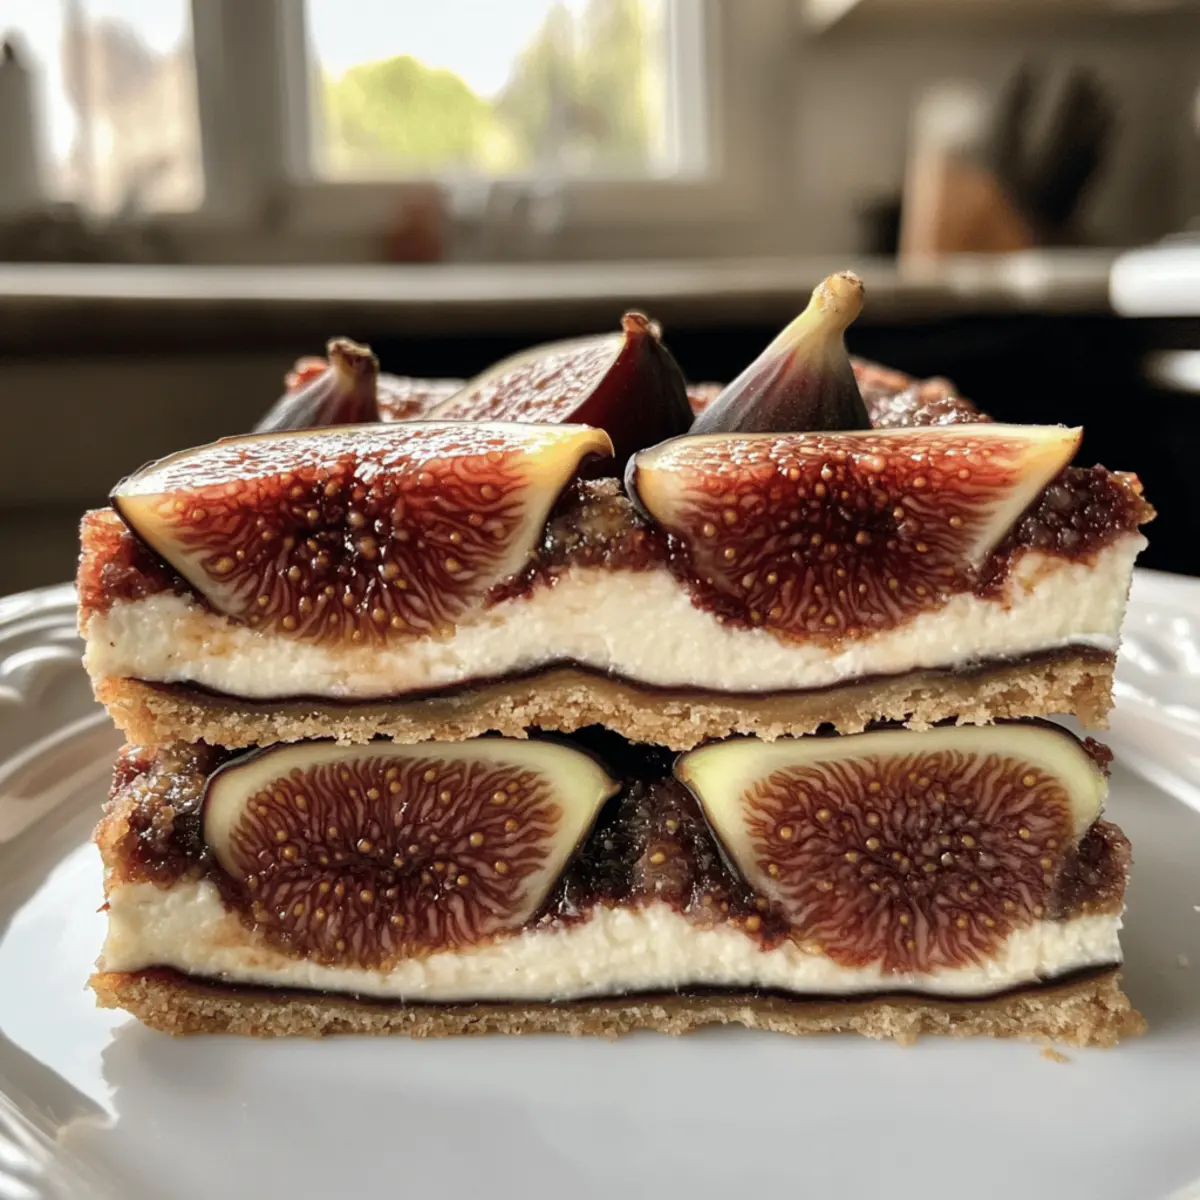
The aroma of sweet figs wafts through my kitchen like a warm hug, whispering promises of delightful indulgence. These Decadent Fig and Cream Cheese Bars are not just a dessert; they’re a celebration of creamy, fruity bliss, perfect for any occasion or just a cozy night in. With a quick prep time and make-ahead convenience, you can whip these up and impress friends or family without spending hours in the kitchen. Plus, they offer a vegetarian twist that’s as delightful as it is easy! Ready to dive into a recipe that combines simplicity and deliciousness? Let’s explore how to make these creamy treats that are sure to become a new favorite!
Why will you adore Fig and Cream Cheese Bars?
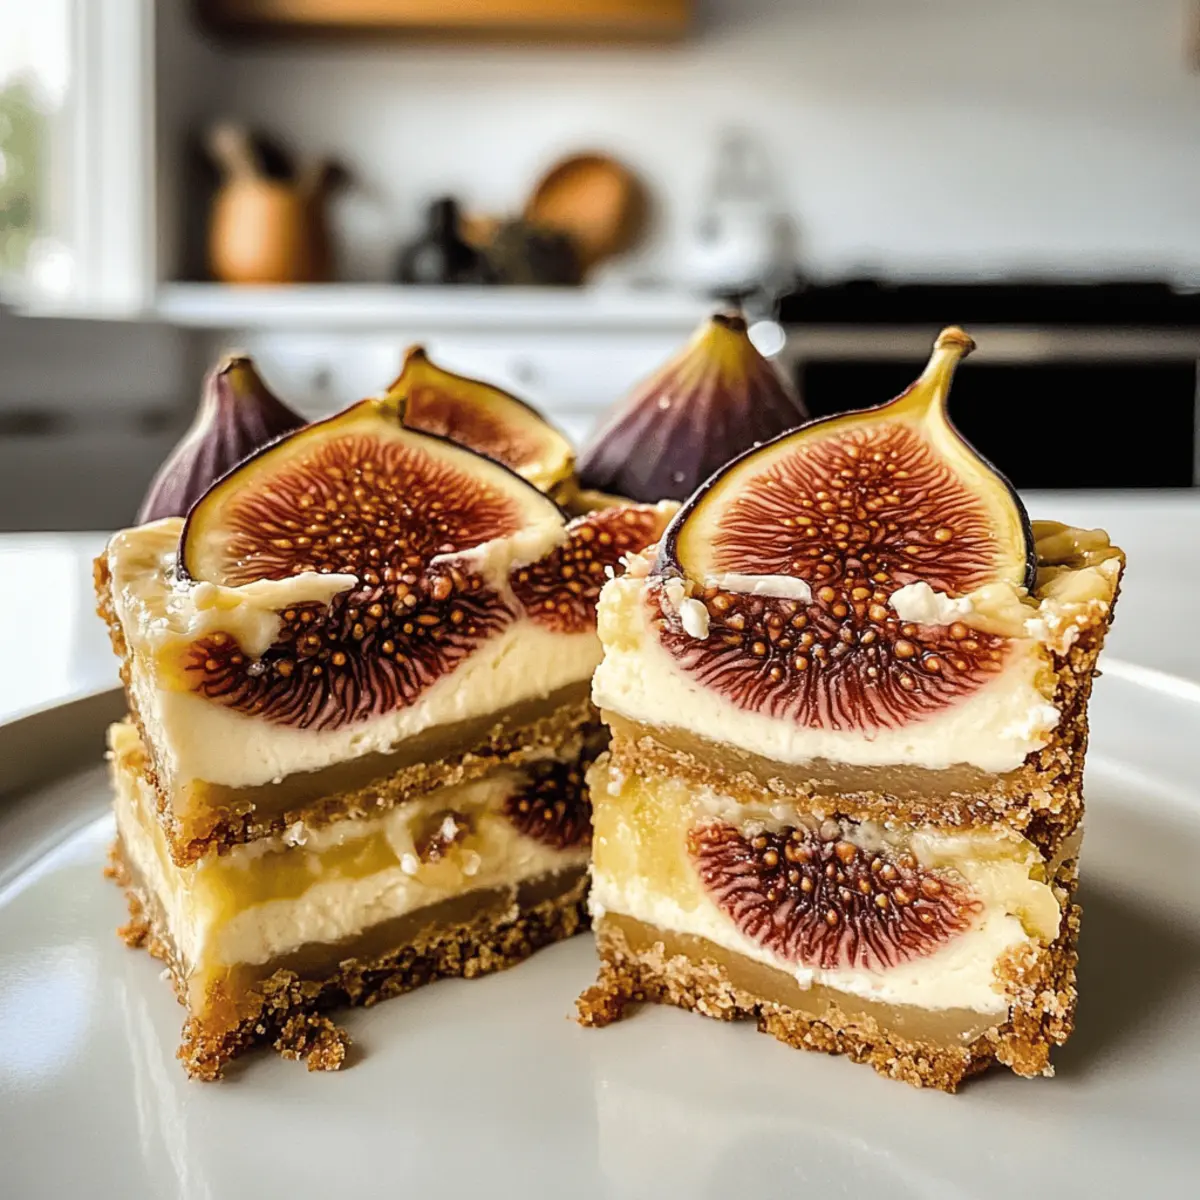
Irresistible Flavor: The lush combination of creamy cream cheese and sweet figs creates a dessert experience that’s both sophisticated and comforting, perfect for gatherings or a quiet evening at home.
Quick and Easy: With minimal effort required, you can put together these bars in under an hour, making them a go-to recipe for busy days when you crave something sweet.
Make-Ahead Convenience: Prepare these bars in advance and store them in the fridge, saving you time while ensuring a delightful treat is always just minutes away.
Crowd-Pleasing Treat: Whether served at a family gathering or enjoyed during a coffee break, these bars are sure to please everyone’s palate, making them ideal for sharing.
Vegetarian Delicacy: This recipe features wholesome, vegetarian ingredients, so everyone can indulge without compromise. Pair them with coffee or fresh fruit for a delightful contrast!
Decadent Fig and Cream Cheese Bars Ingredients
For the Base
- Dried Figs – The star of this dessert, providing natural sweetness and flavor; fresh figs or premade fig jam work as great substitutes.
- Flour – Essential for giving structure to the crust; all-purpose flour is perfect for this recipe.
- Brown Sugar – Complements the figs with a hint of caramel flavor, making the crust and filling richer.
- Salt – A pinch enhances the flavors and balances the sweetness of the dessert.
- Cold Unsalted Butter – Creates a crumbly, delicious crust; be sure to keep it cold for the best texture.
For the Cream Cheese Layer
- Cream Cheese – The creamy topping that makes these bars luxurious; opt for soft cream cheese for easy blending.
- Sugar (for topping) – Sweetens the cream cheese layer, giving it a delightful taste that pairs beautifully with figs.
- Vanilla Extract – Adds a warm and inviting flavor to the cream cheese filling, enhancing the overall experience.
- Egg – Acts as a binding agent in the cream cheese mixture, contributing to its rich and creamy texture.
These Decadent Fig and Cream Cheese Bars are brimming with flavor and are sure to become a beloved favorite among your dessert repertoire. Enjoy the process of making them, and relish in the smiles they bring to your family and friends!
Step‑by‑Step Instructions for Decadent Fig and Cream Cheese Bars
Step 1: Preheat and Prepare the Pan
Begin by preheating your oven to 180°C (356°F). While the oven heats up, take a 20×30 cm baking pan and either grease it with butter or line it with parchment paper for easy removal later. This preparation lays the groundwork for your Decadent Fig and Cream Cheese Bars, ensuring they bake evenly.
Step 2: Make the Crust Mixture
In a mixing bowl, combine flour, brown sugar, and a pinch of salt thoroughly. Next, cut in the cold unsalted butter using a pastry cutter or your fingertips until the mixture resembles coarse crumbs, about 5 minutes. The goal is to ensure the butter is well-distributed, offering a lovely crumbly texture for the crust of your bars.
Step 3: Press the Crust into the Pan
Once your crust mixture is ready, evenly press it into the bottom of the prepared baking pan, creating a solid base for your bars. Use your fingers or the back of a measuring cup to compact it down, ensuring there are no holes or gaps. Bake the crust in the preheated oven for 10-12 minutes, or until it turns lightly golden.
Step 4: Prepare the Fig Filling
While the crust is baking, remove stems from the dried figs and chop them into smaller pieces. Soak the chopped figs in warm water mixed with a teaspoon of sugar for about 5 minutes to soften them. Then, drain and blend the soaked figs with a splash of lemon juice until smooth, creating a luscious fig layer to spread over the crust.
Step 5: Spread the Fig Mixture
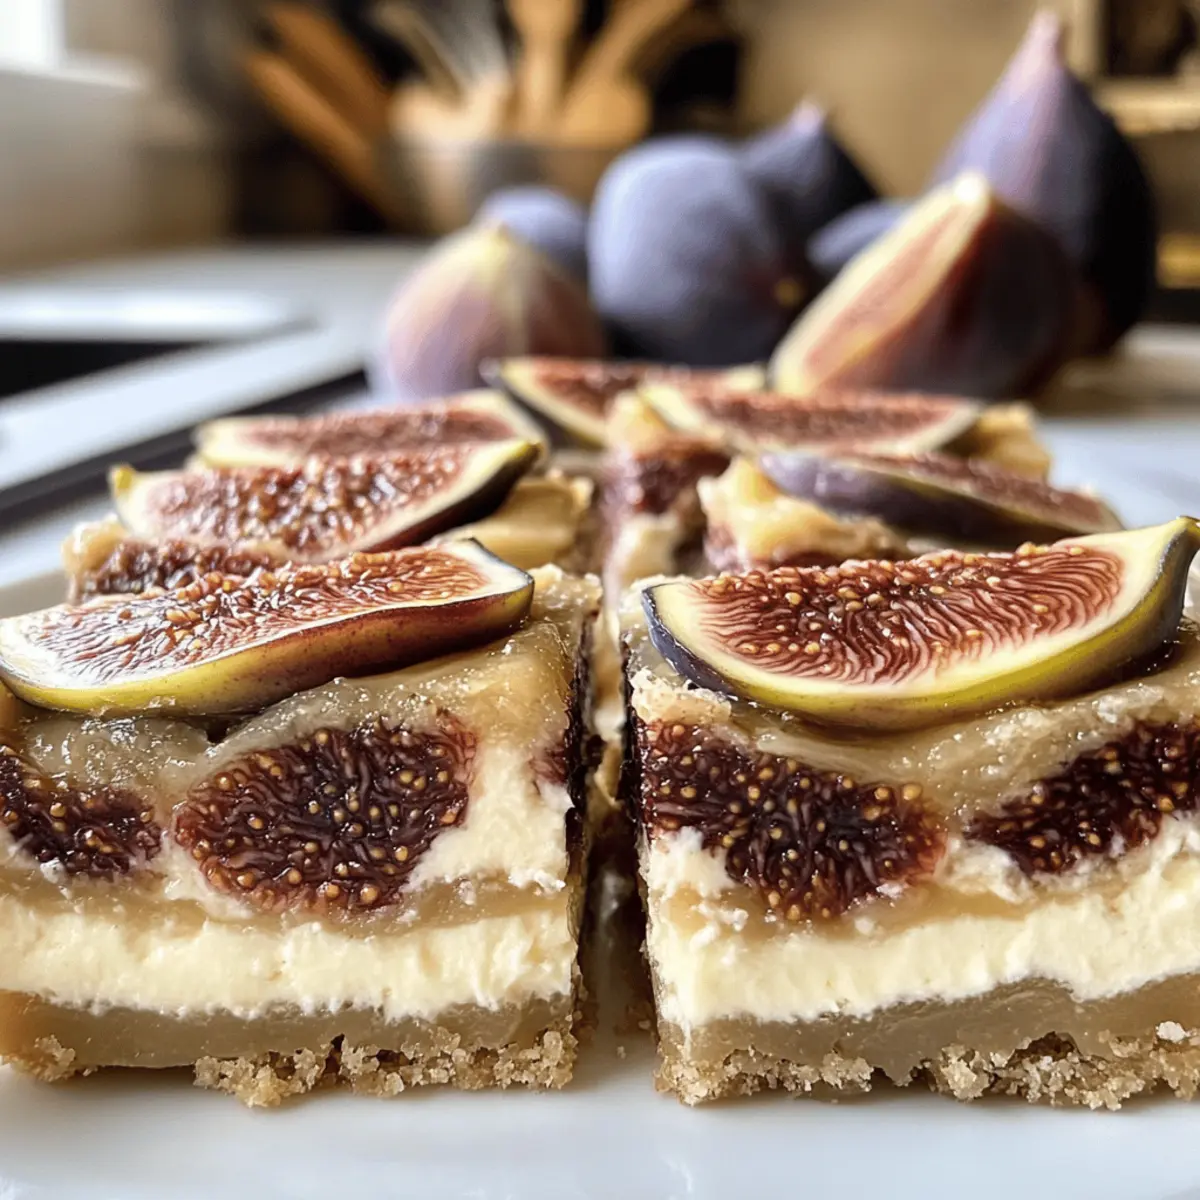
After the crust has baked and slightly cooled, pour the fig mixture over the crust, using a spatula to spread it evenly across the surface. The fig layer adds a delightful sweetness to your Decadent Fig and Cream Cheese Bars, creating a beautiful contrast against the buttery crust.
Step 6: Prepare the Cream Cheese Layer
In a separate bowl, beat the softened cream cheese, sugar, vanilla extract, and egg until the mixture becomes smooth and creamy, about 2-3 minutes. Ensure all ingredients are well incorporated, as a smooth filling will enhance the overall texture of your bars, making them even more indulgent.
Step 7: Assemble and Bake
Pour the creamy mixture over the fig layer, gently spreading it to cover the figs completely. Return the assembled bars to the oven and bake for 30 minutes or until the top is set and slightly golden. Keep an eye on your bars to avoid overbaking, as a slightly jiggly center is desired for the perfect texture.
Step 8: Cool and Slice
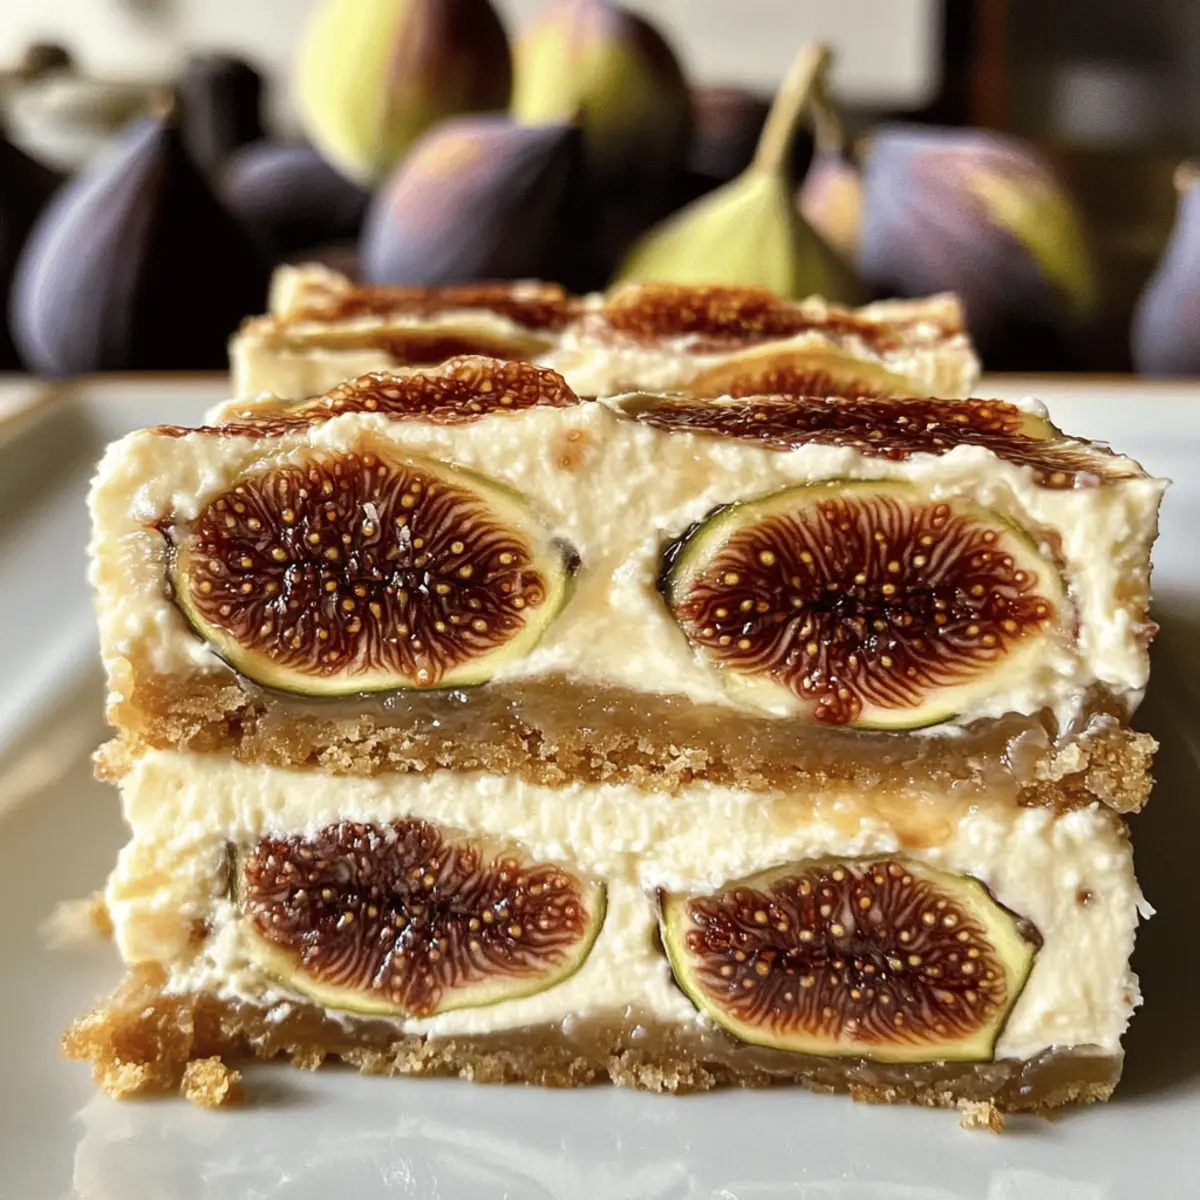
Once baked, remove the Decadent Fig and Cream Cheese Bars from the oven and allow them to cool completely in the pan on a wire rack. Cooling is essential for firming up the layers and making slicing easier. After cooling, use a sharp knife to cut them into squares or rectangles, enjoying the beautiful layers that await!
Expert Tips for Decadent Fig and Cream Cheese Bars
-
Soak Figs Properly: Soak hard dried figs in warm water for around 5 minutes to soften them and enhance their natural sweetness.
-
Gentle Mixing: Avoid overworking the crust mixture. Mix just until crumbly to ensure a tender and flaky base, which is crucial for these Decadent Fig and Cream Cheese Bars.
-
Jiggly Center: When baking, the cream cheese layer should be slightly jiggly when you take it out of the oven. This prevents cracks and ensures a creamy texture once cooled.
-
Sharp Knife for Slicing: Use a sharp knife warmed in hot water for clean, neat cuts after chilling. This helps maintain the bars’ attractive layers without squishing them.
-
Experiment with Variations: Don’t hesitate to switch up the figs! Experiment with dried apricots or dates for a fresh twist on these delicious bars.
Decadent Fig and Cream Cheese Bars Variations
Feel free to sprinkle a bit of your own creativity into these bars for a unique twist that tantalizes your taste buds!
-
Dried Fruit Swap: Replace dried figs with dried apricots or dates for a completely new flavor experience. This will lend a different sweetness and texture to your dessert.
-
Nutty Delight: Add a handful of chopped walnuts or pecans into the crust for a crunchy contrast that enhances the overall texture of the bars. The nuttiness elevates the dessert, turning it into a lovely treat for those who crave a bit more bite.
-
Chocolate Drizzle: Drizzle some melted dark chocolate on top of the cream cheese layer before serving for an indulgent touch. The rich chocolate pairs beautifully with the figs, offering a luscious chocolatey flavor that just adds to the decadence.
-
Spiced Up: Add a pinch of cinnamon or nutmeg to the cream cheese mixture for a warm spice note that complements the sweetness of the figs. This will create a lovely aromatic experience as you bite into these delicious bars.
-
Caramel Bliss: Top the bars with a drizzle of homemade caramel sauce for an extra layer of sweetness. The gooey caramel brings a delightful richness that perfectly contrasts the creamy filling and fig layer.
-
Zesty Citrus: Incorporate a bit of lemon or orange zest into the cream cheese layer to brighten up the flavors. This adds a refreshing twist that balances the richness and creates an uplifting flavor profile.
-
Cheesecake Variation: For a richer experience, swap half of the cream cheese for mascarpone cheese. This will result in a smoother, more indulgent filling that melts in your mouth.
-
Savory Option: For a unique twist, try adding a hint of goat cheese to the cream cheese mix. This addition brings a tangy and savory element that pairs surprisingly well with the sweetness of the figs.
Remember, each twist is a chance to explore new flavors, making each batch of your Decadent Fig and Cream Cheese Bars uniquely delightful! If you find yourself loving the creaminess of these bars, consider trying out other cream cheese recipes like Pumpkin Cream Cheese Muffins or Ham Cheese Puff. Happy baking!
Make Ahead Options
These Decadent Fig and Cream Cheese Bars are perfect for meal prep enthusiasts! You can prepare the crust and fig filling up to 24 hours in advance, storing them separately in the refrigerator to maintain their quality. The crust should be baked and cooled before wrapping it tightly in plastic wrap, while the fig mixture can be kept in an airtight container. Once you’re ready to finish the bars, simply spread the fig layer over the pre-baked crust, whip up the cream cheese topping, pour it on, and bake. This way, you can enjoy homemade goodness with minimal effort, making your busy weeknights sweeter!
What to Serve with Decadent Fig and Cream Cheese Bars
These delightful treats are a perfect way to elevate a meal, offering a balance of textures and flavors that will entice your taste buds.
-
Rich Coffee: A cup of freshly brewed coffee enhances the creamy sweetness of the bars, creating a comforting afternoon nostalgia.
-
Herbal Tea: Serve alongside a steaming cup of herbal tea, like chamomile or mint, for a refreshing contrast to the rich flavors.
-
Fresh Berries: A mix of juicy strawberries, blueberries, and raspberries provides a burst of freshness that beautifully complements the creaminess.
-
Vanilla Ice Cream: The creamy vanilla ice cream adds an indulgent touch that melts into the warm bars, creating a heavenly dessert experience.
-
Zesty Citrus Salad: A salad of orange and grapefruit segments brightens the palate and cuts through the richness, enhancing the fig’s natural sweetness.
-
Nuts & Dried Fruits Platter: Offering a variety of crunchy nuts and dried fruits as a side creates a delightful textural contrast to the soft bars.
-
Chocolate Drizzle: A delicate drizzle of dark chocolate elevates the experience, adding a touch of decadence that pairs beautifully with figs.
-
Sparkling Water: Refreshing sparkling water infused with lemon or lime cleanses the palate between bites, making each taste of the bars more vibrant.
Storage Tips for Decadent Fig and Cream Cheese Bars
-
Fridge: Store your Decadent Fig and Cream Cheese Bars in an airtight container in the refrigerator for up to 5 days. This keeps them fresh and flavorful for delightful snacking.
-
Freezer: For longer storage, wrap individual bars tightly in plastic wrap and freeze them for up to 3 months. Thaw in the refrigerator overnight before enjoying.
-
Serving: When ready to serve, let the bars sit at room temperature for about 10 minutes. This enhances their creamy texture and flavor, making each bite a blissful experience.
-
Reheating: If you prefer them warm, pop a bar in the microwave for about 15-20 seconds. Enjoy the delightful warmth that brings out the rich flavors!
Decadent Fig and Cream Cheese Bars Recipe FAQs
What type of figs should I use?
Absolutely! Dried figs are the star of this recipe, providing natural sweetness. If you can’t find them, fresh figs or even premade fig jam will make great substitutes. Fresh figs will give you a lighter texture, while fig jam adds an easy sweetness!
What’s the best way to store these bars?
You can keep your Decadent Fig and Cream Cheese Bars in an airtight container in the refrigerator for up to 5 days. Just be sure to separate layers with parchment paper to prevent sticking, allowing you to enjoy a fresh, delightful treat each time.
Can I freeze these bars?
Yes, you can freeze your bars for up to 3 months! Wrap each individual bar tightly in plastic wrap, then place them in a freezer-safe bag. When you’re ready to enjoy, simply thaw them in the refrigerator overnight. They’ll be just as delicious as when they were freshly baked!
What if my cream cheese filling doesn’t mix well?
Very! Sometimes, if your cream cheese is too cold, it can clump. To avoid this, make sure your cream cheese is at room temperature before mixing. If it’s still not blending well, try beating it in the microwave for 10 seconds to soften it slightly or use an electric mixer to ensure a smooth consistency.
Are these bars suitable for people with allergies?
It’s best to be cautious! This recipe contains dairy (cream cheese) and gluten (flour). For a gluten-free option, you can substitute with a gluten-free flour blend. If anyone has a dairy allergy, consider trying a dairy-free cream cheese alternative, but the texture may slightly vary. Always check ingredient labels for allergens and modifications.
How can I elevate the flavor of my bars?
Certainly! You can customize these bars by adding a pinch of nutmeg or cinnamon to the cream cheese mixture for a warm spice note. Additionally, feel free to top them with a drizzle of honey or caramel sauce for an extra touch of sweetness and decadence!
Decadent Fig and Cream Cheese Bars You’ll Love to Share
Ingredients
Equipment
Method
- Preheat your oven to 180°C (356°F) and prepare the baking pan by greasing it or lining it with parchment paper.
- In a mixing bowl, combine flour, brown sugar, and salt. Cut in the cold butter until the mixture resembles coarse crumbs.
- Press the crust mixture evenly into the bottom of the prepared baking pan. Bake for 10-12 minutes until lightly golden.
- Remove stems from dried figs, chop, and soak in warm water with sugar for 5 minutes. Drain and blend with lemon juice until smooth.
- Spread the fig mixture over the baked crust evenly.
- In a separate bowl, beat cream cheese, sugar, vanilla extract, and egg until smooth. Spread over the fig layer.
- Bake for 30 minutes or until the top is set and slightly golden; a jiggly center is desired.
- Allow to cool completely in the pan before slicing into squares or rectangles.
Leave a Reply