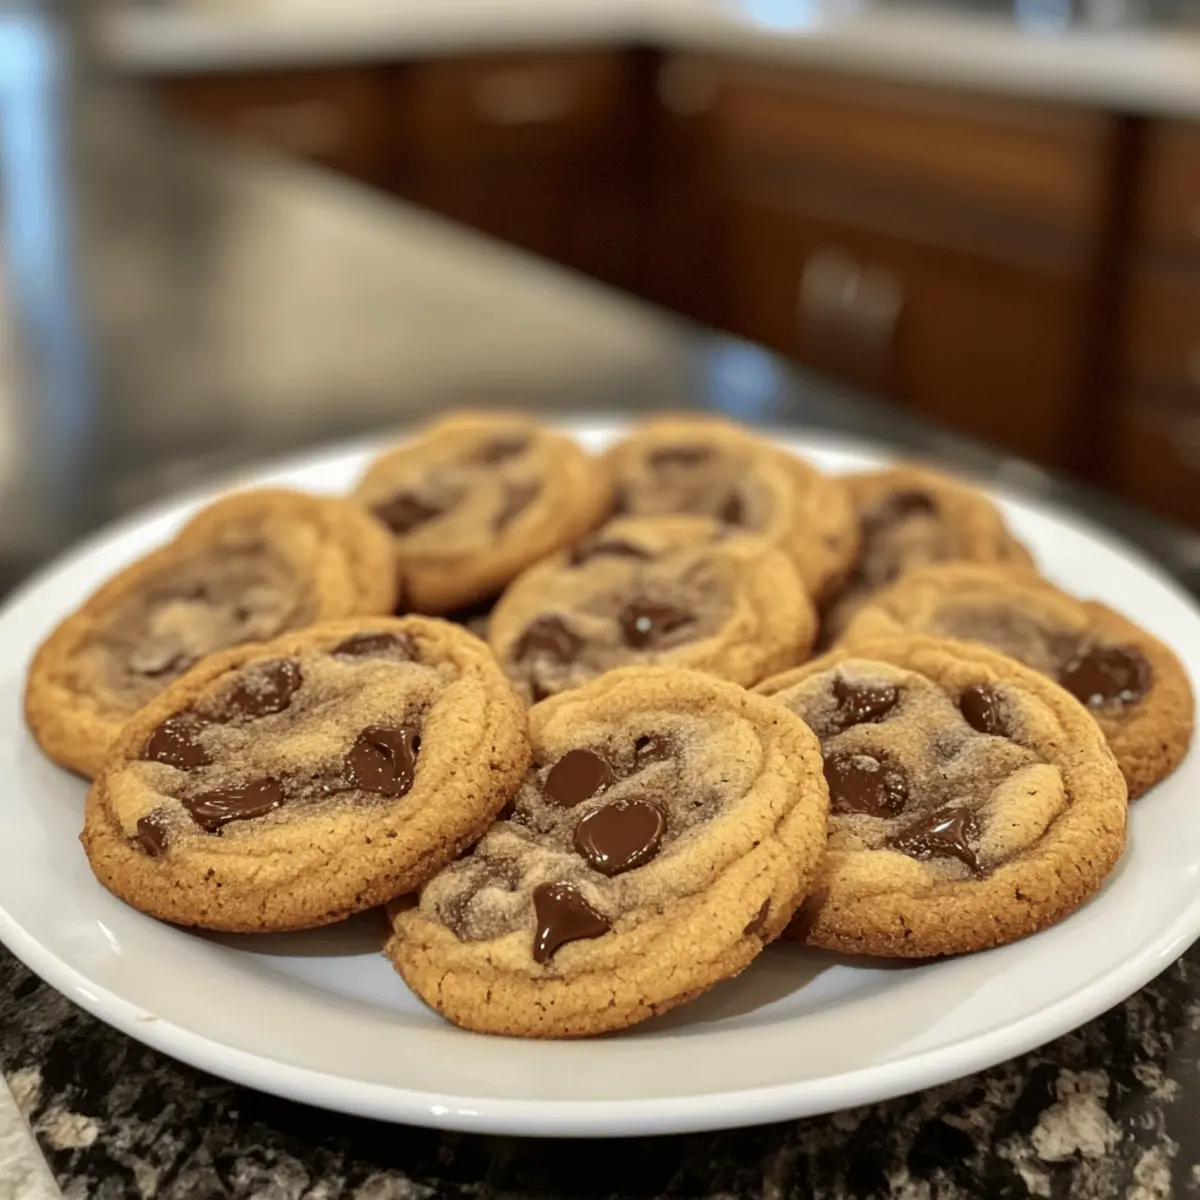
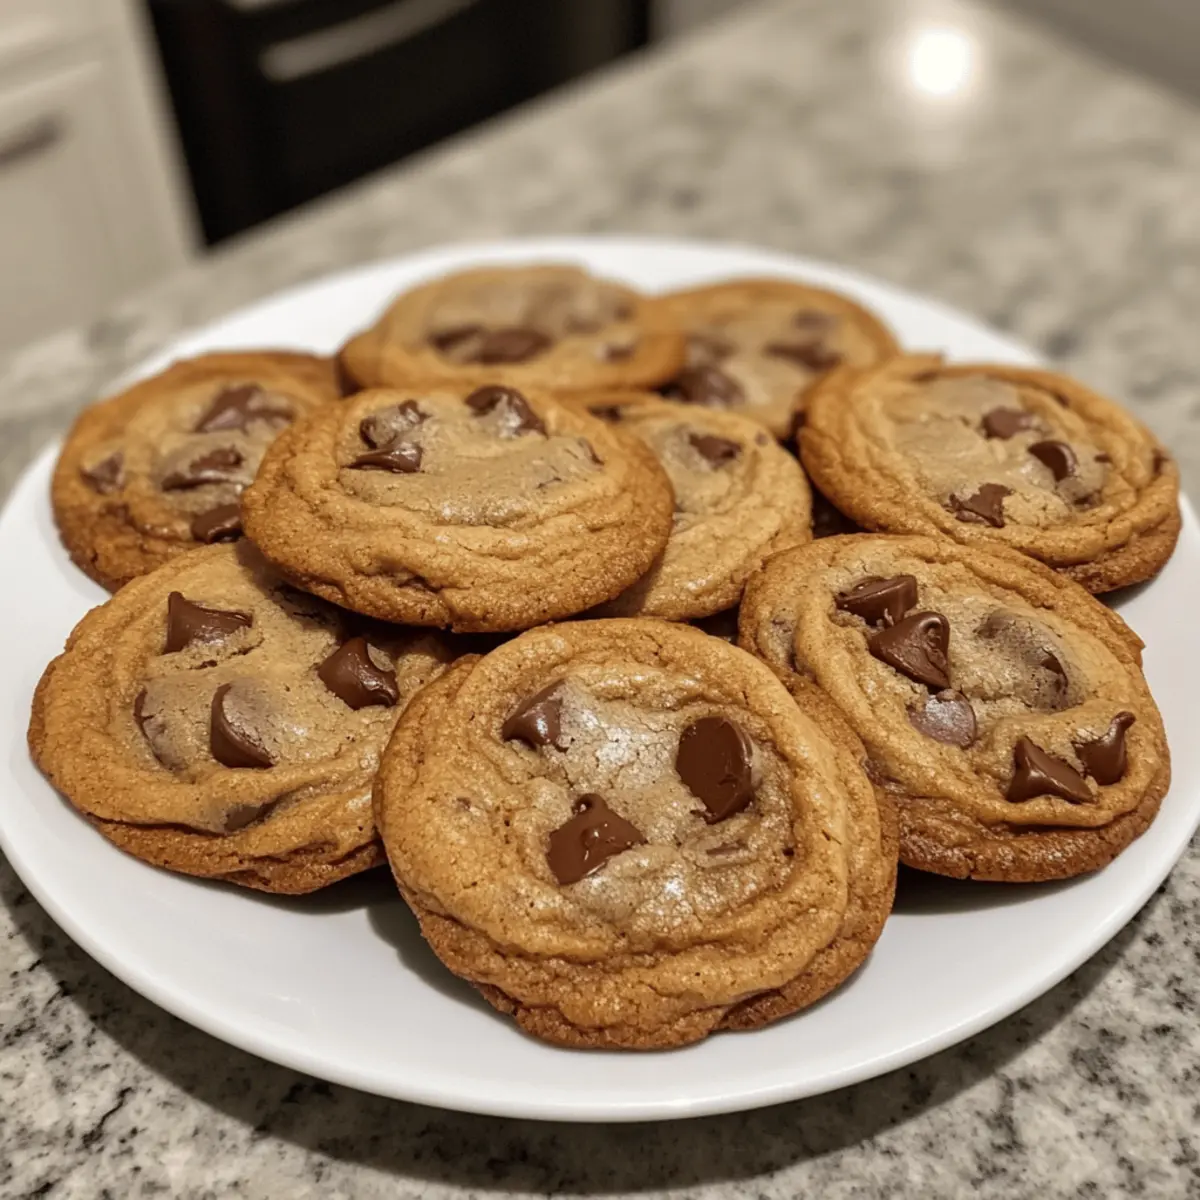
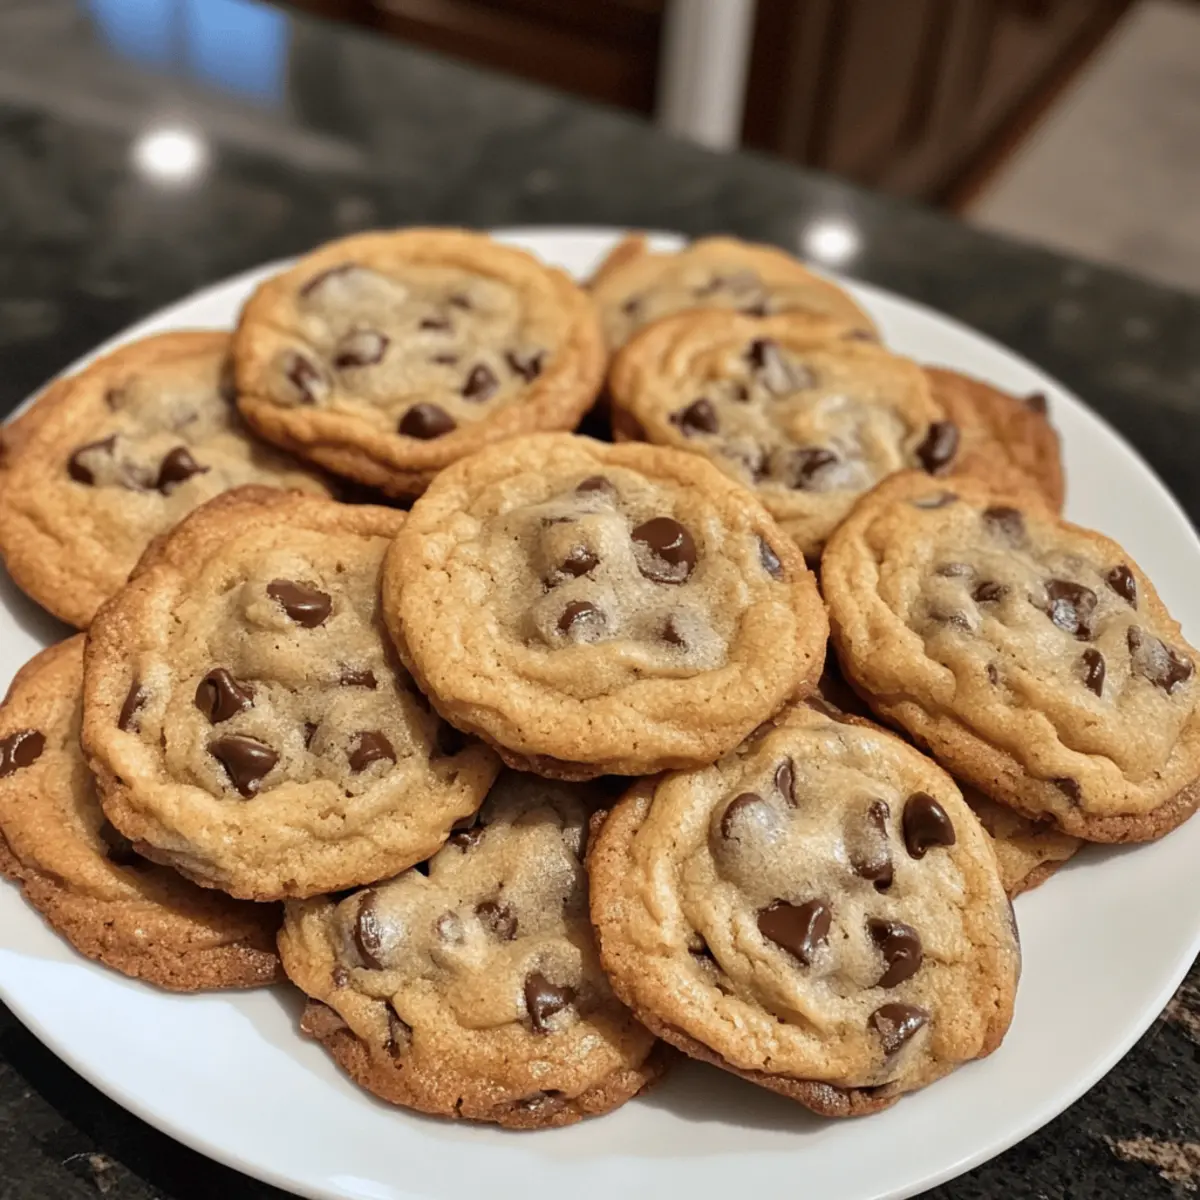
As I pulled the warm tray of Classic Chocolate Chip Cookies from the oven, the rich, buttery scent enveloped my kitchen, inviting everyone in. There’s something undeniably magical about homemade cookies, especially when they’re as quick and easy to whip up as these! With a perfect balance of crisp edges and soft, chewy centers, this recipe is not just a treat—it’s a warm hug for your taste buds. Whether you’re hosting a cozy gathering or simply need a sweet pick-me-up after a long day, these cookies come together in no time and are sure to satisfy both kids and adults alike. And for those who need a gluten-free option, I’ve included tips to make this classic delight accessible to everyone! So, are you ready to fill your home with the irresistible aroma of freshly baked cookies? Let’s dive into this delicious baking adventure together!

Why Are These Cookies So Irresistible?
Quick and Easy: This recipe is perfect for those who want delicious cookies without spending hours in the kitchen.
Traditional Flavor: The rich chocolate and buttery goodness create a nostalgic taste that appeals to everyone.
Gluten-Free Option: Easily make them gluten-free with a simple flour substitute, ensuring that no one misses out on this classic treat.
Versatile Add-Ins: Want to shake things up? Try adding nuts or swapping out chocolate chips for butterscotch, allowing your creativity to shine!
Crowd-Pleasing: Whether you’re serving family or friends, these cookies are guaranteed to bring smiles to the table, much like Pumpkin Cream Cheese Muffins do at fall gatherings.
Melt-in-Your-Mouth Texture: Experience the delightful contrast between crunchy edges and soft centers, making each bite a delightful experience.
Classic Chocolate Chip Cookie Ingredients
- For the Batter
- All-Purpose Flour – Provides structure; substitute with gluten-free flour blend to make it gluten-free.
- Baking Soda – Helps cookies rise and achieve a light texture; no substitutions needed.
- Salt – Enhances flavor; can be reduced or omitted for low-sodium diets.
- Unsalted Butter – Adds richness and moisture; use coconut oil for a dairy-free version.
- Brown Sugar – Adds moisture and deeper flavor; can replace with coconut sugar for a healthier option.
- Granulated Sugar – Sweetens and contributes to the cookie’s chewiness; adjust for desired sweetness.
- Egg – Binds ingredients and adds moisture; for vegan, substitute with flax egg (1 tbsp flaxmeal + 2.5 tbsp water).
- Vanilla Extract – Enhances overall flavor; use pure vanilla for the best taste.
- Semi-Sweet Chocolate Chips – Adds sweetness and a melting texture; dark chocolate can be used for a richer flavor.
Enjoy crafting delicious cookies that can be tailored to suit everyone’s taste, just like my Pumpkin Cream Cheese Muffins do in the fall!
Step‑by‑Step Instructions for Classic Chocolate Chip Cookies
Step 1: Preheat & Prepare
Begin by preheating your oven to 350°F (175°C). While the oven heats up, line your baking sheets with parchment paper to prevent sticking. This simple preparation will ensure that your classic chocolate chip cookies bake evenly while creating a lovely, crisp edge.
Step 2: Cream the Butter and Sugars
In a large mixing bowl, combine the softened unsalted butter, brown sugar, and granulated sugar. Use an electric mixer on medium speed to cream the mixture for about 2-3 minutes until it becomes light and fluffy. This step is crucial for creating the perfect texture in your cookies.
Step 3: Mix in the Egg and Vanilla
Add the egg and pure vanilla extract to the creamed butter and sugars. Beat the mixture on medium speed until fully combined, approximately 1 minute. You’ll know it’s ready when it’s smooth and creamy with no lumps; this adds moisture and rich flavor to your classic chocolate chip cookies.
Step 4: Combine Dry Ingredients
In a separate bowl, whisk together the all-purpose flour, baking soda, and salt until fully combined. This ensures even distribution of the leavening agent and salt, which are essential for achieving light, airy cookies. Gradually integrate this dry mixture into the wet ingredients until just combined to avoid overmixing.
Step 5: Fold in Chocolate Chips
Gently fold in the semi-sweet chocolate chips with a spatula, ensuring they are evenly distributed throughout the dough. This step adds the cherished melt-in-your-mouth chocolate flavor that makes classic chocolate chip cookies irresistible. Your dough should be sticky yet manageable.
Step 6: Scoop the Dough
Using a cookie scoop or a spoon, scoop the dough onto the prepared baking sheets, spacing each scoop about 2 inches apart. This allows room for spreading; you’ll want each cookie to have space to grow into that perfect shape while baking to a golden brown.
Step 7: Bake & Watch for Color
Place the baking sheets in the preheated oven and bake the cookies for 10-12 minutes. Keep an eye on them; the edges should be golden brown while the centers remain soft and slightly underbaked. This contrast creates the iconic texture of classic chocolate chip cookies.
Step 8: Cool the Cookies
Once baked, remove the trays from the oven and let the cookies cool on the baking sheets for about 5 minutes. This allows them to set before transferring them to a wire rack. Enjoy watching them transform from soft, warm treats into perfect chocolatey delights as they cool completely!

Storage Tips for Classic Chocolate Chip Cookies
-
Room Temperature: Store cookies in an airtight container at room temperature for up to 1 week to maintain freshness. Enjoy them soft and chewy whenever you crave a chocolate treat!
-
Freezer: To keep your cookies longer, freeze baked cookies in an airtight container for up to 3 months. Thaw them at room temperature or pop them in the microwave for a few seconds to enjoy that fresh-baked taste.
-
Dough Storage: If you want to prepare ahead, the cookie dough can be frozen for up to 3 months as well. Just scoop the dough into balls, freeze them on a baking sheet, then transfer to a freezer bag. When you’re ready, bake straight from frozen, adding a minute or two to the baking time.
-
Reheating: To bring your cookies back to life, simply warm them in the oven at 350°F (175°C) for about 5 minutes. This will revive that delightful melty chocolate texture, perfect for an indulgent snack!
Classic Chocolate Chip Cookies Variations
Embrace your inner baker and have fun customizing these classic cookies to suit your taste buds!
- Gluten-Free: Use a gluten-free flour blend instead of all-purpose flour for a delightful cookie everyone can enjoy.
- Dairy-Free: Substitute unsalted butter with coconut oil or a dairy-free butter alternative for a scrumptious dairy-free treat.
- Nutty Delight: Add 1 cup of chopped walnuts or pecans for a satisfying crunch that enhances the overall texture.
- Flavor Twist: Swap semi-sweet chocolate chips for dark chocolate chunks or try using butterscotch chips for a unique flavor combination.
- Spiced Up: Mix in 1 teaspoon of cinnamon or espresso powder to add an unexpected warmth and complexity to your cookies.
- Add Zest: Incorporate the zest of an orange or lemon for a refreshing citrus undertone that perfectly complements chocolate.
- Mini-Cookies: Scoop smaller amounts of dough and bake for mini cookies that make delightful bite-sized treats, perfect for sharing!
- Pretzel Topping: Crush pretzels and sprinkle them on top right before baking to introduce a salty crunch that balances sweetness beautifully.
And if you’re in the mood for more delicious baking, try whipping up these Pumpkin Cream Cheese Muffins or some festive Pumpkin Cupcakes Brown. Each variation is a wonderful way to explore new flavors while enjoying the essence of homemade goodness!
Expert Tips for Classic Chocolate Chip Cookies
-
Room Temperature Butter: Ensure your butter is at room temperature for easy creaming and better incorporation of ingredients, which leads to a perfectly textured cookie.
-
Avoid Overmixing: Mix the dough until just combined after adding flour; overmixing can create tough cookies. Maintain that soft, tender texture everyone loves!
-
Chill for Chewiness: For chewier cookies, chill the dough for at least 30 minutes before baking. This enhances flavor and improves the cookie’s structure.
-
Rotate for Even Baking: Halfway through baking, rotate the baking sheets. This simple trick ensures your classic chocolate chip cookies bake evenly and achieve that perfect color.
-
Watch for Doneness: Bake until the edges are golden but the centers are still soft to guarantee that delightful melt-in-the-mouth experience—no one likes a dry cookie!
-
Gluten-Free Option: Substitute regular flour with a gluten-free blend to enjoy these classic chocolate chip cookies without missing out on the fun!
What to Serve with Classic Chocolate Chip Cookies
Nothing pairs better with warm, gooey cookies than a lineup of delightful companions that elevate your dessert experience.
-
Chilled Milk: A classic pairing that balances the rich chocolate flavor, making each bite irresistible.
-
Vanilla Ice Cream: Serve a scoop beside the cookies for a heavenly combination that creates warm-and-cold bliss on your palate.
-
Fresh Berries: Bright, tart berries like raspberries or strawberries add a refreshing contrast to the sweetness. The burst of flavor complements the chocolate beautifully.
-
Coffee: A steaming cup of coffee enhances the chocolatey goodness with its rich profile, providing a perfect afternoon pick-me-up.
-
Nutty Whipped Cream: Top your cookies with a dollop of whipped cream mixed with crushed nuts for added texture and flavor, akin to a delightful dessert experience.
-
Dark Chocolate Drizzle: Elevate your cookies further with a drizzle of melted dark chocolate, enhancing the chocolate experience with a gourmet twist.
Embrace these pairings that create a delightful dessert spread, ensuring every bite is a wonderful memory!
Make Ahead Options
These Classic Chocolate Chip Cookies are perfect for meal prep, allowing you to enjoy fresh cookies in no time! You can prepare the cookie dough and refrigerate it for up to 3 days or even freeze it for up to 3 months. Simply scoop the dough onto baking sheets before freezing them in airtight containers or wrap them individually for quick access later. When you’re ready to bake, there’s no need to thaw; just add an extra minute or two to the baking time. This way, you can savor the delightful aroma of freshly baked cookies anytime, without the fuss—perfect for those busy weeknights or sudden sweet cravings!

Classic Chocolate Chip Cookies Recipe FAQs
What type of flour should I use for these cookies?
You can use all-purpose flour for a classic texture, but if you’re looking for a gluten-free alternative, simply substitute it with a gluten-free flour blend. I often find that a good gluten-free blend containing xanthan gum works wonders in maintaining the right cookie structure.
How should I store these cookies?
Store your freshly baked chocolate chip cookies in an airtight container at room temperature. They’ll stay fresh for up to 1 week! If you want to extend their shelf life, consider freezing them in a freezer-safe container for up to 3 months. Just remember to thaw them at room temperature or pop them in the microwave for a few seconds for that fresh-baked warmth.
Can I freeze the cookie dough?
Absolutely! To freeze the cookie dough, scoop it into balls and lay them on a baking sheet. Freeze until solid, then transfer the dough balls into a freezer bag. They can stay in the freezer for up to 3 months. When you’re ready to bake, you can bake them straight from the freezer—just add an extra minute or two to the baking time!
What if my cookies come out too flat or hard?
If your cookies turn out too flat, it might be due to using melted butter instead of softened butter, or not enough flour in the mixture. To fix this in future batches, ensure your butter is at room temperature. Also, if your cookies come out hard, it could be from overbaking. Keep a close eye on them; they should be golden on the edges but still soft in the center when you take them out!
Are these cookies suitable for people with allergies?
This classic chocolate chip cookie recipe contains common allergens like butter and eggs. For a dairy-free version, you can substitute unsalted butter with coconut oil. To replace the egg, consider a flax egg (1 tablespoon flaxmeal mixed with 2.5 tablespoons water). Always check labels for all ingredients if you’re cooking for someone with allergies.

Pumpkin Cream Cheese Muffins That'll Warm Your Soul
Ingredients
Equipment
Method
- Preheat oven to 350°F (175°C) and line baking sheets with parchment paper.
- Cream the softened unsalted butter, brown sugar, and granulated sugar with an electric mixer for 2-3 minutes until light and fluffy.
- Add egg and vanilla extract to the creamed mixture and beat until fully combined, about 1 minute.
- In a separate bowl, whisk together flour, baking soda, and salt; gradually integrate into the wet mixture until just combined.
- Fold in the chocolate chips with a spatula until evenly distributed throughout the dough.
- Scoop the dough onto the prepared baking sheets, spacing each scoop about 2 inches apart.
- Bake for 10-12 minutes until edges are golden brown and centers remain soft.
- Let the cookies cool on the baking sheets for about 5 minutes before transferring to a wire rack.

Leave a Reply