
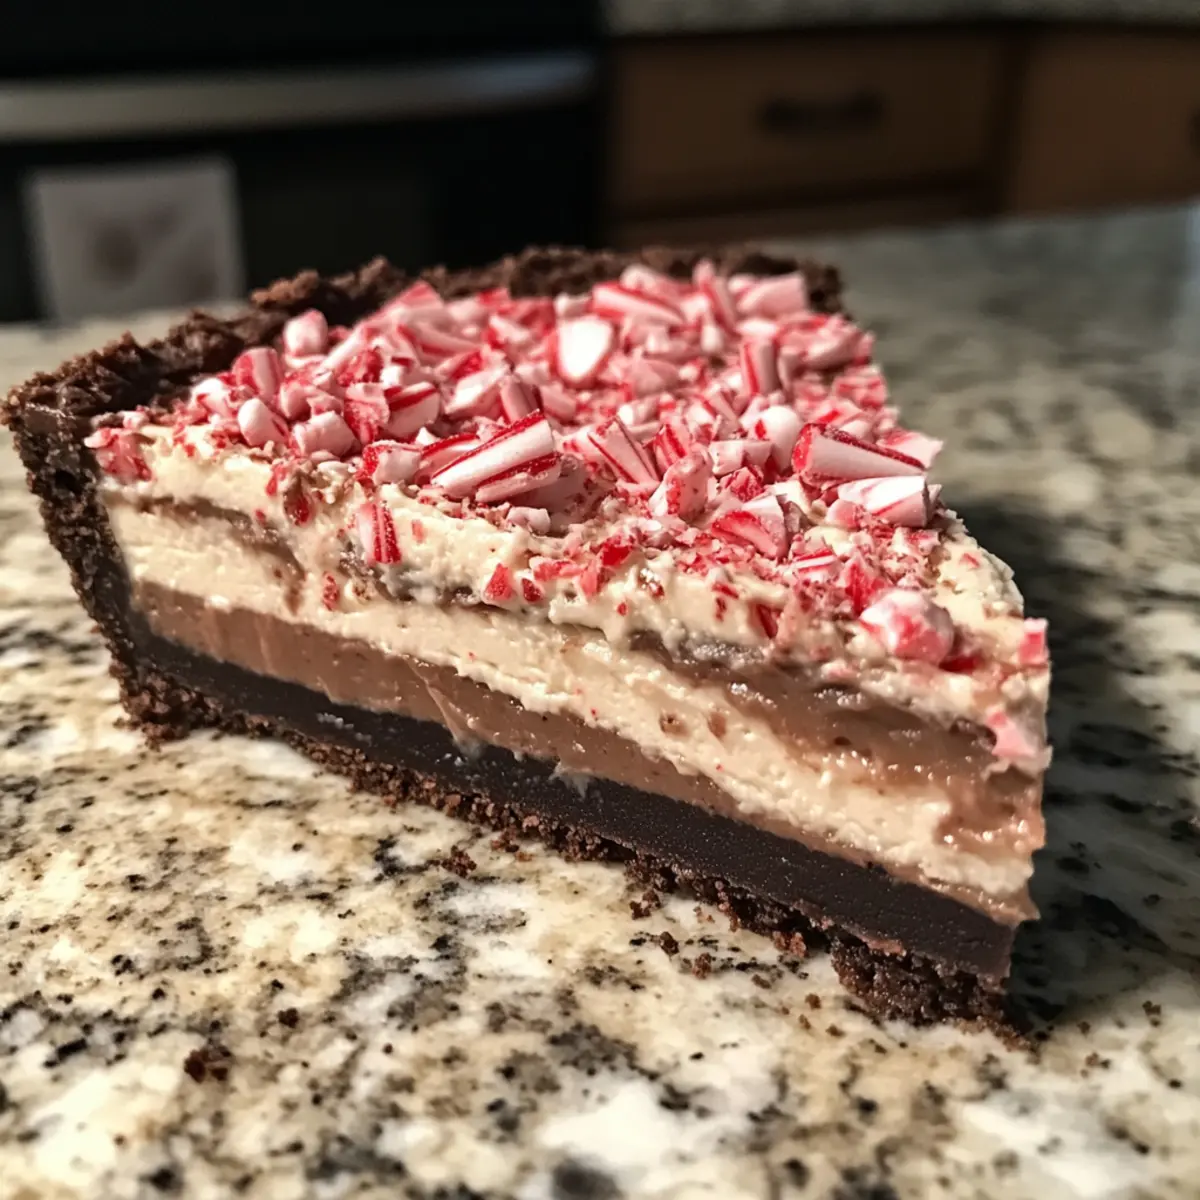
As the holiday season gathers momentum, I find myself craving a little indulgence with a touch of nostalgia. That’s where this No Bake Christmas Peppermint Pie comes into play—a delightful fusion of creamy peppermint and a silky chocolate crust that perfectly captures the spirit of the season. One of the best parts? It’s incredibly easy to whip up in advance, allowing you to focus on making memories with loved ones instead of being stuck in the kitchen. Plus, it’s a crowd-pleaser, guaranteed to bring smiles to both kids and adults alike. Get ready to impress your holiday guests with a dessert that looks as festive as it tastes! Who’s ready to dive into this deliciously simple holiday treat?
Why is this Christmas Peppermint Pie a must-try?
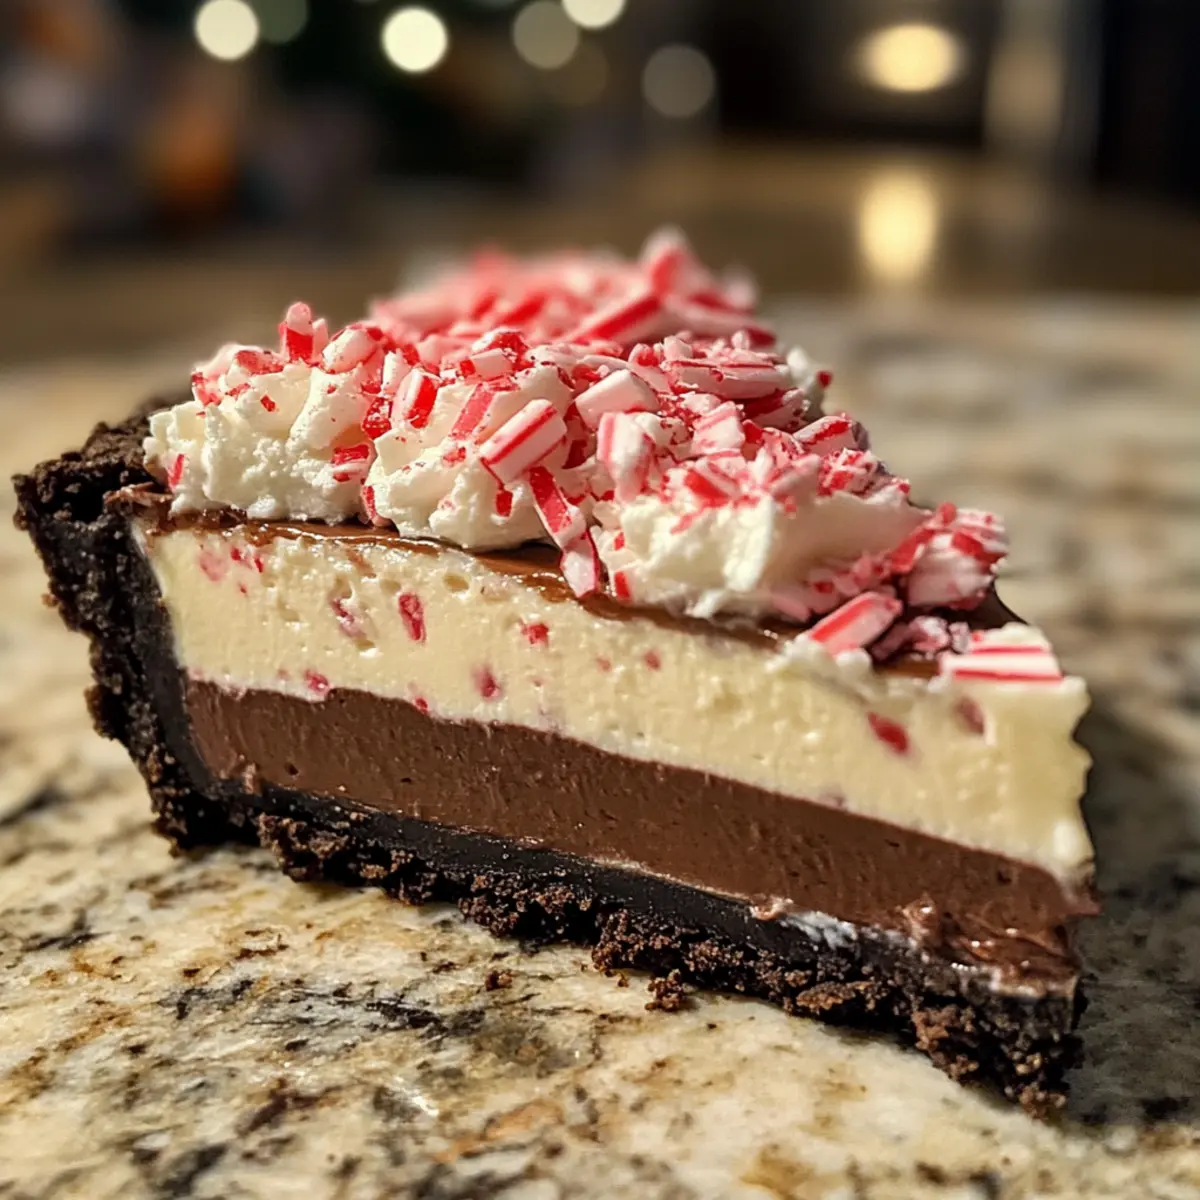
Irresistible flavor combination: The creamy peppermint filling paired with a chocolate cookie crust creates a dessert that’s bursting with festive cheer.
No-bake convenience: Perfect for busy holiday schedules, this pie can be made ahead and requires minimal effort.
Crowd-pleaser: Both kids and adults will delight in every bite, making it the go-to dessert for gatherings.
Customizable: Feel free to experiment with crust options or mix in different extracts for a unique touch. Looking for more delicious treats? Check out these Apple Cider Whoopie pies that are sure to impress!
Texture perfection: With a cool, creamy finish that melts in your mouth, this pie elevates holiday desserts to a whole new level. Don’t just take my word for it—try it yourself this season!
Christmas Peppermint Pie Ingredients
For the Chocolate Cookie Crust
• Chocolate Cookie Crumbs – Ideal for creating a sweet and crunchy base; consider using graham cracker crumbs for a different flavor.
• Butter – Helps bind the crust together; use unsalted butter for better flavor control.
For the Filling
• Cream Cheese – Essential for a rich and creamy texture; opt for full-fat block cream cheese for the best results.
• Heavy Cream – Adds volume and lightness; ensure it’s whipped to stiff peaks for a fluffy filling.
• Powdered Sugar – Sweetens your filling while maintaining a smooth consistency; sifting it can prevent lumps.
• Peppermint Extract – Provides that classic minty flavor; start with half to customize the intensity to your liking.
• Vanilla Extract – Complements the peppermint and adds depth to the flavor profile.
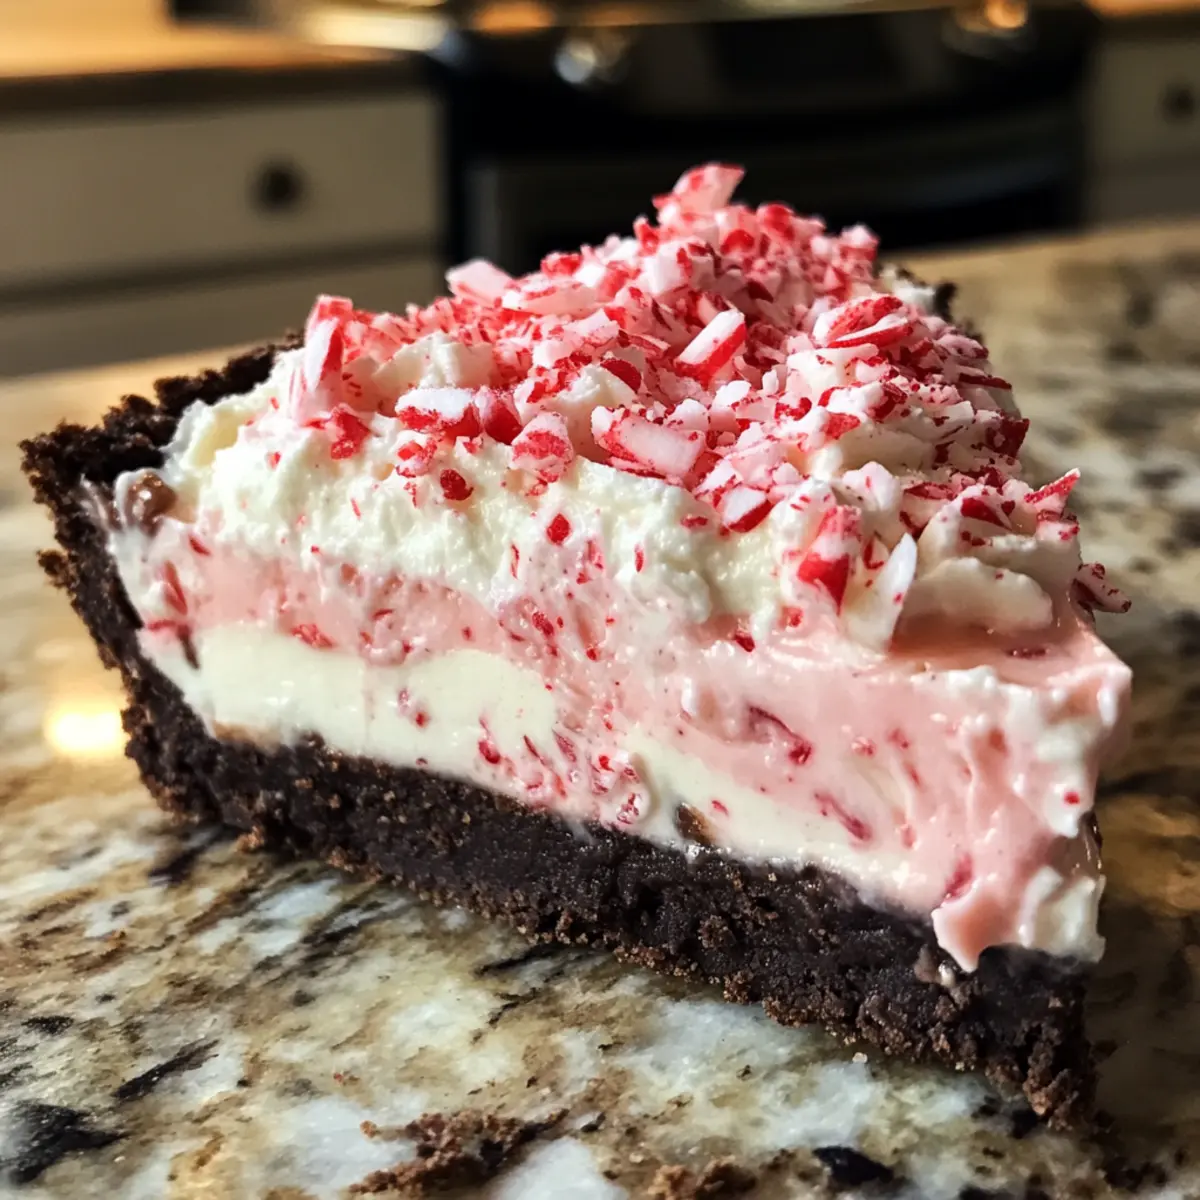
• Red Food Coloring – Optional, but adds a festive touch that makes your pie visually appealing.
For the Topping
• Cool Whip – Adds a light topping and enhances the creaminess of the pie; feel free to use homemade whipped cream if preferred.
• Crushed Peppermint Candy – Essential for that holiday crunch and extra peppermint flavor; larger pieces create a delightful texture contrast.
Dive into this Christmas Peppermint Pie recipe and create a seasonal favorite that your friends and family will cherish!
Step‑by‑Step Instructions for Christmas Peppermint Pie
Step 1: Prepare the Whipped Cream
In a large mixing bowl, pour in heavy cream and whip it using an electric mixer on medium speed until stiff peaks form, about 3-5 minutes. Be careful not to overbeat, as the cream can become grainy. Once ready, gently set the whipped cream aside; it will add delightful lightness to your Christmas Peppermint Pie filling.
Step 2: Mix Cream Cheese Base
In another bowl, combine softened cream cheese and powdered sugar using an electric mixer at medium speed, blending until smooth and creamy, around 2-3 minutes. Add in the vanilla and peppermint extracts, mixing until fully incorporated. This base forms the luscious and festive filling that will make your pie irresistible!
Step 3: Add Color (if using)
If you wish to enhance the visual appeal of your Christmas Peppermint Pie, add a few drops of red food coloring to your cream cheese mixture. Stir gently with a spatula until you achieve your desired festive hue. This optional step adds charm and will brighten up your dessert for holiday gatherings.
Step 4: Fold Together
Carefully fold the prepared whipped cream into the cream cheese mixture using a spatula. Start by adding a dollop of whipped cream to lighten the mixture and gently incorporate it, then add the rest, mixing until well combined and smooth. Take your time to maintain the airy texture that makes the filling so delightful.
Step 5: Fill the Crust
Pour the creamy filling into the pre-prepared chocolate cookie crust, using a spatula to spread it evenly. Make sure to fill right up to the edges for a beautiful finish. This step will create a firm base for your No Bake Christmas Peppermint Pie and ensure that every slice showcases that delicious filling.
Step 6: Top and Chill
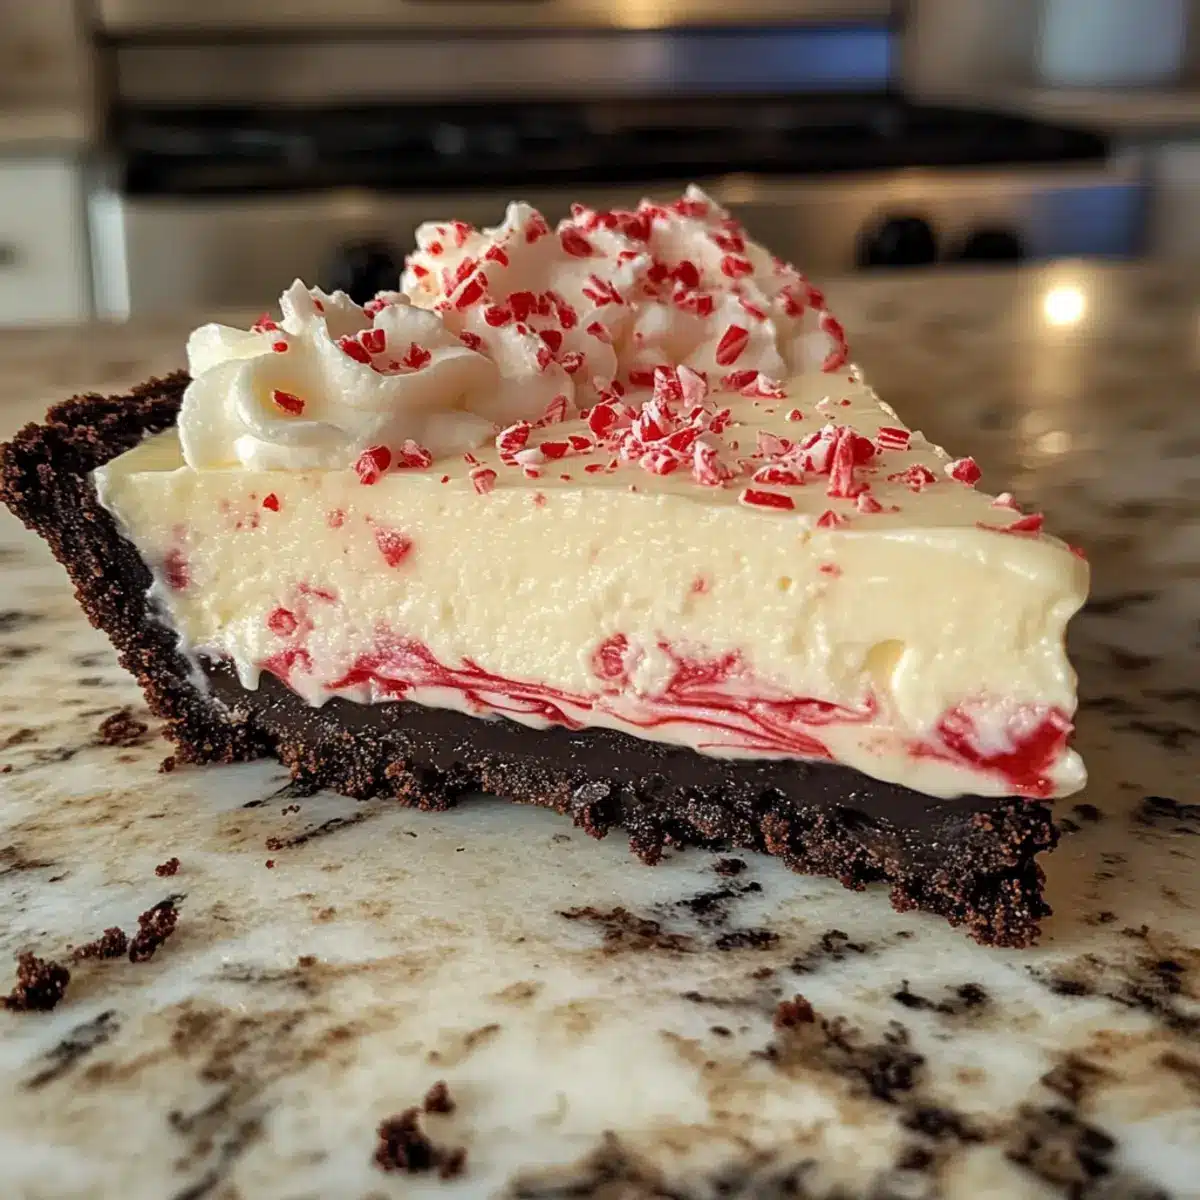
Dollop a layer of Cool Whip on top of the filling, smoothing it out to cover the surface evenly. Sprinkle crushed peppermint candy over the top for an extra crunch and festive touch. Now, cover the pie with plastic wrap and chill it in the refrigerator for at least 4 hours, or overnight if time allows, to set perfectly before serving.
Make Ahead Options
These No Bake Christmas Peppermint Pies are perfect for meal prep enthusiasts during the bustling holiday season! You can prepare the creamy filling and crust up to 24 hours in advance; simply store them separately in airtight containers in the refrigerator to maintain freshness and prevent the crust from becoming soggy. For added convenience, you can also whip the cream and fold it in with the filling up to 3 days ahead of serving. When you’re ready to finalize your dessert, just pour the filling into the pre-made crust, add the Cool Whip topping, sprinkle with crushed peppermint, and allow the pie to chill for at least 4 hours before indulging. This prep-ahead approach will save you time, letting you enjoy festive moments with loved ones!
Expert Tips for Christmas Peppermint Pie
• Softened Cream Cheese: Always ensure your cream cheese is at room temperature to avoid lumps and achieve a smooth filling.
• Whip with Care: When whipping heavy cream, stop as soon as you hit stiff peaks. Overbeating can lead to a grainy texture that’s less enjoyable.
• Adjusting Peppermint Flavor: Start with half the recommended amount of peppermint extract, since the flavor can vary by brand. Taste as you go to find your perfect balance.
• Chill for Texture: Allow the pie to chill for at least 4 hours—or better yet, overnight. This helps the flavors meld and the filling set for a delightful experience.
• Customize Your Crust: Feel free to swap chocolate cookie crumbs for graham cracker crumbs or even try a combination for a unique twist on your Christmas Peppermint Pie!
Storage Tips for Christmas Peppermint Pie
Fridge: Keep your pie refrigerated, tightly covered, for up to 5 days to preserve its creamy texture and flavor.
Freezer: This delightful Christmas Peppermint Pie freezes beautifully for up to 2 months. Wrap it well in plastic wrap and aluminum foil to prevent freezer burn.
Thawing: When ready to enjoy, thaw the pie in the refrigerator overnight for the best texture and flavor. Avoid thawing at room temperature to maintain its creamy consistency.
Serving Suggestions: If adding fresh toppings, do so just before serving to keep the pie looking and tasting its best.
What to Serve with No Bake Christmas Peppermint Pie
As you gather your loved ones for the holidays, complement this festive delight with a spread that warms the heart and tantalizes the taste buds.
- Creamy Vanilla Ice Cream: The smoothness and chill of ice cream provide a lovely contrast to the pie’s rich textures, enhancing every bite.
- Gingerbread Cookies: Spicy and sweet, these classic cookies add a delightful crunch while echoing seasonal flavors perfectly. Dunk them for an extra treat!
- Hot Chocolate: A warm cup topped with whipped cream elevates the festive spirit, balance the cool pie’s creaminess with velvety cocoa goodness.
- Fruit Salad: A refreshing mix of berries, apples, and citrus cuts through the richness, offering a bright counterbalance to the creamy peppermint indulgence.
- Chocolate Bark: This crunchy delight allows for customization with nuts and dried fruits, similar to the pie’s flavors but providing a textural twist.
- Peppermint Mocha: Tie your dessert experience together with this aromatic coffee drink, which mirrors the flavors of the pie while adding a cozy touch.
- Spiced Apple Cider: Warm and fragrant, a cup of this inviting beverage invites your guests to sip alongside their pie, creating a comforting atmosphere.
- Chocolate-dipped Strawberries: These elegant treats ooze romance and sweetness; their tartness adds an extra layer to the festive dessert menu.
- Sugar Cookies: Simple yet delightful, these cookies can be decorated to add a fun, festive flair to your gathering’s dessert table.
Christmas Peppermint Pie Variations
Feel free to give your No Bake Christmas Peppermint Pie a unique twist that suits your taste and style!
-
Graham Cracker Crust: Swap the chocolate cookie crust for a graham cracker base for a lighter flavor.
-
Chocolate Mint Twist: Use a combination of chocolate mint extract and peppermint for a double dose of minty goodness.
-
Almond Extract: Substitute peppermint extract with almond extract for a warm, nutty flavor profile that pairs perfectly with the chocolate crust.
-
Vegan Option: Use coconut cream in place of heavy cream and silken tofu for a creamy filling, ensuring a guilt-free dessert.
-
Crunchy Topping: Instead of crushed peppermint candy, sprinkle crushed chocolate-coated candies for a delightful crunch and added richness.
-
Whipped Cream Variants: Top with homemade whipped cream flavored with a hint of cocoa powder for a unique taste experience.
-
A Touch of Heat: For those who enjoy some spice, add a sprinkle of cayenne pepper to the filling for a surprising kick!
-
Chocolate Ganache: Elevate your pie by drizzling a layer of chocolate ganache over the top before adding the Cool Whip for a decadent finish.
Experiment with these variations, and don’t forget, if you’re looking for more festive inspiration, these Apple Cider Whoopie pies are a delightful addition to your holiday spread!
Christmas Peppermint Pie Recipe FAQs
How do I choose ripe ingredients for the Christmas Peppermint Pie?
Absolutely! For this recipe, ensure your cream cheese is at room temperature to easily blend into a smooth filling, avoiding any lumps. Use fresh, high-quality heavy cream for whipping; the fresher the cream, the better the texture and flavor!
What’s the best way to store the Christmas Peppermint Pie?
Very good question! Keep your pie tightly covered in the refrigerator for up to 5 days. If you have leftovers, make sure to wrap it carefully in plastic wrap, as this will help maintain its delicious creamy texture.
Can I freeze the Christmas Peppermint Pie?
Yes, the pie freezes beautifully! Wrap it securely in plastic wrap followed by aluminum foil to prevent freezer burn. It will last for up to 2 months in the freezer. When ready to enjoy, simply thaw it overnight in the refrigerator for the best results.
What if my whipped cream doesn’t form stiff peaks?
Don’t worry, this can happen to anyone! If your whipped cream isn’t reaching the stiff peaks you’re looking for, it may not have been cold enough, or you might have overwhipped it. To salvage it, consider starting with fresh, cold cream and whip at a lower speed. Remember to stop as soon as you achieve stiff peaks!
Are there any dietary considerations I should keep in mind for the Christmas Peppermint Pie?
Absolutely! This pie contains dairy, so be cautious if anyone has lactose intolerance or a dairy allergy. For a non-dairy option, you can use a vegan cream cheese alternative and coconut cream whipped for the filling. Also, check the peppermint candy for any allergens if serving to guests with dietary restrictions.
How long does the flavor of peppermint last in the Christmas Peppermint Pie?
The peppermint flavor tends to mellow as the pie sits, which is why chilling it is essential. I recommend making it a day in advance to allow the flavors to meld beautifully together. Starting with half the suggested amount of peppermint extract lets you adjust to your desired level of minty freshness!
Irresistible Christmas Peppermint Pie That Melt in Your Mouth
Ingredients
Equipment
Method
- In a large mixing bowl, pour in heavy cream and whip it using an electric mixer on medium speed until stiff peaks form, about 3-5 minutes.
- In another bowl, combine softened cream cheese and powdered sugar using an electric mixer at medium speed, blending until smooth and creamy, around 2-3 minutes. Add in the vanilla and peppermint extracts.
- If using, add a few drops of red food coloring to your cream cheese mixture and stir gently.
- Carefully fold the prepared whipped cream into the cream cheese mixture using a spatula until well combined.
- Pour the creamy filling into the pre-prepared chocolate cookie crust, using a spatula to spread it evenly.
- Dollop a layer of Cool Whip on top of the filling, sprinkle crushed peppermint candy, and chill in the refrigerator for at least 4 hours.
Leave a Reply