
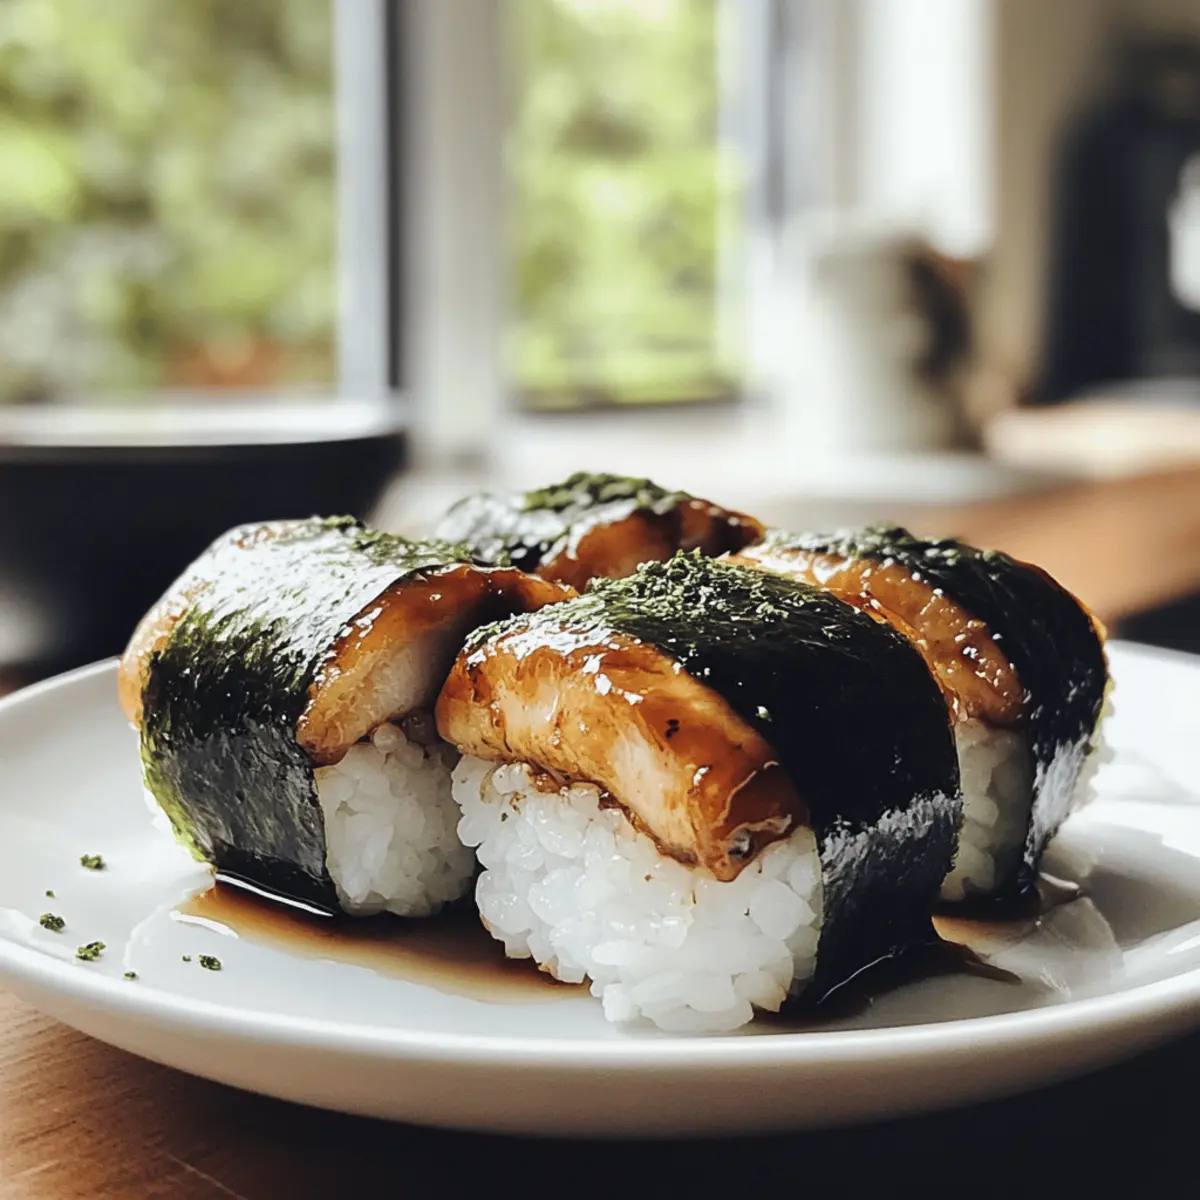
The moment I took a bite of Teriyaki Chicken Onigiri, I was transported straight to a cozy Tokyo street corner, where the scent of savory, marinated chicken filled the air. This beloved Japanese snack is not only delicious but incredibly easy to make at home, perfect for those who crave a break from fast food. Packed with tender chicken enveloped in a sticky rice exterior and wrapped in crispy nori, these little rice balls offer the ultimate portable meal or eye-catching appetizer. Plus, they’re gluten-free when you choose the right soy sauce! Whether you’re looking for a new lunch option or aiming to impress guests with something authentically Japanese, this Chicken Onigiri recipe will surely become a favorite. Curious about how to create this delightful dish? Let’s dive in!
Why is Chicken Onigiri a Must-Try?
Irresistible Flavor: The savory teriyaki chicken filling stirs up a burst of umami that dance on your taste buds.
Simple to Prepare: With easy steps and common ingredients, anyone can make this Japanese snack at home.
Versatile Options: Chicken drumsticks, thighs, or ground chicken mean you can customize to your personal taste.
Perfect for On-The-Go: Enjoy these rice balls as a convenient lunch or snack, whether at work or on a picnic.
Impressive Presentation: Shaping the onigiri into triangles wrapped in nori not only looks beautiful but also elevates your culinary skills.
Healthy Alternative: Packed with protein and gluten-free when you opt for gluten-free soy sauce, they offer a healthier boost compared to fast food options.
For more exciting recipes, don’t miss our Garlic Parmesan Chicken or the tasty Street Corn Chicken!
Chicken Onigiri Ingredients
Discover the essential ingredients you’ll need to create delightful Chicken Onigiri at home!
For the Rice
- Sushi Rice – This sticky short-grain rice forms the perfect base for onigiri.
- Salt – A touch of fine salt enhances the rice’s natural flavor.
- Furikake (optional) – This flavorful seasoning adds umami and an extra crunch; feel free to skip if unavailable.
For the Chicken Filling
- Boneless Skinless Chicken – Best with drumsticks for juicy, tender bites packed with flavor.
- Soy Sauce – This key ingredient brings umami and saltiness to your chicken; consider using gluten-free soy sauce for a gluten-free twist.
- Sake (or water) – Adds a rich depth of flavor to the chicken marinade.
- Baking Soda – Essential for tenderizing the chicken; it’s vital to measure it accurately.
- Cornstarch – Helps achieve a crispy texture when stir-frying the chicken pieces.
- Mirin – This sweet cooking rice wine complements the savory notes of teriyaki sauce.
- Brown Sugar – A tablespoon of packed brown sugar sweetens the teriyaki sauce beautifully.
- Oil – Use a neutral-flavored oil for cooking the chicken to perfection.
- Minced Garlic – Adds delicious aromatic notes to the teriyaki sauce.
For Wrapping
- Nori – Cut into rectangles, nori adds a delightful salty crunch when wrapping each onigiri.
With these ingredients on hand, you’re well on your way to crafting your own delightful Chicken Onigiri!
Step‑by‑Step Instructions for Chicken Onigiri
Step 1: Rice Preparation
Begin by cooking the sushi rice using a rice cooker according to manufacturer’s instructions, typically combining 4 cups of rice with the appropriate amount of water for sticky texture. Once cooked, let the rice sit for about 10 minutes to cool slightly before mixing in ½ teaspoon of salt and 2 tablespoons of furikake, giving the rice a delightful flavor and texture.
Step 2: Marinate Chicken
While the rice is cooling, prepare the chicken by dicing ½ pound of boneless skinless chicken into small, bite-sized pieces. In a mixing bowl, combine the chicken with 2 teaspoons of soy sauce, 1 tablespoon of sake, ¼ teaspoon of baking soda, and 1 teaspoon of cornstarch. Cover and refrigerate for at least 30 minutes to allow the flavors to meld and tenderize the chicken.
Step 3: Prepare Sauce
In a small bowl, whisk together 1 ½ tablespoons of soy sauce, 1 tablespoon of mirin, and 1 tablespoon of packed brown sugar to create a savory teriyaki sauce. This mixture should be balanced in flavor, providing a perfect blend of sweetness and umami that will enhance your Chicken Onigiri. Set it aside until the chicken is ready to cook.
Step 4: Cook Chicken
Heat 1 tablespoon of neutral oil in a large non-stick pan over medium-high heat. Once the oil is shimmering, add the marinated chicken, stirring frequently to ensure even cooking. Sauté for about 2-3 minutes until the chicken is fully cooked and no longer pink. Add 1 tablespoon of minced garlic and cook for an additional 30 seconds, until fragrant, then remove from heat.
Step 5: Sauce Application
Return the cooked chicken to the pan and pour in the prepared teriyaki sauce. Stir to coat the chicken evenly, and cook for another 2-3 minutes until the sauce thickens slightly, creating a glossy coating on the chicken. Once thickened, remove the pan from heat and let the chicken cool slightly before assembling the onigiri.
Step 6: Shape Onigiri
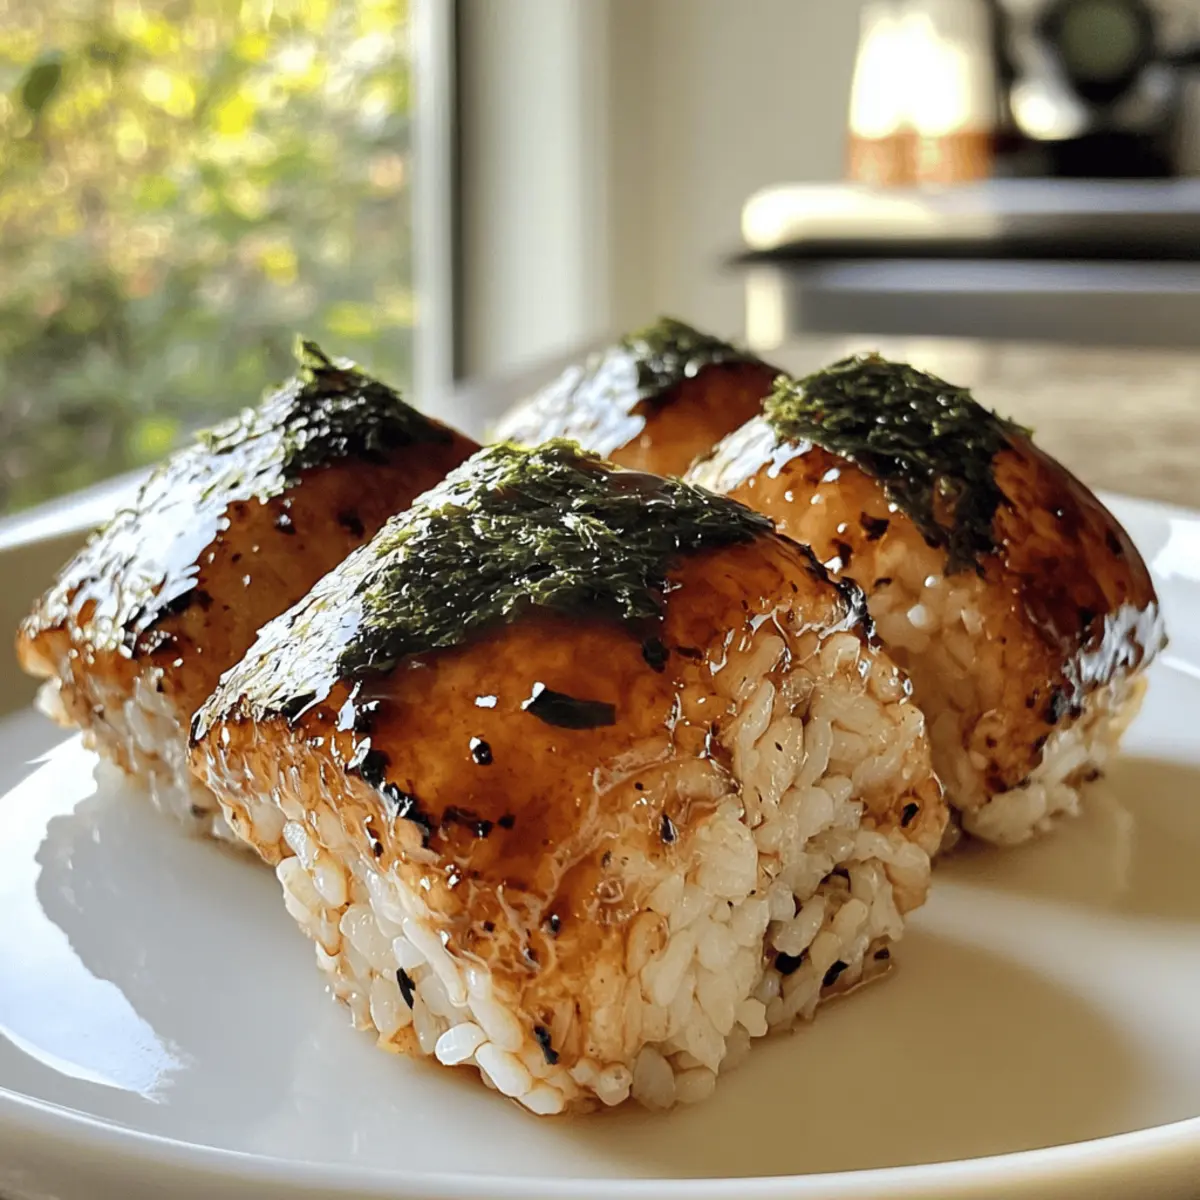
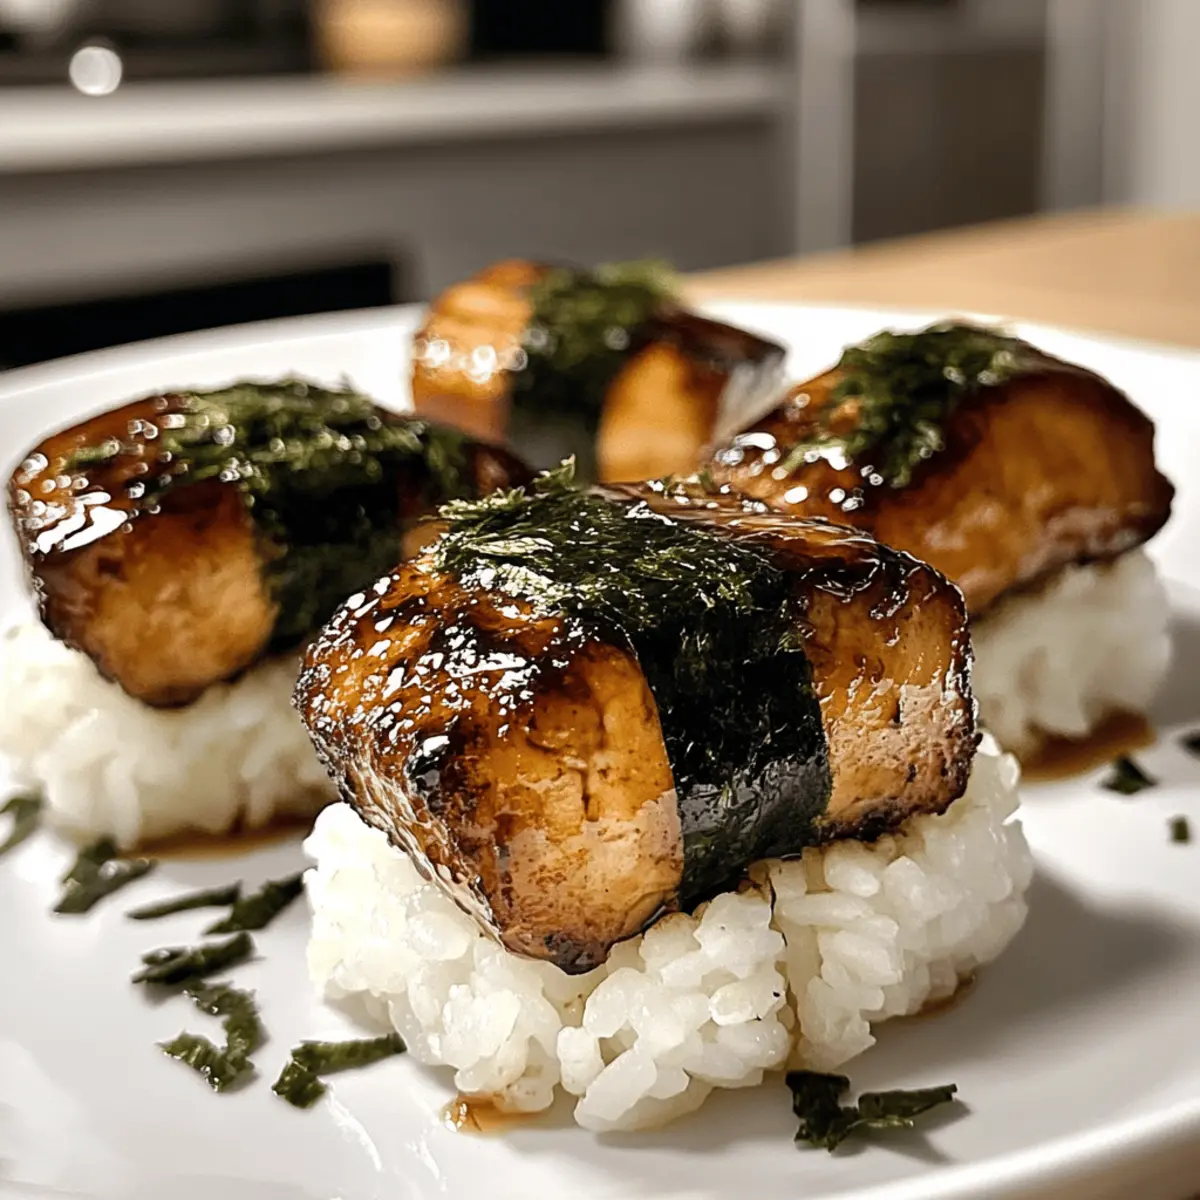
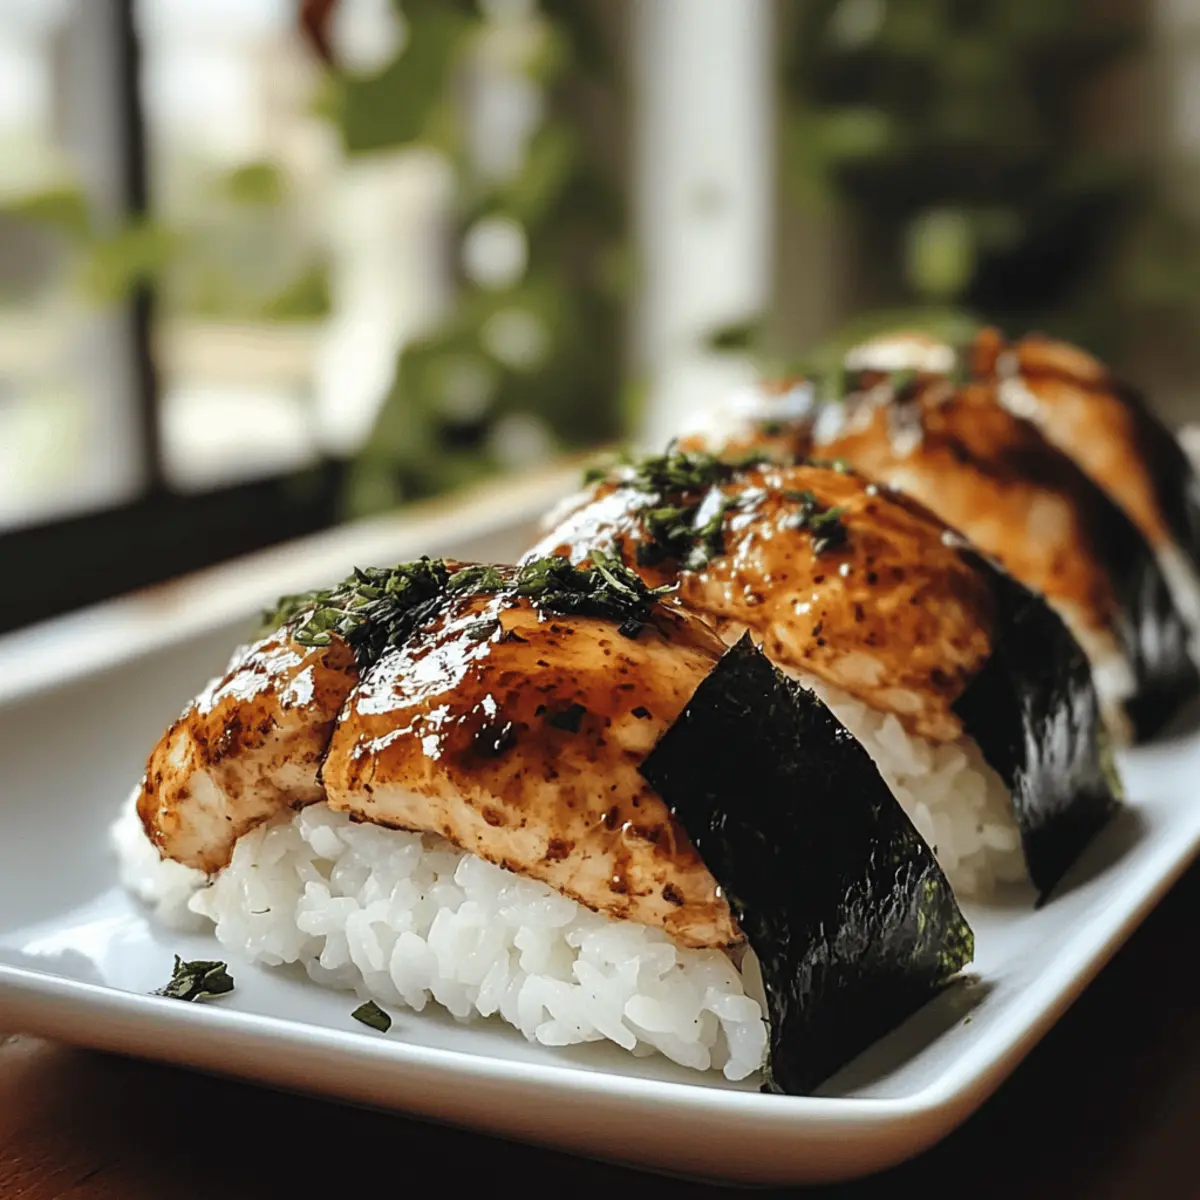
To shape the Chicken Onigiri, wet your hands to prevent the rice from sticking. Scoop approximately ⅓ cup of the seasoned sushi rice into your hand, creating a small well in the center. Place a generous amount of the teriyaki chicken filling into the well, followed by another ⅓ cup of rice on top. Firmly shape the mixture into a triangle, ensuring the filling is enclosed, and wrap each onigiri with a rectangle of nori.
Step 7: Serve and Enjoy
Once all your Chicken Onigiri are shaped, they are ready to be served! These delightful rice balls can be enjoyed warm or at room temperature. For an added touch, serve with pickled vegetables or a side of edamame to complete your meal and experience the delightful flavors of this classic Japanese snack.
Make Ahead Options
These Chicken Onigiri are perfect for busy home cooks looking to save time during the week! You can marinate the chicken up to 24 hours in advance, allowing the flavors to deepen. After cooking the chicken, store it in an airtight container in the refrigerator. The sushi rice can also be prepared up to 3 days ahead; simply cook it, let it cool, and refrigerate in a covered bowl. To maintain the rice’s stickiness, ensure it’s airtight to prevent drying out. When ready to serve, just reheat the chicken gently and shape the onigiri with the cold rice, wrapping them in nori just before enjoying for a delightful, fresh taste!
Expert Tips for Chicken Onigiri
-
Sticky Rice Basics: Make sure to rinse sushi rice thoroughly before cooking to remove excess starch. This step ensures your Chicken Onigiri has the perfect sticky texture.
-
Marination Time: Don’t rush the marination process for the chicken. Letting it sit for at least 30 minutes deepens the flavors, making each bite more delicious.
-
Shape with Care: When shaping your onigiri, wet your hands to prevent sticking. If the rice is too sticky, using a bit of plastic wrap can help form perfect triangles.
-
Nori Placement: Wrap nori just before serving to maintain its crispiness. If left too long, it may become soggy, losing that delightful crunch.
-
Experiment with Fillings: Feel free to mix up the filling! Ground chicken or even seasoned tofu makes a wonderful gluten-free alternative for those who may want a different protein option.
-
Serve Fresh: For the best taste and texture, enjoy your Chicken Onigiri fresh. If making ahead, refrigerate and reheat gently, but remember they’re best enjoyed immediately!
What to Serve with Teriyaki Chicken Onigiri
Elevate your meal by pairing these delightful rice balls with complementary sides and flavors.
-
Pickled Vegetables: A refreshing contrast, pickles add tang and crunch, balancing the savory flavors of the chicken onigiri.
-
Edamame Beans: These steamed green soybeans offer a nutritious, protein-rich snack that pairs beautifully with the dish’s umami profile.
-
Miso Soup: The warm, comforting broth enhances the meal’s authenticity while providing a rich, savory backdrop to the onigiri.
-
Seaweed Salad: Light and slightly tangy, this salad adds a delightful texture and complements the nori wrapping of the onigiri.
-
Cucumber Salad: Crisp and refreshing, dressed simply with rice vinegar, it balances the dish’s richness and brings a bright, crunchy element.
-
Sake: A chilled glass of sake complements the umami flavors of the onigiri, making for a genuinely immersive Japanese dining experience.
-
Fruit Dessert: Light and sweet, fresh fruit like sliced melon or berries can cleanse the palate, wrapping up your meal on a refreshing note.
-
Green Tea: A warm cup of green tea offers an earthy, calming finish, enhancing the overall experience with its soothing properties.
Chicken Onigiri Variations & Substitutions
Feel free to get creative with your Chicken Onigiri and tailor it to your taste buds or dietary needs!
-
Vegetarian: Substitute chicken with tofu for a plant-based option. Simply cube and marinate firm tofu in the same teriyaki sauce for robust flavors.
-
Spicy Kick: Add a drizzle of sriracha or mix in some gochujang to the chicken filling for an exciting heat level that will tantalize your palate.
-
Rice Variations: Use quinoa or brown rice if you prefer whole grains. Both options will give your onigiri a nutty flavor and added nutrition.
-
Additional Fillings: Incorporate cream cheese or avocado for a creamy texture that pairs beautifully with the savory chicken filling.
-
Different Proteins: Swap the chicken for shrimp or crab for a refreshing seafood twist and a delightful taste of the ocean.
-
Sweet & Savory: Mix in pineapple chunks with the chicken for a unique Hawaiian-inspired twist on your onigiri that’s sweet, savory, and utterly delicious.
-
Crispy Additions: For some extra crunch, add chopped nuts like cashews or peanuts into the rice mixture, giving your onigiri a delightful texture.
If you enjoy trying new flavors, consider pairing your onigiri with our delectable Sticky Garlic Chicken Noodles for a complete meal!
How to Store and Freeze Chicken Onigiri
Fridge: Store Chicken Onigiri in an airtight container for up to 1 day to maintain freshness. Enjoy them cold or reheat gently in the microwave to warm up the rice.
Freezer: Wrap each onigiri individually in plastic wrap and then place them in a freezer bag for up to 2 months. Thaw overnight in the fridge before reheating.
Reheating: To reheat, microwave on a low setting for 20-30 seconds until warm. Avoid overheating to prevent the rice from becoming tough.
Freshness Tip: Chicken Onigiri is best enjoyed fresh but can be made in advance for easy meals or snacks throughout the week!
Chicken Onigiri Recipe FAQs
How do I choose the best sushi rice for Chicken Onigiri?
To achieve the perfect sticky texture, always opt for short-grain sushi rice. Look for rice specifically labeled as “sushi” or “short-grain,” as these varieties hold moisture effectively and provide the ideal foundation for your Chicken Onigiri. Avoid long-grain rice, as it won’t clump together nicely.
What’s the best way to store leftover Chicken Onigiri?
Absolutely! Store any leftover Chicken Onigiri in an airtight container in the refrigerator for up to 1 day. To keep them fresh, consider placing a damp paper towel in the container to maintain moisture. When you’re ready to enjoy them again, gently reheat in the microwave for about 20-30 seconds.
Can Chicken Onigiri be frozen, and how do I do it?
Yes, Chicken Onigiri can be frozen for up to 2 months! To freeze, wrap each onigiri individually in plastic wrap and then place them in a resealable freezer bag. To thaw, simply leave them in the refrigerator overnight, and then reheat in the microwave on a low setting for 20-30 seconds to warm them through.
What should I do if my onigiri falls apart while shaping?
If your Chicken Onigiri falls apart while shaping, it may be too dry or not sticky enough. Ensure you’ve used enough water when cooking the sushi rice and mixed in the right amount of salt. If needed, wet your hands more thoroughly to help shape the rice better. Alternatively, using a little bit of plastic wrap can also make shaping easier and more effective.
Can I make Chicken Onigiri gluten-free?
Very! To make gluten-free Chicken Onigiri, simply substitute the soy sauce with a gluten-free variety. There are many options available, and they will still provide the rich umami flavor essential to your teriyaki sauce. Always double-check ingredient labels to ensure all components meet your dietary needs.
How long can I keep Chicken Onigiri in the fridge?
I recommend enjoying Chicken Onigiri fresh, but if you have leftovers, they can be stored in the refrigerator for up to 1 day. Just be sure to keep them in an airtight container to preserve moisture and flavor. If you need to keep them longer, freezing is your best bet!
Savory Chicken Onigiri: Easy Japanese Snack Delight
Ingredients
Equipment
Method
- Cook sushi rice using a rice cooker according to manufacturer's instructions, combining 4 cups of rice with the appropriate amount of water. Let sit for 10 minutes to cool before mixing in salt and furikake.
- Dice the chicken into small pieces and combine with soy sauce, sake, baking soda, and cornstarch in a bowl. Cover and refrigerate for at least 30 minutes.
- Whisk together soy sauce, mirin, and brown sugar to create the teriyaki sauce. Set aside.
- Heat oil in a pan, add marinated chicken, and sauté for 2-3 minutes until fully cooked. Add garlic, cooking for an additional 30 seconds, then remove from heat.
- Return chicken to the pan and pour in the teriyaki sauce, stirring to coat and cooking until sauce thickens, about 2-3 minutes.
- Wet hands and scoop ⅓ cup of rice, forming a well. Place chicken filling in the well, add another ⅓ cup of rice on top, shape into a triangle, and wrap with nori.
- Serve the shaped onigiri warm or at room temperature with pickled vegetables or edamame.
Leave a Reply