
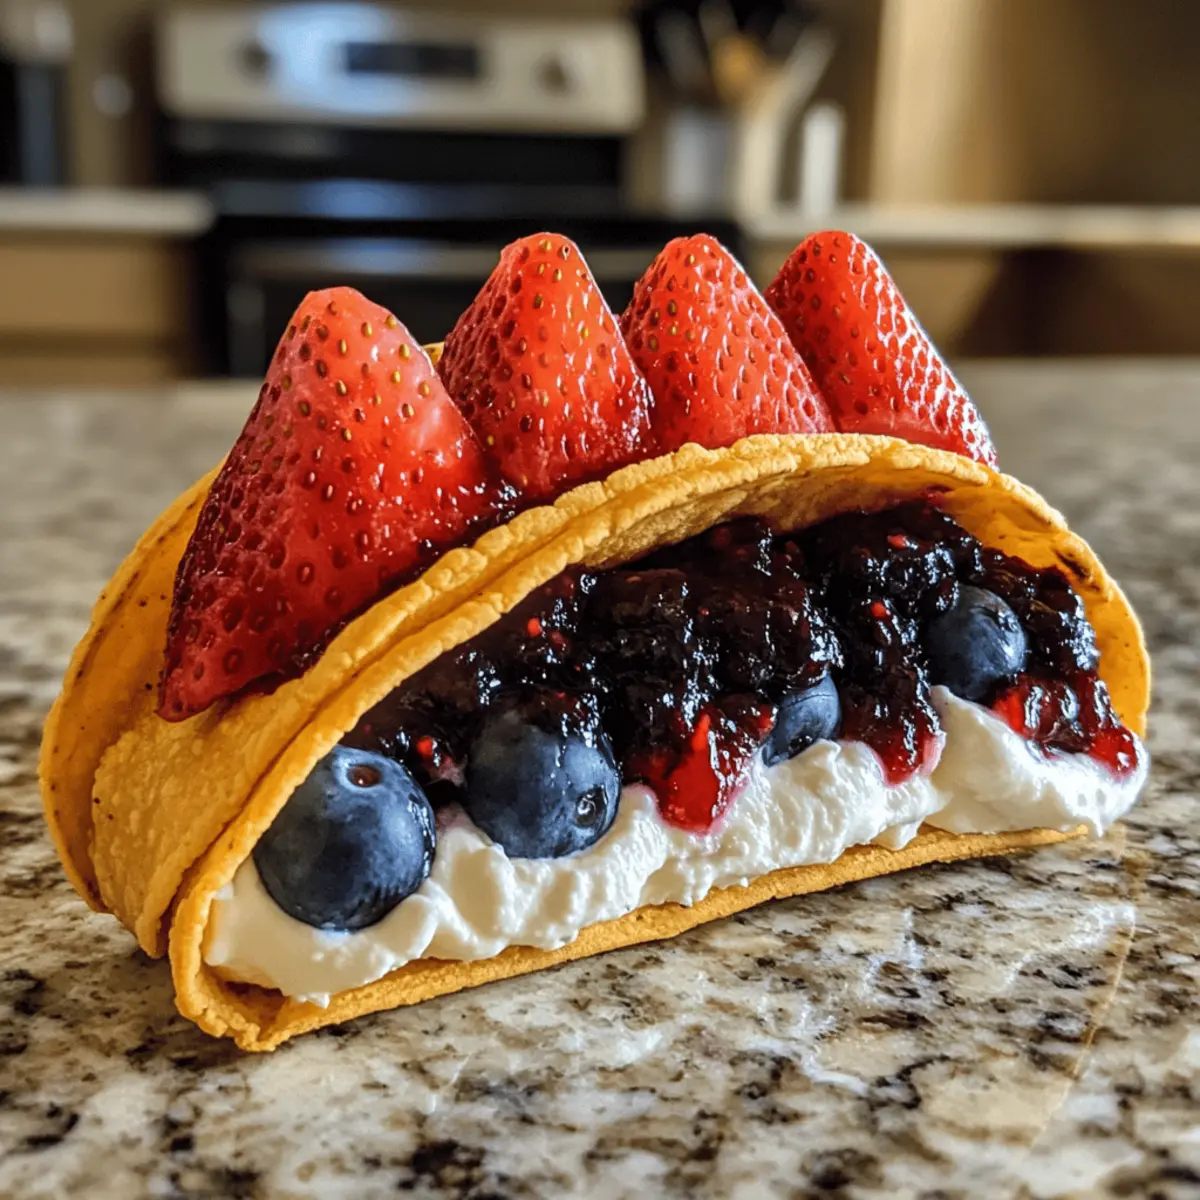
As I flipped through my recent culinary creations, I stumbled upon a delightful twist that made my heart skip a beat—Berrylicious Cheesecake Tacos. These playful dessert tacos combine a creamy cheesecake filling with fruity jams, all nestled in buttery graham cracker-coated tortillas. Perfect for summer gatherings, brunches, or simply to satiate your sweet cravings, these tacos offer a refreshing departure from your traditional dessert options. Not only are they a fun, interactive treat, but they also lend themselves to a variety of flavors that everyone will love. Who can resist such a delightful combination? What berry-infused creation will you make your own today?
Why You’ll Love Berrylicious Cheesecake Tacos
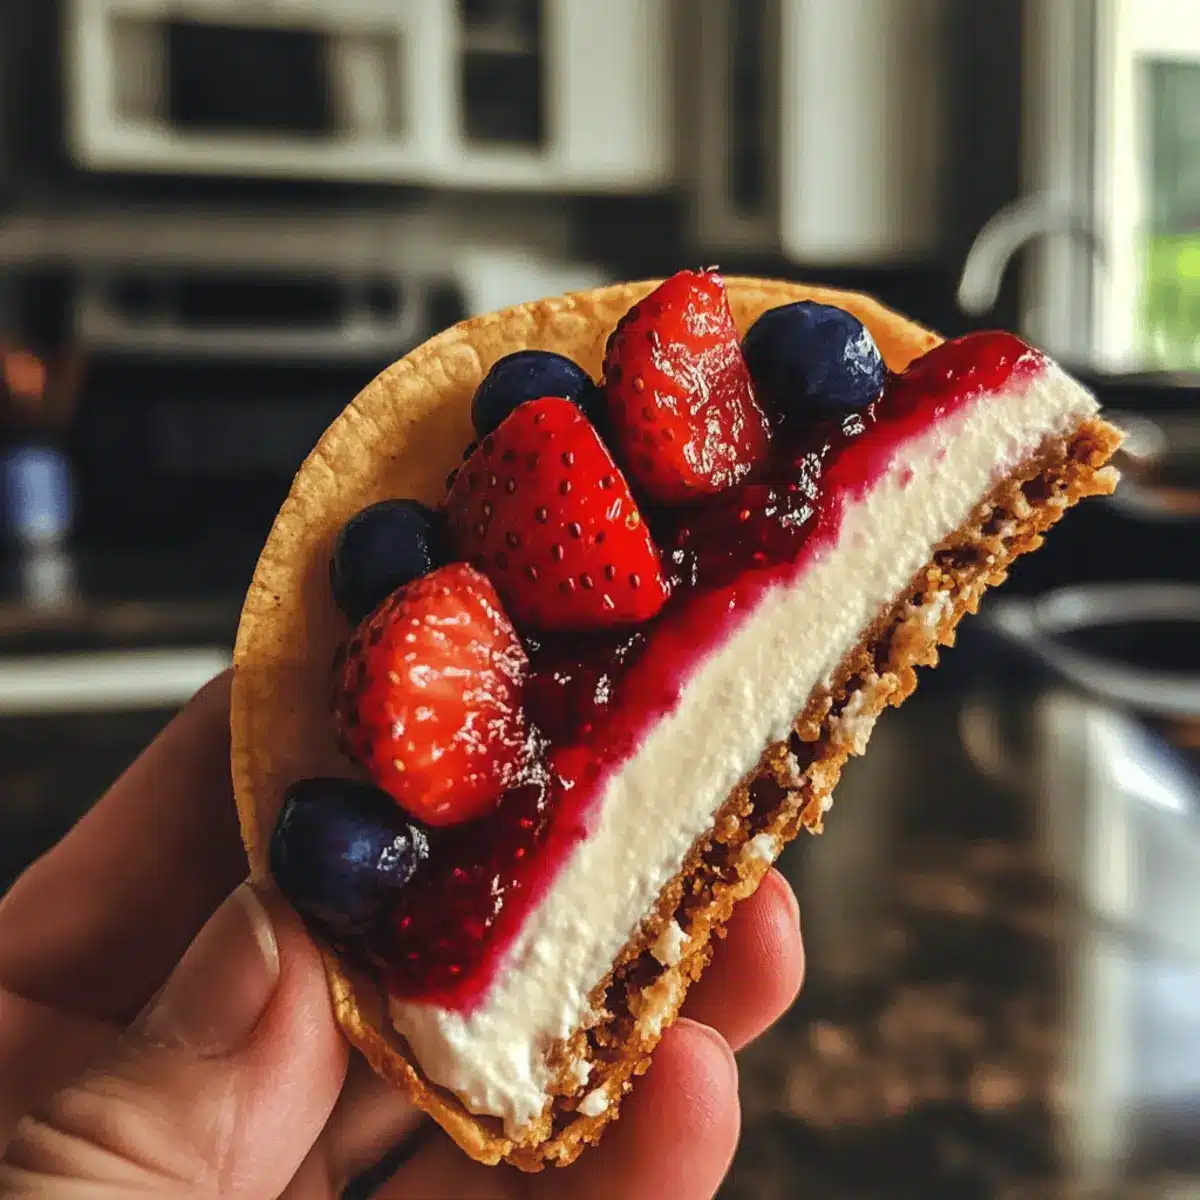
Fun and Unique: Say goodbye to boring desserts! These tacos bring a playful twist that makes every bite exciting and interactive.
Creamy Indulgence: The luscious cheesecake filling paired with fruity jams adds a delightful creaminess that tantalizes your taste buds.
Versatile Flavors: Customize your tacos by swapping jams or fillings—think chocolate mousse or tropical fruit for a summery twist!
Quick to Make: Prepare in just a short time, perfect for spontaneous gatherings. Pair them with easy recipes like Baked Beef Tacos for a full meal!
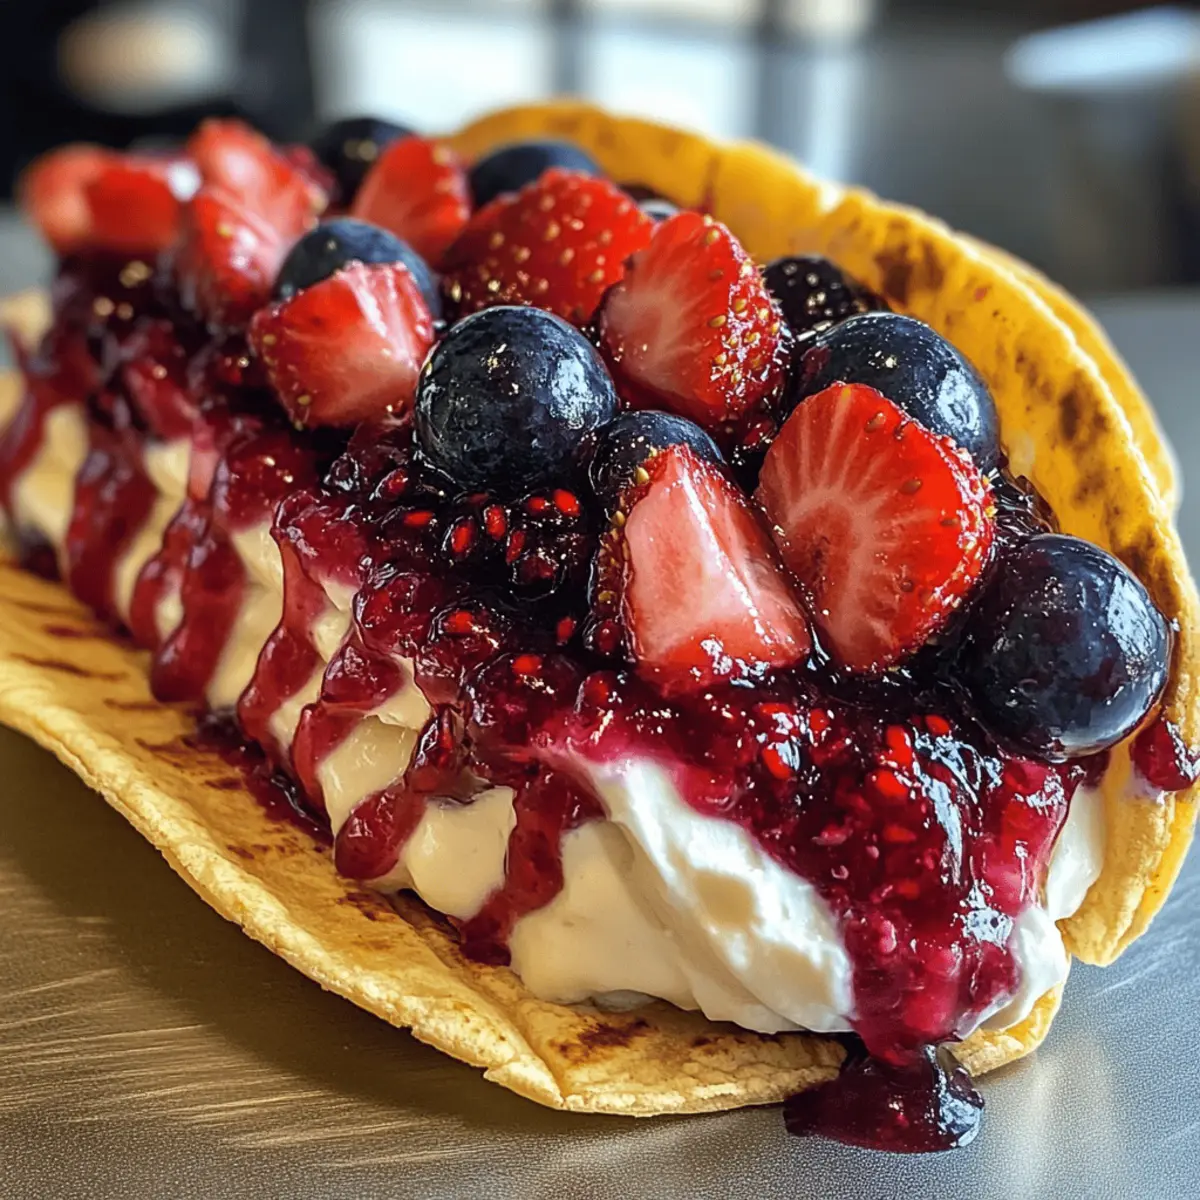
Visual Appeal: The colorful layers of fruit and cream create a stunning presentation that will impress guests at any event.
Whip up these Berrylicious Cheesecake Tacos for a dessert that’s sure to become a favorite!
Berrylicious Cheesecake Tacos Ingredients
• For the Tortillas
- 8-inch Tortillas – The perfect base for your tacos; feel free to use gluten-free tortillas for a gluten-free alternative.
- Graham Cracker Crumbs – Adds that beloved cheesecake crust flavor; crushed vanilla wafers work just as deliciously.
- Unsalted Butter (⅓ cup, melted) – Brings richness and helps crumbs adhere; coconut oil is an excellent dairy-free substitute.
• For the Creamy Filling
- Cream Cheese (9 ounces, room temperature) – The star of the show, creating the luxurious filling; consider dairy-free cream cheese for a vegan version.
- Heavy Cream (1 cup) – Adds lightness and fluff; whipped coconut cream offers a delicious dairy-free option.
- Powdered Sugar (⅓ cup) – Sweetens the filling; sugar alternatives are great for a lighter choice.
- Lemon Juice (1 tsp) – Enhances flavors brilliantly; lime juice provides a different yet delightful twist.
- Vanilla Extract (1 tsp) – Bumps up the depth of flavor; consider almond extract for a unique twist.
• For the Toppings
- Blueberry Jam & Strawberry Jam – These fruity toppers add a burst of color and flavor; feel free to swap in other berry jams or even fresh fruit for variety.
With these ingredients, you’ll be set to create Berrylicious Cheesecake Tacos that are not only delicious but also a fun treat for your next gathering!
Step‑by‑Step Instructions for Berrylicious Cheesecake Tacos
Step 1: Preheat Oven
Begin by preheating your oven to 400°F (200°C). This ensures a perfectly baked tortilla for your Berrylicious Cheesecake Tacos. Allow about 10 minutes for the oven to reach the desired temperature while you prepare the tortillas, ensuring a smooth workflow in your kitchen.
Step 2: Prepare Tortillas
Stack your 8-inch tortillas on a cutting board and use a 1.5-inch cookie cutter to cut out 5 circles. To prevent air bubbles during baking, pierce both sides of the circles with a fork. This step will set the foundation for your fun dessert tacos, keeping them crisp and inviting.
Step 3: Coat Tortillas
Dip each tortilla circle into the melted butter, ensuring they are well-coated. Then, roll the buttered circles in graham cracker crumbs, making sure each surface is covered. This will add that delightful cheesecake crust flavor to your Berrylicious Cheesecake Tacos, giving them a sweet crunch.
Step 4: Shape Tortillas
To form the taco shape, place the coated tortillas between the cups of an upside-down cupcake pan. This creates the perfect taco shell that will hold in your creamy filling. Arrange them carefully to ensure they maintain their shape while baking.
Step 5: Bake
Transfer the shaped tortillas into the preheated oven and bake for 10-12 minutes. Keep an eye on them until they turn a light golden brown, signaling they are ready. After baking, remove the pan from the oven and let the taco shells cool completely, ensuring they hold their form.
Step 6: Make Filling
In a mixing bowl, combine the room-temperature cream cheese, lemon juice, and vanilla extract. Blend these ingredients until the mixture is smooth and creamy, creating the delightful filling for your Berrylicious Cheesecake Tacos. In a separate bowl, whip the heavy cream with powdered sugar until stiff peaks form, then gently fold it into the cream cheese mixture for lightness.
Step 7: Assemble Tacos
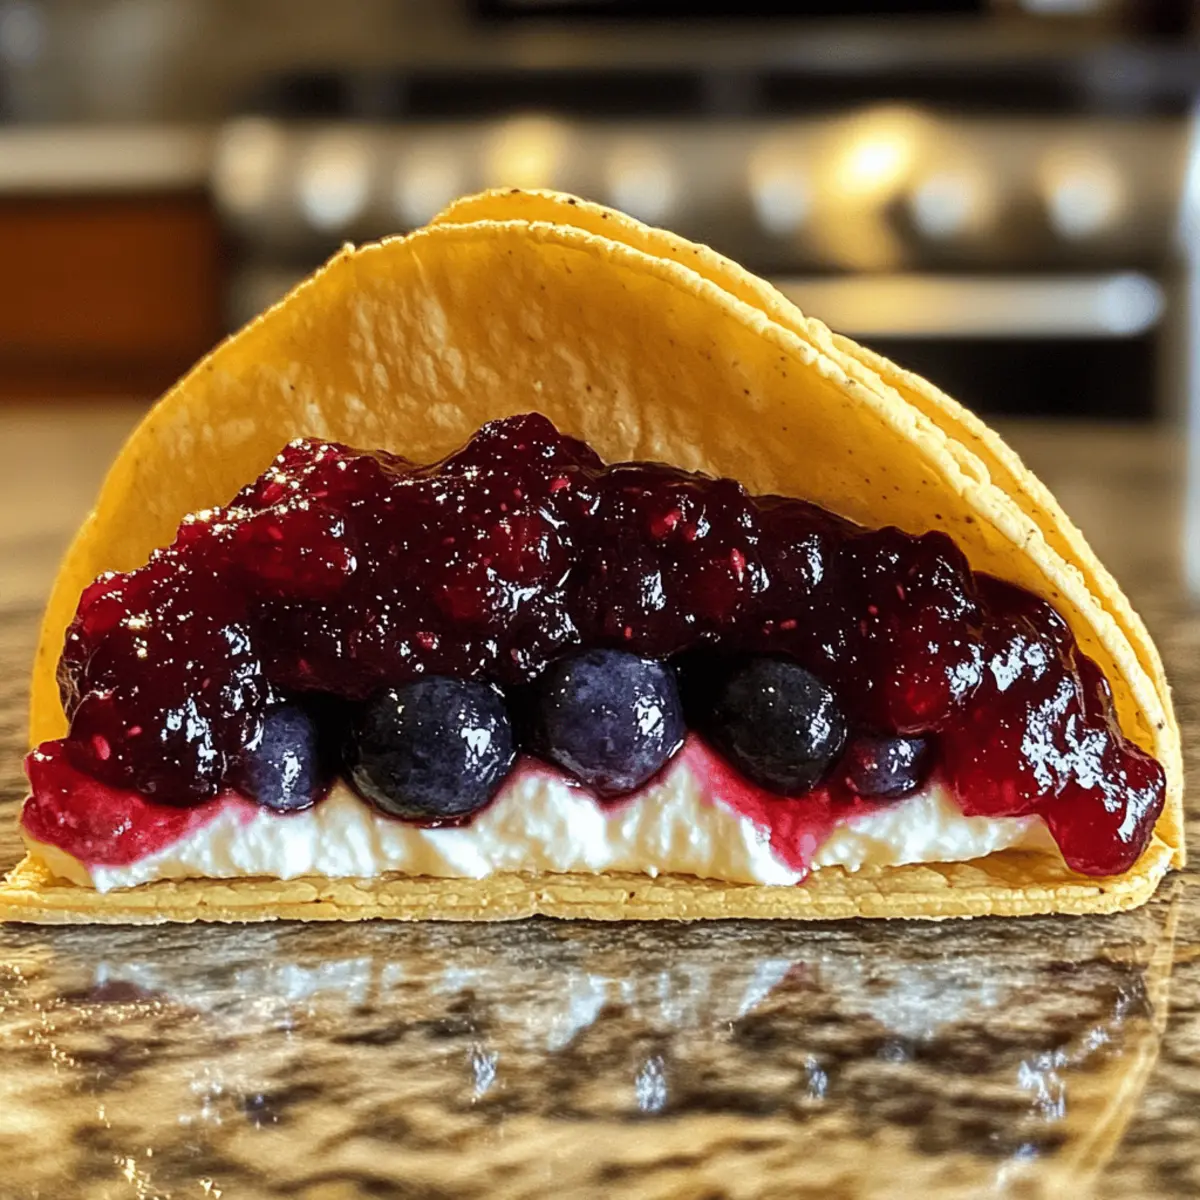
Once the taco shells are completely cooled, use a piping bag to fill each shell with the creamy cheesecake mixture. Pipe generously but avoid overfilling, as it may spill out. Top each filled taco with blueberry and strawberry jams, adding a burst of fruity flavor that perfectly complements the cheesecake.
Step 8: Serve
Your Berrylicious Cheesecake Tacos are best served immediately, ensuring the crispness of the taco shell and the fresh taste of the filling and toppings. Arrange them on a platter, and consider garnishing with fresh berries or mint for that extra touch of elegance.
Expert Tips for Berrylicious Cheesecake Tacos
-
Room Temperature Cream Cheese: Ensure your cream cheese is at room temperature for the smoothest mixing. Cold cream cheese can lead to lumps in your filling.
-
Avoid Overfilling: When piping the cheesecake filling, do so carefully to prevent overflowing. Less is more; you can always add more if needed!
-
Watch Baking Time: Keep an eye on the tortillas while they bake. Aim for a light golden color; they can burn quickly if left unattended.
-
Experiment with Flavors: Don’t hesitate to switch up the jams or fillings. Fun variations can elevate your Berrylicious Cheesecake Tacos beyond the classic recipe!
-
Chill Before Serving: Allowing the tacos to chill in the fridge for 15-30 minutes before serving enhances the flavors and makes for a refreshing dessert experience.
Berrylicious Cheesecake Tacos Variations & Substitutions
Get ready to personalize your dessert adventure with these exciting twists that will make your Berrylicious Cheesecake Tacos truly your own!
-
Gluten-Free Tortillas: Swap regular tortillas for gluten-free options to cater to gluten sensitivities without compromising taste.
-
Dairy-Free Delight: Use dairy-free cream cheese and whipped coconut cream for a delicious vegan version that’s just as indulgent.
-
Fruit Fusion: Change up the jams! Try swapping blueberry and strawberry for raspberry or even mixed tropical fruit for a fresh twist.
-
Crunchy Surprise: Add some chopped nuts like almonds or walnuts to the graham cracker mix for an added crunch that enhances the texture.
-
Chocolate Lovers: For an indulgent variation, incorporate chocolate mousse as a filling, and drizzle with chocolate sauce before serving.
-
Mini Tacos: Create bite-sized treats by using smaller tortillas, perfect for parties or as a sweet finger food.
-
Zesty Kick: Substitute lemon juice for lime juice in the filling to add a tangy twist that brightens up your dessert.
-
Spiced Up: Add a sprinkle of cinnamon or nutmeg to the graham cracker crumbs for a warm flavor that pairs beautifully with the fruit.
These simple changes can elevate your Berrylicious Cheesecake Tacos into a new favorite! If you’re looking for more creative dessert ideas, check out these delightful recipes like Strawberry Cheesecake Stuffed or explore the flavors of Garten Pumpkin Cheesecake. Enjoy each sweet bite!
What to Serve with Berrylicious Cheesecake Tacos
Elevate your dessert experience with complementary flavors and textures that enhance the delightful fun of each bite.
-
Smooth Vanilla Ice Cream: A classic pairing; its creamy texture balances the fruity sweetness and adds a cool finish.
-
Whipped Coconut Cream: Light and fluffy, this dairy-free alternative brings a tropical twist and enhances the creamy filling of the tacos.
-
Fresh Berry Salad: A medley of strawberries, blueberries, and raspberries provides a refreshing, zesty bite that mirrors the fruity jams.
-
Chocolate Dipped Strawberries: A romantic touch, the rich chocolate contrasts beautifully with the bright flavors in each taco, making for a delightful experience.
-
Sparkling Lemonade: This bubbly drink adds a hint of citrus zing and refreshment, perfect for summer gatherings alongside the fun dessert.
-
Minted Fruit Medley: Combine any seasonal fruits with fresh mint for an aromatic salad that brightens the plate and palate.
-
Honey Drizzled Yogurt: A creamy, sweet dip that complements the tacos while adding a touch of tanginess; ideal for brunch gatherings.
-
Coconut Water: Hydrating and lightly sweet, this drink keeps your meal light and complements the tropical vibes of your dessert.
-
Chocolate Mousse Shots: For the chocolate lovers out there, these rich, creamy shots offer an elegant finish that pairs perfectly with the fruity cheesecake tacos.
Make Ahead Options
These Berrylicious Cheesecake Tacos are perfect for meal prep! You can prepare the taco shells up to 24 hours in advance; simply bake and cool them before storing in an airtight container to maintain their crispness. Keep the cheesecake filling refrigerated for up to 3 days—just ensure it’s well-covered to prevent drying out. When you’re ready to serve, simply pipe the filling into the taco shells and top with your favorite jams for a delightful finishing touch. This way, you’ll have a fun, interactive dessert ready with minimal effort, making weeknight hosting a breeze!
Storage Tips for Berrylicious Cheesecake Tacos
Room Temperature: Best enjoyed fresh, these tacos can stay at room temperature for up to 1 hour, perfect for serving at gatherings.
Fridge: Store any leftovers in an airtight container in the refrigerator for up to 2 days. Keep them unfilled to maintain the crispness of the taco shells.
Freezer: For longer storage, freeze the taco shells without the filling for up to 1 month. Fill them with cheesecake mixture when ready to serve for best texture.
Reheating: If you prefer warm tacos, reheat the shells in a preheated oven at 350°F (175°C) for about 5 minutes to regain their crunch. Enjoy your Berrylicious Cheesecake Tacos!
Berrylicious Cheesecake Tacos Recipe FAQs
How do I choose ripe ingredients for my Berrylicious Cheesecake Tacos?
Absolutely! Look for blueberries and strawberries that are vibrant in color and slightly firm to the touch. Ripe berries should have a sweet aroma and show no signs of mold. This ensures that your tacos will burst with flavor!
What’s the best way to store leftover Berrylicious Cheesecake Tacos?
For best results, store any unfilled taco shells in an airtight container at room temperature for up to 1 hour. If you have filled tacos, keep them in the refrigerator for up to 2 days in an airtight container. Just remember that they are best enjoyed fresh!
Can I freeze the shells for my Berrylicious Cheesecake Tacos?
Yes, indeed! I often freeze the taco shells without filling them. Wrap the cooled shells in plastic wrap and then place them in a freezer-safe bag. They can be stored for up to 1 month. When you’re ready to enjoy your tacos, just fill them with the cheesecake mixture and serve immediately!
What should I do if my cheesecake filling is too thick?
If your filling turns out too thick, don’t fret! Simply add a splash of heavy cream (a tablespoon at a time) and gently mix until you reach your desired consistency. Avoid overmixing to keep it light and airy!
Are there any dietary considerations with these tacos?
Very much so! These Berrylicious Cheesecake Tacos can be adjusted to fit various dietary needs. For a gluten-free option, swap the tortillas for gluten-free ones and ensure your graham cracker crumbs are gluten-free as well. If you need to cater to dairy allergies, I recommend using vegan cream cheese and whipped coconut cream. Enjoy the versatility!
Berrylicious Cheesecake Tacos: A Fun Dessert Delight!
Ingredients
Equipment
Method
- Preheat your oven to 400°F (200°C) and allow about 10 minutes for it to reach the desired temperature.
- Stack the tortillas and cut out 5 circles using a 1.5-inch cookie cutter, then pierce both sides with a fork.
- Dip each tortilla circle in melted butter and roll in graham cracker crumbs until fully coated.
- Place the coated tortillas between cups of an upside-down cupcake pan to form taco shapes.
- Bake the shaped tortillas for 10-12 minutes until they are light golden brown, then let them cool completely.
- Mix the cream cheese, lemon juice, and vanilla extract until smooth, then whip the heavy cream with powdered sugar before folding it in.
- Fill each cooled taco shell with the cheesecake mixture using a piping bag, and top with blueberry and strawberry jams.
- Serve immediately for the best texture, optionally garnishing with fresh berries or mint.
Leave a Reply