
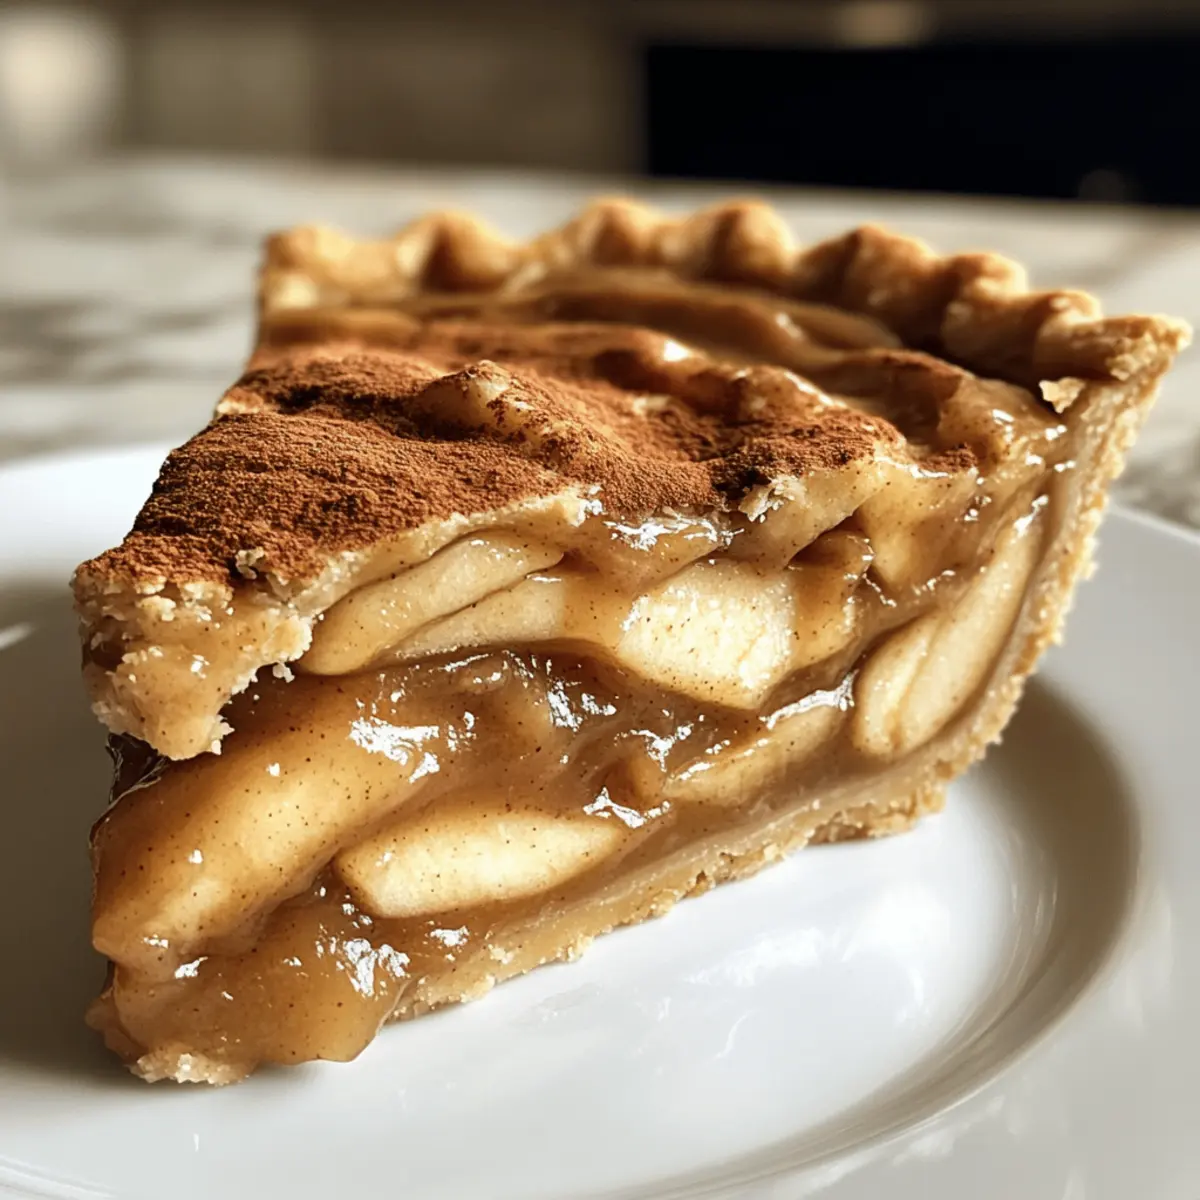
As the crisp autumn air sets in, the aroma of freshly baked goods fills our kitchens, and there’s nothing quite like that first slice of Apple Butter Pie. This silky-smooth delight is not just another dessert; it’s a warm hug for the soul, offering a unique twist on classic fall flavors. The easy-to-make recipe is perfect for gatherings, allowing you to impress your friends and family without spending hours in the kitchen. The spelt flour crust adds a wholesome touch, while the bold apple flavor shines through in every bite. Whether enjoyed chilled or at room temperature, this pie is a true celebration of the season. Curious about how to make this delightful pie your new autumn staple? Let’s dive into the recipe together!
Why is Apple Butter Pie a Must-Try?
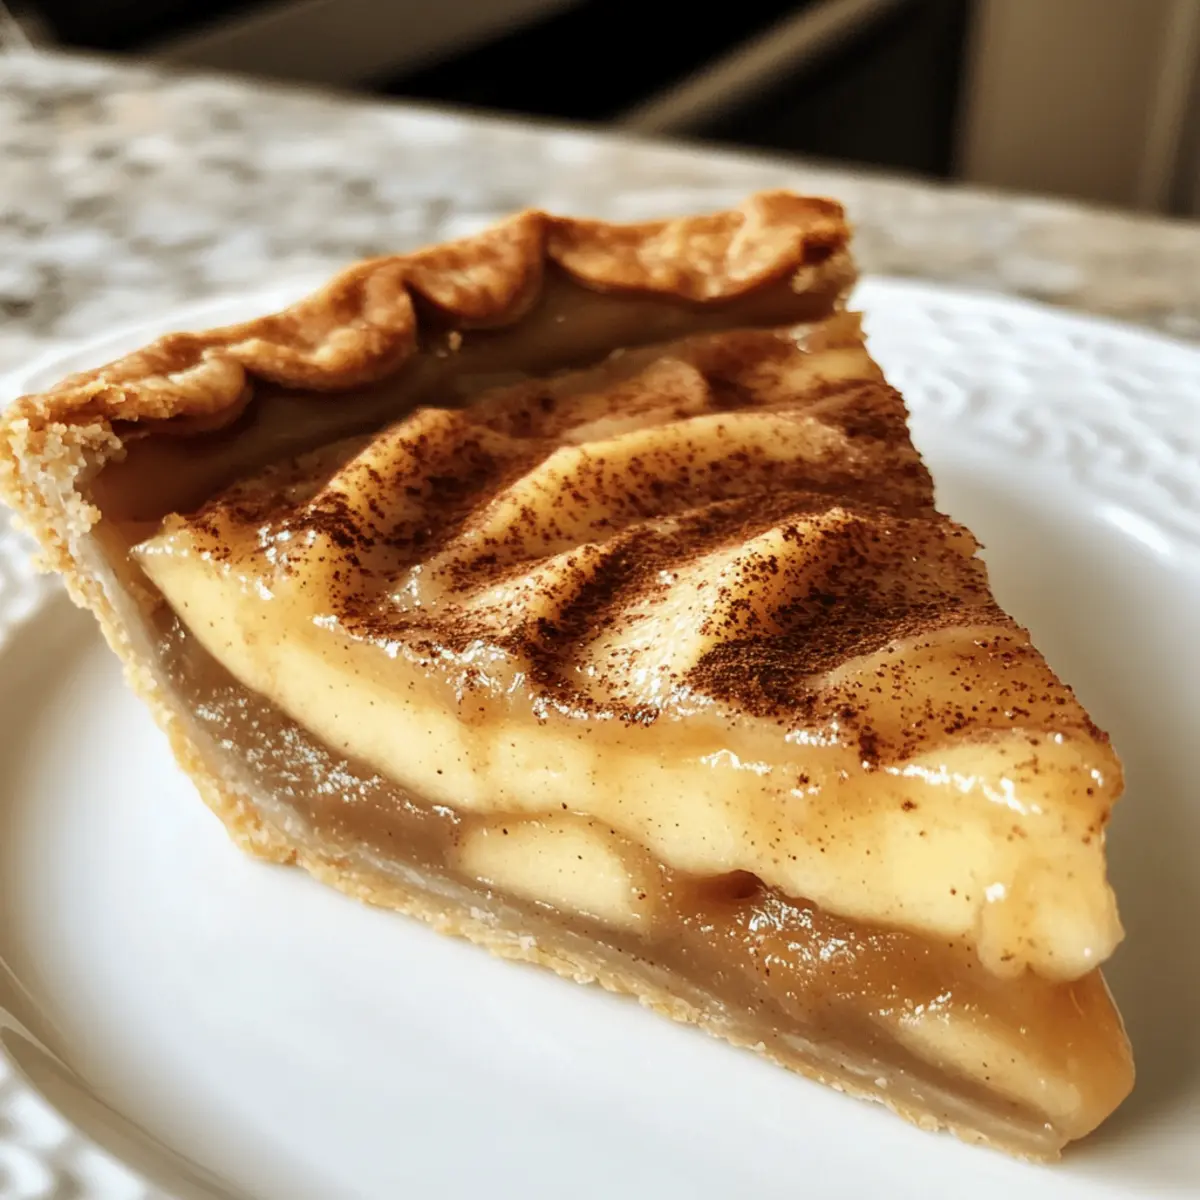
Silky Smoothness: The creamy custard filling provides a luxurious texture that melts in your mouth, making every bite irresistible.
Unique Twist: This isn’t just any pie; it’s a delicious departure from traditional desserts, highlighting the rich, bold flavor of apple butter.
Easy to Make: With just a few simple steps, even beginner bakers can master this fall crowd-pleaser in no time.
Wholesome Crust: The spelt flour crust offers a nutty flavor and a bit of nutrition, bringing an added touch of homemade charm to your dessert.
Versatile Serving: Enjoy it on its own or elevate it with a dollop of maple whipped cream, and serve it chilled or at room temperature for flexible enjoyment.
Dive into more fall-themed treats like my Spiced Apple Cinnamon cookies or try pairing this pie with delightful Apple Cider Whoopie pies for an extra seasonal touch!
Apple Butter Pie Ingredients
For the Filling
- Apple Butter – This is the base flavor for the pie; substitute with homemade apple butter for a fresher taste.
- Eggs – They provide structure and silkiness to the custard; be sure to whisk until pale for the best texture.
- Heavy Cream – Adds richness and creaminess; for a lighter option, substitute with evaporated milk.
- Spices (cinnamon, nutmeg) – These enhance the flavor profile and provide warmth; feel free to adjust according to taste.
- Salt – It balances the sweetness; opt for Diamond Crystal kosher salt, but halve the amount if using Morton’s or fine salt.
For the Crust
- Spelt Flour – This creates a wholesome, slightly sweet crust; consider using a premade gluten-free pie crust or a Graham cracker crust as an alternative.
Let the aroma of your kitchen fill the air with the irresistible scent of baking as you prepare this Apple Butter Pie!
Step‑by‑Step Instructions for Apple Butter Pie
Step 1: Preheat the Oven and Prepare the Crust
Begin by preheating your oven to 375°F (190°C) to ensure it’s hot enough for baking. As the oven warms, prepare your spelt flour crust, rolling it out on a lightly floured surface until it’s about 1/8-inch thick. Carefully transfer the rolled crust into a 9-inch pie pan, gently pressing it into the edges. Prick the bottom with a fork to prevent bubbling, then blind-bake the crust for 15 minutes until slightly golden.
Step 2: Whisk the Filling Ingredients
In a spacious mixing bowl, combine 1 cup of apple butter, 3 large eggs, and 1 cup of heavy cream. Using a whisk, blend the ingredients until smooth and creamy, taking about 2-3 minutes to ensure there are no lumps. Add in a dash of cinnamon, a pinch of nutmeg, and 1/4 teaspoon of salt to enhance the flavor profile. The mixture should be evenly combined and slightly frothy.
Step 3: Pour the Filling into the Crust
Once your filling is beautifully whisked, carefully pour it into the pre-baked spelt crust. Hold the pie pan steady to avoid spills, and let the filling settle naturally. Make sure the filling is evenly distributed, creating a smooth surface. This is the moment to admire the rich color of the apple butter pie before it heads into the oven!
Step 4: Bake to Perfection
Place the pie in your preheated oven and bake for 40-45 minutes. Keep an eye on it; the edges should begin to set while the center remains slightly wobbly. This indicates that your Apple Butter Pie is on track to achieve that creamy custard texture. Once you see the edges puffing up just a bit, it’s time to pull it out.
Step 5: Cool and Chill the Pie
Remove the pie from the oven and let it cool at room temperature for about 1 hour. This cooling step is crucial for the custard to set properly. Afterward, cover the pie with plastic wrap or aluminum foil and refrigerate for at least 6 hours, or preferably overnight. This waiting time allows the flavors to meld beautifully, enhancing the overall taste experience.
Step 6: Serve and Enjoy
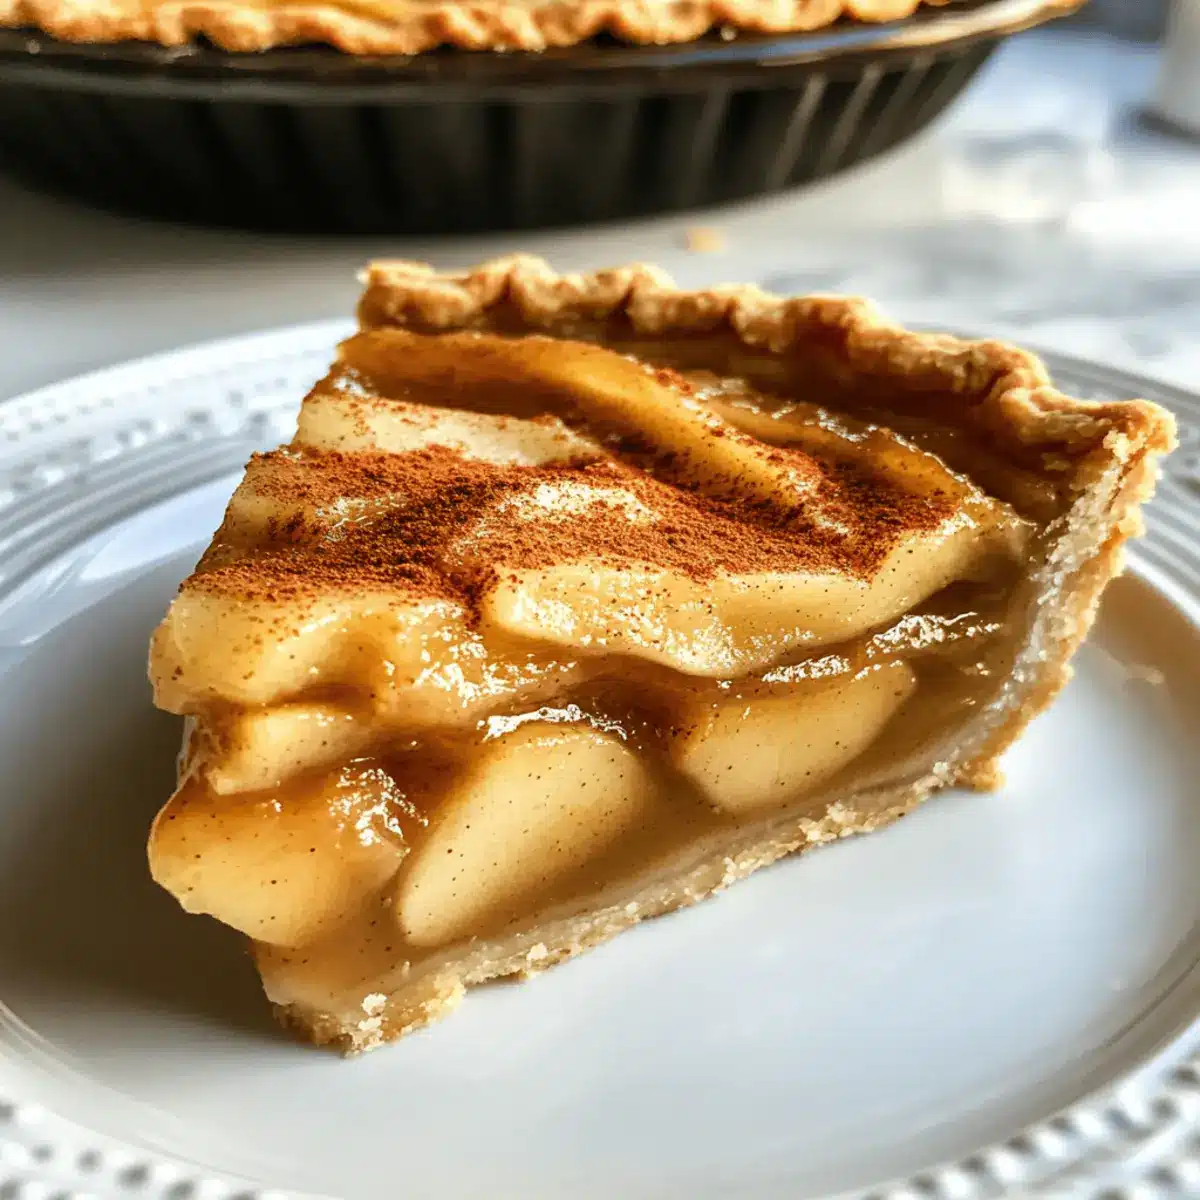
When you’re ready to serve, take your chilled Apple Butter Pie out of the refrigerator. It can be enjoyed cold or at room temperature, allowing its silky-smooth texture to shine. For a delightful touch, consider topping each slice with a dollop of maple whipped cream. This complements the warm apple flavors, creating a perfect fall dessert experience.
Expert Tips for Apple Butter Pie
-
Avoid Overbaking: Check the pie around the 40-minute mark; overcooking can lead to a spongy texture and cracks. The ideal custard should be slightly wobbly in the center.
-
Cool Completely: Allow the pie to cool at room temperature for an hour before refrigerating. This step is essential for proper setting and flavor enhancement.
-
Moisture Control: If you notice any liquid beads on top during refrigeration, gently cover the pie with paper towels to absorb excess moisture.
-
Use Homemade Apple Butter: For an extra layer of freshness and flavor in your Apple Butter Pie, consider making your own apple butter!
-
Decorative Touches: Utilize extra spelt dough to create fun cut-outs or shapes to decorate the top of your pie before baking, adding a personal touch to your dessert.
What to Serve with Silky-Smooth Apple Butter Pie?
As you prepare to savor this autumn delight, complement it with dishes that enhance its rich flavors and warm aromas.
-
Maple Whipped Cream: A dollop of this creamy topping adds a luscious sweet touch, marrying beautifully with the pie’s apple essence.
-
Spiced Caramel Sauce: Drizzling this silky sauce over each slice elevates the dessert, adding a cozy warmth that captures the essence of fall.
-
Cinnamon Sugar Cookies: These soft treats are perfect for dipping into the pie’s custard, creating a delightful flavor harmony that will keep guests coming back for more.
-
Roasted Pear Salad: The fresh, juicy pears combined with peppery arugula and mild goat cheese provide a refreshing contrast, brightening the meal while complementing the apple flavors.
-
Chai Latte: This warm, spiced beverage enriches the experience, its cozy spices echoing the pie’s warm notes for a perfect pairing.
-
Pumpkin Spice Latte: For coffee lovers, the seasonal richness of this drink brings extra warmth, complementing the pie’s creamy custard.
-
Dark Chocolate Bark: Offering a contrasting flavor profile, the bitterness and richness of dark chocolate perfectly balance the sweetness of the pie.
-
Ginger Snap Cookies: Their spicy crunch adds a delightful texture and taste element, perfect for those who crave a little extra zing alongside their pie.
Make Ahead Options
These Apple Butter Pie preparations are perfect for busy home cooks looking to save time during the week! You can make the spelt flour crust up to 24 hours in advance; simply roll it out, fit it into the pie pan, and refrigerate it until ready to use. The filling can also be prepared ahead; mix together the apple butter, eggs, heavy cream, and spices, then store it in the fridge for up to 3 days. To maintain its quality, cover the preparation tightly with plastic wrap. When you’re ready to bake, pour the chilled filling into the pre-baked crust and follow the baking instructions as usual, allowing you to enjoy this delicious Apple Butter Pie with minimal effort!
Apple Butter Pie Variations & Substitutions
Feel free to make this delightful pie your own by exploring these fun twists and swaps that will tantalize your taste buds even more!
-
Dairy-Free: Use coconut cream instead of heavy cream for a rich, dairy-free filling that still tastes creamy and luscious.
This option will add a hint of tropical flair while preserving that silky texture you’re after. -
Gluten-Free: Substitute spelt flour with almond flour for a nutty flavor or a premade gluten-free pie crust for an easy, no-fuss approach.
This small change ensures everyone can enjoy this delicious treat without worrying about gluten. -
Extra Spices: Boost the flavor by adding a pinch of ground ginger or allspice to the filling.
The additional spices not only enhance the autumnal warmth but also create a deeper flavor profile that sparks interest. -
Sweetener Swap: Instead of apple butter, try using pear butter or even a blend of both for a unique twist that highlights different fruits.
This can offer a delightful surprise while keeping that creamy, custardy essence intact. -
Maple Infusion: Drizzle in a tablespoon of pure maple syrup into the filling for an earthy sweetness that complements the apple flavors beautifully.
This simple addition can transform your pie into a truly cozy dessert experience. -
Nutty Crust: Mix crushed pecans or walnuts into your spelt flour crust for a crunchy texture that contrasts perfectly with the silky filling.
It adds both flavor and an appealing texture, making each bite memorable. -
Citrusy Zest: Incorporate a teaspoon of lemon or orange zest into the filling for a hint of brightness that balances the richness of the pie.
This zesty twist refreshes the palate and elevates the entire dessert.
For more seasonal inspiration, you might also enjoy serving this pie alongside my scrumptious Apple Fries Sweet or delighting in a slice of Apple Butter Cheesecake for a perfect fall-themed gathering!
How to Store and Freeze Apple Butter Pie
Refrigerator: Store the pie in an airtight container for up to 3 days. This helps enhance the flavors while keeping it fresh and delightful.
Freezer: To freeze, wrap the pie tightly in plastic wrap and aluminum foil. It can be stored for up to 2 months; allow it to thaw in the fridge overnight before serving.
Reheating: If preferred warm, gently reheat individual slices in the microwave at 50% power for 15-20 seconds, taking care not to overdo it to maintain the creamy texture.
Serving Tip: The pie is best served chilled or at room temperature, making it a versatile dessert option that fits any gathering!
Apple Butter Pie Recipe FAQs
What type of apple butter should I use?
Absolutely, you can use store-bought apple butter for convenience, but I highly recommend making your own if you can! Homemade apple butter has a fresher, richer flavor that will elevate your Apple Butter Pie to new heights. Plus, you can customize the spices to your liking!
How should I store Apple Butter Pie?
To keep your pie at its best, store it in an airtight container in the refrigerator for up to 3 days. This allows the flavors to meld, making it even tastier! If you’re not serving it right away, I suggest covering it tightly with plastic wrap to prevent any unwanted moisture or odors.
Can I freeze Apple Butter Pie?
Yes, you can! To freeze, wrap the entire pie tightly in plastic wrap and then in aluminum foil. This will keep your Apple Butter Pie fresh for up to 2 months. When you’re ready to enjoy it, simply thaw it in the refrigerator overnight before serving.
What if my pie cracks while baking?
Don’t worry too much if your pie cracks—this usually happens due to overbaking. Aim for a pie where the edges are set, but the center remains slightly wobbly. If cracks do occur, you can always cover them lightly with whipped cream or a sprinkle of cinnamon sugar to hide them!
Is this pie suitable for people with allergies?
If you have dietary concerns, this recipe can be adapted; just use gluten-free alternatives for the spelt flour crust and ensure any spices don’t contain allergens. Be careful with the heavy cream if there are dairy allergies—try using a lactose-free alternative or a non-dairy milk instead. Always double-check your ingredients!
Can I customize the spices in the filling?
Very much so! Feel free to experiment with the spices based on your preferences. If you’d like a warmer flavor, you might add a dash of ginger or allspice. Just remember, the more the merrier when it comes to cozy fall spices!

Creamy Apple Butter Pie: A Fall Treat You'll Adore
Ingredients
Equipment
Method
- Preheat your oven to 375°F (190°C) and prepare your spelt flour crust, rolling it out until it’s about 1/8-inch thick. Transfer it into a 9-inch pie pan, press it into the edges, prick the bottom, and blind-bake for 15 minutes.
- In a mixing bowl, combine 1 cup of apple butter, 3 large eggs, and 1 cup of heavy cream. Whisk until smooth and creamy, adding a dash of cinnamon, a pinch of nutmeg, and 1/4 teaspoon of salt.
- Pour the filling into the pre-baked spelt crust, ensuring an even distribution and a smooth surface.
- Bake in the preheated oven for 40-45 minutes until the edges set and the center remains slightly wobbly.
- Let the pie cool at room temperature for about 1 hour, then refrigerate for at least 6 hours or overnight.
- Serve chilled or at room temperature, optionally topped with maple whipped cream.
Leave a Reply