
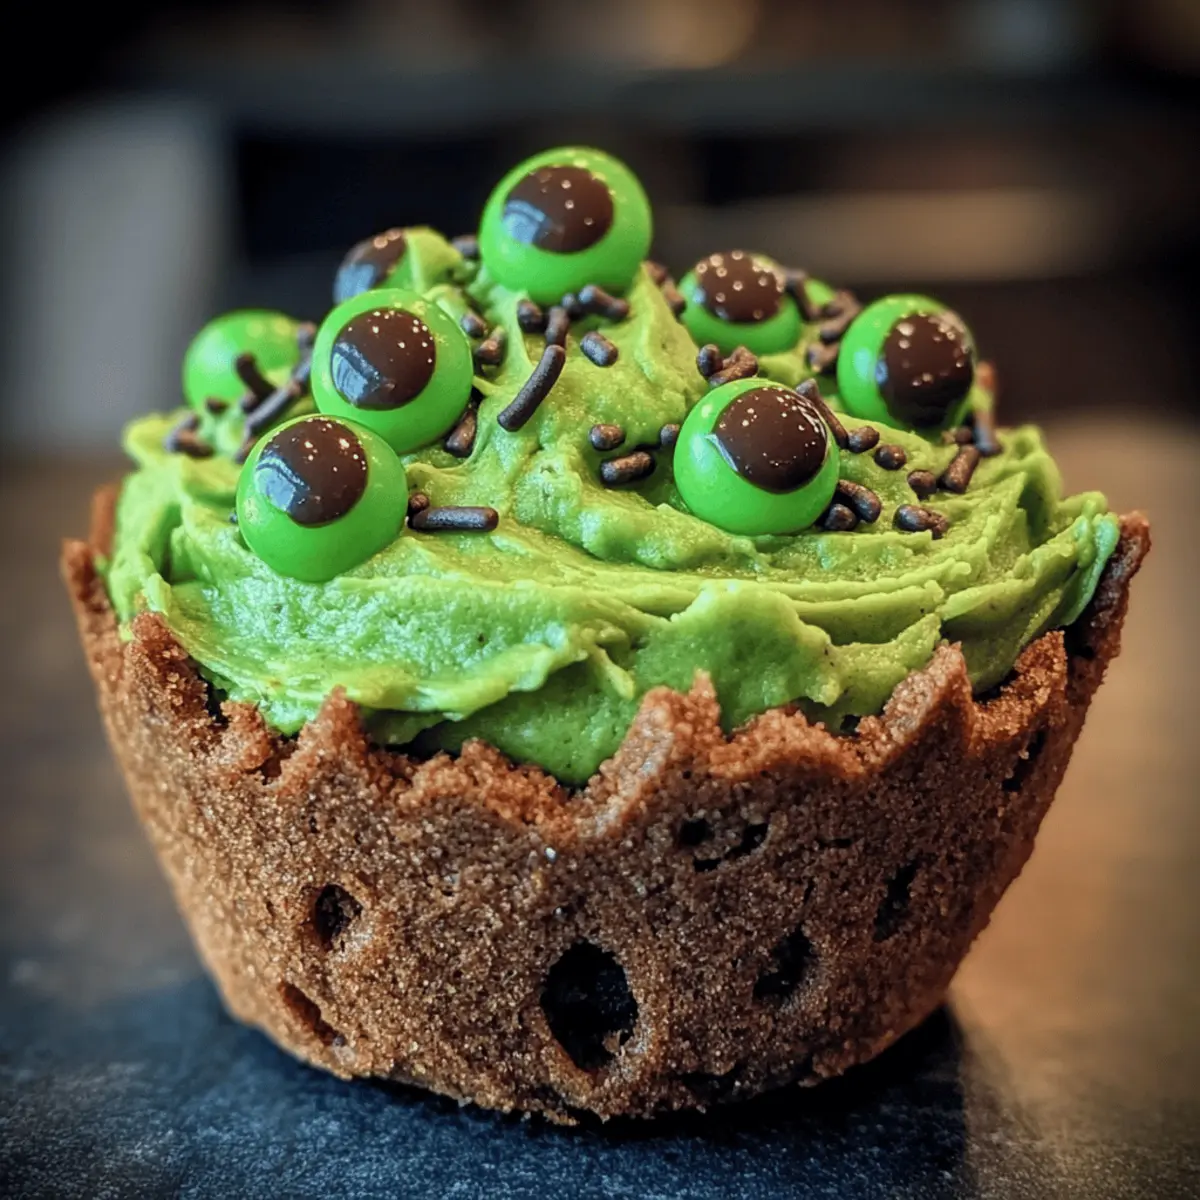
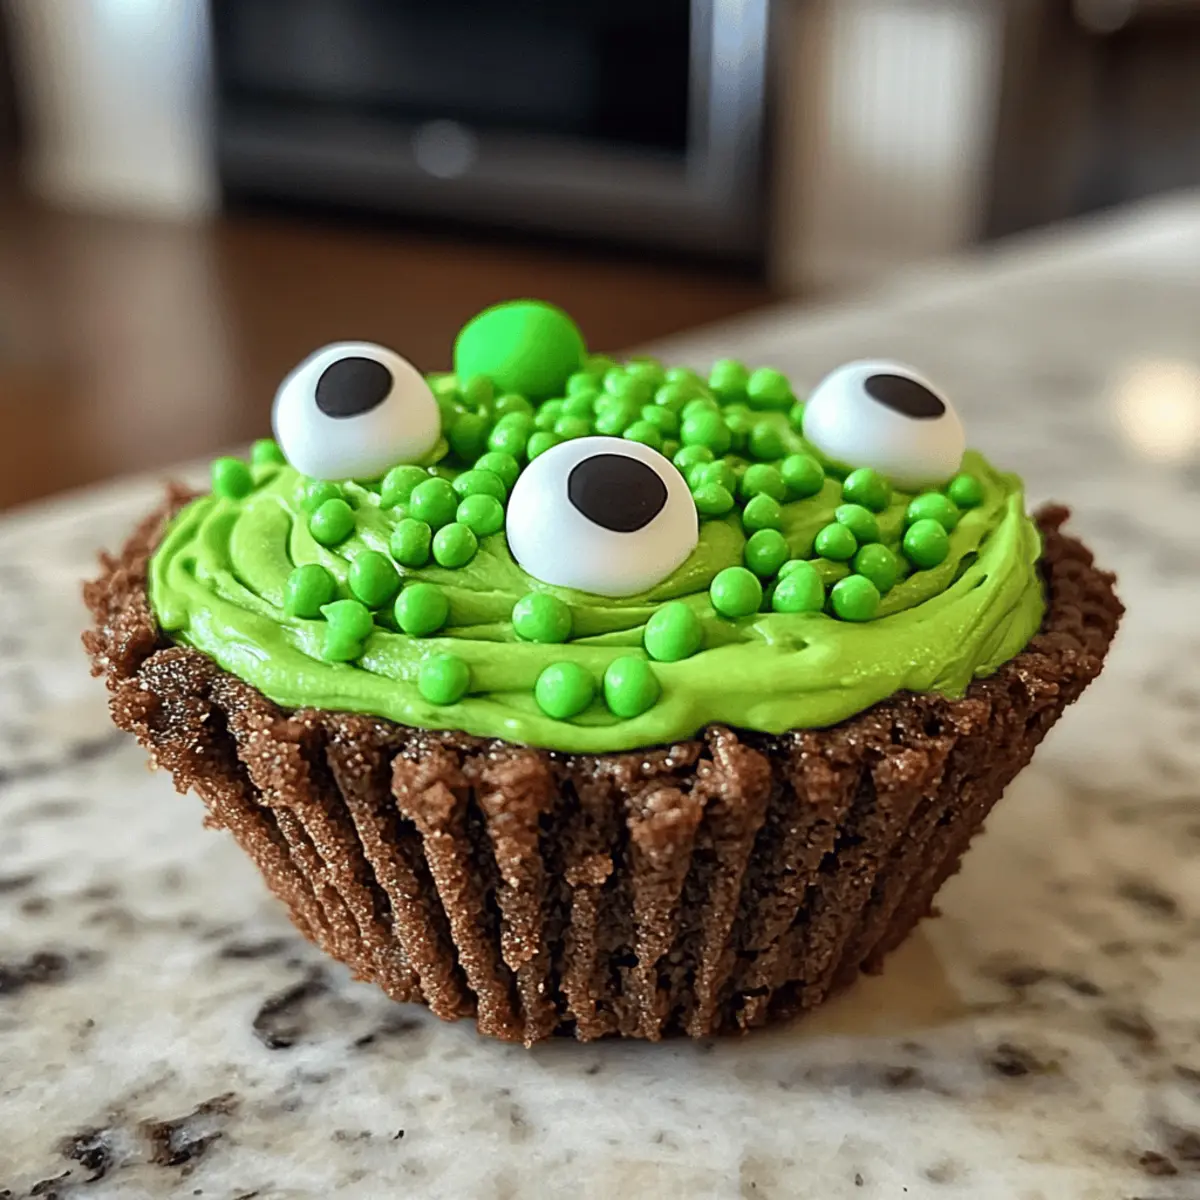
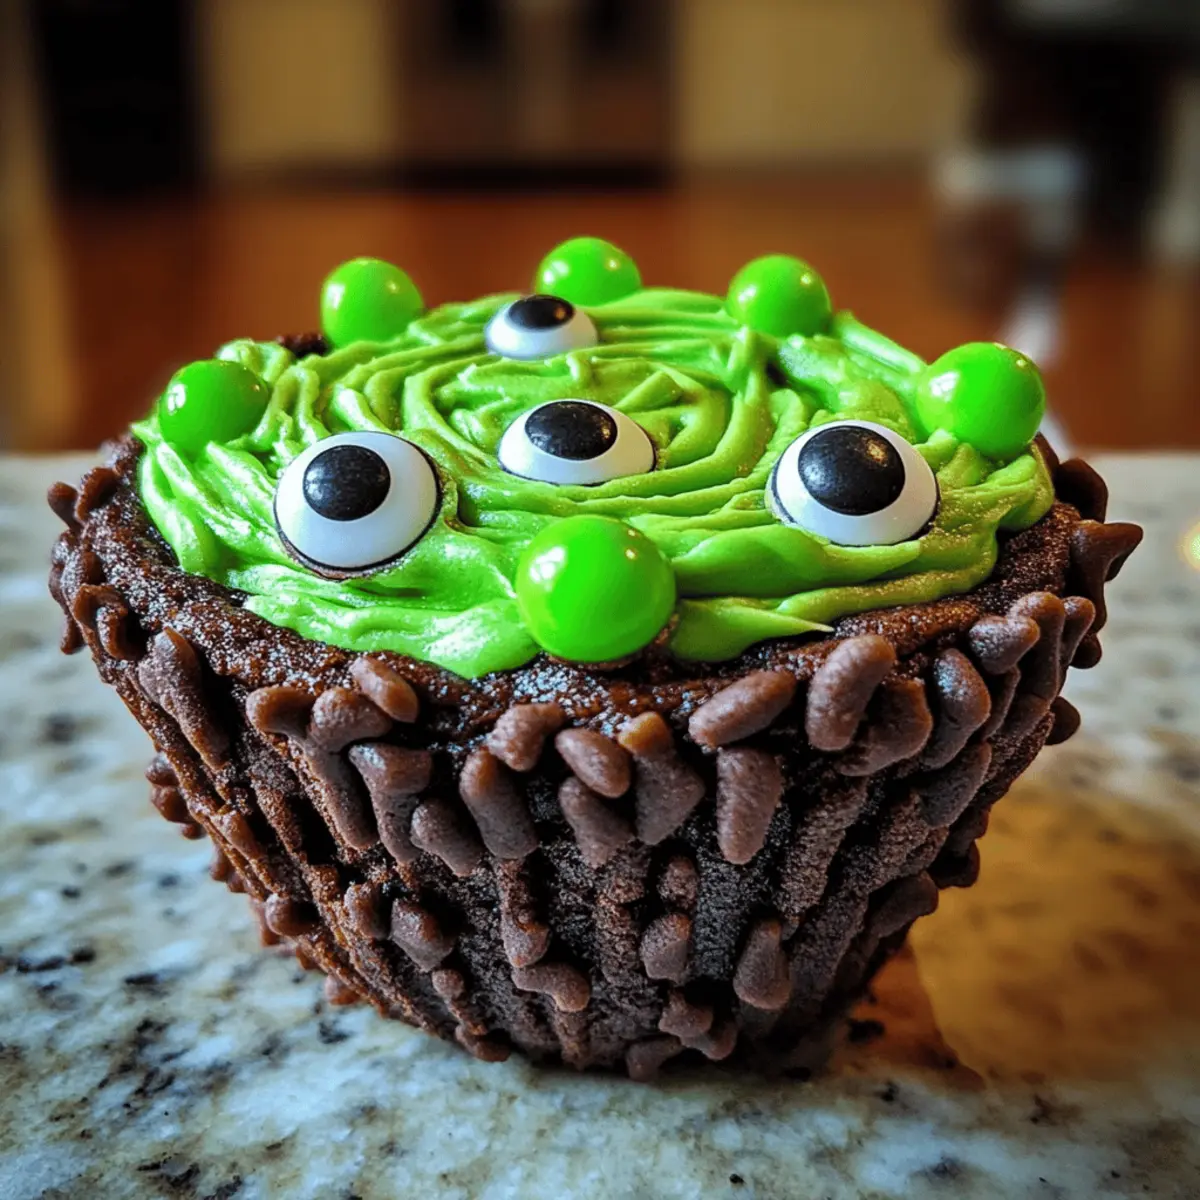
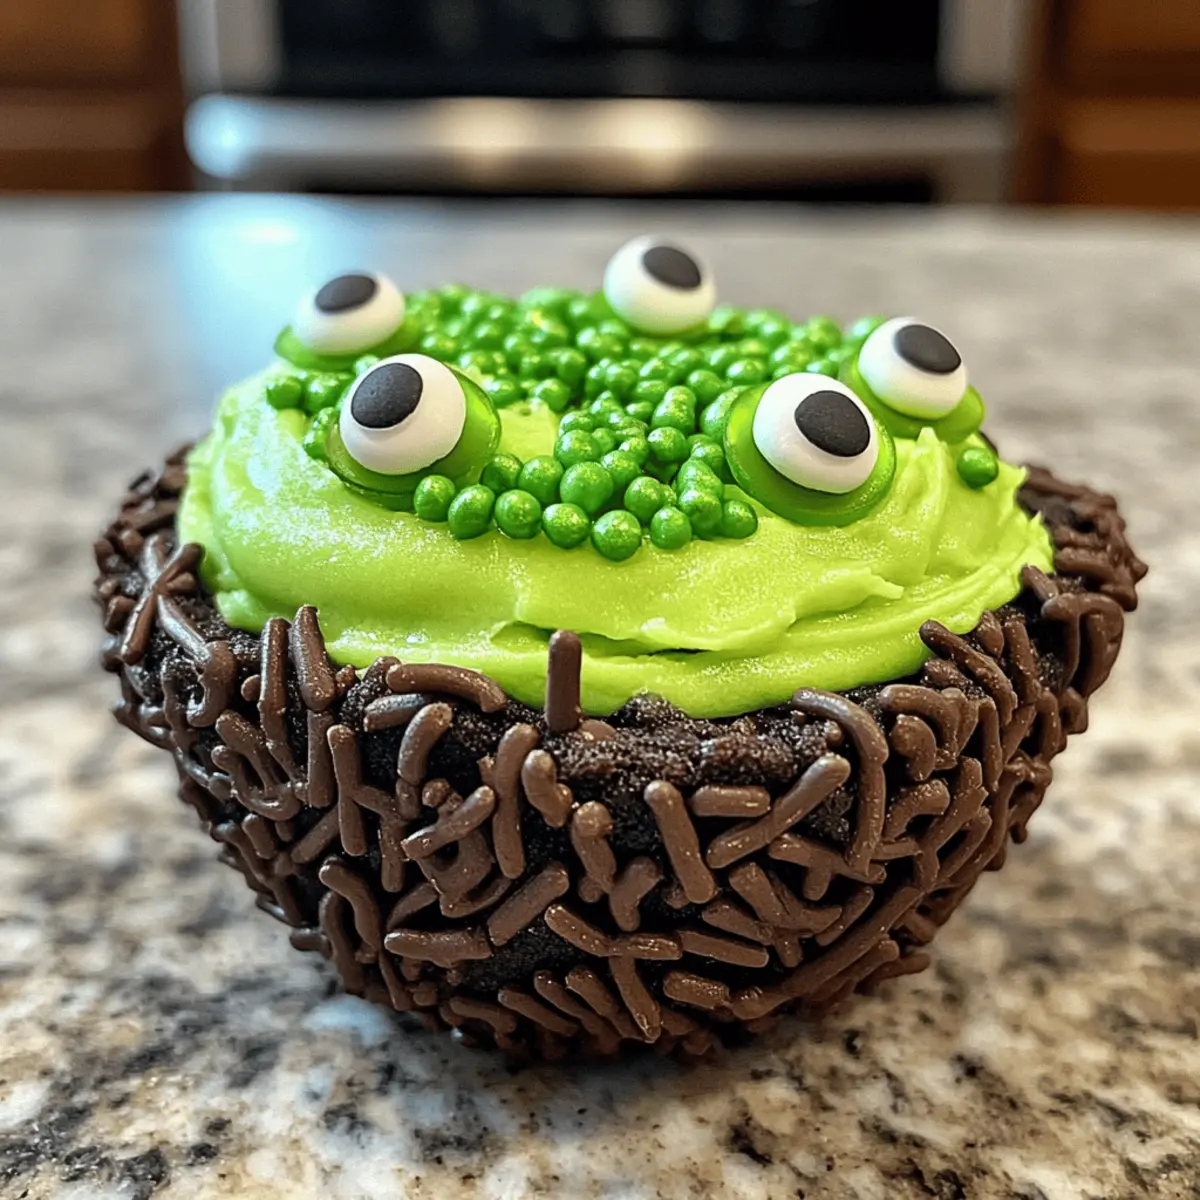
The kitchen was filled with laughter and excitement as the kids gathered around, eager to create their own festive treats. That’s when I introduced them to these Easy Cauldron Cookie Cups, a delightfully spooky dessert perfect for Halloween! With a rich chocolate flavor and a soft, chewy cookie base, these sweet little cauldrons are filled with vibrant green buttercream that resembles bubbling potions. Not only are they incredibly easy to make—ideal for a quick baking session—but they also allow for endless customization with sprinkles and decorations, making them a hit among kids and adults alike. Whether you’re hosting a Halloween party or just looking to add some festive fun to your family’s dessert table, I promise these Cauldron Cookie Cups will be the highlight! What kind of creative toppings will you choose?
Why are Cauldron Cookie Cups so fun?
Endless Creativity: These Cauldron Cookie Cups invite you to unleash your inner artist! With their vibrant green buttercream and a plethora of decorations, you can customize each cauldron to match your Halloween theme.
Quick and Easy: Perfect for busy bakers, this recipe requires minimal time and effort while delivering maximum impact for your gatherings.
Delight for All Ages: Whether it’s a fun activity for kids or an impressive treat for adults, these cookies are sure to please everyone around the table.
Flavorful Base: The rich chocolate base harmonizes beautifully with the sweet frosting, offering a delightful flavor combination that pairs well with festive drinks.
Perfect for Parties: They make a charming centerpiece for your Halloween dessert table, bringing a touch of magic and whimsy to any occasion! Enhance your festive spirit and check out similar recipes like Cinnamon Roll Cookies for enjoyable baking fun.
Cauldron Cookie Cups Ingredients
• Get ready to bake these deliciously fun treats!
For the Cookie Cups
- Devil’s Food Cake Mix – This chocolatey base ensures a rich, delectable flavor. Substitution: Any chocolate cake mix can be used.
- Large Eggs – Binds ingredients together for a soft texture. No direct substitution suggested.
- Canola or Vegetable Oil – Adds moisture and richness to each cookie cup. Substitution: Melted butter can be used for a richer flavor.
- Black Food Coloring (optional) – Enhances the dark hue of the cookies for a more eerie look. Omit if you prefer a classic chocolate appearance.
For the Buttercream Filling
- Unsalted Butter (Softened) – A crucial ingredient for creamy and rich frosting. Substitution: Margarine can be used if dairy-free.
- Powdered Sugar – Sweetens the buttercream and gives it a fluffy texture. No direct substitution suggested.
- Vanilla Extract – Adds a depth of flavor to the frosting. Omit if you desire a simpler taste.
- Salt – Balances the sweetness beautifully. Can be omitted if desired.
- Milk – Helps achieve the perfect frosting consistency. Non-dairy milk can be used as a substitute.
- Green Food Coloring – Tints the buttercream to resemble a bubbling potion. Substitution: Any color can be used based on your decoration theme.
For Decoration
- Round Green Sprinkles – Adds a whimsical touch to your cauldron cookies.
- Halloween Sprinkles – Perfect for enhancing the festive spirit of your treats.
- Candy Eyeballs – For a fun and spooky effect, sprinkle a few on top!
- Pretzel Sticks – Use as ‘stirring sticks’ to elevate your cauldron cookie presentation.
With these ingredients, you’re all set to embark on a magical baking adventure that will dazzle your friends and family with these charming Cauldron Cookie Cups!
Step‑by‑Step Instructions for Cauldron Cookie Cups
Step 1: Preheat and Prepare
Begin by preheating your oven to 350°F (175°C) while you prepare your muffin pans. Grease three 12-count mini muffin pans thoroughly to ensure the cookies don’t stick. This will give you enough space for creating a delightful batch of Cauldron Cookie Cups that will toast to perfection!
Step 2: Mix the Batter
In a large mixing bowl, combine the Devil’s Food Cake Mix, large eggs, canola or vegetable oil, and black food coloring (if using). Stir vigorously until the mixture is evenly blended and smooth, which should take about 2 minutes. The batter should have a rich, dark color, ready to form the base of the delectable cookie cups.
Step 3: Fill the Muffin Pans
Scoop about ½ tablespoon of batter into each greased muffin cavity, using a small cookie scoop for precision. Gently flatten each scoop with the back of a spoon, ensuring an even layer. This method will create the perfect surface for your Cauldron Cookie Cups to bake evenly.
Step 4: Bake the Cookie Cups
Place your muffin pans in the preheated oven and bake for 8-10 minutes. Keep an eye on them—the edges should appear set while the centers remain slightly soft. Once done, remove the pans from the oven, and with a measuring spoon, create an indentation in each cookie to form the cauldron shape.
Step 5: Cool the Cookie Cups
Allow the cookie cups to cool in the pans for about 5 minutes before gently lifting them out and transferring to a wire rack. Let them cool completely at room temperature, which is essential for preventing the frosting from melting later on.
Step 6: Prepare the Buttercream Frosting
While your cookie cups are cooling, prepare the buttercream. In a medium bowl, beat the softened unsalted butter until creamy, then gradually add the powdered sugar, vanilla extract, and a pinch of salt. Whip until the frosting is light and fluffy, taking about 3-4 minutes.
Step 7: Adjust the Frosting Consistency
Next, pour in milk, one tablespoon at a time, mixing thoroughly after each addition until you reach a pipeable consistency. Add green food coloring to the frosting and mix well until you achieve your desired shade of ‘potion’ to fill your Cauldron Cookie Cups.
Step 8: Pipe the Frosting
Once your cookie cups are completely cool, it’s time to bring them to life! Using a piping bag, fill each indentation in the cookie cups with the vibrant green buttercream. Let your creativity shine as you generously frost each cup!
Step 9: Decorate the Cauldron Cookie Cups
Now, for the spooky fun—decorate your Cauldron Cookie Cups! Sprinkle on round green sprinkles and Halloween-themed sprinkles for a magical touch. Add candy eyeballs to give them a whimsical look, and insert pretzel sticks to resemble stirring sticks for added flair.
Step 10: Serve and Enjoy
These delightful Cauldron Cookie Cups are now ready to impress! Serve immediately or store them in an airtight container at room temperature for 3-4 days. Whether at a party or as a festive treat at home, your creation is sure to bring smiles all around!
What to Serve with Easy Cauldron Cookies
The aroma of chocolate fills the air, while cheerful laughter echoes as friends and family gather around for Halloween festivities.
- Spooky Punch: A fruity, vibrant drink adds a festive flair and refreshment, balancing the sweetness of the cookies.
- Ghostly Meringues: Light and airy, these treats bring a whimsical touch that complements the rich chocolate flavor of the cookie cups.
- Witch’s Brew Hot Chocolate: Creamy with a touch of spice, this cozy drink enhances the Halloween vibe and pairs perfectly with cookie cups.
- Mini Caramel Apples: The crunchy texture and sweet caramel sauce provide a fun contrast to the soft, chewy cookies.
- Candy Corn Trail Mix: A crunchy, colorful mix that adds a delightful variety of textures and flavors to your Halloween dessert spread.
- Pumpkin Spice Latte: The warming spices in this drink harmonize with the rich chocolate, creating a comforting contrast to the cauldron cookie cups.
- Chocolate-Dipped Pretzels: They bring a salty-sweet combination that beautifully complements the sweetness of the cauldron cookies, enhancing the overall experience.
- Fruity Halloween Salad: Fresh fruits like oranges and grapes will add a refreshing, healthy element, balancing out the indulgence of dessert.
- Decorated Sugar Cookies: Add an extra layer of sweetness with another festive treat that family and friends can decorate together for added fun!
Make Ahead Options
These Easy Cauldron Cookie Cups are perfect for meal prep enthusiasts looking to save time during the Halloween festivities! You can prepare the cookie cups up to 24 hours in advance by baking them and storing them in an airtight container at room temperature. Just remember to allow them to cool completely before storing to maintain their soft texture. If you want to take it a step further, you can freeze the undecorated cookie cups for up to 3 months; simply thaw them in the fridge before decorating. When you’re ready to serve, just pipe the vibrant green buttercream filling and add your favorite spooky decorations, ensuring delightful treats with minimal last-minute effort!
Cauldron Cookie Cups Variations
Feel free to let your imagination run wild when it comes to customizing these delightful treats!
-
Brownie Base: Swap out cookie cups for mini brownie cups for an extra fudgy twist. They add a rich layer of chocolate goodness that makes these treats even more decadent!
-
Cream Cheese Frosting: Transform the flavor profile by using cream cheese frosting instead. It adds a delightful tanginess that beautifully balances the sweetness of the cookie.
-
Store-Bought Convenience: In a hurry? Use store-bought frosting instead of making your own, and simply tint it to match your Halloween theme for easy assembly without sacrificing fun!
-
Flavor Infusion: Add a hint of peppermint extract to the buttercream for a refreshing flavor twist, perfect for those who enjoy minty desserts. Your guests will appreciate the surprise!
-
Gluten-Free Option: Substitute the devil’s food cake mix with a gluten-free chocolate cake mix to cater to gluten-sensitive friends. Everyone can join the spooky sweets party!
-
Nutty Surprise: Mix in some crushed nuts into the batter for an added crunch. Chopped walnuts or pecans can give a lovely texture contrast to these soft cookies.
-
Spicy Kick: Introduce a touch of cayenne pepper or cinnamon into the buttercream for an unexpected heat that complements the sweetness. It’s a delicious twist that might catch a few off-guard!
-
Colorful Frosting: Experiment with different food coloring hues to create a rainbow of potion-like colors, bringing a vibrant array to your Halloween spread. Kids will love this playful twist!
These variations are just a few ways to shake things up with your Cauldron Cookie Cups. Check out more ideas for festive treats with Brown Sugar Cookies or Chocolate Chip Cookies to inspire even more creativity!
Expert Tips for Cauldron Cookie Cups
-
Pan Preparation: Ensure to grease your muffin pans well to prevent sticking. This is crucial for perfectly shaped cauldron cookie cups that release easily.
-
Cooling Time: Always allow the cookie cups to cool completely before filling them with frosting. This prevents the buttercream from melting, maintaining that delightful cauldron look.
-
Frosting Consistency: If your buttercream is too runny, gradually add more powdered sugar until it reaches a thick, pipeable consistency. This will ensure your Cauldron Cookie Cups have a beautiful, lush frosting on top.
-
Creative Toppings: Encourage kids to use their imagination when decorating! Different colored sprinkles and candy shapes can make each cauldron unique and fun.
-
Storing Leftovers: If there are any leftovers, store your decorated cookies in an airtight container to keep them fresh for up to 3-4 days at room temperature.
How to Store and Freeze Cauldron Cookie Cups
- Room Temperature: Keep your decorated Cauldron Cookie Cups in an airtight container at room temperature for up to 3-4 days. This helps maintain their delightful texture and keeps them fresh for enjoying later.
- Fridge: You can also refrigerate the cookies for up to a week. Just ensure they’re covered to prevent them from absorbing any fridge odors.
- Freezer: For longer storage, freeze undecorated cookie cups for up to 3 months. Thaw completely before decorating to retain their soft and chewy texture.
- Reheating: If desired, briefly warm the cookies in the microwave for about 5-10 seconds before serving to slightly soften; just be careful not to melt the frosting if they’re decorated!
Cauldron Cookie Cups Recipe FAQs
How do I select the right cake mix for Cauldron Cookie Cups?
Absolutely! For the best results, choose a high-quality Devil’s Food Cake Mix, as it provides a rich chocolate flavor. If unavailable, any chocolate cake mix will work perfectly! Just ensure it doesn’t have added ingredients like pudding to keep the texture just right.
What is the best way to store leftover Cauldron Cookie Cups?
Very! You can keep your decorated Cauldron Cookie Cups in an airtight container at room temperature for 3-4 days. For longer freshness, refrigerate them for up to a week. Just ensure they’re well-covered so they don’t absorb any unwanted fridge odors.
Can I freeze the Cauldron Cookie Cups?
Absolutely! For optimal results, freeze the undecorated cookie cups for up to 3 months. To do this, place them in a single layer on a baking sheet until frozen solid. Then, transfer them to an airtight container or freezer bag, separating layers with parchment paper. When you’re ready to enjoy them, simply thaw at room temperature before decorating.
Why did my cookie cups stick to the muffin pan?
Oh no! Sticking can happen if the pans were not greased sufficiently. Always ensure you generously grease your muffin pans, using cooking spray or butter, and consider using silicone muffin pans if you want to make removal even easier. Be sure to allow your cookie cups to cool for a few minutes in the pan before transferring them to a wire rack.
Are there any dietary considerations for the ingredients?
Yes! If you’re accommodating dietary restrictions, you can use dairy-free alternatives like margarine instead of butter and non-dairy milk in the buttercream. Additionally, always check labels on your cake mix and decorations for any allergens. And I often suggest opting for gluten-free cake mix if you’re baking for someone with gluten sensitivities.
Can I customize the frosting colors for my Cauldron Cookie Cups?
Absolutely! The more the merrier! Not only can you use green food coloring for a “potion” effect, but you can also get creative with any color that matches your theme. Just divide your buttercream into different bowls and add your favorite colors for a real splash of creativity!
Delicious Cauldron Cookie Cups: Spooky Treats for Halloween
Ingredients
Equipment
Method
- Preheat your oven to 350°F (175°C) and grease three 12-count mini muffin pans thoroughly.
- In a large bowl, combine the Devil's Food Cake Mix, large eggs, canola or vegetable oil, and black food coloring. Stir until smooth.
- Scoop about ½ tablespoon of batter into each greased muffin cavity and flatten each scoop with a spoon.
- Bake for 8-10 minutes, remove when edges are set, and create an indentation in each cookie.
- Allow the cookie cups to cool in the pans for 5 minutes, then transfer to a wire rack to cool completely.
- Beat the softened unsalted butter until creamy, then gradually add the powdered sugar, vanilla extract, and salt.
- Mix in milk, one tablespoon at a time, until you achieve a pipeable consistency, then add green food coloring.
- Fill each indentation in the cookie cups with the green buttercream using a piping bag.
- Decorate with green sprinkles, Halloween sprinkles, candy eyeballs, and pretzel sticks.
- Serve immediately or store in an airtight container for 3-4 days.
Leave a Reply