
As I stood in my kitchen, the enticing scent of sweet cream and vanilla filled the air, instantly whisking me away to a cozy Italian café. That’s when I knew it was time to whip up these irresistible Cannoli Cheesecake Bars. This no-bake delight captures the luscious creaminess of classic cannoli in a quick and easy dessert, taking just 15 minutes of hands-on prep. If you’re searching for a fabulous crowd-pleaser that’s perfect for any occasion, look no further! Not only are these bars gluten-free adaptable, but they also deliver a satisfying crunch from chocolate chips nestled within a buttery graham cracker crust. The balance of flavors is pure bliss. Ready to elevate your dessert game? Let’s dive into this scrumptious recipe together!
Why are Cannoli Cheesecake Bars a Must-Try?
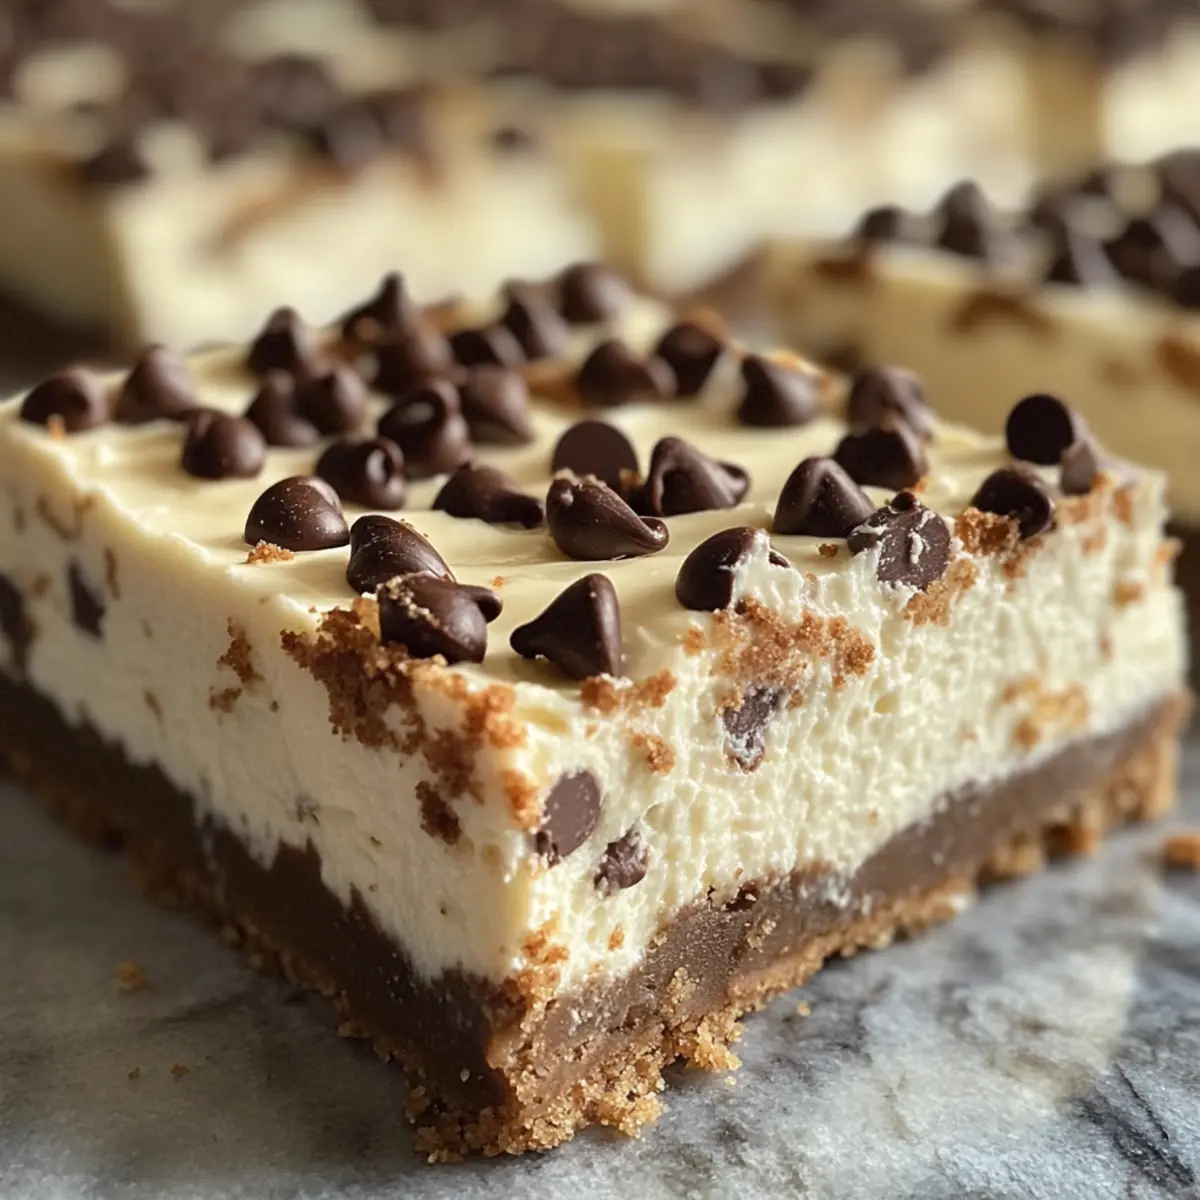
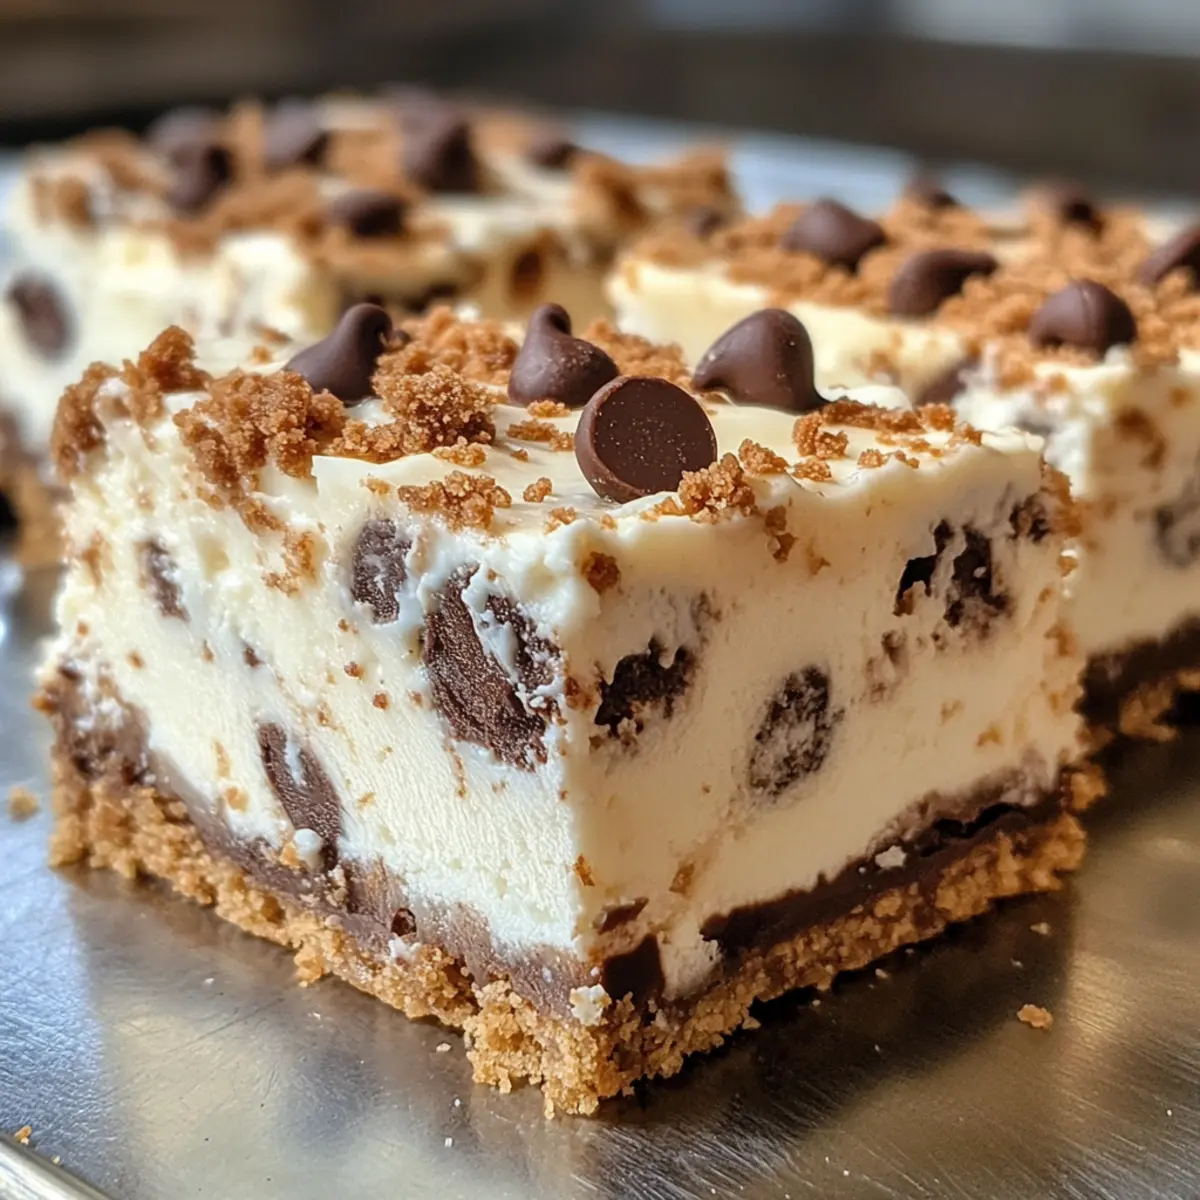
Irresistible Flavor: Imagine the creamy indulgence of ricotta blended with rich chocolate chips, bringing every bite of these bars alive.
Quick & Easy: With only 15 minutes of hands-on prep, these desserts fit perfectly into your busy schedule, allowing you to enjoy homemade goodness without the hassle.
No-Bake Bliss: Perfect for warm days or when you’re short on time, this recipe cuts out the need for baking, making it an effortless treat to whip up.
Versatile Options: Adapt to your taste by swapping in almond flour for gluten-free needs or adding zesty orange for a refreshing twist.
Perfect for Sharing: These Cannoli Cheesecake Bars are sure to impress at gatherings or family dinners, making you the hit of any event.
Dive into the world of flavor with our Strawberry Cheesecake Cinnamon Rolls for another delightful treat!
Cannoli Cheesecake Bars Ingredients
For the Filling
- Full-Fat Cream Cheese – Ensures a creamy base for the cheesecake bars; let it come to room temperature for easy mixing.
- Granulated Sugar – Adds just the right amount of sweetness; avoid substitutes for the best flavor.
- Eggs – Provides structure and richness to the filling; use large eggs, ideally at room temperature.
- Vanilla Extract – Enhances the overall taste of the dessert; opt for pure vanilla extract for optimal results.
- Ricotta Cheese – A key ingredient for that authentic cannoli texture; use full-fat for creaminess or strain almond milk ricotta for a dairy-free version.
- Mini Chocolate Chips – Bring delightful sweetness and texture without sinking; avoid regular chips as they tend to do so.
For the Crust
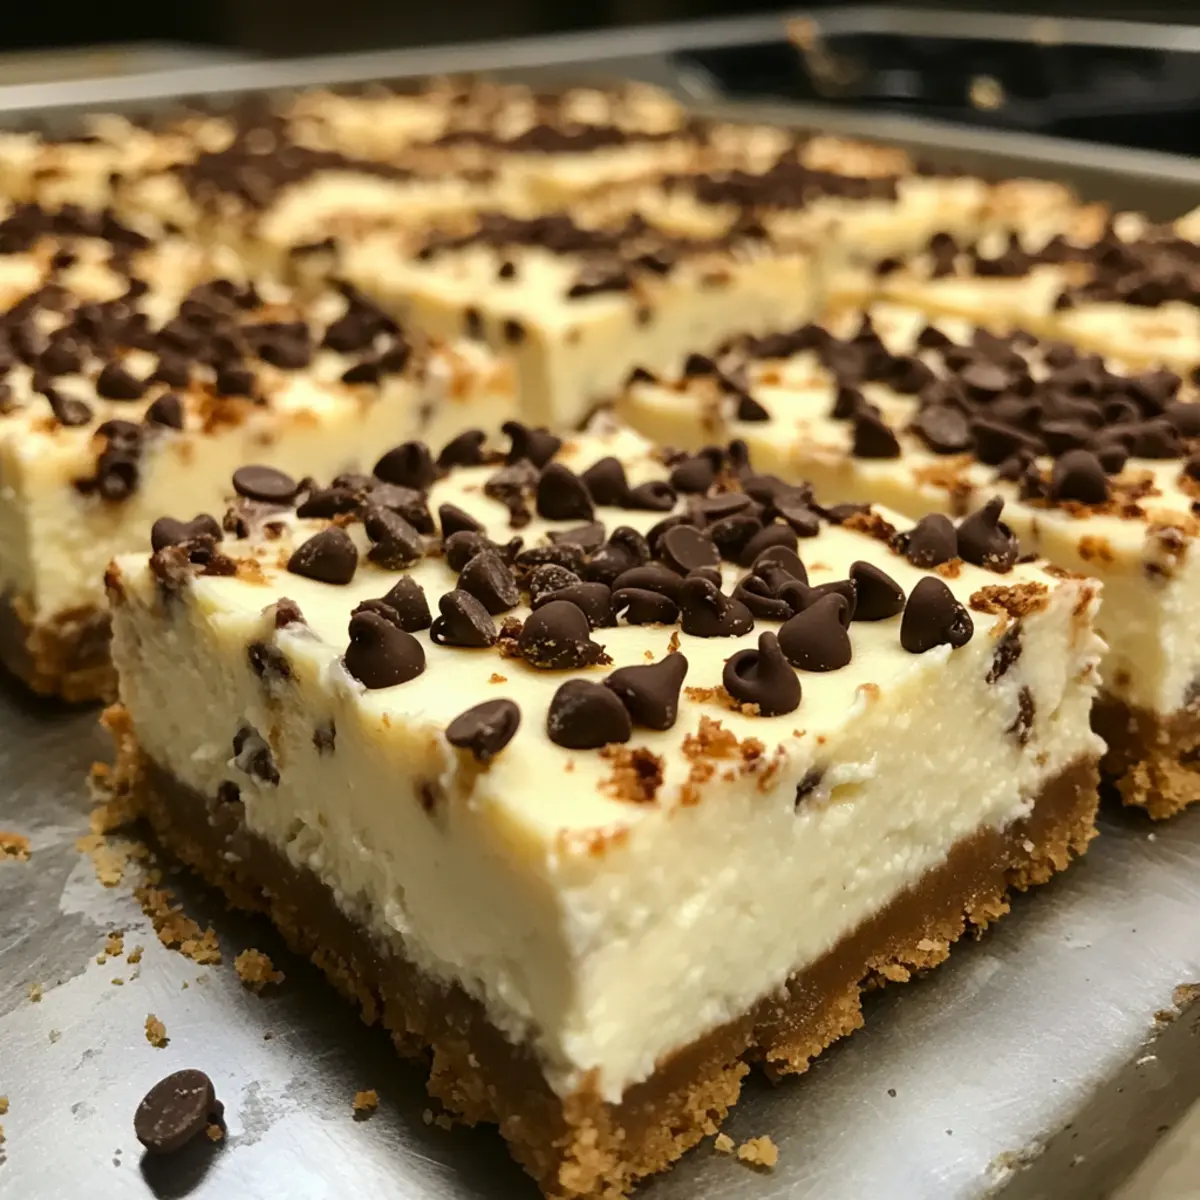
- Graham Cracker Crumbs – Forms the crunchy base of the bars; substitute with almond flour for a gluten-free option.
- Unsalted Butter – Binds the crust ingredients together; remember to melt it before mixing.
Embrace the joy of crafting these delicious Cannoli Cheesecake Bars that are sure to become a family favorite!
Step‑by‑Step Instructions for Cannoli Cheesecake Bars
Step 1: Make the Crust
Begin by preheating your oven to 325°F and gathering a 9×9-inch baking pan lined with parchment paper. In a mixing bowl, combine graham cracker crumbs and granulated sugar, then drizzle in the melted unsalted butter. Mix until the texture resembles wet sand. Firmly press this mixture into the bottom of the prepared pan, creating an even layer for the base of your Cannoli Cheesecake Bars.
Step 2: Prepare Filling
In a large bowl, beat the room-temperature cream cheese with granulated sugar until it’s completely smooth and creamy, taking about 2-3 minutes. One at a time, add in the eggs, mixing well after each addition. Stir in the vanilla extract to enhance the flavor, then gently fold in the ricotta cheese and mini chocolate chips, being careful not to overmix. This creamy filling will become the highlight of your bars!
Step 3: Bake
Once your filling is well mixed, pour it evenly over the pressed crust in the pan. Slide the pan into the preheated oven and bake for 40-45 minutes. Keep an eye on it; the edges should be set while the center still jiggles gently when shaken. This indicates your Cannoli Cheesecake Bars are ready to cool down.
Step 4: Cool
After baking, remove the pan from the oven and allow it to cool completely at room temperature for about 1 hour. This step is crucial for preventing cracks in your bars. Once cooled, cover them and refrigerate the cheesecake for at least 4 hours, or overnight if possible. Chilling enhances the flavors and makes slicing easier, ensuring a delightful serving experience later!
How to Store and Freeze Cannoli Cheesecake Bars
Fridge: Store your Cannoli Cheesecake Bars in an airtight container to keep them fresh for up to 5 days. This helps maintain their creamy texture and flavor.
Freezer: For longer storage, individually wrap the bars in plastic wrap and place them in a freezer-safe container. They can be frozen for up to 2 months, ensuring a delightful treat anytime!
Thawing: When ready to enjoy, simply transfer the bars from the freezer to the fridge. Allow them to thaw for a few hours or overnight before serving.
Reheating: There’s no need to reheat these bars; serve them chilled for the best flavor and texture experience!
Make Ahead Options
These delightful Cannoli Cheesecake Bars are perfect for meal prep enthusiasts! You can prepare the crust and filling components up to 24 hours in advance by mixing and storing them separately in airtight containers. For the crust, simply press the graham cracker mixture into the pan and cover it, while the filling can be mixed and refrigerated to maintain its creamy texture. When you’re ready to serve, just pour the filling over the crust and bake it as per the instructions. This step-by-step prep not only saves you time but also ensures your bars are just as delicious when you enjoy them later!
Expert Tips for Cannoli Cheesecake Bars
-
Room Temperature Ingredients: Ensure your cream cheese and eggs are at room temperature. This prevents lumps and results in a smoother filling.
-
Don’t Rush the Cool Down: Allow the bars to cool completely before refrigerating. This prevents cracks and maintains their beautiful appearance.
-
Oven Door Trick: After baking, leave the oven door cracked for 30 minutes before removing the bars. This helps create a smoother top and reduces cracking.
-
Runny Filling Fix: If your filling seems runny, chill it in the fridge before baking. This will help it set properly during the baking process.
-
Perfect Storage: Store leftover Cannoli Cheesecake Bars in an airtight container in the fridge for up to 5 days. Enjoy the deliciousness all week long!
Variations for Cannoli Cheesecake Bars
Customize your Cannoli Cheesecake Bars with these fun twists and substitutions that will tantalize your taste buds.
-
Gluten-Free Crust: Swap graham cracker crumbs with almond flour to make a delicious gluten-free base. This option adds a nutty flavor that complements the cheesecake beautifully.
-
Dairy-Free Delight: For a dairy-free version, use strained almond milk ricotta instead of traditional ricotta cheese. This swap keeps the creaminess intact while catering to dietary preferences.
-
Flavor Boost: Mix in orange zest with the filling for a bright, citrusy kick. The fresh aroma of orange will elevate your bars, making them even more irresistible!
-
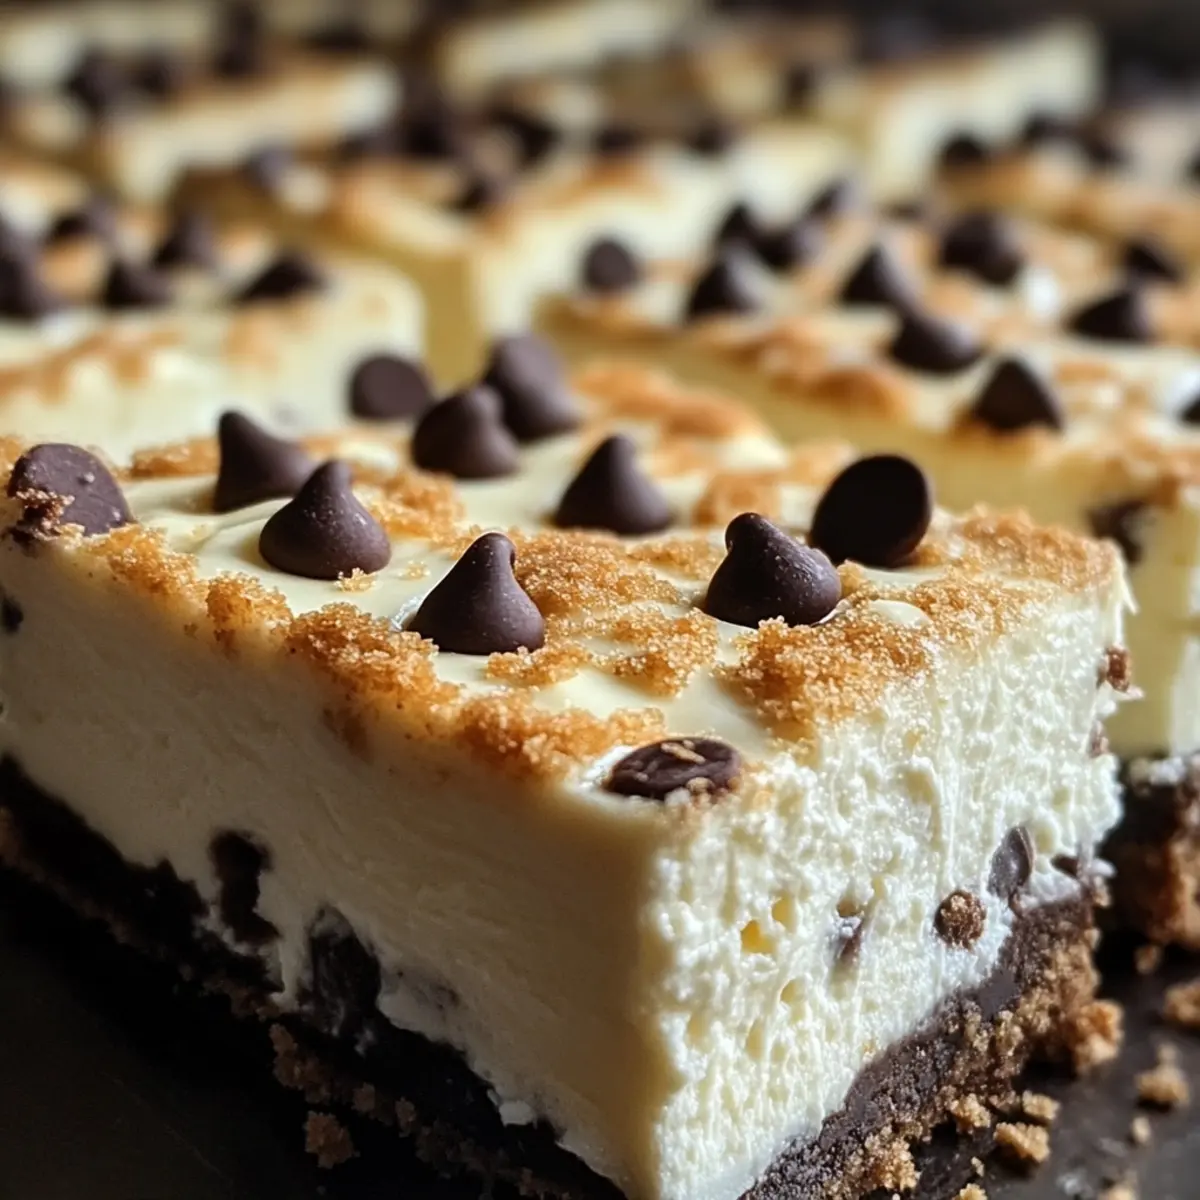
Chocolate Overload: Add an extra handful of mini chocolate chips for an indulgent chocolatey experience. The more chocolate, the merrier – your family won’t complain!
-
Nutty Addition: Fold in chopped nuts like pistachios or hazelnuts into the filling for a delightful crunchy texture. Nuts bring an earthy richness that contrasts perfectly with the creamy filling.
-
Spice It Up: For a warm flavor, try adding a sprinkle of cinnamon or nutmeg into the filling. These spices will give your bars a cozy aroma, perfect for autumn gatherings.
-
Miniature Bars: Convert the recipe into mini dessert bites by using a muffin tin. Perfect little bites that are ideal for parties—just adjust the baking time to about 25 minutes.
Dive deeper into the world of cheesecake delights with variations like our Strawberry Cheesecake Stuffed or indulge in a decadent Garten Pumpkin Cheesecake for a seasonal treat.
What to Serve with Cannoli Cheesecake Bars
Elevate your dining experience with delightful accompaniments that balance the rich flavors of this creamy dessert.
- Fresh Berries: Juicy strawberries or raspberries add a tart contrast to the sweet, creamy bars, making each bite refreshing.
- Espresso: A shot of rich, dark espresso enhances the dessert’s Italian roots while offering a lovely bitterness to balance the sweetness.
- Whipped Cream: Light and airy, this classic topping adds a touch of decadence and complements the creaminess of the cheesecake.
- Chocolate Sauce: Drizzling warm chocolate sauce brings an indulgent touch, enhancing the chocolate chips within the bars for a double chocolate delight.
- Citrus Sorbet: The bright, zesty flavors of citrus sorbet add a refreshing and light finish, cleansing the palate after a rich dessert.
- Biscuits or Cookies: Crunchy biscotti or classic Italian cookies provide a delightful crunch alongside the creamy smoothness of the cheesecake bars.
- Spiced Tea: A warm cup of chai or spiced tea offers comforting flavors that resonate beautifully with the dessert’s sweet notes.
- Mint Leaves: A sprinkle of fresh mint adds a burst of freshness, making every bite feel light and invigorating—a perfect complement to the richness.
- Vanilla Ice Cream: A scoop of creamy vanilla ice cream serves as a perfect pairing, enhancing the overall decadence and cooling down the richness of the cheesecake bars.
Cannoli Cheesecake Bars Recipe FAQs
What type of ricotta cheese should I use?
Absolutely! For the best texture and flavor in your Cannoli Cheesecake Bars, opt for full-fat ricotta cheese. This provides the creaminess you expect from a traditional cannoli. If you’re looking for a dairy-free alternative, strained almond milk ricotta works well too, but it might change the texture slightly.
How should I store leftover Cannoli Cheesecake Bars?
To keep your bars fresh, store them in an airtight container in the refrigerator for up to 5 days. This method preserves their creamy texture and minimizes absorbing odors from other foods. If you have more than you can consume within that timeframe, consider freezing!
Can I freeze Cannoli Cheesecake Bars?
Very! You can freeze these bars for up to 2 months. To do this, individually wrap each bar in plastic wrap, then place them in a freezer-safe container. When you’re ready to indulge, simply take a bar out and let it thaw in the fridge for a few hours or overnight for optimal taste and texture.
What should I do if my filling seems runny?
If your filling is runny, don’t worry! Chill it in the fridge for about 30 minutes before baking. This helps it set more effectively when you put it in the oven. Additionally, ensuring all your ingredients are at the correct temperature can prevent this issue in the future.
Are there any dietary considerations for Cannoli Cheesecake Bars?
Absolutely! For those with gluten intolerance, use almond flour instead of graham cracker crumbs for the crust, making this dessert gluten-free. Also, be mindful of allergies—if anyone has a dairy allergy, substitute both the cream cheese and ricotta with dairy-free alternatives. Happy baking!
Creamy Cannoli Cheesecake Bars You'll Want Every Day
Ingredients
Equipment
Method
- Preheat your oven to 325°F and gather a 9x9-inch baking pan lined with parchment paper. In a mixing bowl, combine graham cracker crumbs and granulated sugar, then drizzle in the melted unsalted butter. Mix until the texture resembles wet sand. Firmly press this mixture into the bottom of the prepared pan, creating an even layer for the base of your Cannoli Cheesecake Bars.
- In a large bowl, beat the room-temperature cream cheese with granulated sugar until smooth and creamy, about 2-3 minutes. One at a time, add in the eggs, mixing well after each addition. Stir in the vanilla extract, then gently fold in the ricotta cheese and mini chocolate chips, being careful not to overmix.
- Pour the filling evenly over the pressed crust in the pan. Bake for 40-45 minutes. The edges should be set while the center still jiggles gently when shaken.
- Allow the bars to cool completely at room temperature for about 1 hour, then refrigerate for at least 4 hours or overnight.
Leave a Reply