
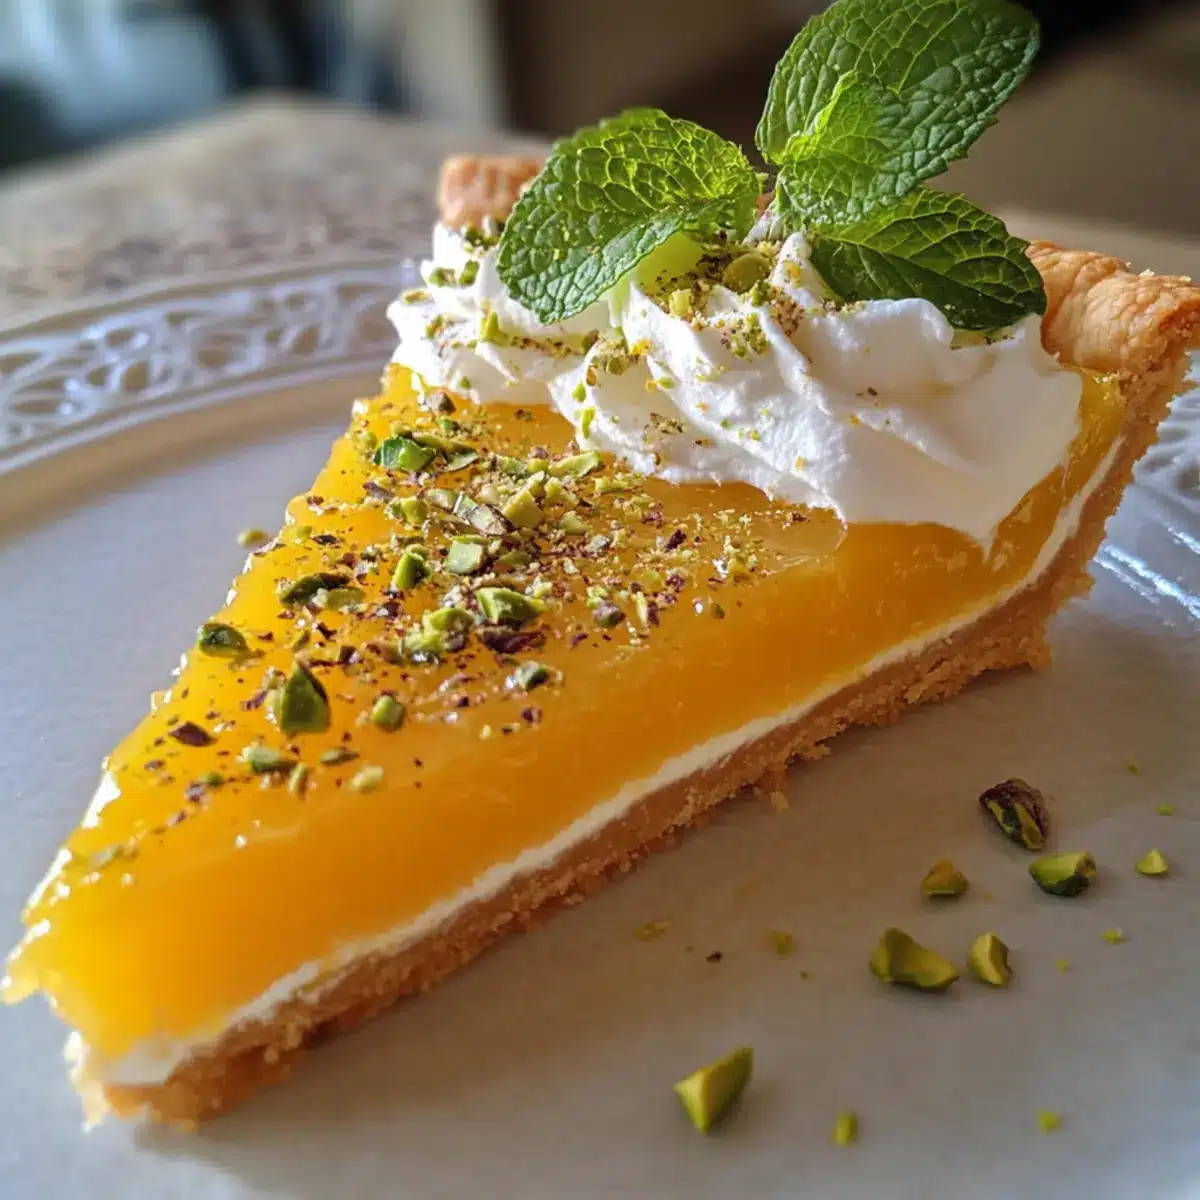
As the sun begins to set and golden light fills your kitchen, imagine the sweet tang of fresh oranges filling the air. This Classic Orange Tart brings together the best of citrus flavor with a smooth curd that dances on your taste buds. Not only is it a stunning centerpiece for any gathering, but this elegant dessert is also surprisingly simple to whip up, using just a handful of everyday ingredients. With its flaky crust and vibrant filling, it’s the perfect way to impress guests or treat yourself after a long day. Plus, it’s make-ahead friendly, letting you savor the moment without the last-minute stress. Are you ready to create a slice of citrus heaven? Let’s get started!
Why is this Classic Orange Tart unforgettable?
Bright, Citrus Flavor: The vibrant taste of fresh oranges brings a sunny twist that will awaken your senses.
Elegant Presentation: This tart not only tastes divine but looks stunning, making it the perfect centerpiece for any occasion.
Make-Ahead Magic: Prep the crust and filling in advance, allowing for a stress-free entertaining experience—ideal for busy schedules!
Simple Ingredients: Utilizing everyday items means you can whip it up without a trip to specialty stores, just like my Classic Chocolate Chip Cookies.
Crowd-Pleasing Delight: Whether you’re serving family or hosting friends, this tart is sure to impress with its sophisticated flavor profile.
Versatile Twist: Swap in other citrus fruits to customize your tart for a refreshing variation every time!
Classic Orange Tart Ingredients
For the Crust
- Flour – Use all-purpose flour for the best structure of your tart crust.
- Powdered Sugar – Adds sweetness and a delicate texture; granulated sugar can be substituted if necessary.
- Almond Flour – Contributes a unique flavor; can be omitted or replaced with more all-purpose flour if desired.
- Salt – Enhances the overall sweetness; do not omit as it’s essential for flavor.
- Orange Zest – Fresh zest provides an aromatic citrus kick in the crust; always choose fresh for the best results.
- Chilled Butter – Cold butter creates that perfect flakiness in the crust; keep it chilled before using.
- Egg Yolk – Adds richness and helps bind the crust together; opt for a large egg yolk for optimal results.
- Cold Water – Vital for bringing the dough together without warming it up; ensure it’s ice-cold when added.
For the Filling
- Fresh Orange Juice – The star of your filling, adding essential brightness; around 300ml from about 3 large oranges.
- Eggs – Needed for thickening the curd; remember to use room temperature eggs for smooth incorporation.
- Superfine Sugar – Sweetens the filling effectively; can substitute with granulated sugar, ensuring it dissolves fully.
- Cornstarch – Stabilizes the filling to prevent it from being runny; do not skip this crucial step.
- Gelatin – Optional but recommended for a firmer, more stable curd; helps set the filling perfectly.
For the Topping
- Heavy Cream – Adds richness when whipped for the topping; whip until soft peaks form before adding sugar.
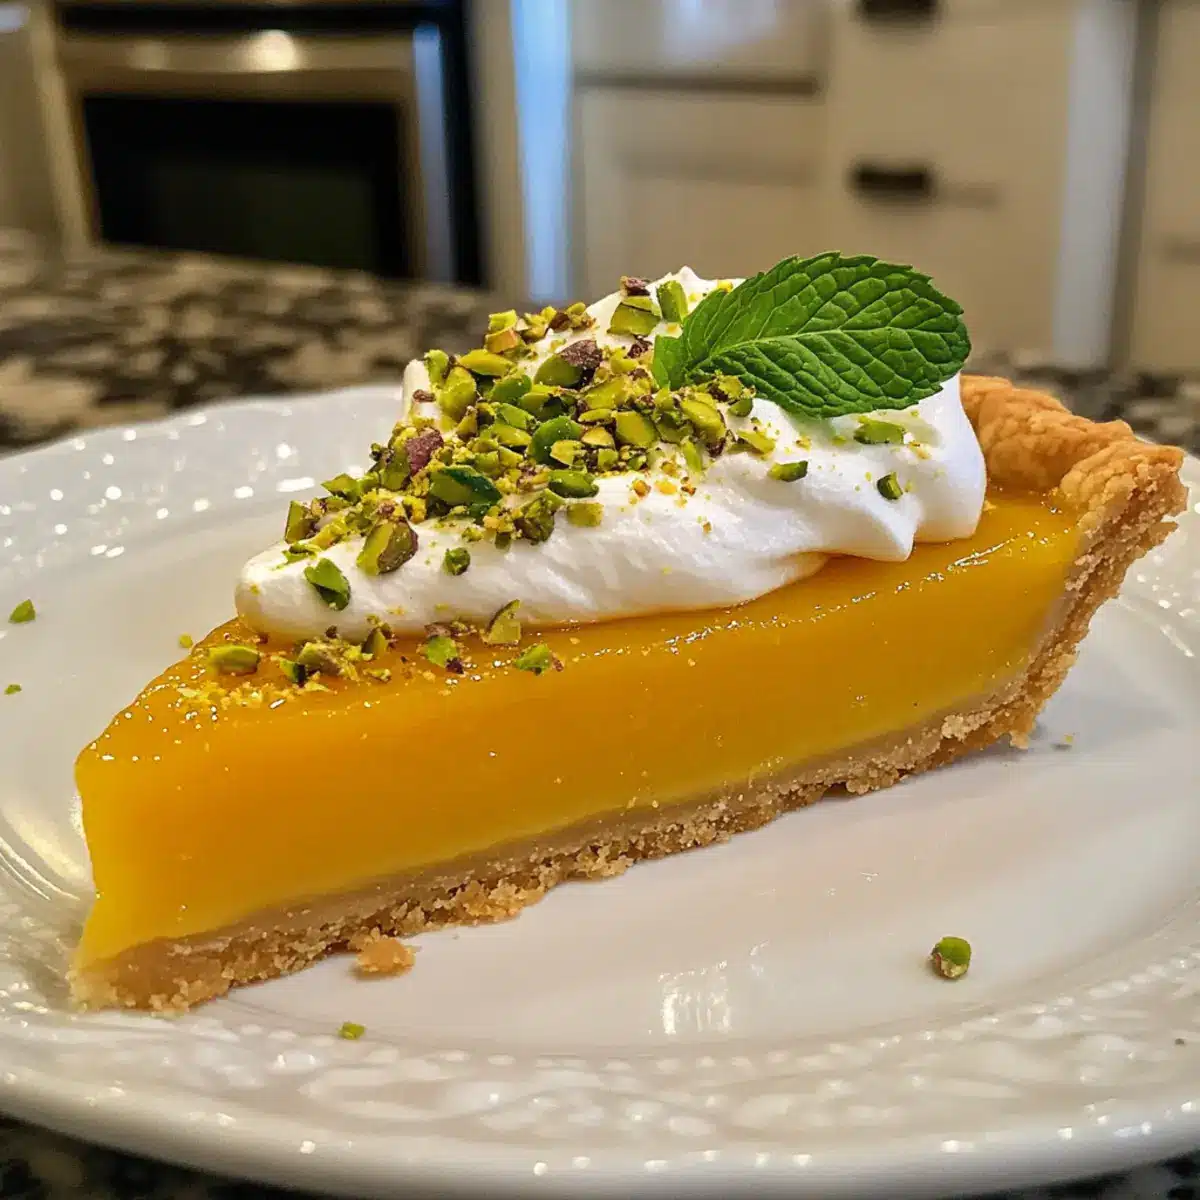
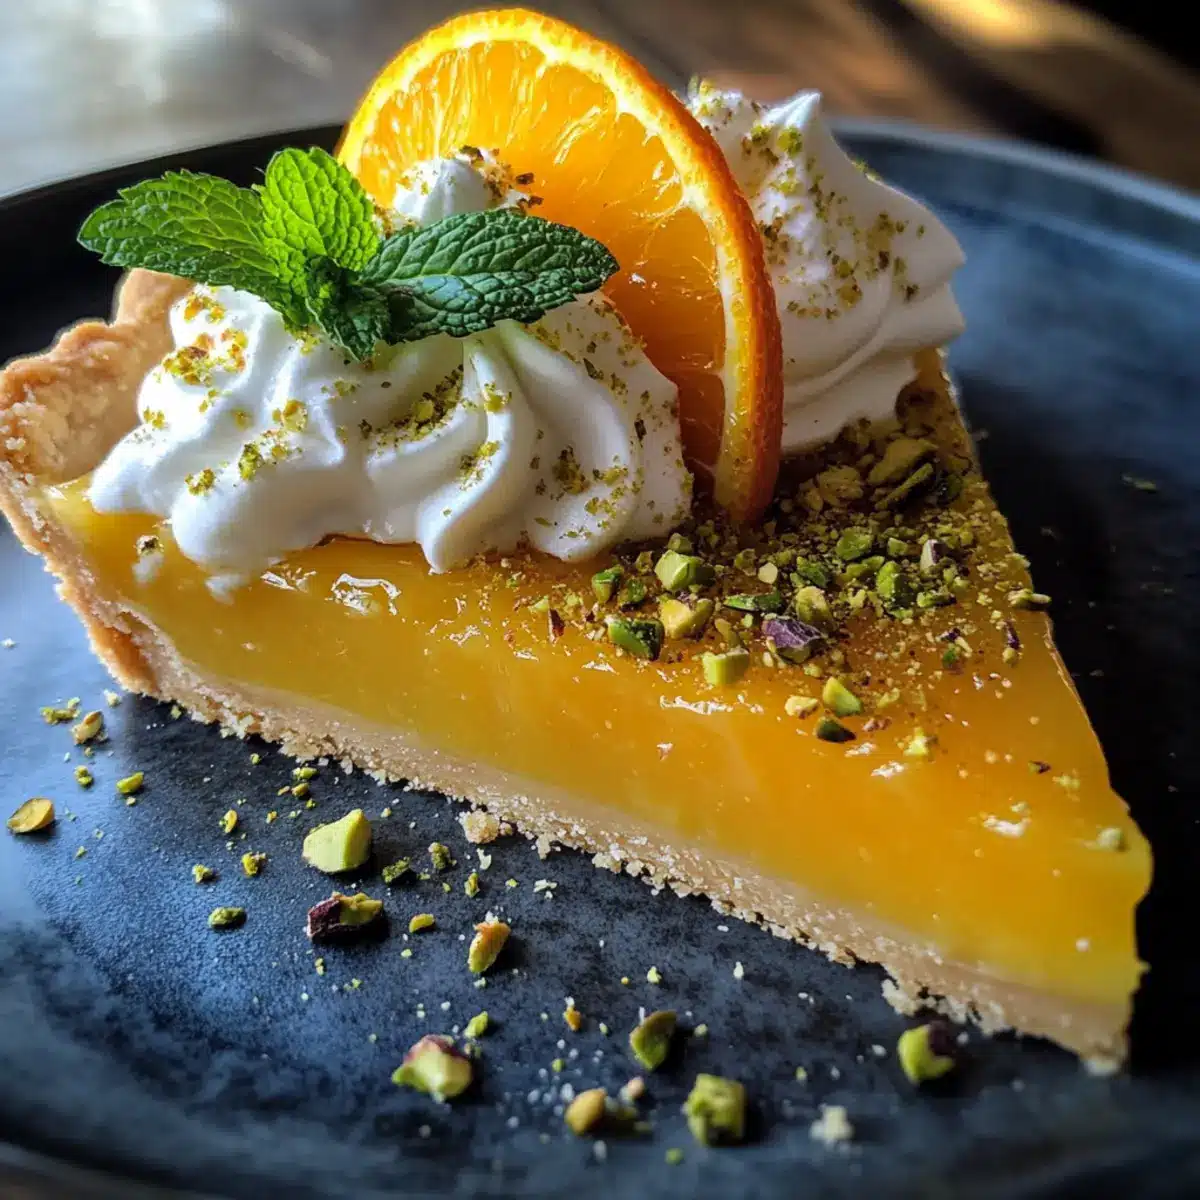
- Optional Garnishes – Mint leaves, orange segments, or crushed pistachios for a beautiful and personal touch to your tart.
Step‑by‑Step Instructions for Classic Orange Tart
Step 1: Make the Dough
In a food processor, combine 1 ½ cups of all-purpose flour, ½ cup of powdered sugar, ¼ cup of almond flour, ½ teaspoon of salt, and the zest of one orange. Pulse until well mixed. Add 1 cup of chilled butter, pulsing until you achieve a texture resembling coarse breadcrumbs. Mix 1 egg yolk with 2-3 tablespoons of cold water, then add to the mixture, pulsing until combined. Shape the dough into a disk, wrap in plastic, and refrigerate for at least 30 minutes.
Step 2: Prepare the Tart Shell
Preheat your oven to 200°C (390°F). After chilling, roll out the tart dough on a lightly floured surface to fit a 9-inch tart pan. Press it into the pan edges and trim the excess. To prevent bubbling, line the crust with parchment paper, fill with pie weights or dried beans, and blind bake for 12-15 minutes. Remove the weights and parchment, then bake for an additional 10-12 minutes until golden brown. Allow to cool completely.
Step 3: Prepare the Orange Curd
In a small saucepan, gently warm about 300ml of fresh orange juice over medium heat. Whisk together 4 large eggs, ¾ cup of superfine sugar, and 2 tablespoons of cornstarch in a mixing bowl until smooth. Gradually incorporate the warm orange juice into the egg mixture to temper it, then return the mixture to the saucepan. Cook over medium-low heat, stirring constantly until thickened enough to coat the back of a spoon, about 8-10 minutes. Stir in 1 tablespoon of gelatin until fully dissolved.
Step 4: Assemble the Tart
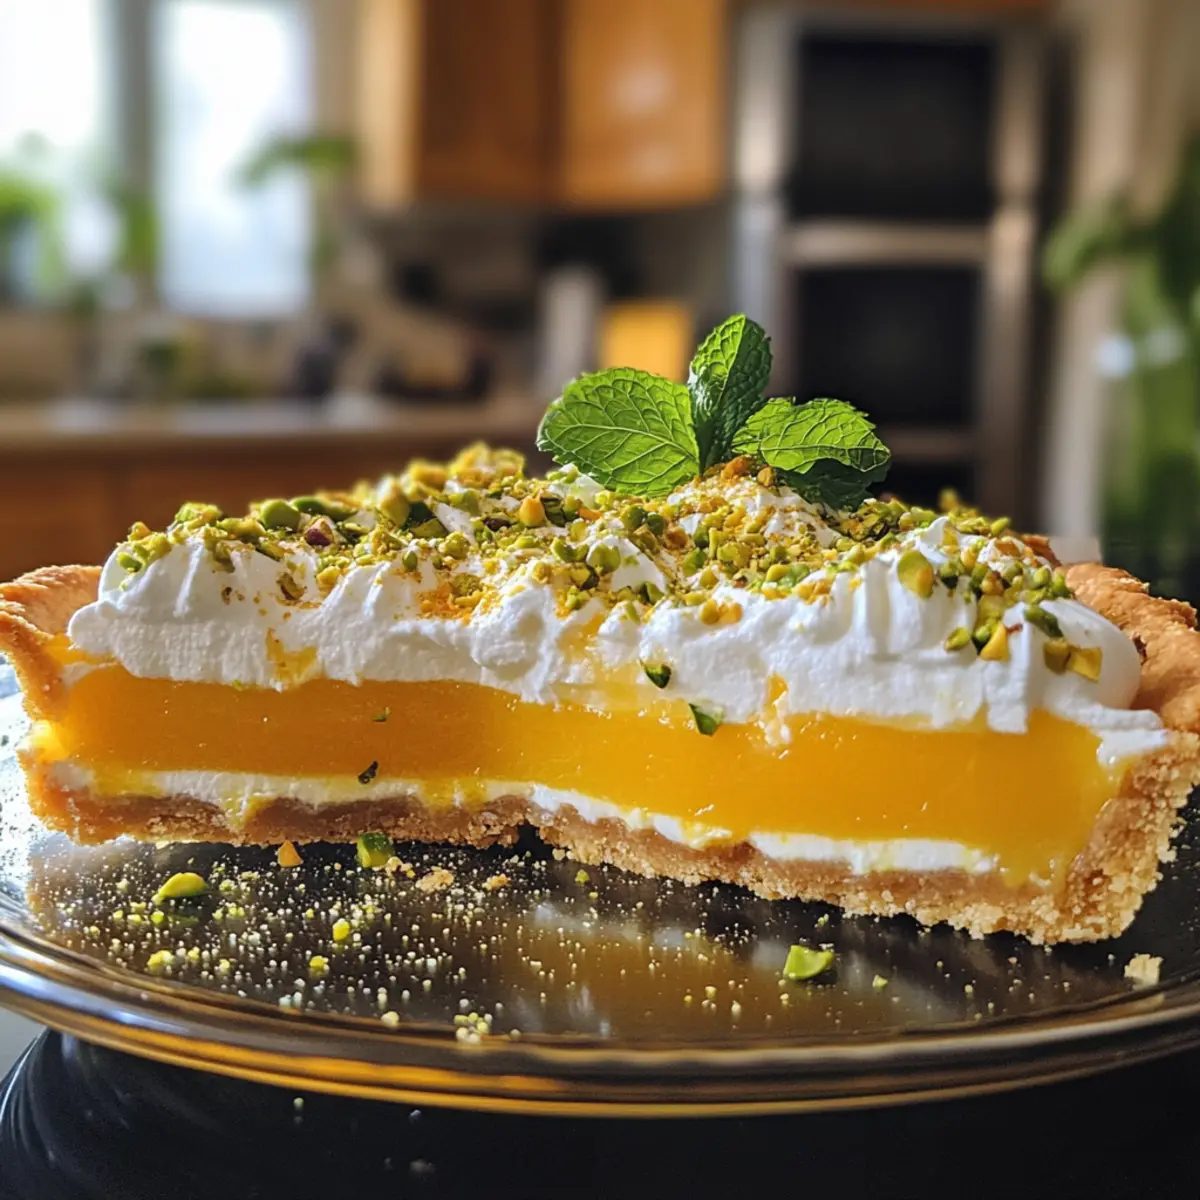
Once the orange curd has cooled slightly, mix in 2 tablespoons of unsalted butter and an extra teaspoon of orange zest for enhanced flavor. Pour this luscious curd into the cooled tart shell, smoothing the top with a spatula. Refrigerate the assembled Classic Orange Tart for at least 3 hours, or ideally overnight, to allow it to set fully and the flavors to meld beautifully.
Step 5: Prepare Whipped Cream
When ready to serve, beat 1 cup of heavy cream in a mixing bowl until soft peaks form. Gradually add 2 tablespoons of powdered sugar while continuing to whip until stiff peaks are achieved. To garnish, top the tart with the whipped cream just before serving, adding fresh mint leaves, orange segments, or crushed pistachios for an elegant finishing touch.
Classic Orange Tart: Customize to Delight
Feel free to personalize this Classic Orange Tart and make it your own with exciting twists and variations!
- Citrus Swap: Use lemon or lime juice instead of orange for a zesty alternative that brightens the tart.
- Alternative Crust: Swap in graham cracker or chocolate cookie crumbs for a fun twist on the classic tart crust.
- Nutty Flavor: Replace almond flour with pecan flour for a delightful nutty undertone that’s sure to surprise your palate.
- Vegan Option: Replace eggs with flax eggs and use coconut oil or vegan butter for a delicious plant-based version of this tart.
- Spice It Up: Add a pinch of cinnamon or ginger to the filling for a warm, aromatic twist that complements the citrus beautifully.
- Berry Infusion: Mix fresh raspberries or blueberries into the orange curd before pouring it into the crust for a surprising burst of flavor.
- Garnish Variations: Top with toasted coconut flakes or fresh fruits like strawberries for an elegant finish that dazzles the senses.
- Glaze Finish: Brush a light glaze of apricot jam mixed with a splash of water over the tart before serving for a glossy, appetizing look.
These ideas are not just delightful variations but can enhance your baking experience, just like my exciting recipes for Hot Orange Chicken or Sugar Pop Tart. Dive into these suggestions and enjoy the art of customization!
Make Ahead Options
These Classic Orange Tart preparations are perfect for busy home cooks looking to save time without sacrificing flavor! You can make the crust up to 3 days in advance, storing it tightly wrapped in the refrigerator to maintain its flakiness. The orange curd filling can also be prepared ahead of time and refrigerated for up to 2 days; just ensure it’s cooled completely before storing. When it’s time to serve, simply pour the curd into the cooled tart shell and refrigerate for at least 3 hours or overnight to allow it to set properly. By following these make-ahead steps, you’ll have a delightful, stress-free dessert ready to impress your guests with minimal last-minute effort!
How to Store and Freeze Classic Orange Tart
Fridge: Keep the tart covered in the fridge for up to 3 days. This aids in flavor enhancement while maintaining freshness.
Freezer: To freeze, wrap tightly in plastic wrap and then in aluminum foil. It can be stored in the freezer for up to 2 months.
Thawing: For optimal texture, thaw in the fridge overnight before serving. Avoid quick thawing at room temperature, as it may affect the curd’s smoothness.
Reheating: Reheating is not recommended for this Classic Orange Tart, as it’s best served chilled to preserve its lovely creamy texture.
Helpful Tricks for Classic Orange Tart
- Dough Handling: Avoid overworking the pastry dough, which can lead to a tough crust. Remember, less is more.
- Blind Baking: Proper blind baking is crucial to prevent a soggy crust. Use weights and bake until just golden for the best texture.
- Curd Consistency: Cook the orange curd mixture on medium-low heat, stirring continuously, to prevent scrambling and achieve a silky smooth filling.
- Chilling Time: Be sure to refrigerate your Classic Orange Tart for at least three hours, or overnight, to enhance flavor melding and achieve clean slices.
- Whipped Cream Prep: Whip your heavy cream until soft peaks form before adding sugar. This ensures a light, fluffy topping perfect for your tart.
What to Serve with Classic Orange Tart
Imagine a delightful gathering captured with sunshine and laughter, where the refreshing taste of your tart is only enhanced by the perfect pairings on your table.
-
Fresh Berries: Juicy strawberries, blueberries, and raspberries add a burst of color and a tartness that beautifully complements the sweet orange filling. A berry medley can elevate your dessert experience, making each bite a celebration of flavors.
-
Light Salad: A crisp arugula salad with a citrus vinaigrette brings a refreshing balance to the richness of the tart. The peppery notes play wonderfully against the creamy orange curd, ensuring a harmonious meal.
-
Vanilla Ice Cream: Creamy vanilla ice cream provides a luxurious and cooling contrast to the zesty tart, softening each bite while enhancing the delightful citrus notes.
-
Sparkling Wine: A glass of prosecco or sparkling rosé will bring effervescence and elegance to your gathering. The bubbly complements the tart’s acidity, elevating the entire dining experience.
-
Mint Tea: A warm cup of mint tea is a soothing companion, freshening your palette post-dessert while also complimenting the citrus flavors in the tart.
-
Chocolate-Dipped Biscotti: An espresso sugar or almond biscotti offers a delightful crunch and a hint of chocolate that rounds out the sweetness of the orange tart, allowing for a sweet yet balanced finish.
With these pairings, you’ll have a divine dining experience that turns your Classic Orange Tart into the star of the evening!
Classic Orange Tart Recipe FAQs
How do I select the best oranges for my Classic Orange Tart?
Absolutely! Look for oranges that feel heavy for their size, indicating juiciness. Choose ones with smooth skin free of blemishes or dark spots, as these can indicate overripeness. Freshness is key to achieving that vibrant flavor in your tart!
What’s the best way to store my Classic Orange Tart?
You’ll want to keep your Classic Orange Tart covered in the refrigerator. It will stay fresh for up to 3 days. Storing it properly enhances the flavor while keeping the crust intact. Just be sure to avoid any exposure to moisture for the best results!
Can I freeze the Classic Orange Tart? If so, how?
Yes, you can freeze it! To do so, wrap your tart tightly in plastic wrap, then in aluminum foil to avoid freezer burn. It can be frozen for up to 2 months. When you’re ready to enjoy it, simply thaw it overnight in the fridge for a smooth texture.
What should I do if my orange curd is too runny?
If you find your curd isn’t setting properly, it may be due to insufficient cooking time or the wrong ratio of eggs to cornstarch. Start by cooking the mixture on medium-low heat, stirring constantly, until it thickens enough to coat the back of a spoon. If needed, whisk in an extra teaspoon of cornstarch dissolved in a bit of water while it’s warming to help thicken it further.
Are there any dietary considerations for my guests with allergies?
Very! If you have guests with allergies, be attentive to potential triggers in the Classic Orange Tart. The main allergies may be gluten (from the flour) and nuts (if using almond flour). You can substitute with gluten-free flour blends and omit almond flour without compromising too much on taste. Always check with your guests ahead of time!
Can I prepare the Classic Orange Tart in advance?
Absolutely! In fact, it’s a great idea. You can prepare the crust and filling separately a day or two in advance, assemble it, and leave it in the fridge overnight. This not only saves you time but also allows the flavors to develop beautifully before serving!
Classic Orange Tart that Brightens Any Special Occasion
Ingredients
Equipment
Method
- In a food processor, combine 1 ½ cups of all-purpose flour, ½ cup of powdered sugar, ¼ cup of almond flour, ½ teaspoon of salt, and the zest of one orange. Pulse until well mixed. Add 1 cup of chilled butter, pulsing until you achieve a texture resembling coarse breadcrumbs. Mix 1 egg yolk with 2-3 tablespoons of cold water, then add to the mixture, pulsing until combined. Shape the dough into a disk, wrap in plastic, and refrigerate for at least 30 minutes.
- Preheat your oven to 200°C (390°F). After chilling, roll out the tart dough on a lightly floured surface to fit a 9-inch tart pan. Press it into the pan edges and trim the excess. To prevent bubbling, line the crust with parchment paper, fill with pie weights or dried beans, and blind bake for 12-15 minutes. Remove the weights and parchment, then bake for an additional 10-12 minutes until golden brown. Allow to cool completely.
- In a small saucepan, gently warm about 300ml of fresh orange juice over medium heat. Whisk together 4 large eggs, ¾ cup of superfine sugar, and 2 tablespoons of cornstarch in a mixing bowl until smooth. Gradually incorporate the warm orange juice into the egg mixture to temper it, then return the mixture to the saucepan. Cook over medium-low heat, stirring constantly until thickened enough to coat the back of a spoon, about 8-10 minutes. Stir in 1 tablespoon of gelatin until fully dissolved.
- Once the orange curd has cooled slightly, mix in 2 tablespoons of unsalted butter and an extra teaspoon of orange zest for enhanced flavor. Pour this luscious curd into the cooled tart shell, smoothing the top with a spatula. Refrigerate the assembled Classic Orange Tart for at least 3 hours, or ideally overnight, to allow it to set fully and the flavors to meld beautifully.
- When ready to serve, beat 1 cup of heavy cream in a mixing bowl until soft peaks form. Gradually add 2 tablespoons of powdered sugar while continuing to whip until stiff peaks are achieved. To garnish, top the tart with the whipped cream just before serving, adding fresh mint leaves, orange segments, or crushed pistachios for an elegant finishing touch.
Leave a Reply