
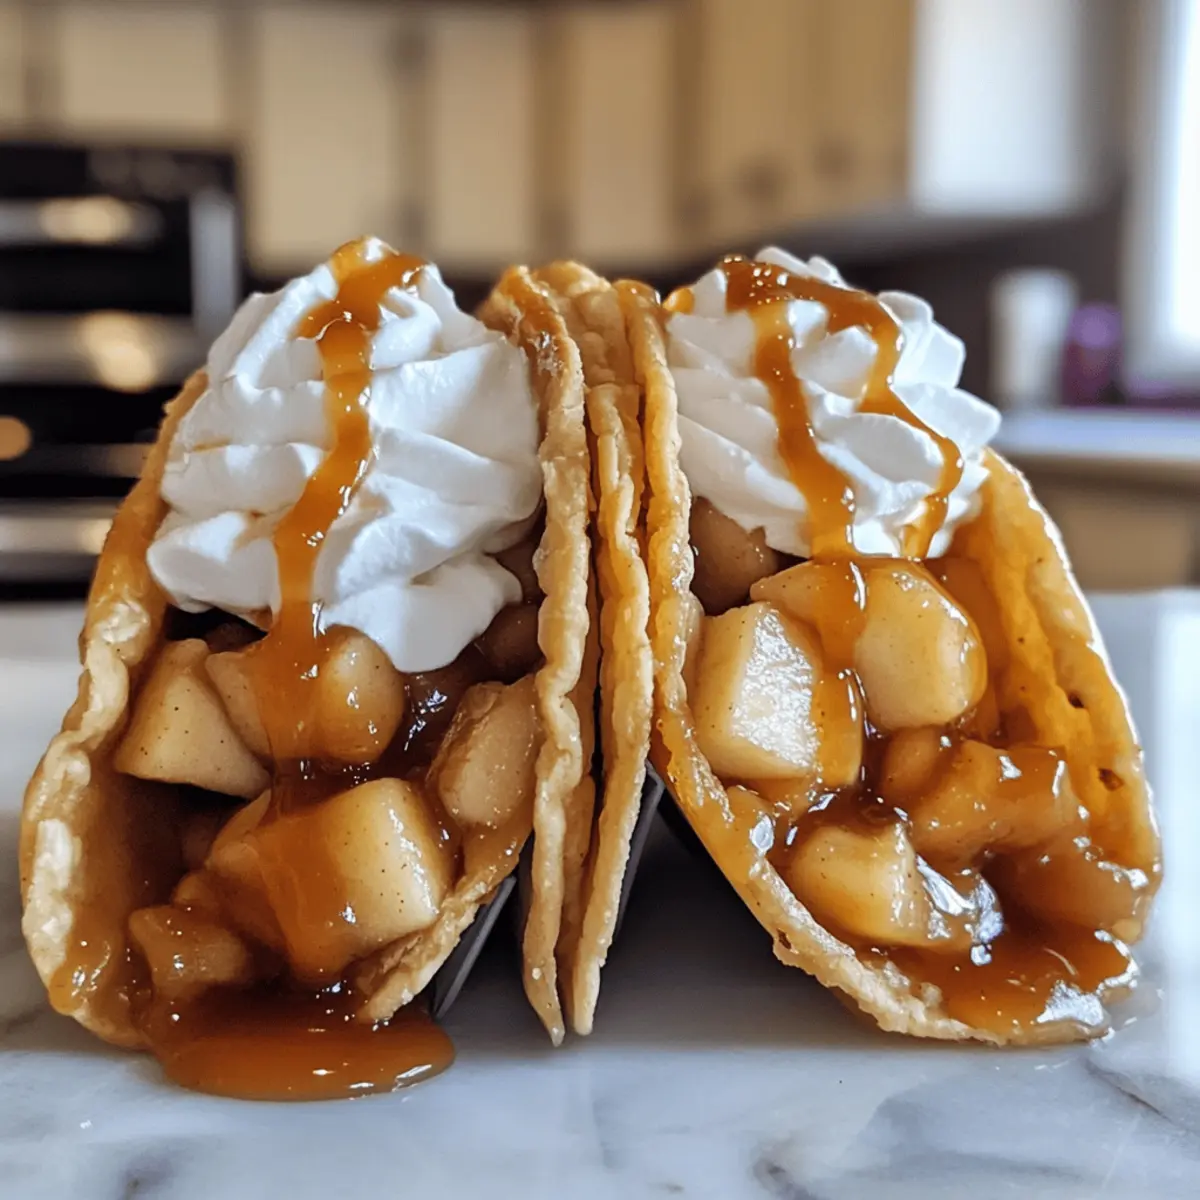
Have you ever craved a dessert that melds the classic comfort of apple pie with a fun twist? That’s exactly what these Apple Pie Tacos deliver! Each bite is a delightful surprise, with crispy taco shells enveloping a warm, cinnamon-kissed apple filling. Not only are these sweet treats incredibly easy to whip up—taking just about 20 minutes from start to finish—but they also promise to be a hit with both kids and adults alike. The beauty of Apple Pie Tacos lies in their versatility; you can customize the toppings to suit your taste, whether it’s a drizzle of caramel or a dollop of whipped cream. Are you ready to elevate your dessert game? Let’s dive into this playful recipe that’s sure to impress!
Why Are Apple Pie Tacos So Irresistible?
Fun and Playful: Apple Pie Tacos take a beloved classic to a new, creative level, making dessert exciting for kids and adults alike.
Quick Preparation: With just about 20 minutes of prep and cooking time, you can have these delicious tacos ready to share in no time!
Customizable Options: Enjoy endless topping choices—whipped cream, caramel drizzle, or even a scoop of vanilla ice cream from your favorite dessert pairing.
Perfect for Any Occasion: Whether it’s a cozy family night or a festive gathering, these tacos bring joy to any table, bridging favorite flavors like our irresistible Baked Beef Tacos with fun presentation.
Healthy Twist: Embrace a lighter version by swapping whipped cream for Greek yogurt or using fresh apples to enhance the wholesome goodness!
Apple Pie Tacos Ingredients
• Get ready to create your own delicious Apple Pie Tacos with this easy-to-follow list!
For the Taco Shells
- Small Flour Tortillas (6) – Serves as the taco shell providing a crunchy base. Substitute large tortillas cut into quarters for desired size.
- Salted Butter (⅓ cup, melted) – Adds richness and helps achieve a crispy texture. Use coconut oil for a vegan alternative.
- Finely Crushed Vanilla Wafer Crumbs (¾ cup) – Provides sweetness and a crunchy coating. Graham cracker crumbs can be used as a substitute.
- Ground Cinnamon or Apple Pie Spice (1 tsp) – Enhances the warmth and flavor of the filling; apple pie spice is a great alternative.
For the Filling
- Canned Apple Pie Filling (20 oz) – Acts as the primary filling; or use sautéed fresh apples for a homemade touch.
- Heavy Cream (¼ cup) – Creates a luxurious filling texture; full-fat coconut milk works for a dairy-free option.
For the Toppings
- Whipped Cream (optional) – Adds a decadent finish; can be store-bought or homemade.
- Caramel Sauce (optional) – Elevates your Apple Pie Tacos with a sweet drizzle; choose between store-bought or home-prepared for an extra special touch.
Get ready to dive into the fun process of making these delightful Apple Pie Tacos!
Step‑by‑Step Instructions for Apple Pie Tacos
Step 1: Preheat the Oven
Start by preheating your oven to 375°F (190°C). This will ensure that when you place the taco shells inside, they’ll begin to crisp up perfectly. Preheating is a crucial step for achieving that delightful golden-brown color. While the oven warms, gather your ingredients and equipment to streamline the process.
Step 2: Prepare the Tortillas
Brush both sides of each small flour tortilla generously with melted salted butter. This will not only add richness but also help achieve that crispy texture when baked. Ensure you cover all areas, so every bite is full of buttery goodness. It’s essential for the crispy apple pie tacos you’re about to create!
Step 3: Coat the Tortillas
In a shallow dish, combine the finely crushed vanilla wafer crumbs and ground cinnamon until evenly mixed. Take each buttered tortilla and coat it thoroughly in this mixture, pressing gently to ensure the crumbs stick well. This step adds a lovely sweetness and crunchy coating that complements the warm filling beautifully.
Step 4: Let the Tortillas Set
Transfer the coated tortillas to a wire rack and let them sit for about 5 minutes. This resting period allows the crumbs to adhere better, resulting in an even crispier texture once baked. During this time, you can prepare the next steps, ensuring everything is ready for assembly.
Step 5: Shape the Taco Shells
Drape the tortillas carefully over the bars of the oven rack or place them in a taco mold, such as an upside-down muffin tin. This will create the taco shape, allowing the filling to nestle in perfectly later on. Make sure they are evenly spaced for proper baking and air circulation.
Step 6: Bake for Perfect Crispiness
Bake the shaped tortillas in the preheated oven for 8-10 minutes, watching closely until they turn golden and crisp. You’ll notice an alluring aroma filling your kitchen, signaling that they are ready. The visual cue of a perfect golden-brown color will let you know they are just the right degree of crispiness for your Apple Pie Tacos.
Step 7: Cool the Shells
Once baked, remove the taco shells from the oven and allow them to cool for about 5 minutes. This cooling time enhances their crispness so that they maintain their delightful crunch when filled. Place them on a wire rack to cool evenly and prepare for the delicious filling.
Step 8: Heat the Apple Filling
In a saucepan over medium heat, combine the canned apple pie filling with the heavy cream. Stir gently until the mixture is heated through and bubbling, about 5 minutes. This creamy apple filling will enhance the flavor profile of your Apple Pie Tacos, making them feel warm and inviting!
Step 9: Assemble the Tacos
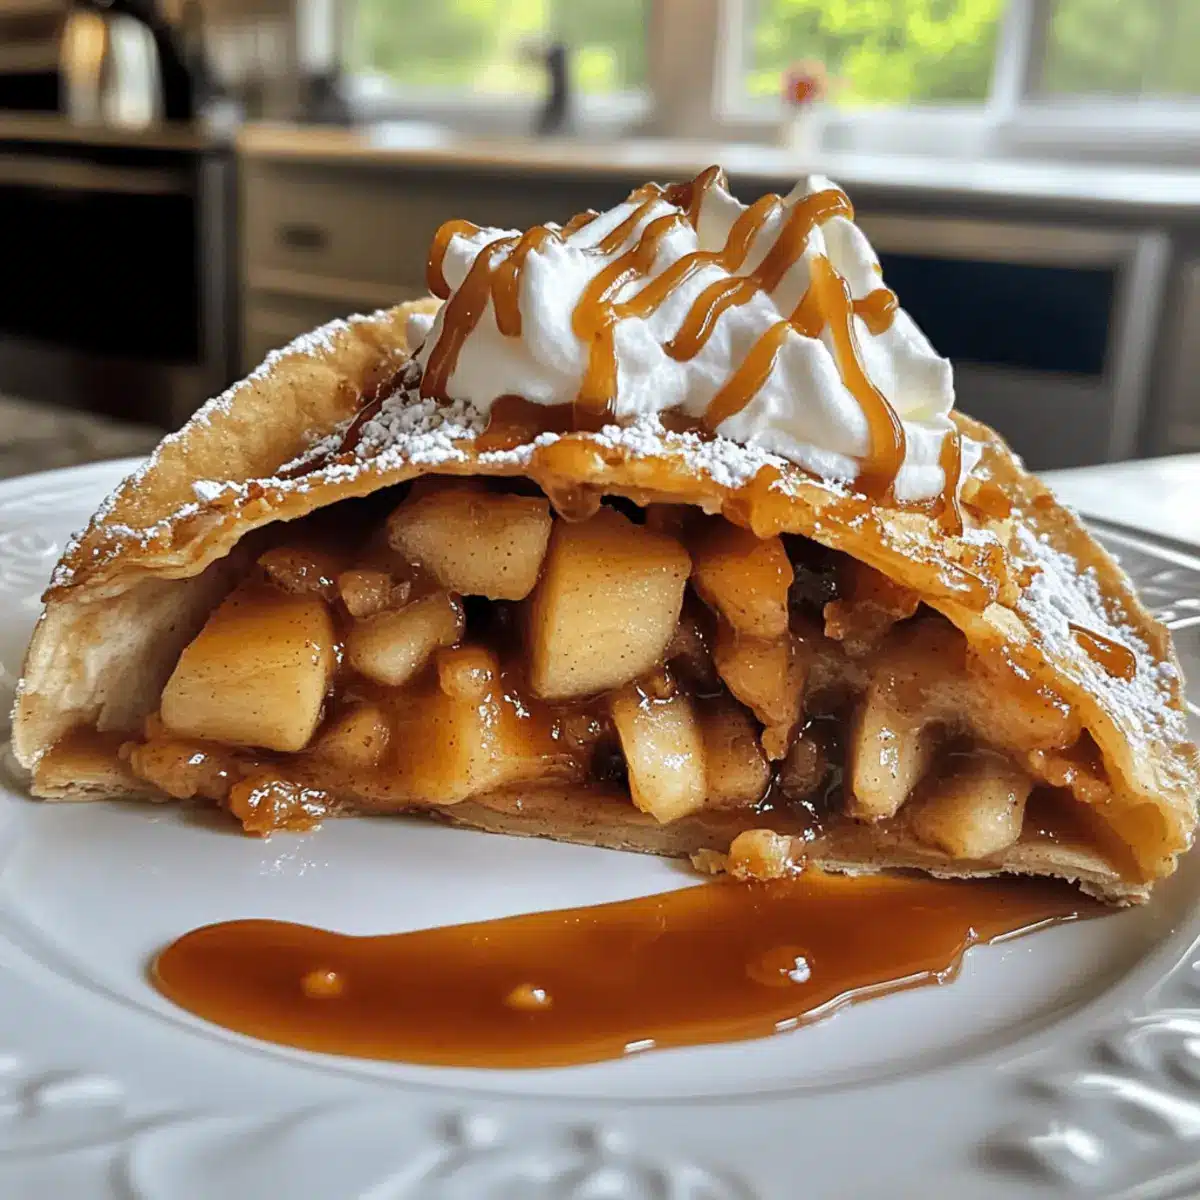
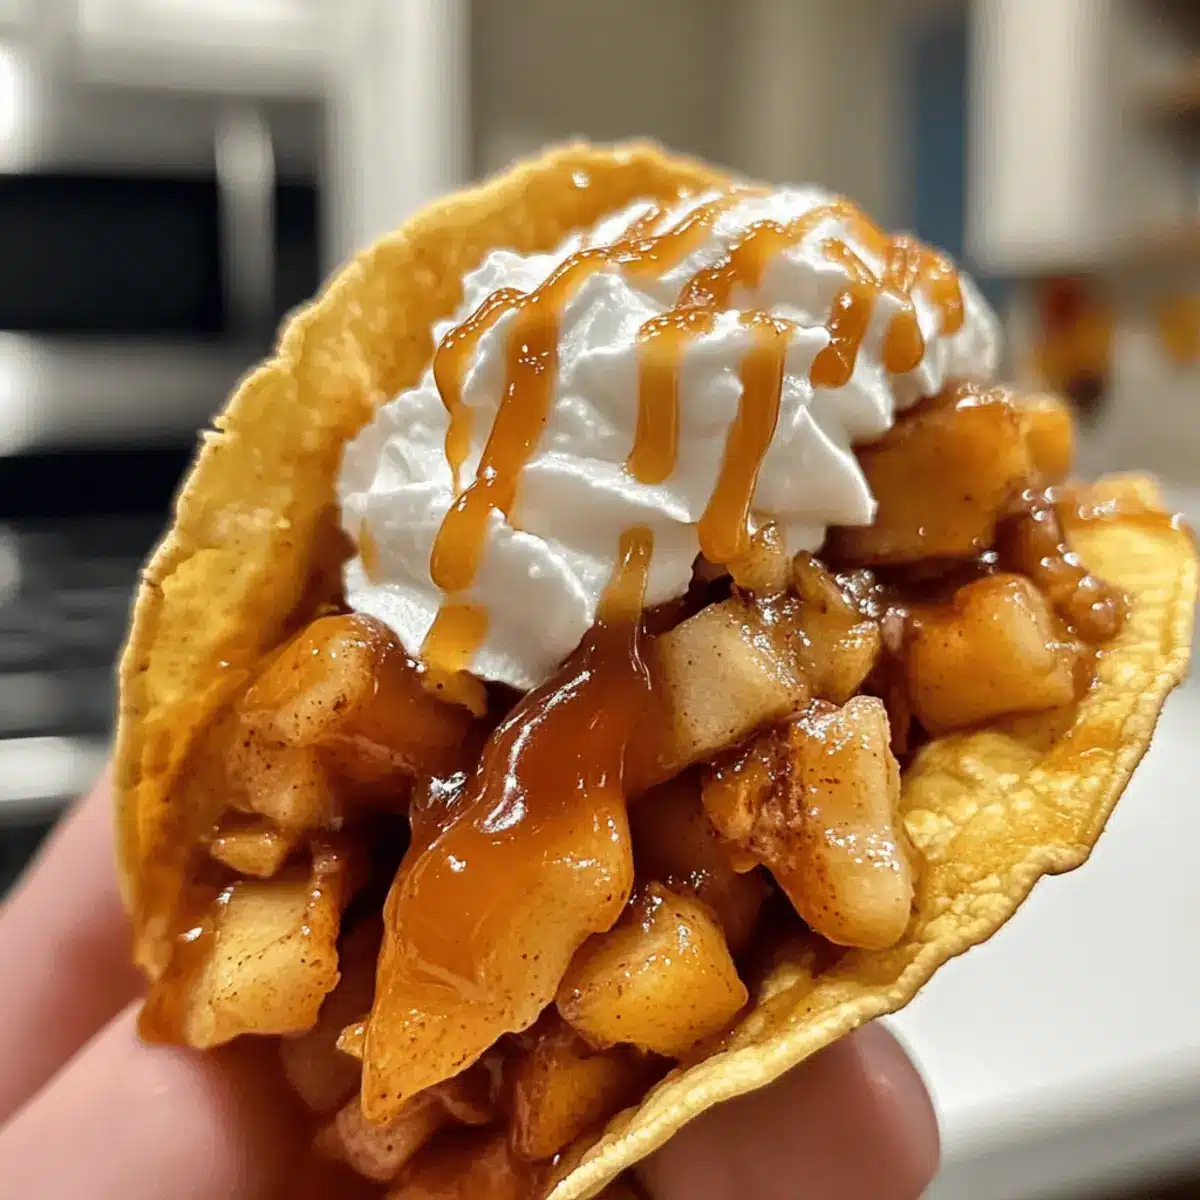
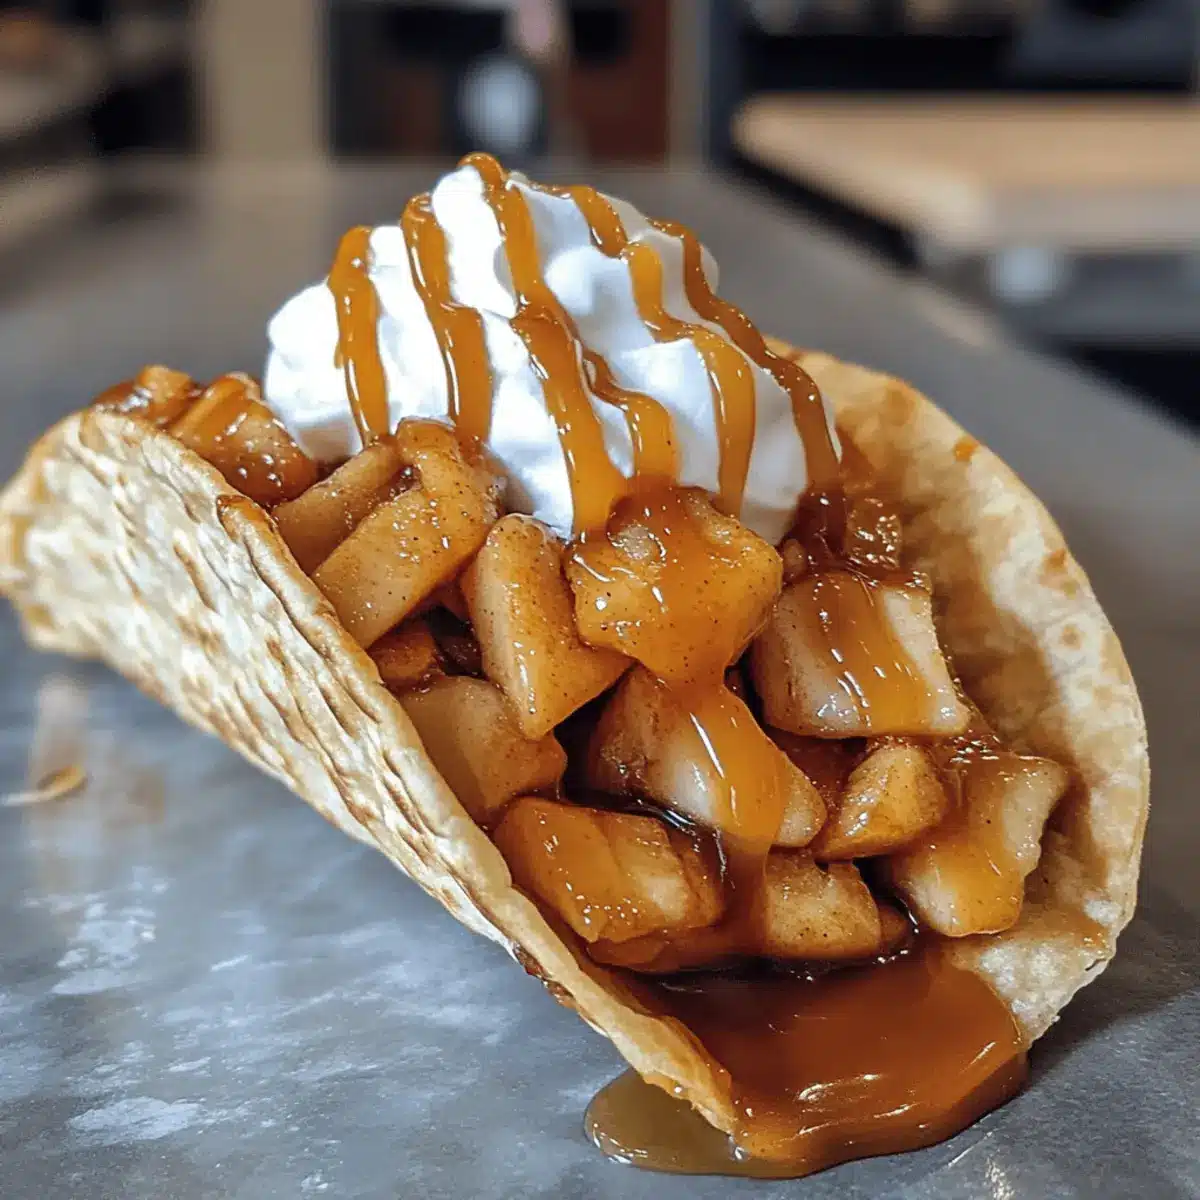
Generously spoon the warm apple filling into each crispy taco shell, ensuring each one is filled to the brim. The filling should ooze a little at the edges, indicating the perfect amount has been added. This is the moment your Apple Pie Tacos come to life, showcasing rich, gooey goodness.
Step 10: Add Toppings
Finish your Apple Pie Tacos with a delightful dollop of whipped cream and a luscious drizzle of caramel sauce on top. These final touches elevate your tacos from great to indulgent, offering a perfect balance of sweetness and creaminess. You’re ready to serve these fun, handheld desserts that everyone will enjoy!
Apple Pie Tacos: Customize Your Way
Feel free to make these Apple Pie Tacos your own with delightful twists and swaps that suit your cravings!
- Vegan Delight: Replace heavy cream with full-fat coconut milk for a rich, dairy-free filling. The creamy texture remains intact, making it a joyful treat for everyone.
- Fruit Variations: Swap the canned apple pie filling for fresh sautéed cherries or blueberries for a vibrant, fruity twist. The bright flavors will create a refreshing contrast to the warm shell!
- Nut Lover’s Crunch: Toss in chopped toasted pecans to the filling or sprinkle them over the taco shells for a delectable crunch that complements the soft apples.
- Sweet Chocolate Dreams: Drizzle melted chocolate over filled tacos or mix in chocolate chips with the apple filling for a sweet and playful surprise. Chocolate and apples are a match made in dessert heaven!
- Pumpkin Spice Joy: Use pumpkin pie filling mixed with cream cheese and a hint of maple syrup instead of apples for a seasonal treat that brings fall flavors year-round.
- Graham Cracker Crust: If you can’t find vanilla wafers, crushed graham crackers make a perfect substitute, adding a slightly different sweetness that pairs beautifully with the apple filling.
- Heat it Up: For those who crave a bit of spice, add a pinch of cayenne or a sprinkle of chili powder to the apple filling for a surprising kick. It’s a fun way to lighten up your dessert!
With these variations, you’ll keep your dessert game exciting and tailored to your unique taste. Enjoy experimenting with flavors, and don’t forget to savor it with a warm cup of spiced coffee or a scoop of ice cream alongside your creative Apple Pie Tacos!
Expert Tips for Apple Pie Tacos
- Avoid Sogginess: Let the filling cool slightly before adding it to the taco shells. This prevents them from becoming soggy and maintains that delightful crispiness.
- Warm Tortillas: If using stiff tortillas, warm them in a damp cloth for a few seconds to prevent tearing while brushing with butter.
- Crispy Shells: Bake the taco shells in advance and store them in an airtight container at room temperature to keep them crispy until serving.
- Even Coating: When crushing the vanilla wafers, aim for fine crumbs to ensure an even coating on the tortilla, enhancing flavor and texture for your Apple Pie Tacos.
- Layer Flavors: Consider adding a pinch of nutmeg to the apple filling for an extra depth of flavor that complements the cinnamon beautifully.
How to Store and Freeze Apple Pie Tacos
- Room Temperature: Store baked apple pie tacos in an airtight container for up to 3 days to maintain their crispiness, keeping them at a cool room temperature away from moisture.
- Fridge: If filled, place any leftover apple pie tacos in the refrigerator for up to 2 days, but be prepared that they may lose some crispness. Reheat in the oven to restore texture.
- Freezer: Freeze unfilled taco shells in an airtight container for up to 3 months. Reheat them in the oven for about 10 minutes at 375°F (190°C) for the best results.
- Reheating: For best flavor and texture, reheat filled apple pie tacos in the oven, making sure to warm the filling separately if needed. Enjoy the crispy, tasty treat again!
What to Serve with Apple Pie Tacos?
Create a delightful meal experience by pairing these sweet treats with complementary flavors and textures.
- Vanilla Ice Cream: A classic pairing, creamy vanilla ice cream contrasts beautifully with warm apple filling, enhancing the indulgence.
- Hot Apple Cider: Embrace the fall vibe with a cozy drink; the spiced flavors of apple cider echo the taco’s warm cinnamon notes.
- Caramel Drizzle: Elevate the dish with an extra swirl of caramel on top; it adds an irresistible sweetness that brings joy with every bite.
- Homemade Whipped Cream: A dollop of freshly whipped cream adds a light touch, balancing out the richness of the filling and caramel.
- Chopped Nuts: Sprinkle on toasted pecans or walnuts for added crunch, enhancing texture and making each bite a flavor-filled delight.
- Spiced Coffee: Pair with a warm cup of spiced coffee for a comforting beverage that enhances the sweet experience of the tacos.
- Fresh Fruit Salad: Lighten the meal with a refreshing fruit salad; the cool, crisp flavors provide a pleasant contrast to the warm tacos.
- Chocolate Drizzle: For chocolate lovers, a drizzle of melted chocolate can add a decadent twist, transforming each taco into a delightful dessert.
Make Ahead Options
These Apple Pie Tacos are perfect for meal prep enthusiasts! You can prepare the taco shells up to 24 hours in advance—simply bake and store them in an airtight container at room temperature to keep them crispy. The apple filling can also be prepared ahead of time; refrigerate it for up to 3 days. When you’re ready to serve, gently reheat the filling on the stove or in the microwave, and fill the crispy taco shells just before indulging. This way, you’ll enjoy delicious homemade Apple Pie Tacos with minimal effort, bringing warm, comforting flavors to your busy weeknights!
Apple Pie Tacos Recipe FAQs
How do I select the best apples for my filling?
Absolutely! If you’re opting for fresh apples, I recommend using a mix of tart and sweet varieties, like Granny Smith and Fuji. Look for apples that feel firm to the touch and are free of dark spots or bruises. The perfect apple will have a nice balance of sweetness and tartness, and always pick those that have vibrant color and shine!
How should I store leftovers and how long will they last?
If you’ve filled your Apple Pie Tacos, I recommend placing any leftovers in the refrigerator, where they can last for up to 2 days. They can lose some crispness, so for the best experience, reheat them in the oven. Simply preheat your oven to 375°F (190°C) and bake for about 8-10 minutes until warm. For the unfilled taco shells, store them in an airtight container at room temperature for up to 3 days to retain their delightful crunch.
Can I freeze unfilled taco shells?
Yes, you can! For unfilled Apple Pie Tacos, freeze them in an airtight container or a resealable bag for up to 3 months. When you’re ready to enjoy, just preheat your oven to 375°F (190°C) and bake them for about 10 minutes until they’re crispy again. This is a great way to have a delicious dessert ready for any occasion without spending extra time on preparation.
What should I do if my taco shells turn out soggy?
Very importantly, the key to crisp taco shells is to ensure you let the apple filling cool slightly before spooning it into the shells. If you do find that your shells are already soggy, here’s what you can do: Place the filled tacos on a baking sheet and pop them back into a preheated oven at 375°F (190°C) for about 5 minutes. This will allow the shells to regain some crispness!
Are there any allergy considerations for this recipe?
Absolutely! For those with gluten sensitivities or celiac disease, you can substitute the flour tortillas with corn tortillas. Also, to make it dairy-free, replace the salted butter with coconut oil and the heavy cream with full-fat coconut milk. Always be sure to check the labels for any potential allergens in store-bought ingredients, like caramel sauce and whipped cream, if you’re using those as toppings. Enjoy your customizing!
Delightful Apple Pie Tacos: A Fun Twist on Tradition
Ingredients
Equipment
Method
- Preheat your oven to 375°F (190°C) to ensure crispy taco shells.
- Brush both sides of each small flour tortilla generously with melted salted butter.
- In a shallow dish, combine the finely crushed vanilla wafer crumbs and ground cinnamon until evenly mixed. Coat each buttered tortilla thoroughly in this mixture.
- Transfer the coated tortillas to a wire rack and let them sit for about 5 minutes.
- Drape the tortillas over the bars of the oven rack or place them in a taco mold to create the taco shape.
- Bake the shaped tortillas for 8-10 minutes until they turn golden and crisp.
- Once baked, remove the taco shells and allow them to cool for about 5 minutes.
- In a saucepan over medium heat, combine the canned apple pie filling with the heavy cream and stir until heated through and bubbling.
- Generously spoon the warm apple filling into each crispy taco shell.
- Finish with whipped cream and caramel sauce on top.
Leave a Reply